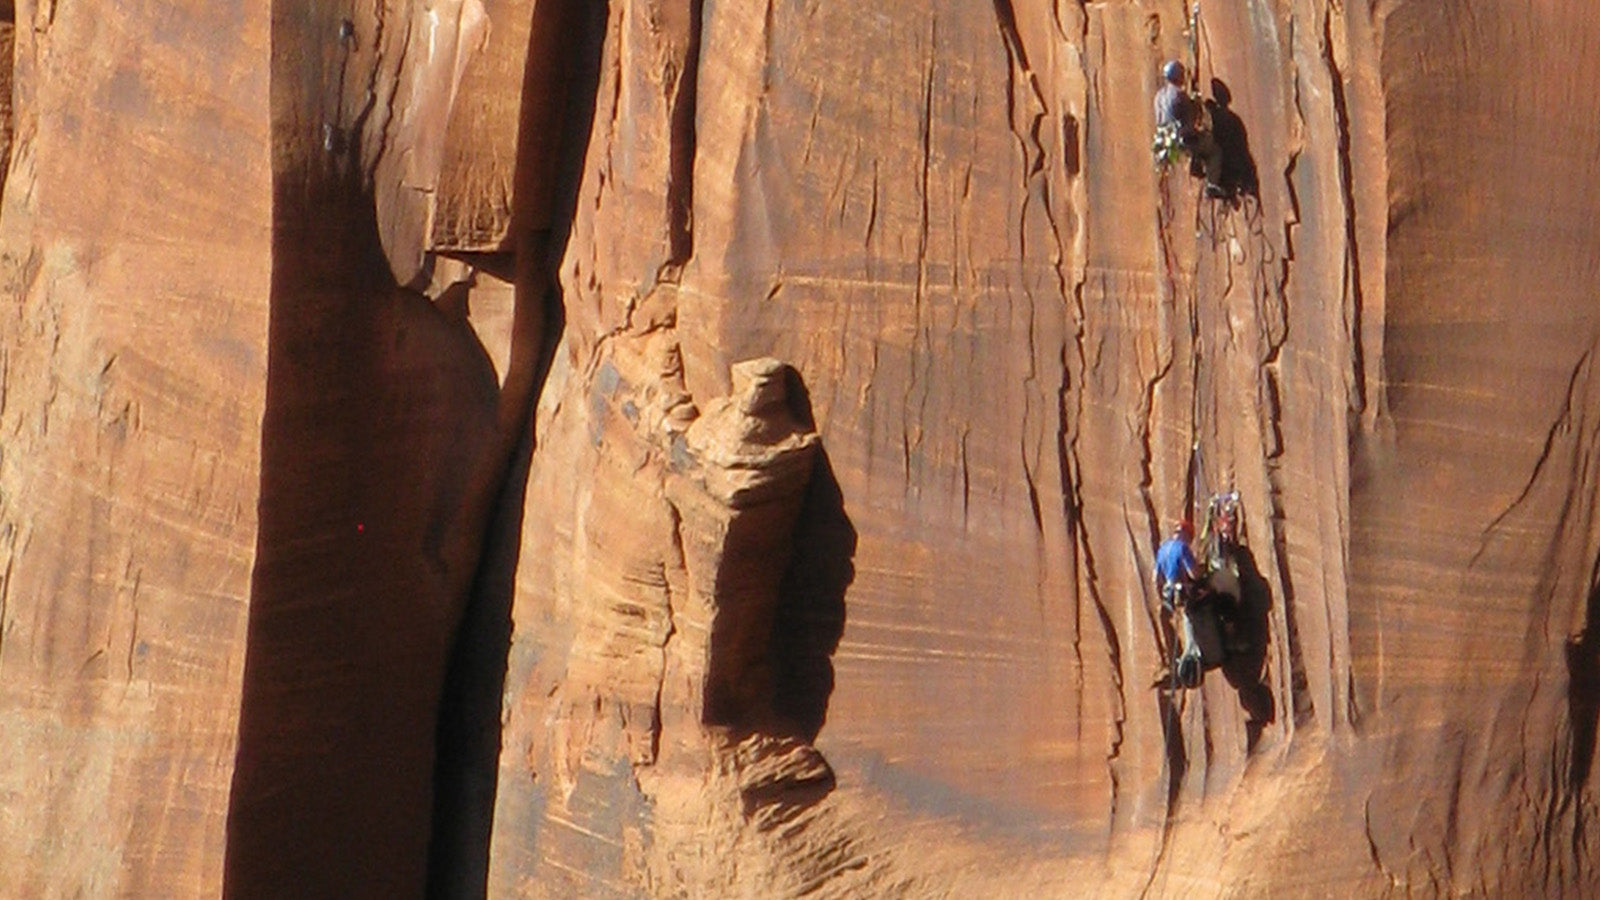
RYAN'S BIG WALL GEAR GUIDE
If you want to know what I use and like on a big wall, here are the main items I take. I’m not the best big waller in the world but I nerd out on the gear more than my fitness, so even if these aren’t some people’s favorite items, I haven’t willy-nilly decided what I take. I’ll give my reasons for choosing each one and hyperlink to the other options that didn’t make the list so you can decide what is right for you. The rack is a completely different gear guide, and is coming soon.
Harnesses
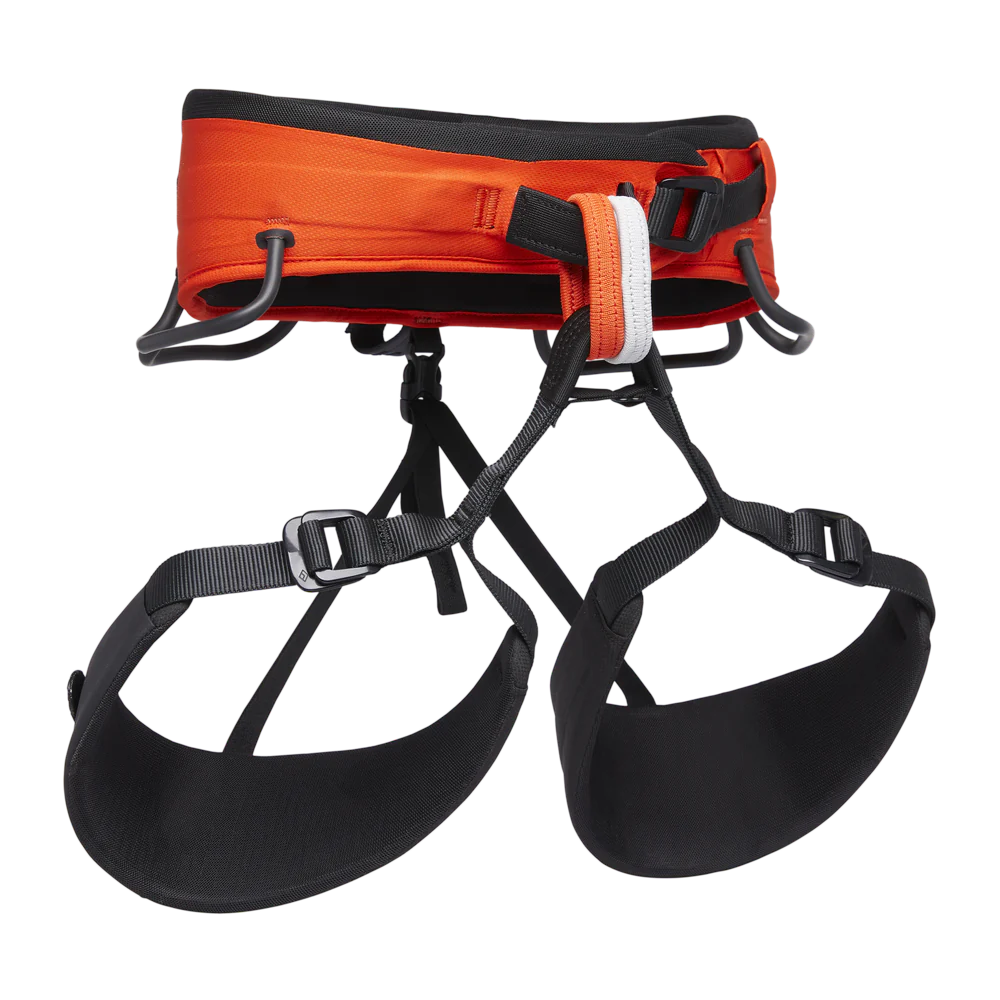
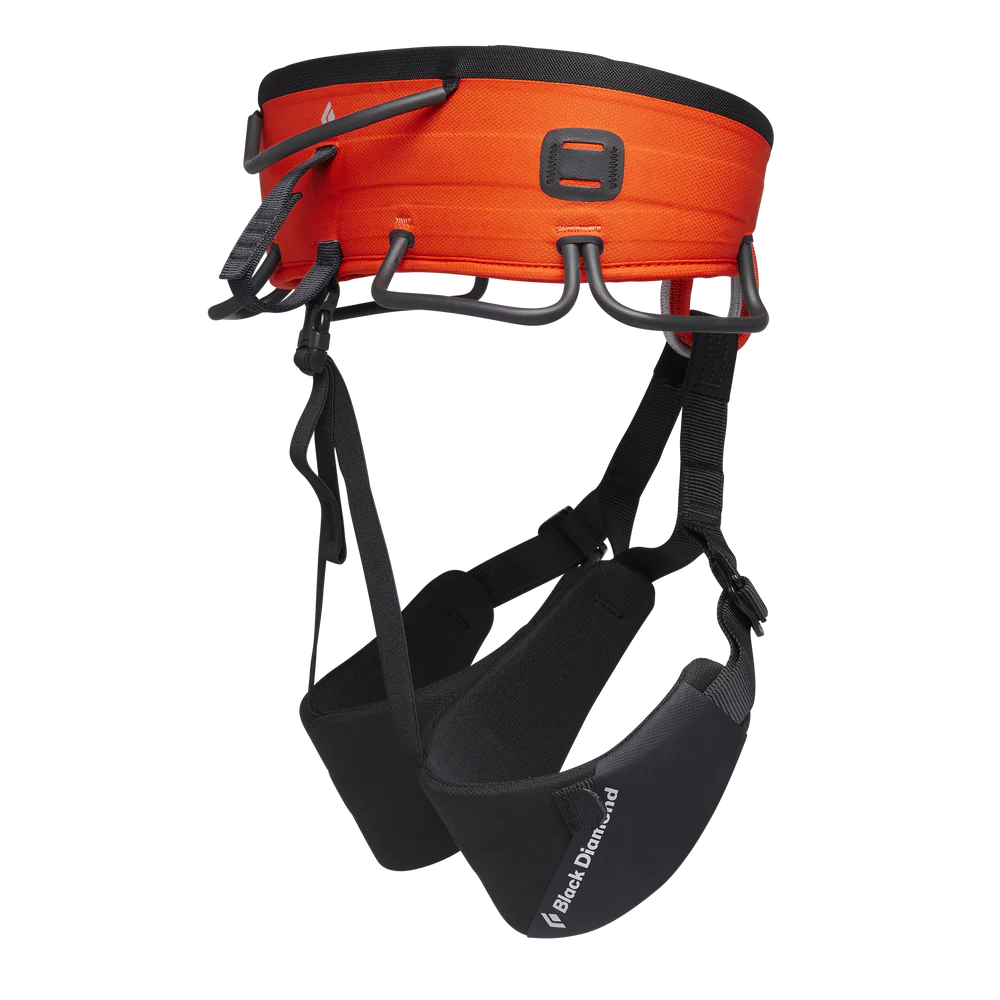
Don’t use your sport climbing harness. You will already have bruises on your hips using a well-padded one. You’ll remember your big wall trips for the rest of your life. Hopefully, it’s not the pain from sitting in your thin-ass harness that you remember. We stock a chest harness for those who like to separate the lead rack from the rest of the stuff they have on their harness. Once I learned how to rack it all my hips, it was so nice to get that off my shoulders for the freedom of movement.
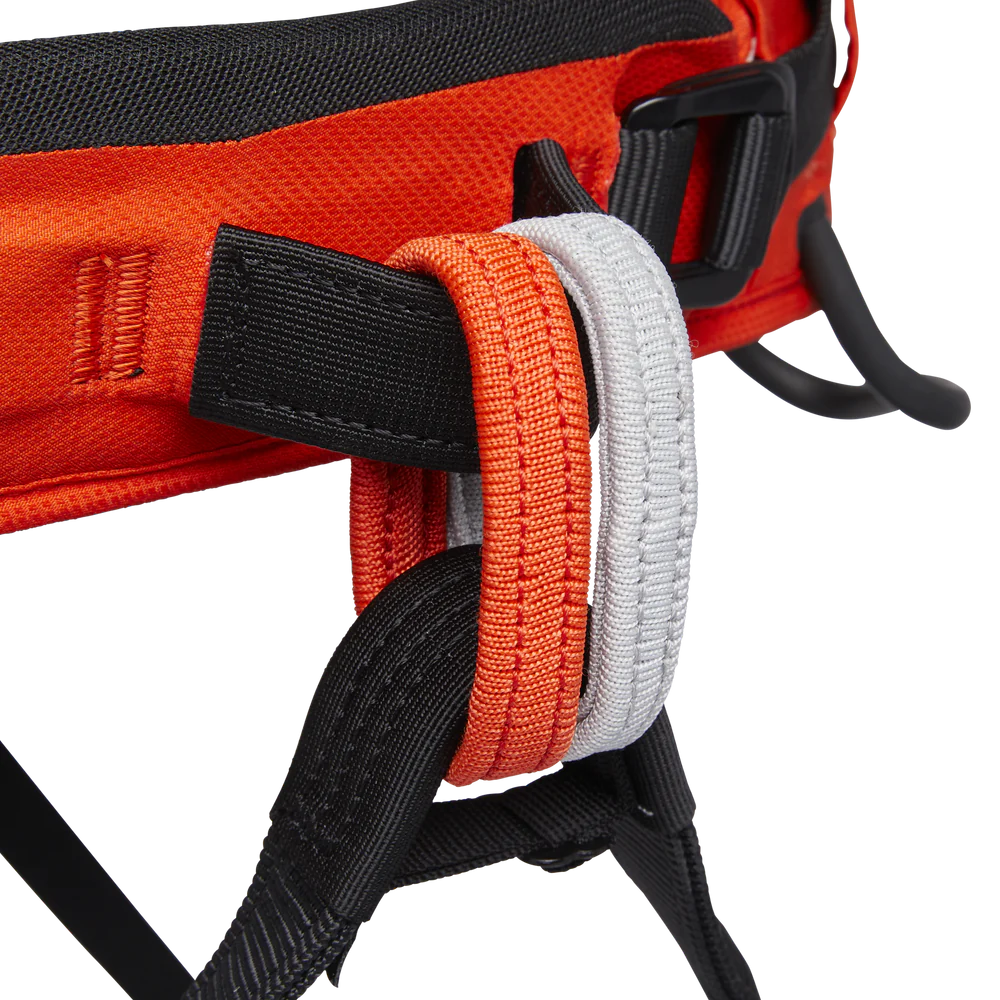
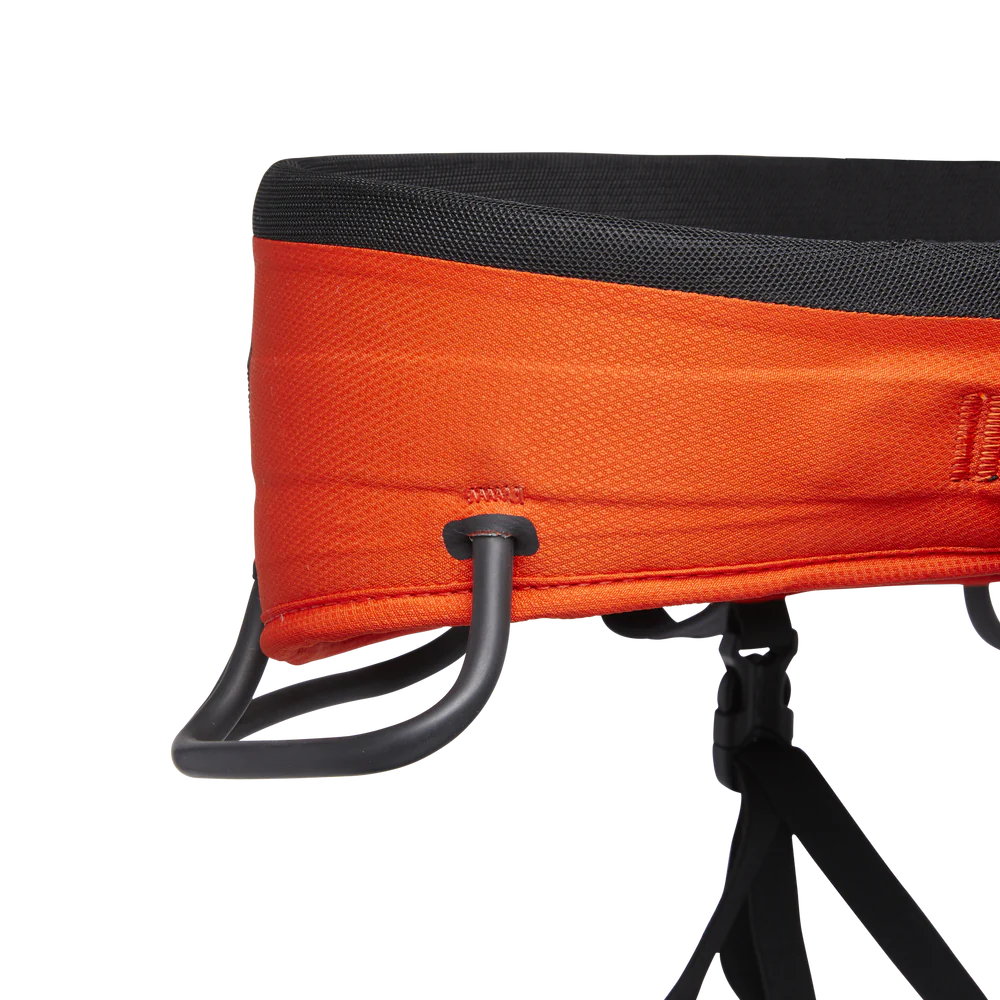
Long Haul
Tier benefits:
Tier benefits:
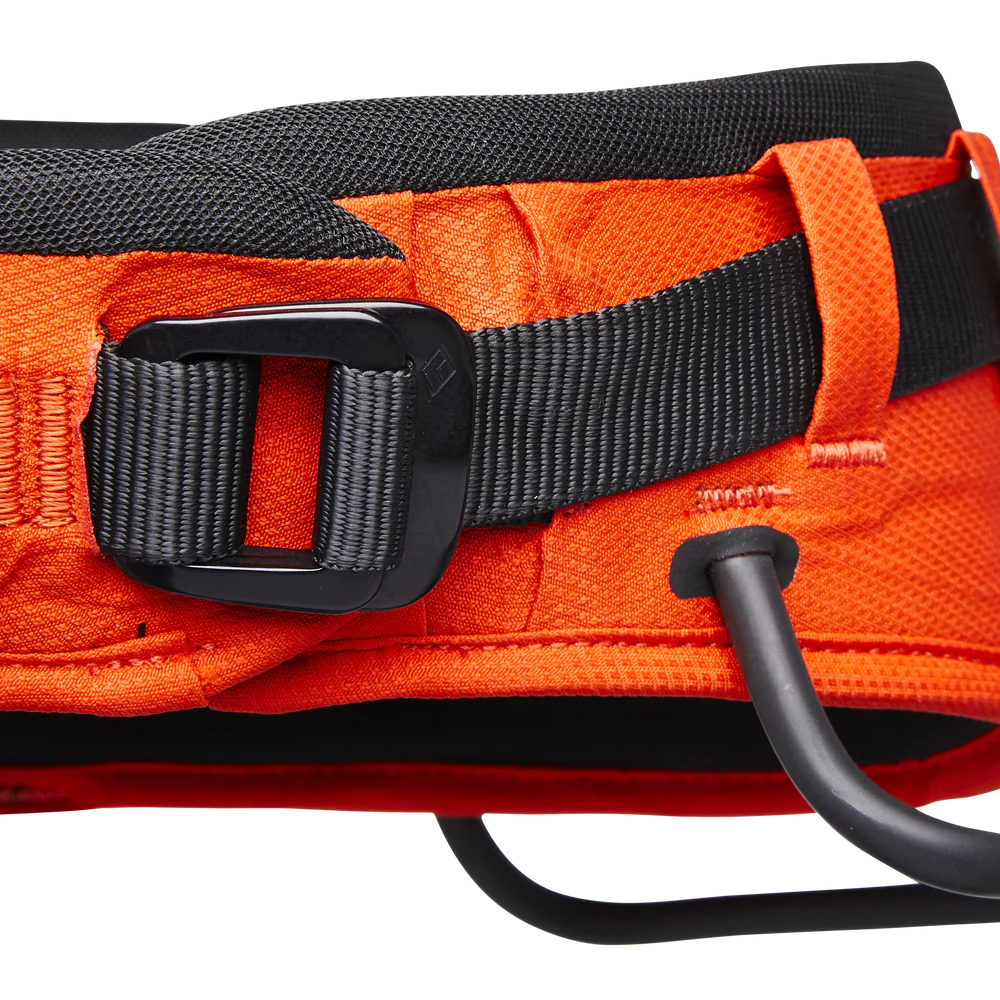
This is such an improvement from their last big wall harness. It’s lighter and the padding is better. The molded (stiff-ish) gear loops make clipping easier and don’t leave any space between loops. You need all the real estate you can get and this gives it to you without double stacking gear loops which would just make accessing the gear on the lower loops harder. I cannot praise 2 belay loops enough. There is so much going on downtown, you need the space. And they are infinite loops - no stitching to get stuck on gear. Finally… self-locking buckles. Adjusting double-backed buckles on the old harness made you feel like you were going to die every time you did it. Not sure why a fully rated haul loop is all the rage in harnesses like this? It’s not like you are hauling from your harness. But if that gets you stoked, it has one!
Pros
- 2 belay loops!
Cons
- Single buckle - they have 4 sizes but if you are on the fringe of a size it won’t be centered to your body
Ladders
Without a spreader bar, they crush your feet, which apparently have the same nerves that makes your tear ducts moisten. Even the super lightweight one from HMG has a spreader bar, but that’s only intended for the demi-gods who free most of the routes and only occasionally step in their ladders. Normal aiders have their place but I rock 2 straight ladders. I’ve used Yates for years, perfectly super duper good enough, but Skot’s are cheaper and are 10% better so those win here even though the wide step variation is 4 oz's heavier EACH. CAMP’s are too basic, so unless you’re 7 feet tall you don’t want one.
![id=[47399724876091]](http://hownot2.com/cdn/shop/files/Standard-Blue.jpg?v=1754608430&width=2000)
![id=[47399724876091]](http://hownot2.com/cdn/shop/files/Standard-blue-2.jpg?v=1754608430&width=2000)
![id=[47857198989627]](http://hownot2.com/cdn/shop/files/Blackwithblue.jpg?v=1754608430&width=2000)
![id=[47703484825915]](http://hownot2.com/cdn/shop/files/Blue_with_Black_wide.jpg?v=1754608430&width=2000)
![id=[47703484825915]](http://hownot2.com/cdn/shop/files/89FF8573-8C51-4572-87E3-4CE2710A4996_36c827e4-0c1c-4a2d-abe8-326db2df9725.jpg?v=1754608430&width=2000)
![id=[47399724908859]](http://hownot2.com/cdn/shop/files/Standard_Yellow_with_Blue.jpg?v=1754608430&width=2000)
![id=[47399724908859]](http://hownot2.com/cdn/shop/files/Standard-yellow-with-blue-2.jpg?v=1754608430&width=2000)
![id=[47399724876091]](http://hownot2.com/cdn/shop/files/8866F8CF-7349-405A-8BA0-9606CE5480DC_064caf5f-a8be-41d4-b30e-04f162a17a4a.jpg?v=1754608431&width=2000)
![id=[47399724876091]](http://hownot2.com/cdn/shop/files/tempImagePyb0vp.gif?v=1754608431&width=2000)
![id=[47399724876091]](http://hownot2.com/cdn/shop/files/Aidladdercloseupwithbiner.webp?v=1754608431&width=2000)
![id=[47871750766907]](http://hownot2.com/cdn/shop/files/526BEFC7-6D96-4BD2-8CB9-408EDD55A512.jpg?v=1754608431&width=2000)
![id=[47871795659067]](http://hownot2.com/cdn/shop/files/IMG_1030Large.jpg?v=1754608431&width=2000)
![id=[47871964283195]](http://hownot2.com/cdn/shop/files/IMG_1031Large.jpg?v=1754608431&width=2000)
![id=[47871971459387]](http://hownot2.com/cdn/shop/files/2C79934B-A8F9-4B59-A1A0-FD9562305A72.jpg?v=1754608432&width=2000)
![id=[47871978242363]](http://hownot2.com/cdn/shop/files/D688AD15-D7D5-4AD7-9637-7F7BBEC9145D.jpg?v=1754608432&width=2000)
![id=[49601987445051]](http://hownot2.com/cdn/shop/files/Yellow-Standard.jpg?v=1754608432&width=2000)
![id=[49601987445051]](http://hownot2.com/cdn/shop/files/Standard-yellow-2.jpg?v=1754608432&width=2000)
![id=[48593881891131]](http://hownot2.com/cdn/shop/files/tempImaged9tY6Xcopy.webp?v=1754608432&width=1024)
![id=[48593881891131]](http://hownot2.com/cdn/shop/files/tempImageWjMIe0copy.webp?v=1754608432&width=2500)
![id=[48593881891131]](http://hownot2.com/cdn/shop/files/tempImageSY9uJTcopy.webp?v=1754608432&width=2500)
![id=[48593881923899]](http://hownot2.com/cdn/shop/files/tempImage13e94ncopy.webp?v=1754608432&width=2500)
![id=[48593881923899]](http://hownot2.com/cdn/shop/files/tempImage9sacVzcopy.webp?v=1754608433&width=2500)
![id=[48593881956667]](http://hownot2.com/cdn/shop/files/F4CB97BF-7CD9-49E0-ACA1-82742AB7EED5copy.webp?v=1754608433&width=1875)
![id=[48593881956667]](http://hownot2.com/cdn/shop/files/896B8E21-98AC-4C1B-BA94-23D52BF677C3copy.webp?v=1754608433&width=1875)
![id=[48593887822139]](http://hownot2.com/cdn/shop/files/tempImagelY7H1Scopy.webp?v=1754608433&width=2500)
![id=[48593887822139]](http://hownot2.com/cdn/shop/files/tempImage3BWn16copy.webp?v=1754608433&width=2500)
![id=[48593887822139]](http://hownot2.com/cdn/shop/files/tempImageGJkNODcopy.webp?v=1754608433&width=2500)
![id=[48793000051003]](http://hownot2.com/cdn/shop/files/neon90s.webp?v=1754608433&width=2000)
![id=[4960928012729]](http://hownot2.com/cdn/shop/files/Widestepladder.webp?v=1754608434&width=2000)
![id=[4960928012729]](http://hownot2.com/cdn/shop/files/Widestepladder2.webp?v=1754608434&width=2000)
![id=[47399724876091, 48593881956667, 49609280127291]](http://hownot2.com/cdn/shop/files/Skot_s_Ladders_Family_Photo.webp?v=1754608434&width=1377)
Aid Ladder
Tier benefits:
Tier benefits:
You get something for the weight… comfort. The steps have extra wide stiff webbing and are on every step so whether you’re chillin’ at a hanging belay or top stepping, your feet get a tiny bivy to stand on. The spreader bar is NOT round! The flat bar gives you the extra inches you need for top stepping the low angle part of the route without having to step awkwardly on the bolt itself. It has a loop for your leash at the top, not just your hand. Get different colors so you can untie the knot that you tie yourself into when everything is connected. You can also be spicy on C1 and let your ladders free solo, making less to manage.
Pros
- Flat spreader bar
- Wide steps
- Inexpensive
Cons
- Heavy
Ascenders
Can I start with how upsetting it is that BD’s Index’s bottom hole is big enough for only one carabiner??? Petzl finally made theirs with a giant hole that two things can fit in. The top of both of those is two holes you have to clip to secure your rope, requiring a DMM oval carabiner and even that doesn’t freely spin around. CAMP’s Turbo isn’t perfect but it wins for the reasons below:
![id=[47201630191931]](http://hownot2.com/cdn/shop/files/2634-R1.jpg?v=1756773393&width=2000)
![id=[47201617150267]](http://hownot2.com/cdn/shop/files/2634-L2.jpg?v=1756773394&width=2000)
![id=[47201630159163]](http://hownot2.com/cdn/shop/files/2635-L2.jpg?v=1756773394&width=2381)
![id=[47201617183035, 47201617150267]](http://hownot2.com/cdn/shop/files/2154_2-2634-R1_A.jpg?v=1756773394&width=2000)
![id=[47201630191931, 47201630159163]](http://hownot2.com/cdn/shop/files/2155_2-2635-R1_A.jpg?v=1756773394&width=2000)
![id=[47201617183035, 47201617150267]](http://hownot2.com/cdn/shop/files/2154_3-2634-R1_B.jpg?v=1756773394&width=2000)
![id=[47201630191931, 47201630159163]](http://hownot2.com/cdn/shop/files/2155_3-2635-R1_B.jpg?v=1756773394&width=2000)
![id=[47201617183035, 47201617150267]](http://hownot2.com/cdn/shop/files/2154_4-2634-R1_C.jpg?v=1756773394&width=2000)
![id=[47201630191931, 47201630159163]](http://hownot2.com/cdn/shop/files/2155_4-2635-R1_C.jpg?v=1756773394&width=2000)
![id=[47201617183035, 47201617150267]](http://hownot2.com/cdn/shop/files/2154_1-2634-R1_BACK.jpg?v=1756773394&width=2000)
![id=[47201617183035, 47201617150267]](http://hownot2.com/cdn/shop/files/2154_5-2634-R1_drw.jpg?v=1756773395&width=1280)
![id=[47201630191931, 47201630159163]](http://hownot2.com/cdn/shop/files/2155_5-2635-R1_drw.jpg?v=1756773395&width=1280)
Turbohand Ascender
Tier benefits:
Tier benefits:
What I love: The guide at the bottom keeps the rope from grinding my small fingers. When jugging on a line, the tail of the rope will run over your hand. Gloved or not, this sucks after about 2,999 feet, so the addition of the rope guide is awesome. The other thing I love is the single keeper hole at the top to secure your rope. All the carabiners I clip to it can freely spin all the way around. Another benefit to these ascenders is the worlds tiniest pulley if you are ascending sideways or have this mounted upside down on your anchor. A little perk for no extra weight.
What I’m neutral on: the thumb tab to open it is much smaller than either BD’s or Petzl’s ascenders. But you can view that as being more secure too. I think it’s something you get used to after about 2 pitches and you wouldn’t think much of it after that.
What I hate: WHY have a 2nd hole at the bottom almost nothing fits in??? The CAMP Compact Oval Locker does, but thats about it. I intentionally stock 7mm aluminum quicklinks to solve this problem but come on.
Pros
- It doesn’t grind my fingers
- Single hole at the top
Cons
- Tiny bottom hole and thumb tab
Daisies
The main information to walk away with is don’t fall on static daisies, so you can walk away from your big wall. Your rope is intended to catch you. Daisies are body positioning devices at an anchor while you are still tied into the rope in one way or another, OR to keep your ladders from falling if the piece you are on blows. You could get Petzl Evolve Adjust as a bomber dynamic personal anchor but they are bulky and kind of a PITA to extend and pull tight 3000x. Metolius Easy Daisies are light and that is quite nice. It doesn’t have a heavy buckle but you can’t release it while sitting on it and that is a BIG deal for some situations while aiding.
![id=[46843602665787]](http://hownot2.com/cdn/shop/files/DSC06349Large.jpg?v=1754609014&width=1280)
![id=[47229762404667]](http://hownot2.com/cdn/shop/files/DSC06351Large.jpg?v=1754609014&width=1280)
![id=[47229762404667, 46843867038011, 46843867005243, 46843602698555, 46843602665787]](http://hownot2.com/cdn/shop/files/adjdaisyl-1100x1100h.jpg?v=1754609014&width=1100)
![id=[47229762404667, 46843867038011, 46843867005243, 46843602698555, 46843602665787]](http://hownot2.com/cdn/shop/files/preview_images/c532b5cd1bde464ca993a7c977875a26.thumbnail.0000000000.jpg?v=1731364438&width=1080)
Adjustable Daisy Strap
Tier benefits:
Tier benefits:
Worth every gram. If you’re traversing sideways or doing a roof, or just want to go back down just an inch, you have to extend your daisy. Every other daisy requires you to stand up to take your weight off and lift your daisy buckles up and away from you. THIS DAISY is just a push of the button. If you don’t want to wipe your ass when you are done, I recommend hanging onto the tail. Walls require a lot of energy, so reducing any amount of times of standing up to complete an action is welcoming. It’s a bummer that buckles can’t be made out of aluminum to be lighter but they can’t - I’ve checked. And you don’t want those super lightweight buckles that you would tie down small loads on your truck. You might be tied to your rope at all times, but let’s be real, it’s got 30 feet of slack at night before it would catch you. You want a bomber daisy and these give you that.
Pros
- Easy to release under load
Cons
- Heavy
Belay Devices
It’s funny to try to pass a gym top rope test after coming off a wall. In big walling, aiding is so slow you don’t often hang onto the tail while “actively” belaying. Be kind to your partner and tie a knot every so often in case it slips but when else are you supposed to pee? By the way, don’t pee while your partner is bounce-testing an old frayed head… just saying. Two pieces of advice that will help you in life - don’t get married at 19 and don’t take a GriGri+ up a wall. You're welcome.
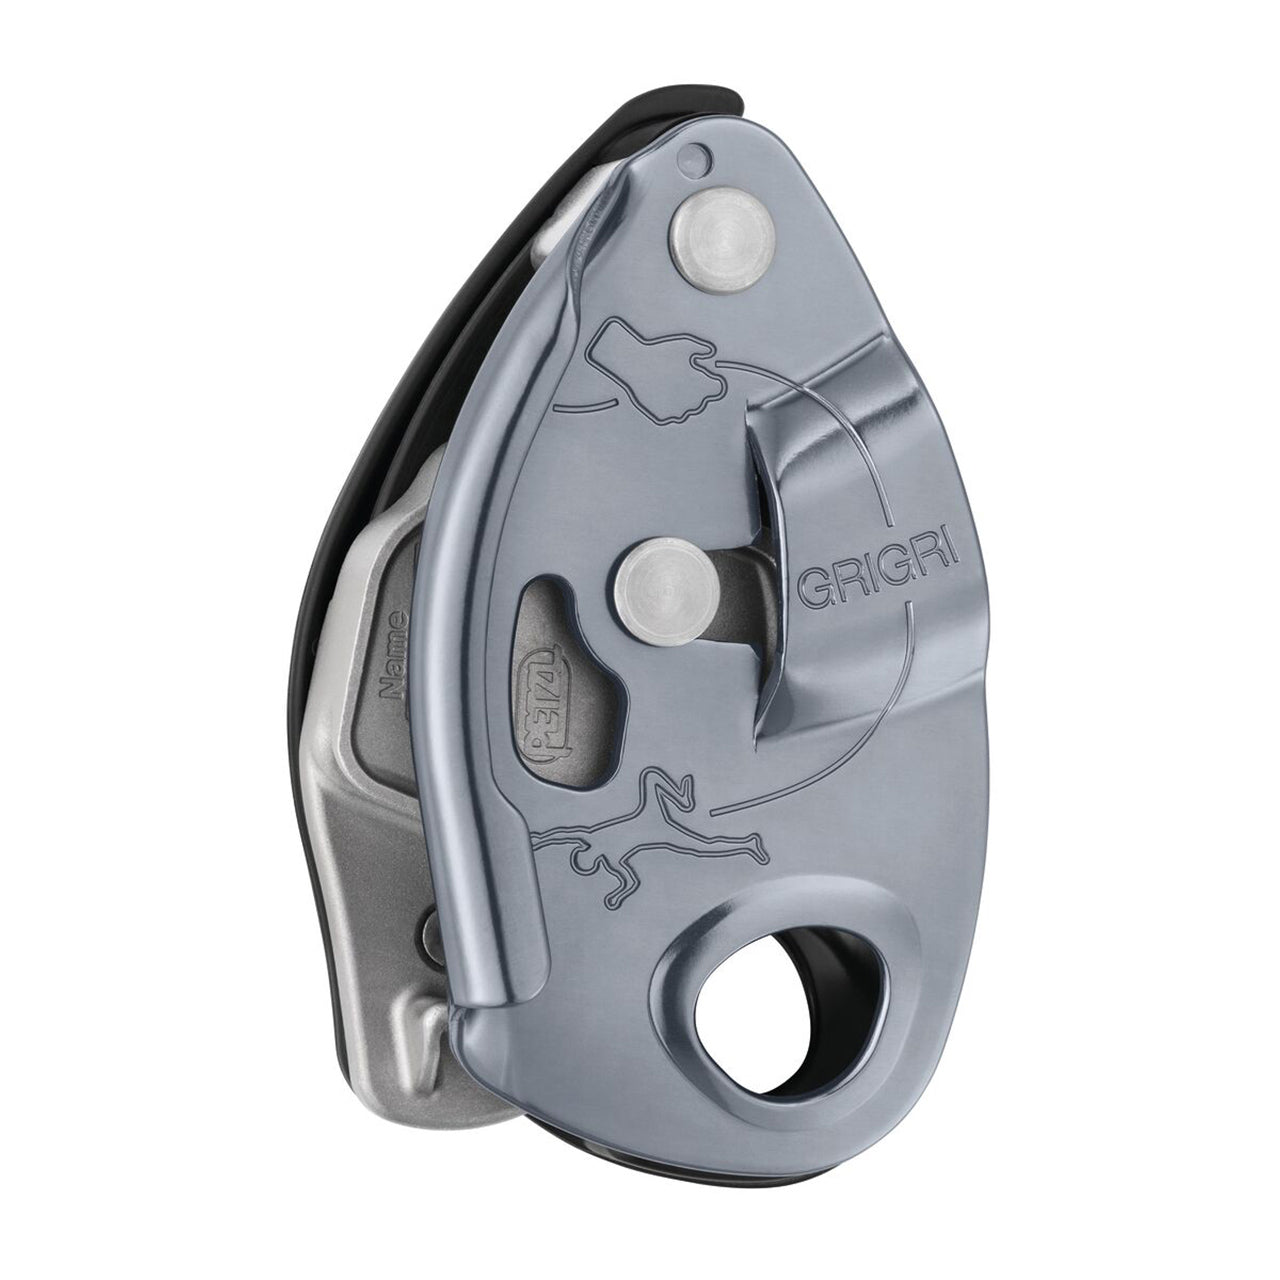
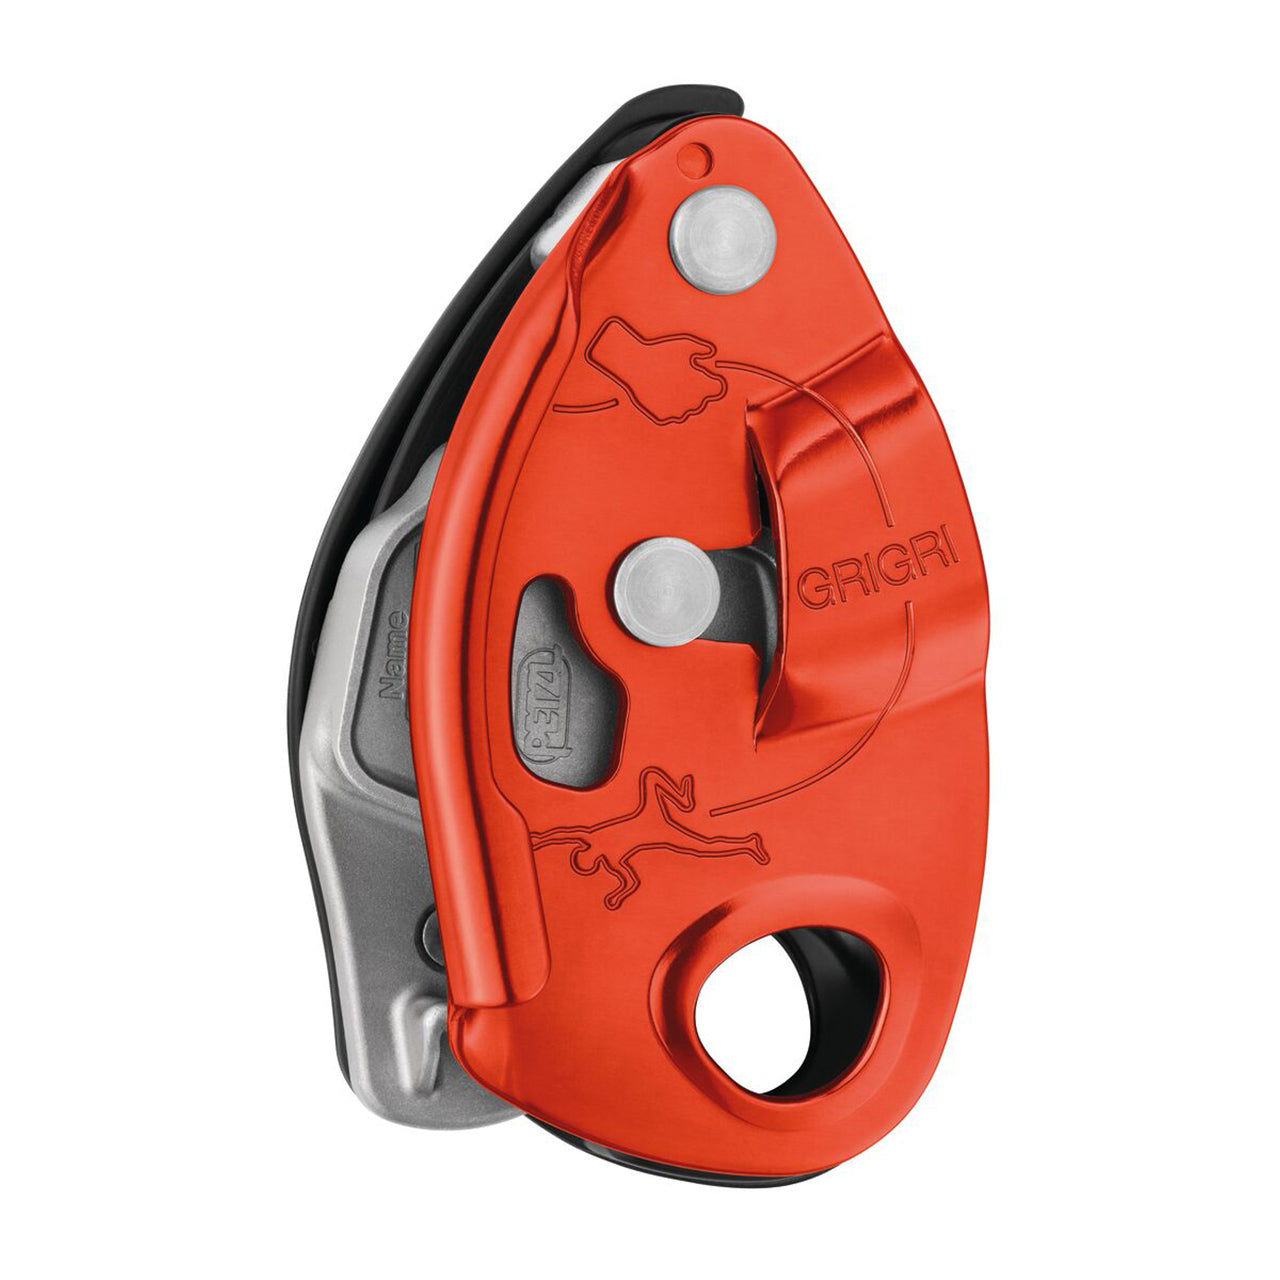
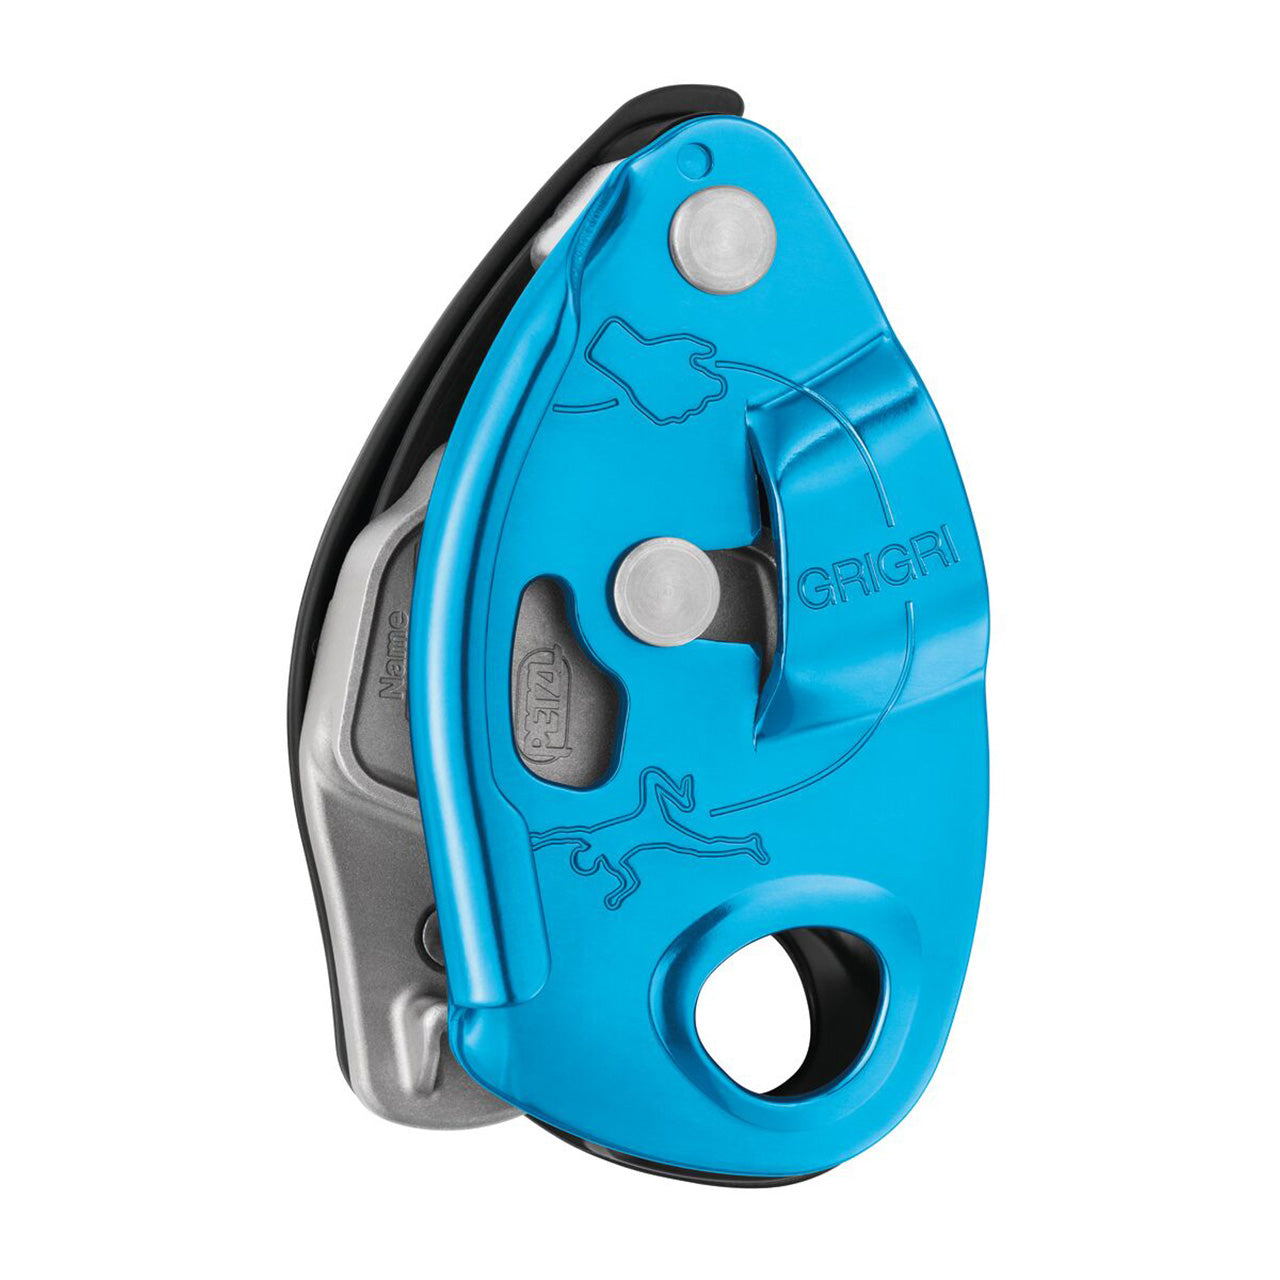
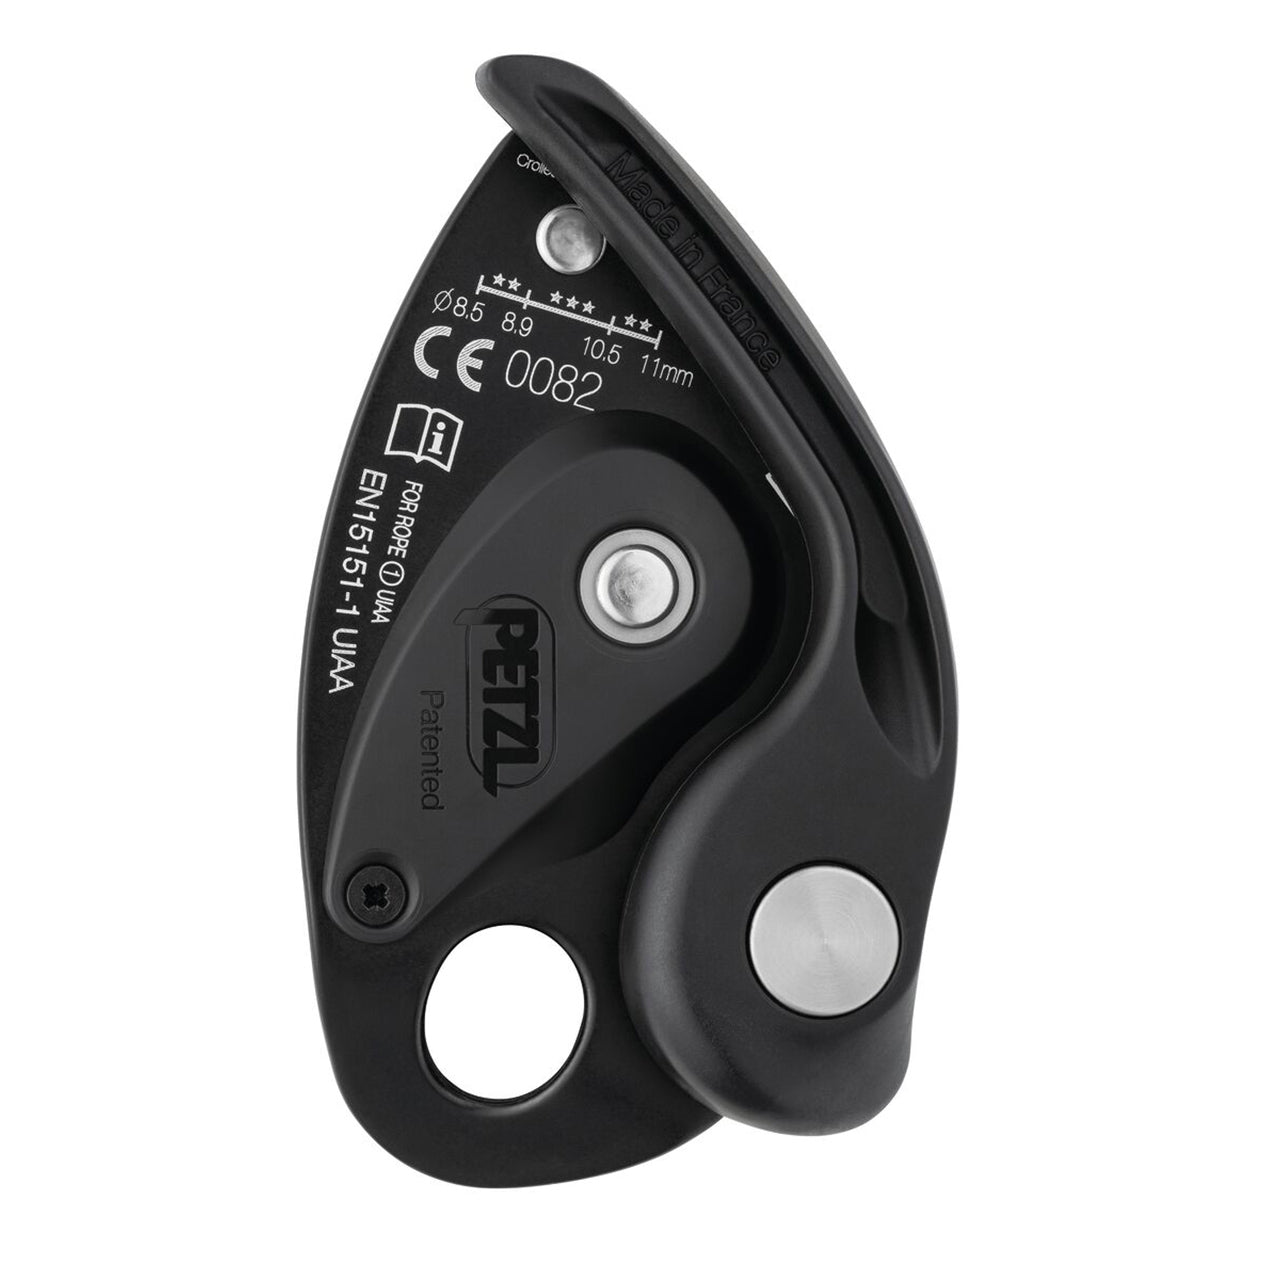
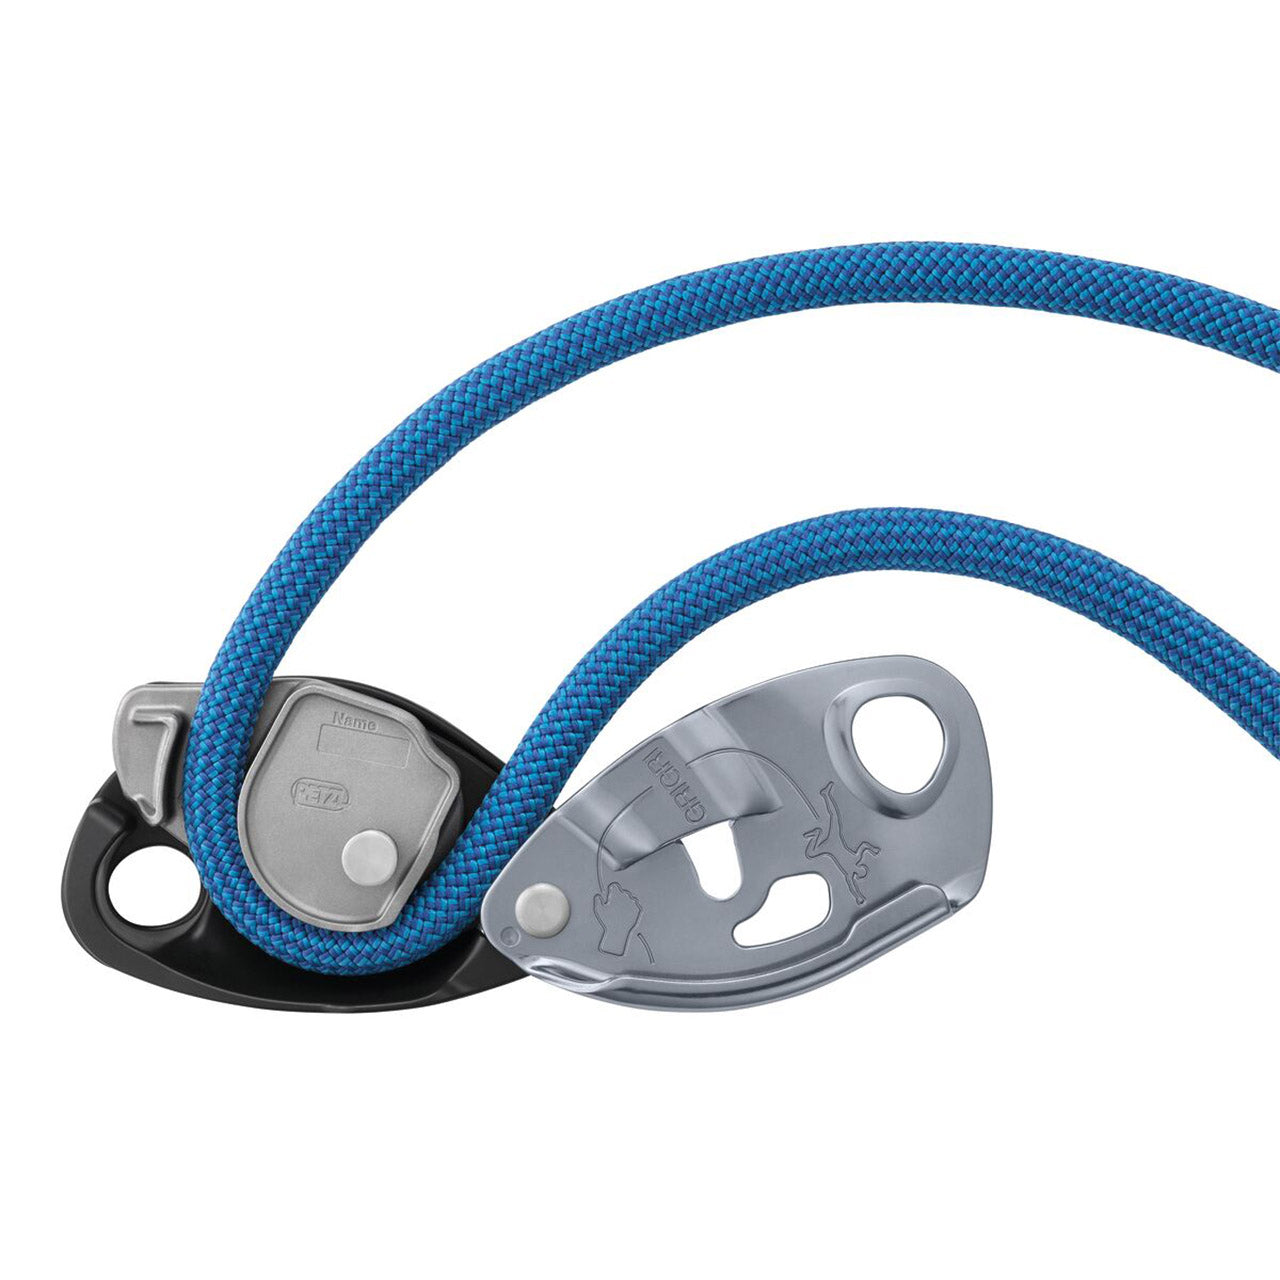
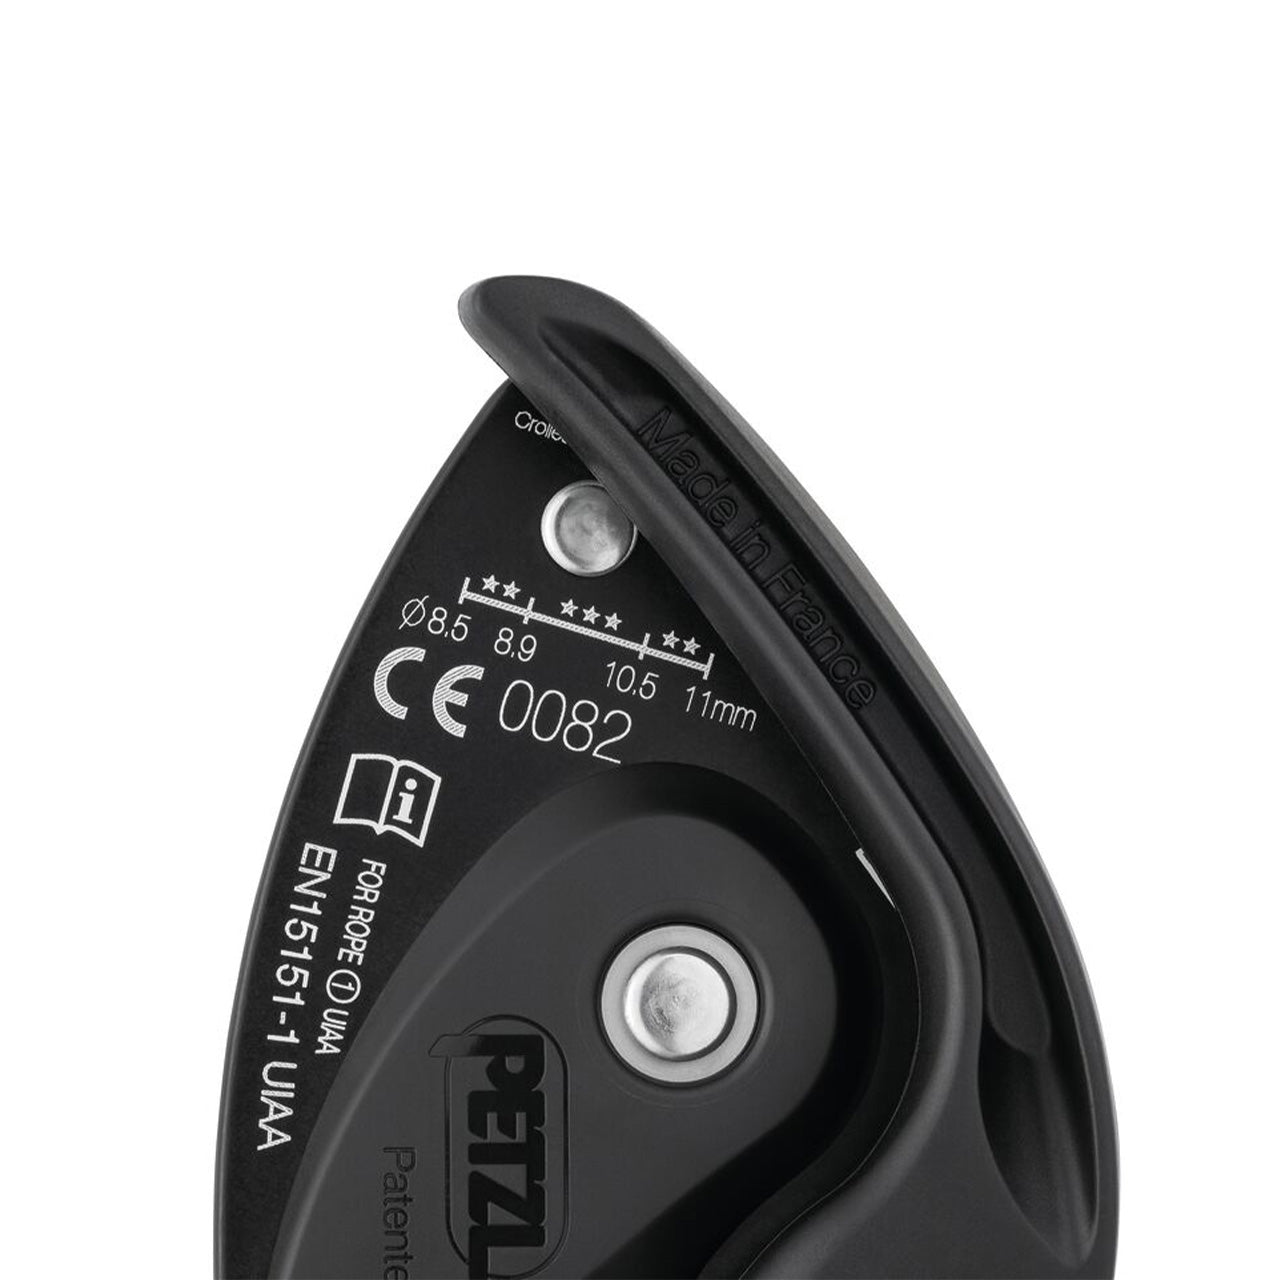
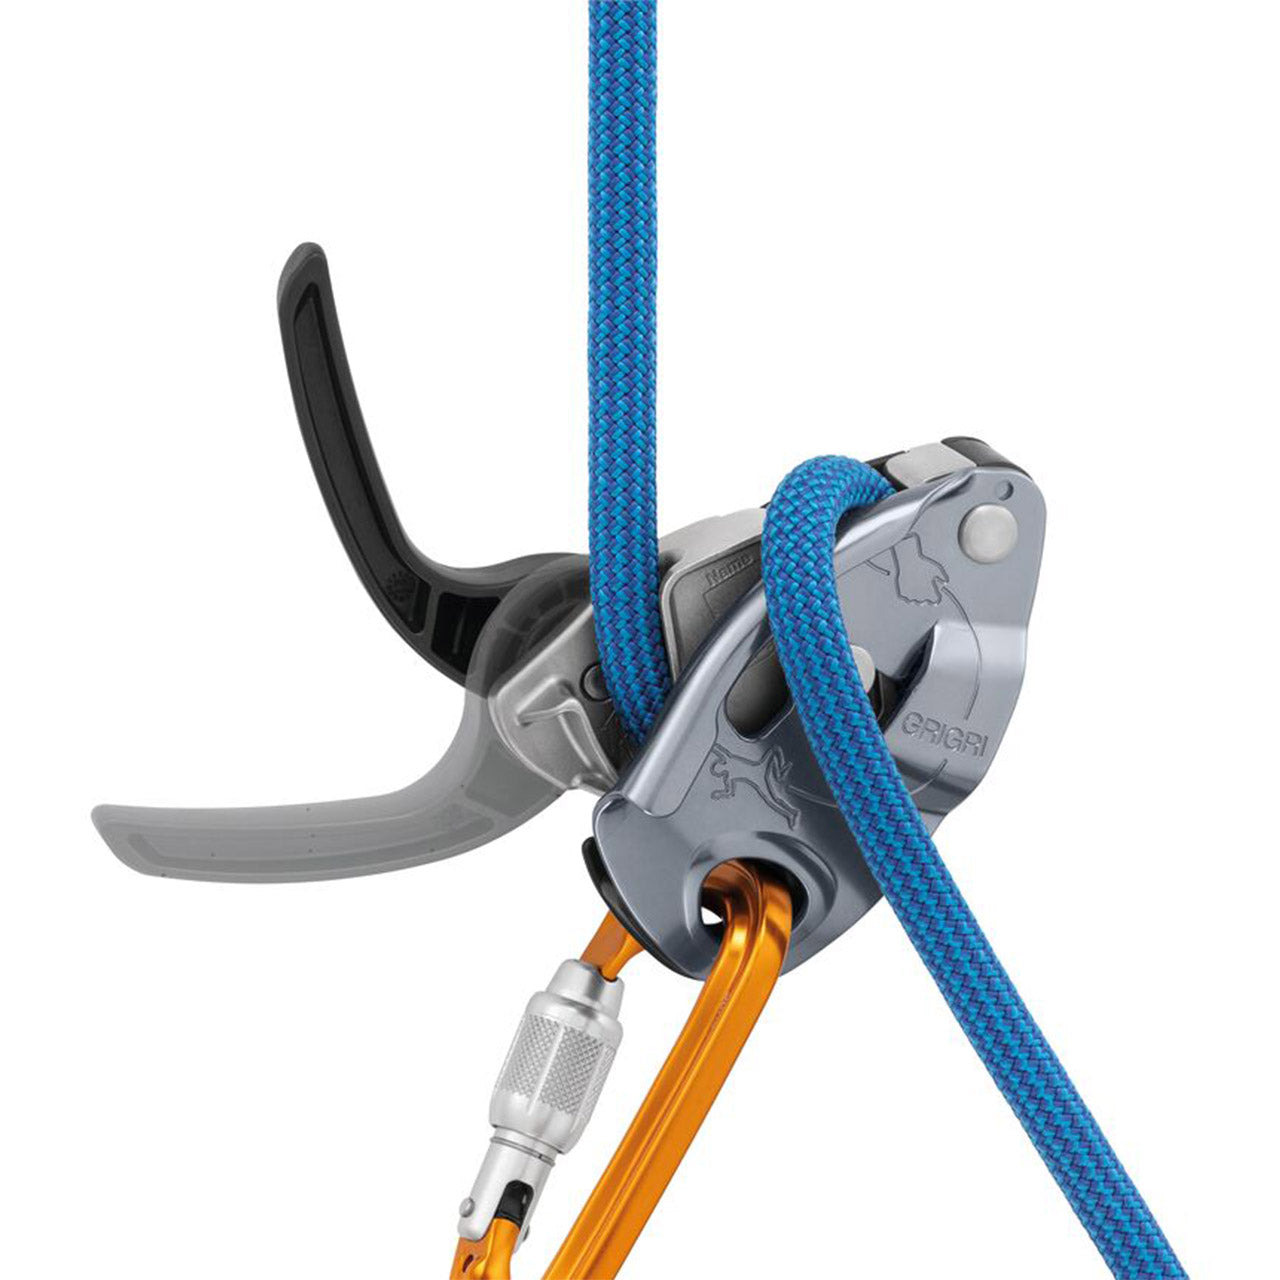
Grigri
Tier benefits:
Tier benefits:
Hard to beat the grigri. Don’t use the “plus”, like ever, but especially on a big wall. The “normal” one is super duper good enough. You can take an ATC if you really want to, but you can also just knot block for single-strand rappelling or simuling if you don’t mind the extra risks that come with that. I have a GriGri on me and keep it on me and that’s all I have.
Pros
- Its a GriGri
Cons
- I can't think of any
Haul Lines
Honestly, you can use any climbing rope and some actually prefer a dynamic rope so they have a backup line in case they damage the main one they are leading with. Not a bad idea if your route is gnarly and it was a 10 day approach. If you can see Deganan’s pizza joint from El Cap, it might not be worth the squishy feeling while hauling. An extreme example of my hatred for any dynamic properties in a haul line was a continuous 1350-foot haul from the base to the top of Leaning Tower for the Dano rope swing. It took 4 people to haul an 80lb bag. If you are jerk pulling (most haul styles), you lost most of the umph in the shock absorption of the rope, that is the moral of THIS video. And we used a semi-static nylon rope that is commonly used for hauling. All my walls have been hauled on a 10.0 semi-static nylon rope, and only recently have I experienced what a hyper-static rope felt like. Now you won’t get to lead on it if you damage your climbing lead line, but you get every metric inch through your traxion in exchange for the grunt you make.
What diameter do you want? Thicker lasts longer was the traditional answer but what if we replace diameter with technology? Canyoneers have a few tricks up their sleeve and we could borrow 2 of them:
![id=[47481918554427, 47481918652731, 47481918751035, 49883301904699, 49989334729019]](http://hownot2.com/cdn/shop/files/2bd5431b3bdcec04237632c02fc1afa93575c7fc68c32efff5af3f219d86bbde__47891.jpg?v=1756994775&width=1920)
![id=[47481918816571, 47481918882107, 47481918947643, 49839281406267]](http://hownot2.com/cdn/shop/files/1515_source_1701887074.jpg?v=1756994775&width=1920)
![id=[47791945449787, 50356867301691,50484141293883]](http://hownot2.com/cdn/shop/files/IMG_0894_2.jpg?v=1756994775&width=2000)
![id=[47850588897595, 47850588864827, 47850588832059, 49823836242235, 49989337514299, 50028017385787]](http://hownot2.com/cdn/shop/files/771_source_1708150607.jpg?v=1756994775&width=1920)
![id=[49465487950139]](http://hownot2.com/cdn/shop/files/IMG_1552.webp?v=1756994775&width=3024)
![id=[49823222694203, 49823557026107, 49823236686139, 49838970241339]](http://hownot2.com/cdn/shop/files/7_16HTPYellow.jpg?v=1756994775&width=1920)
![id=[49823344755003, 49823248351547, 49823271747899, 49838972141883]](http://hownot2.com/cdn/shop/files/7_16HTPGreen.jpg?v=1756994775&width=1920)
![id=[49823293407547, 49823331877179, 49839001403707]](http://hownot2.com/cdn/shop/files/9mm_Green.jpg?v=1756994775&width=1920)
![id=[49823297175867, 49823284363579, 49839021228347, 49839267152187]](http://hownot2.com/cdn/shop/files/3_8Green.jpg?v=1756994776&width=1920)
![id=[49823698682171, 49823686263099, 49838999109947]](http://hownot2.com/cdn/shop/files/9mmblue.jpg?v=1756994776&width=1920)
![id=[49823713427771, 49823800262971, 49839019852091, 49839270822203]](http://hownot2.com/cdn/shop/files/3_8blue.jpg?v=1756994776&width=1920)
![id=[49823703531835, 49823693603131, 49823708315963, 49838963327291]](http://hownot2.com/cdn/shop/files/7_16Blue.jpg?v=1756994776&width=1920)
![id=[49823261425979]](http://hownot2.com/cdn/shop/files/7_16_HTP_RED_46M.webp?v=1756994776&width=2000)
![id=[49823242551611, 49823285838139, 49839020933435, 49839276392763]](http://hownot2.com/cdn/shop/files/3_8HTPRED.webp?v=1756994776&width=2000)
![id=[49823312707899, 49823827722555, 49838967193915]](http://hownot2.com/cdn/shop/files/7_16Red.jpg?v=1756994776&width=1920)
![id=[49823869141307, 49823852855611, 49823864881467, 49838966276411]](http://hownot2.com/cdn/shop/files/7_16orange.jpg?v=1756994776&width=1920)
![id=[49838607335739, 49838601306427, 49839015100731, 49839278195003]](http://hownot2.com/cdn/shop/files/3_8_Olive.jpg?v=1756994776&width=1920)
![id=[49838631321915, 49838639972667, 49838635090235, 49838961099067]](http://hownot2.com/cdn/shop/files/7_16Olive.jpg?v=1756994777&width=1920)
![id=[49838556840251, 49838595932475, 49838997307707, 49989332435259]](http://hownot2.com/cdn/shop/files/9mm_Black.jpg?v=1756994777&width=1920)
![id=[49838602879291, 49838608253243, 49839011922235, 49839280030011, 49985173291323]](http://hownot2.com/cdn/shop/files/3_8_Black.jpg?v=1756994777&width=1920)
![id=[49838636499259, 49838641545531, 49838633124155, 49838959132987, 49989336793403]](http://hownot2.com/cdn/shop/files/7_16_Black.jpg?v=1756994777&width=1920)
![ID=[47481918554427, 47481918652731, 47481918751035, 49883301904699,49465487950139,47481918816571, 47481918882107, 47481918947643,49839281406267,47791945449787,47850588897595,47850588864827,47850588832059,49823836242235,49823222694203,49823557026107,49823236686139,49838970241339,49838636499259,49838641545531,49838633124155,49838959132987,49838602879291,49838608253243,49839011922235,49839280030011,49838556840251,49838595932475,49838997307707,49838631321915,49838639972667,49838635090235,49838961099067]](http://hownot2.com/cdn/shop/files/preview_images/29cfc42b0505468f8239120cbb7d7488.thumbnail.0000000000.jpg?v=1738168669&width=1080)
HTP Static Rope
Tier benefits:
Tier benefits:
Polyester is a very static, very cheap material and surprisingly durable. Sterlings HTP comes in 9mm and 9.5mm (⅜”). You just don’t need a 10mm in polyester for standard walling. The 9.5mm will last longer but your 9.0mm is going to last super long enough for the bulk and weight savings and it’s under $1 a foot! If you aren’t trying to link weird pitch combinations that people don’t normally link, the 61m (200 foot) length is all you need for Yosemite. I’ve never taken a 70m haul line before and I linked all the time.
Pros
- Very static
- Inexpensive
Cons
- Stiff AF
![id=[47091428294971, 47091442647355]](http://hownot2.com/cdn/shop/files/Canyon_Egress2.webp?v=1754608874&width=2000)
![id=[47589222678843, 49801392783675]](http://hownot2.com/cdn/shop/files/Egress-BTF.webp?v=1754608875&width=2000)
![id=[47091428294971, 47091428327739, 47091442647355, 47091442680123, 47589222678843]](http://hownot2.com/cdn/shop/files/Canyon-Egress-Tests.webp?v=1754608875&width=2000)
![id=[47091428294971, 47091428327739, 47091442647355, 47091442680123, 47589222678843]](http://hownot2.com/cdn/shop/files/preview_images/12ff3e380b4b473e8c7969bb073b98e7.thumbnail.0000000000.jpg?v=1705357227&width=1080)
Canyon Egress 8.5 mm
Tier benefits:
Tier benefits:
Glacier Black added HMPE (off brand dyneema) into the sheath of a polyester rope and kept it close to $1 a foot. The core is HMPE and Polyproplyene. It literally floats (in water, not air… unless it’s windy on el cap!). It’s 8.5mm but more durable in theory than an HTP. A 60m piece is 5.4lbs! Whereas a 9.5HTP is 10.6lbs. This is such a big wall hack to save bulk and weight, plus it’s hyper-static meaning every calorie you burn to get your pig up the wall is actually moving the bag… or getting it more stuck. You can ascend and haul an 8.5mm with all the normal gear and most rappel devices you are using are rated down to an 8.5 including a grigri. Just be mindful when using skinny stuff!
Pros
- Lightweight
- Durable
Cons
- Slightly higher price point
Haulers
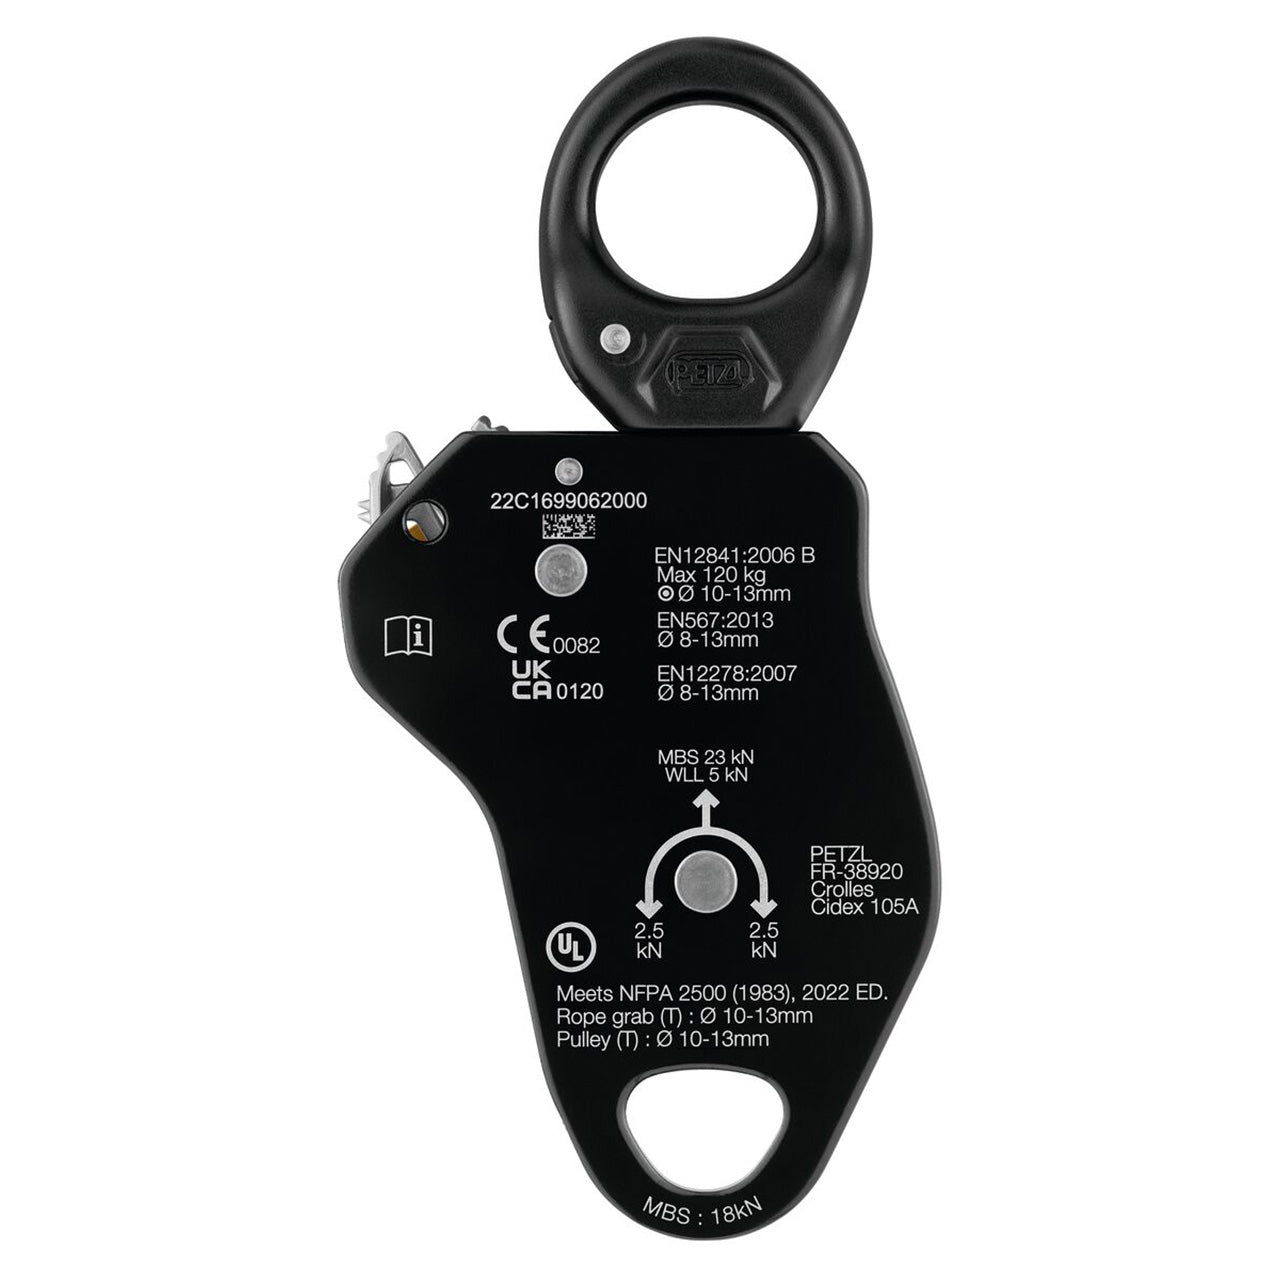
A pulley with built-in teeth wasn’t always a thing. You had to hang an ascender upside down, clip your rack to it so it didn’t get sucked up, and use a pulley above it at the anchor to haul. Then Petzl made us all soft with their traxion series and the debates go on about which one you need for a wall. Size matters. I’d pick a bigger shit pulley over a pulley with ball bearings. I’m not making this up, I’ve tensioned 1000s of slacklines and FELT the difference between pulley sizes. You have 3 options: Pro, Mini, and Micro at 95%, 93%, 91% efficiency and 38mm, 32mm, 27mm wheels. If you are going fast and light, the micro or mini are fine. They save a few grams and about $50 but if you are hauling anything close to your body weight you’ll want the Pro Traxion
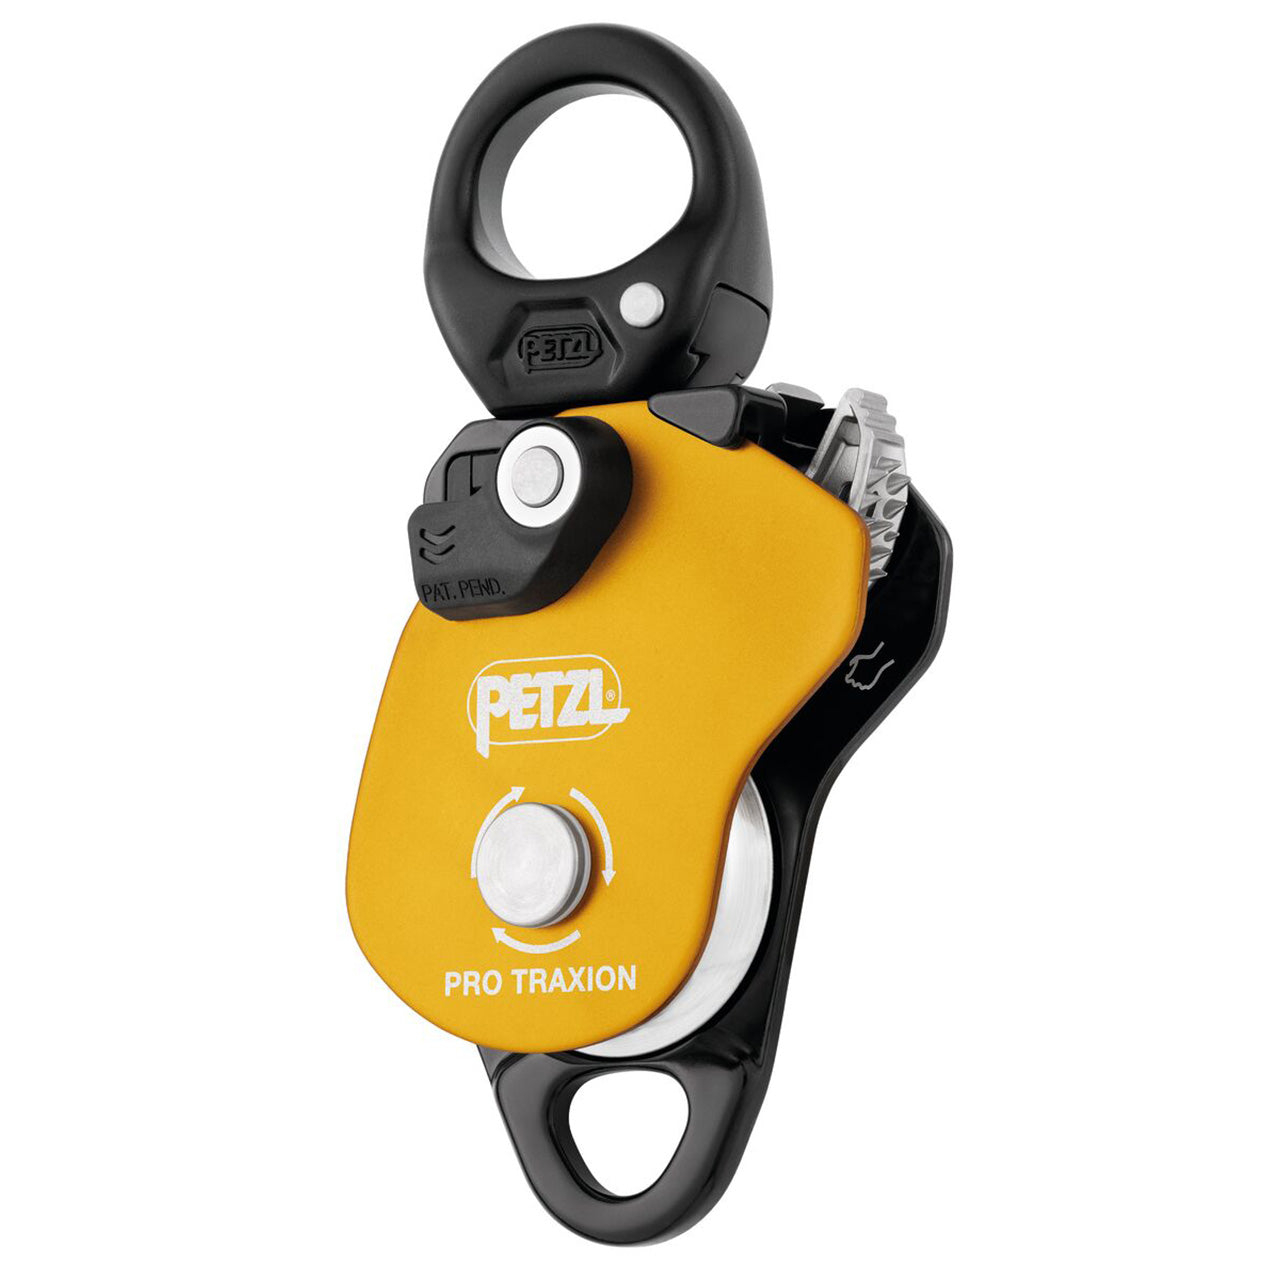
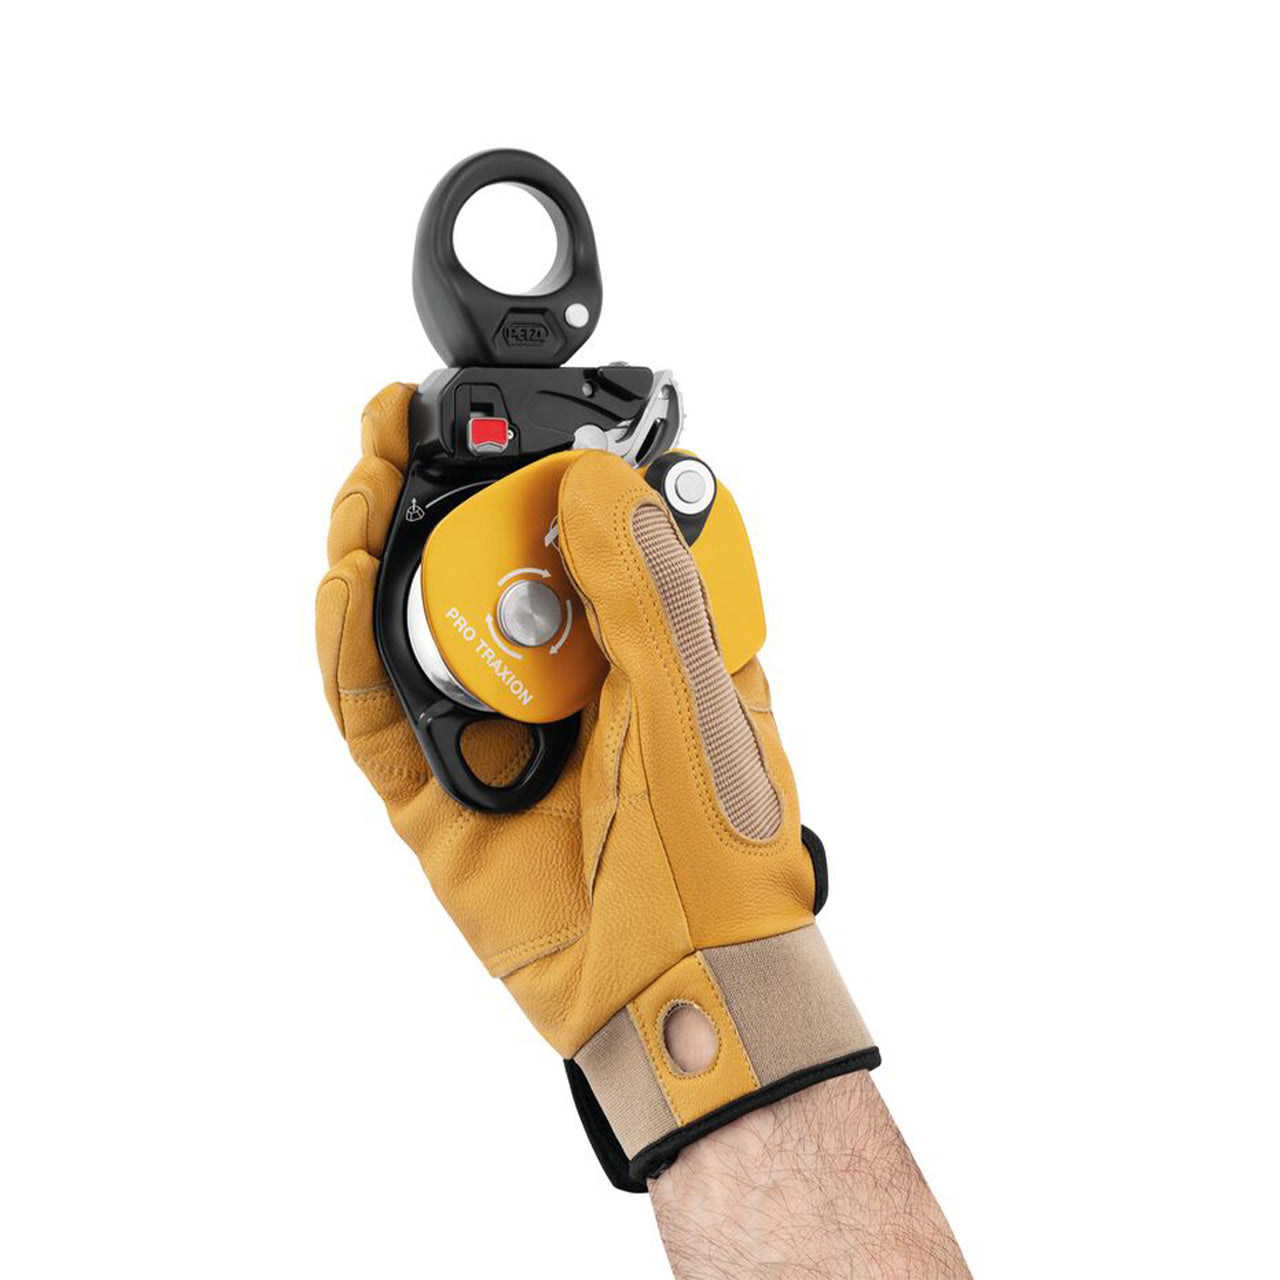
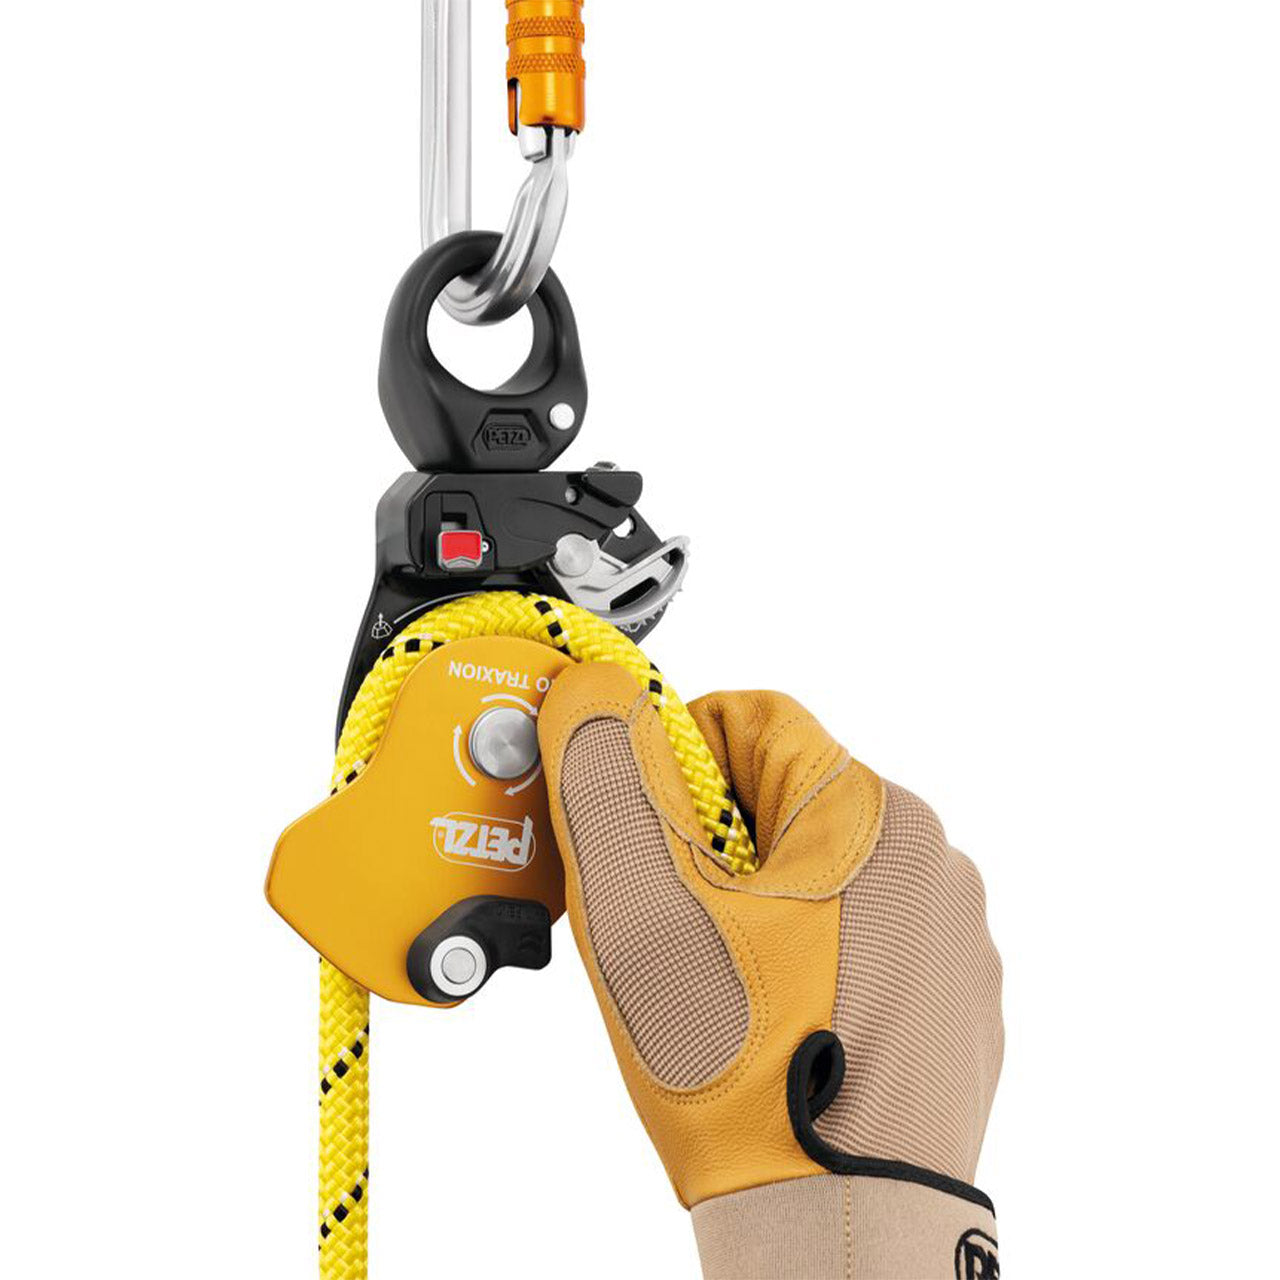
Pro Traxion
Tier benefits:
Tier benefits:
I just used this on a low angle wall (lots of drag on the bag) with more than my body weight in the bag… and I foot pumped it up. I thought my partner forgot to put something in it. When the pig got up to me, I was expecting it to be light and tried to reposition it by lifting it directly and holy shit, it was heavy.
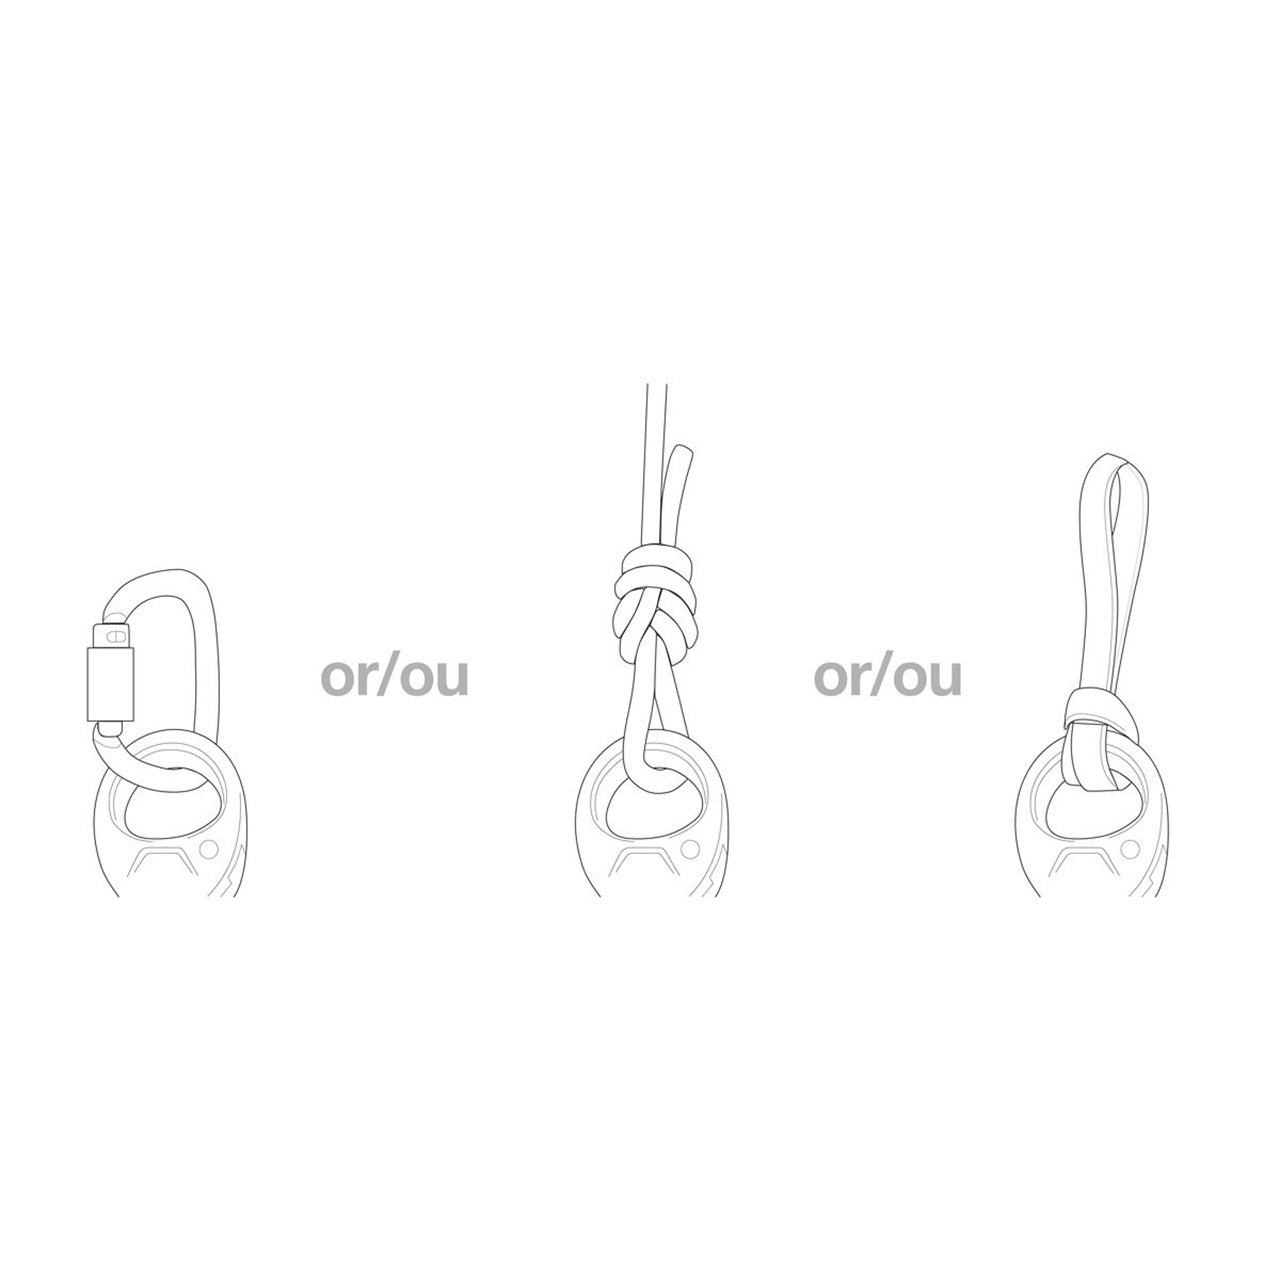
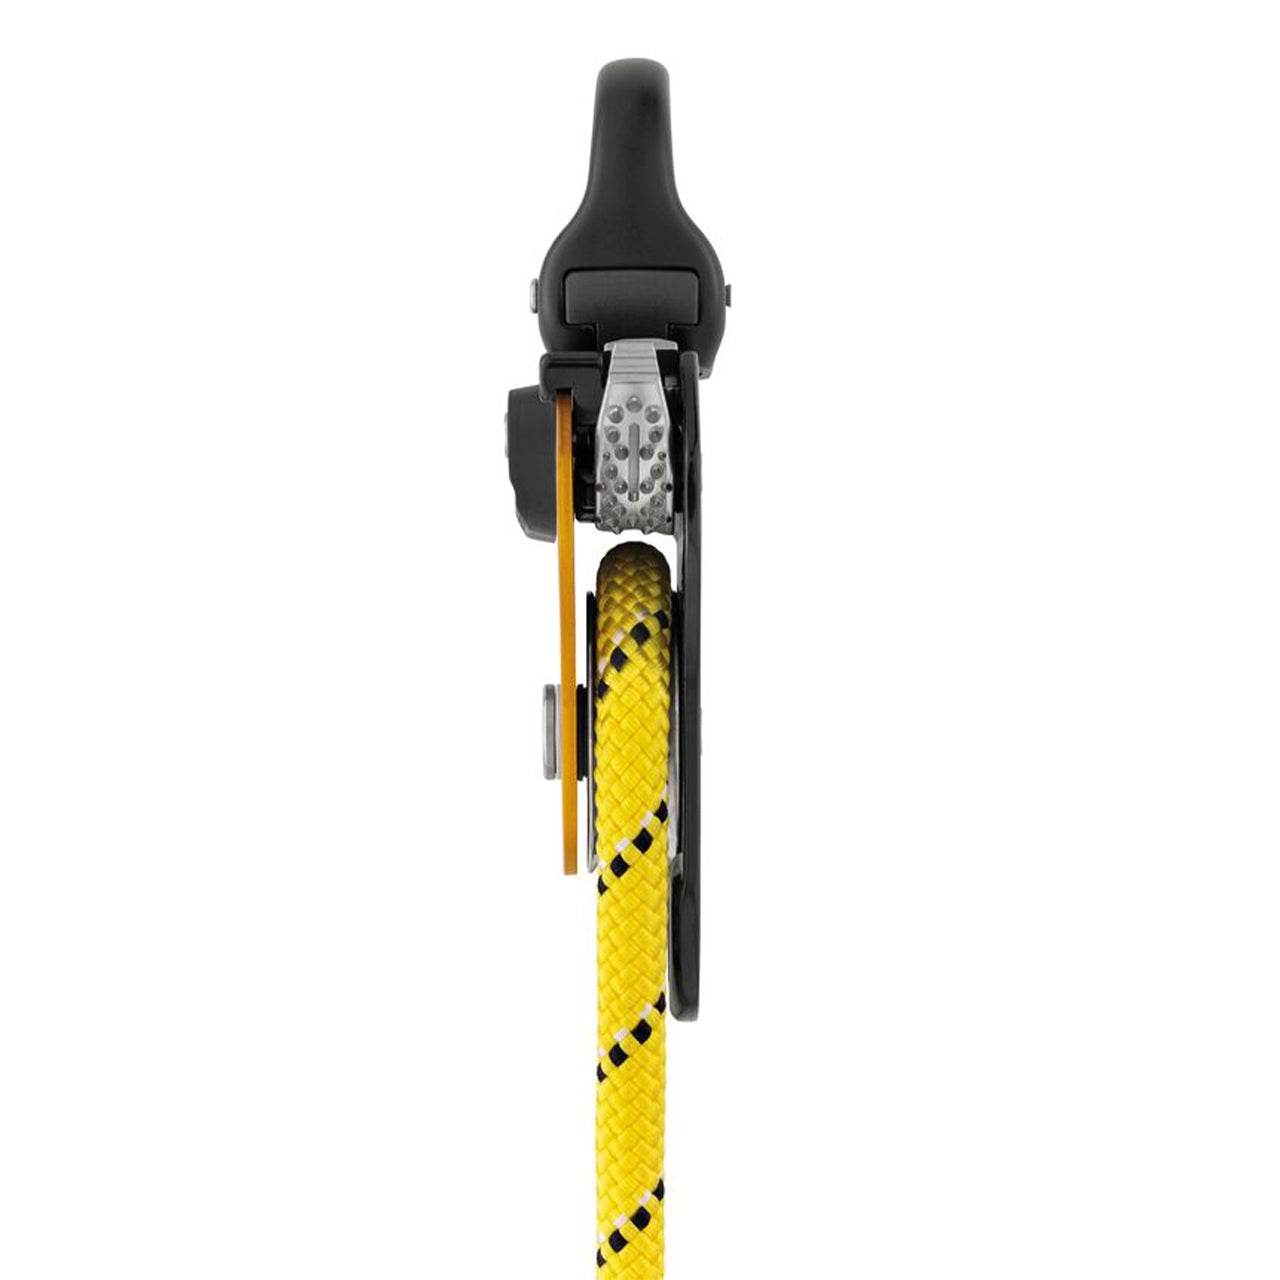
The new swivel is more beneficial than you may realize. Oftentimes, positioning the traxion on your anchor doesn’t always line up with your direction of pull in relation to the bag. The swivel lines it up so your rope isn’t grinding on the side plates and giving you all “95%” efficiency. This new pro-traxion is WAY easier to operate the teeth than the last one and the plates are easier to open up too. You don’t have to unclip it from anything to install the rope (mini-traxion also has that feature). The becket at the bottom is for the 3:1 I absolutely don’t think you should do. But it’s nice to have a clip in point there 🙂.
Pros
- Almost lifts the bag for you
Cons
- Heavier than the other Traxion devices
Lead Ropes
Any climbing rope works but there are pros and cons with every choice.
Length: Yosemite only requires 60m. I’ve never climbed with a 70m on walls and never felt like I needed one. Topos and beta are so good these days, you’ll know if you can link two pitches with the rope you got.
Diameter: You are putting teeth on this rope and it will rub against edges as the follower weights the rope the entire time they ascend it. You could get away with using a 9.1mm but a thicker rope is going to last longer. According to something a lot smarter than me (ChatGPT) there are 23.46% more fibers in a 10mm vs a 9mm. That’s why thicker lasts longer. Is climbing with a 10mm dynamic rope fun. No, not really.
Treatment: Dry treated ropes are intended to keep your rope from soaking up water while you ice climb and the freezing solid so you can’t use it anymore. It does help a lot with that but spoiler alert, dry treated ropes still get wet, just slower. This is not about preventing water from squeegeeing onto your lap as you rappel in shame during a rain storm because you don’t know how to plan a trip. The benefit of dry treatment for a summertime 70 and sunny El Cap big waller is that it is surprisingly more abrasion resistant. It could be that it prevents dirt from getting in your rope but just being covered in silicon and teflon-based chemicals help the fibers slide over the sharp edges better than raw nylon.
![id=[47631075475771, 47631075541307, 49530231095611]](http://hownot2.com/cdn/shop/files/tiger-10mm-fuschia.png?v=1754608248&width=472)
![id=[49736945893691, 47631075508539, 47631075574075]](http://hownot2.com/cdn/shop/files/tiger-10mm-green.png?v=1754608249&width=472)
![id=[47631075475771, 47631075541307, 49530231095611]](http://hownot2.com/cdn/shop/files/tiger-10mm_1.png?v=1754608249&width=472)
![id=[47631075508539, 47631075574075, 50349903937851]](http://hownot2.com/cdn/shop/files/tiger-10mm_4.png?v=1754608249&width=472)
![id=[47631075508539, 47631075574075, 50349903937851]](http://hownot2.com/cdn/shop/files/tiger-10mm_3.png?v=1754608249&width=472)
![id=[47631075475771, 47631075541307, 49530231095611]](http://hownot2.com/cdn/shop/files/tiger-10mm.png?v=1754608249&width=472)
10 mm Tiger Unicore Dry Cover
Tier benefits:
Tier benefits:
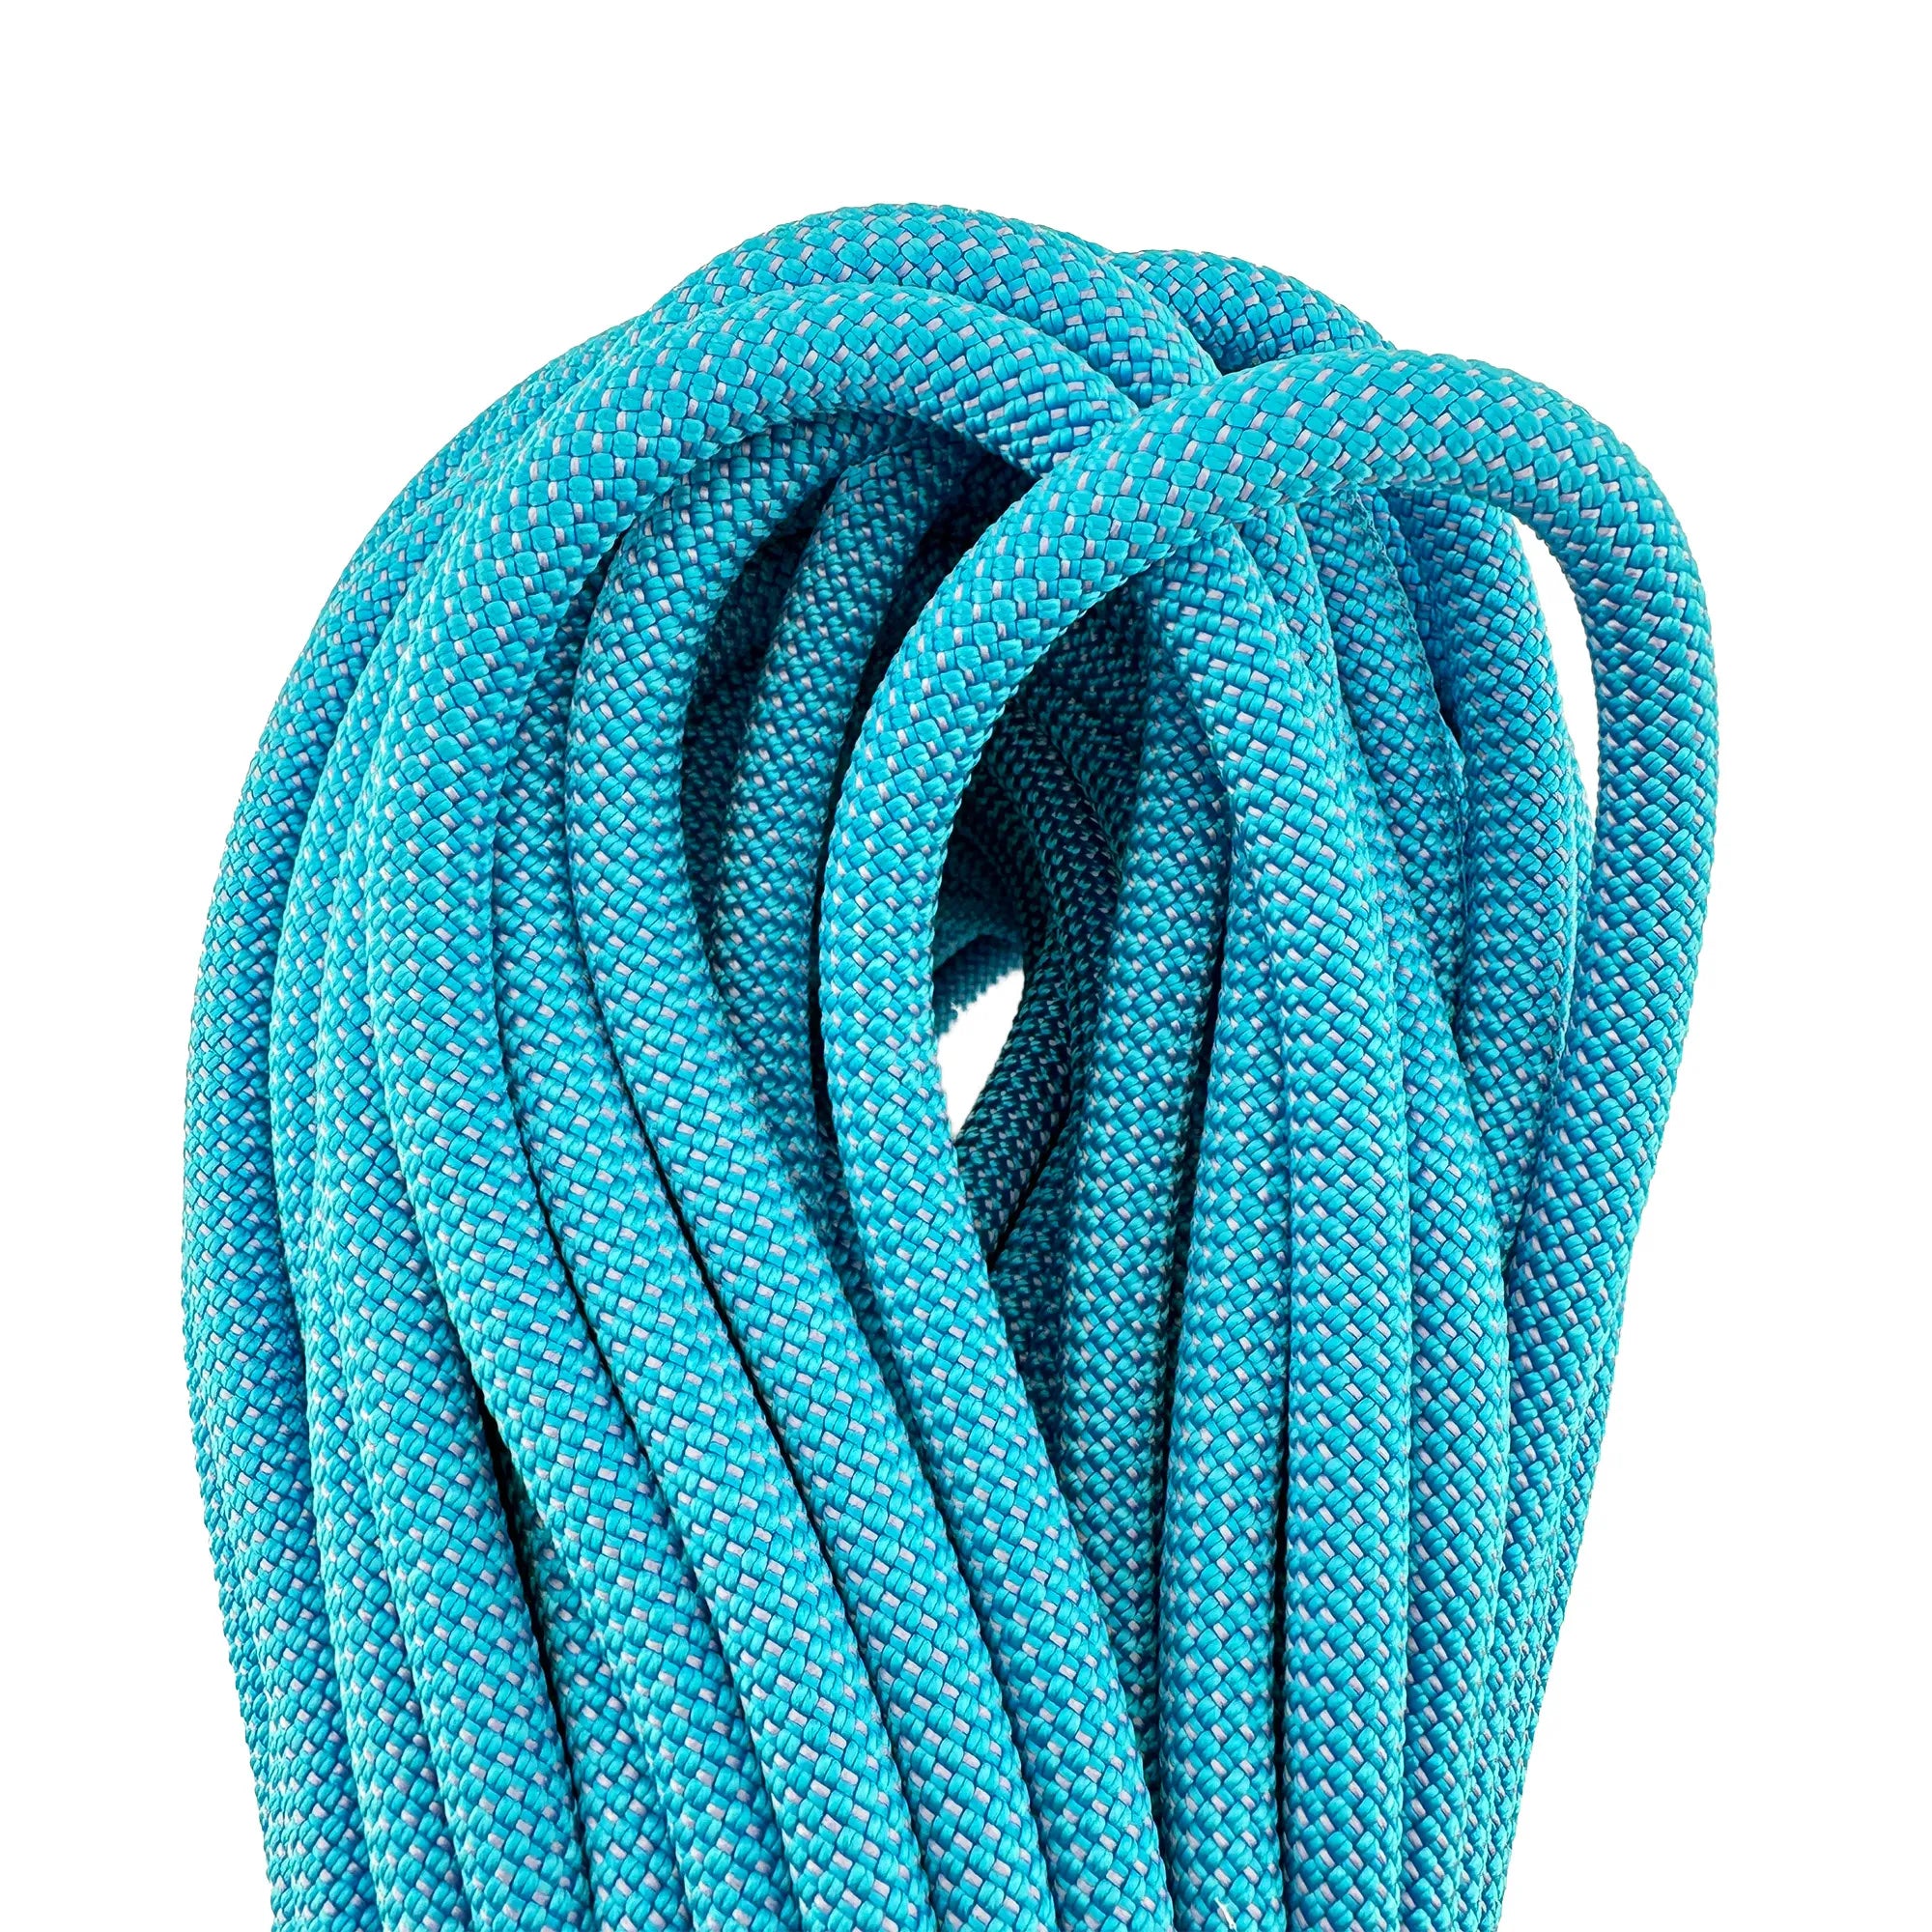
I think a Beal Tiger is a great big wall rope because it has the dry treatment, the unicore technology (see our VIDEO about that!) and 10mm is going to last you a long time. It’s thick but if you want your rope to last more than 3 walls, you need it to be.
Pros
- Durable
- Dry Treated
- Unicore
Cons
- Thick
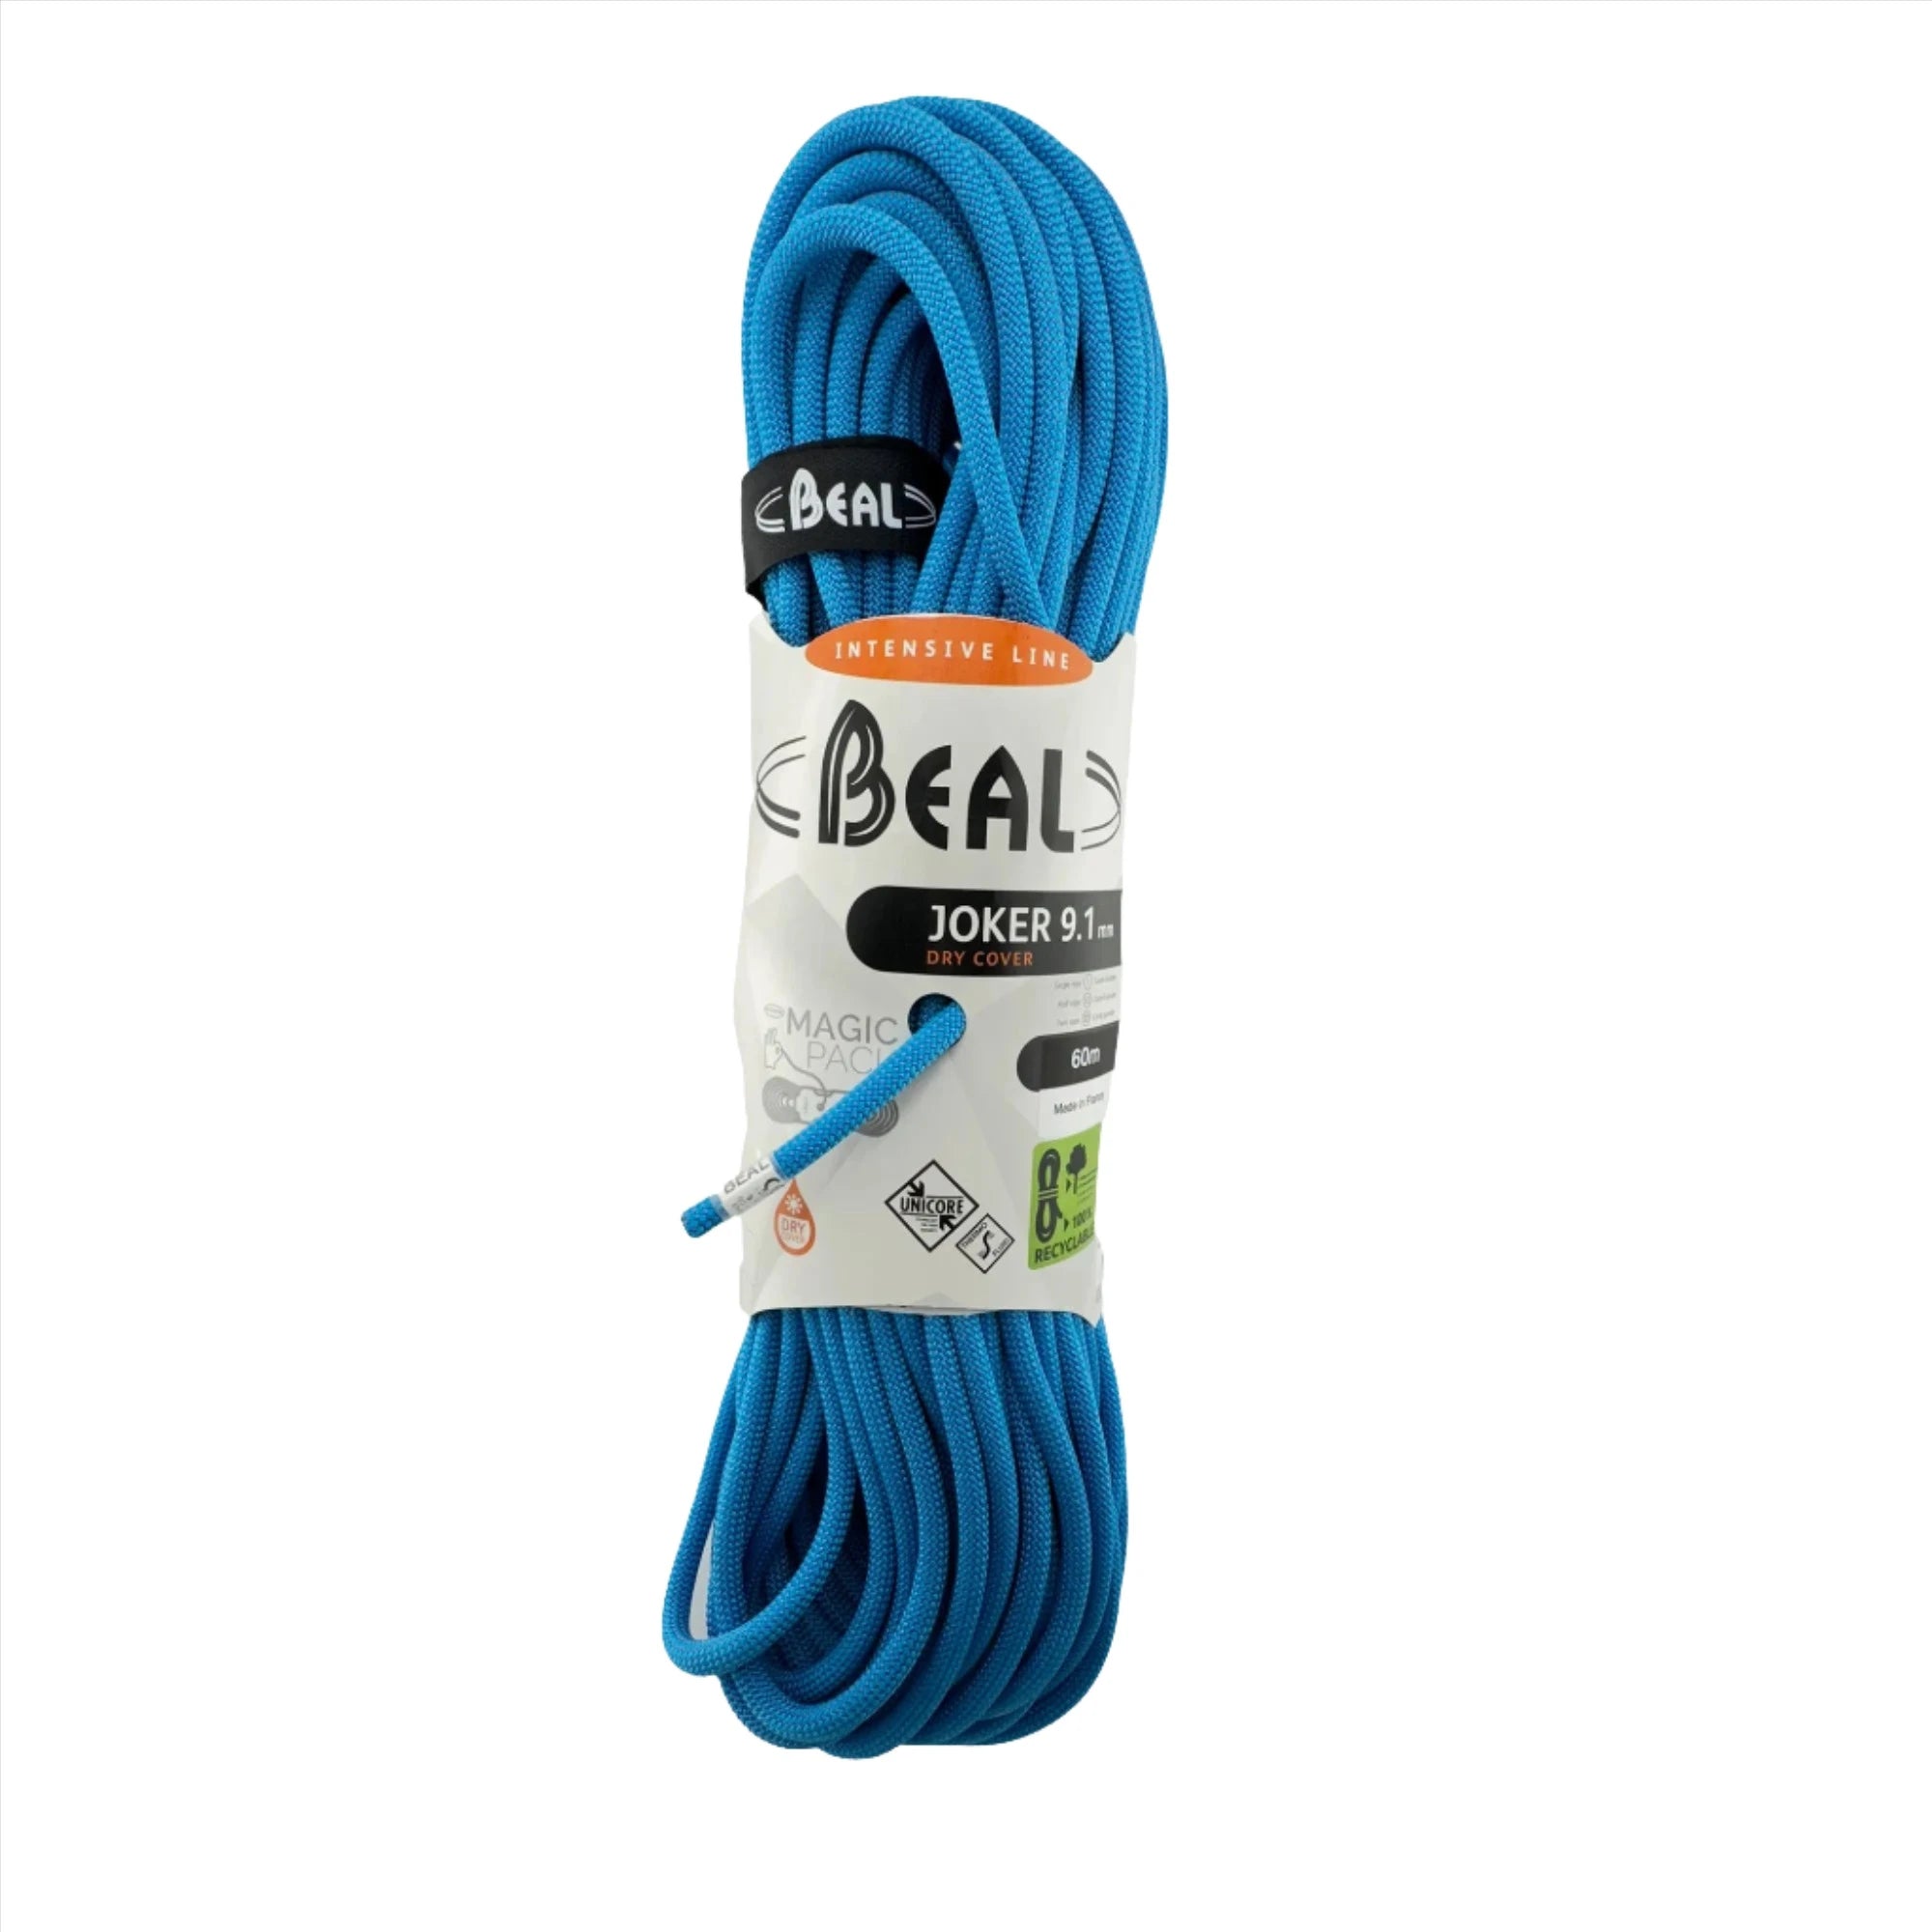
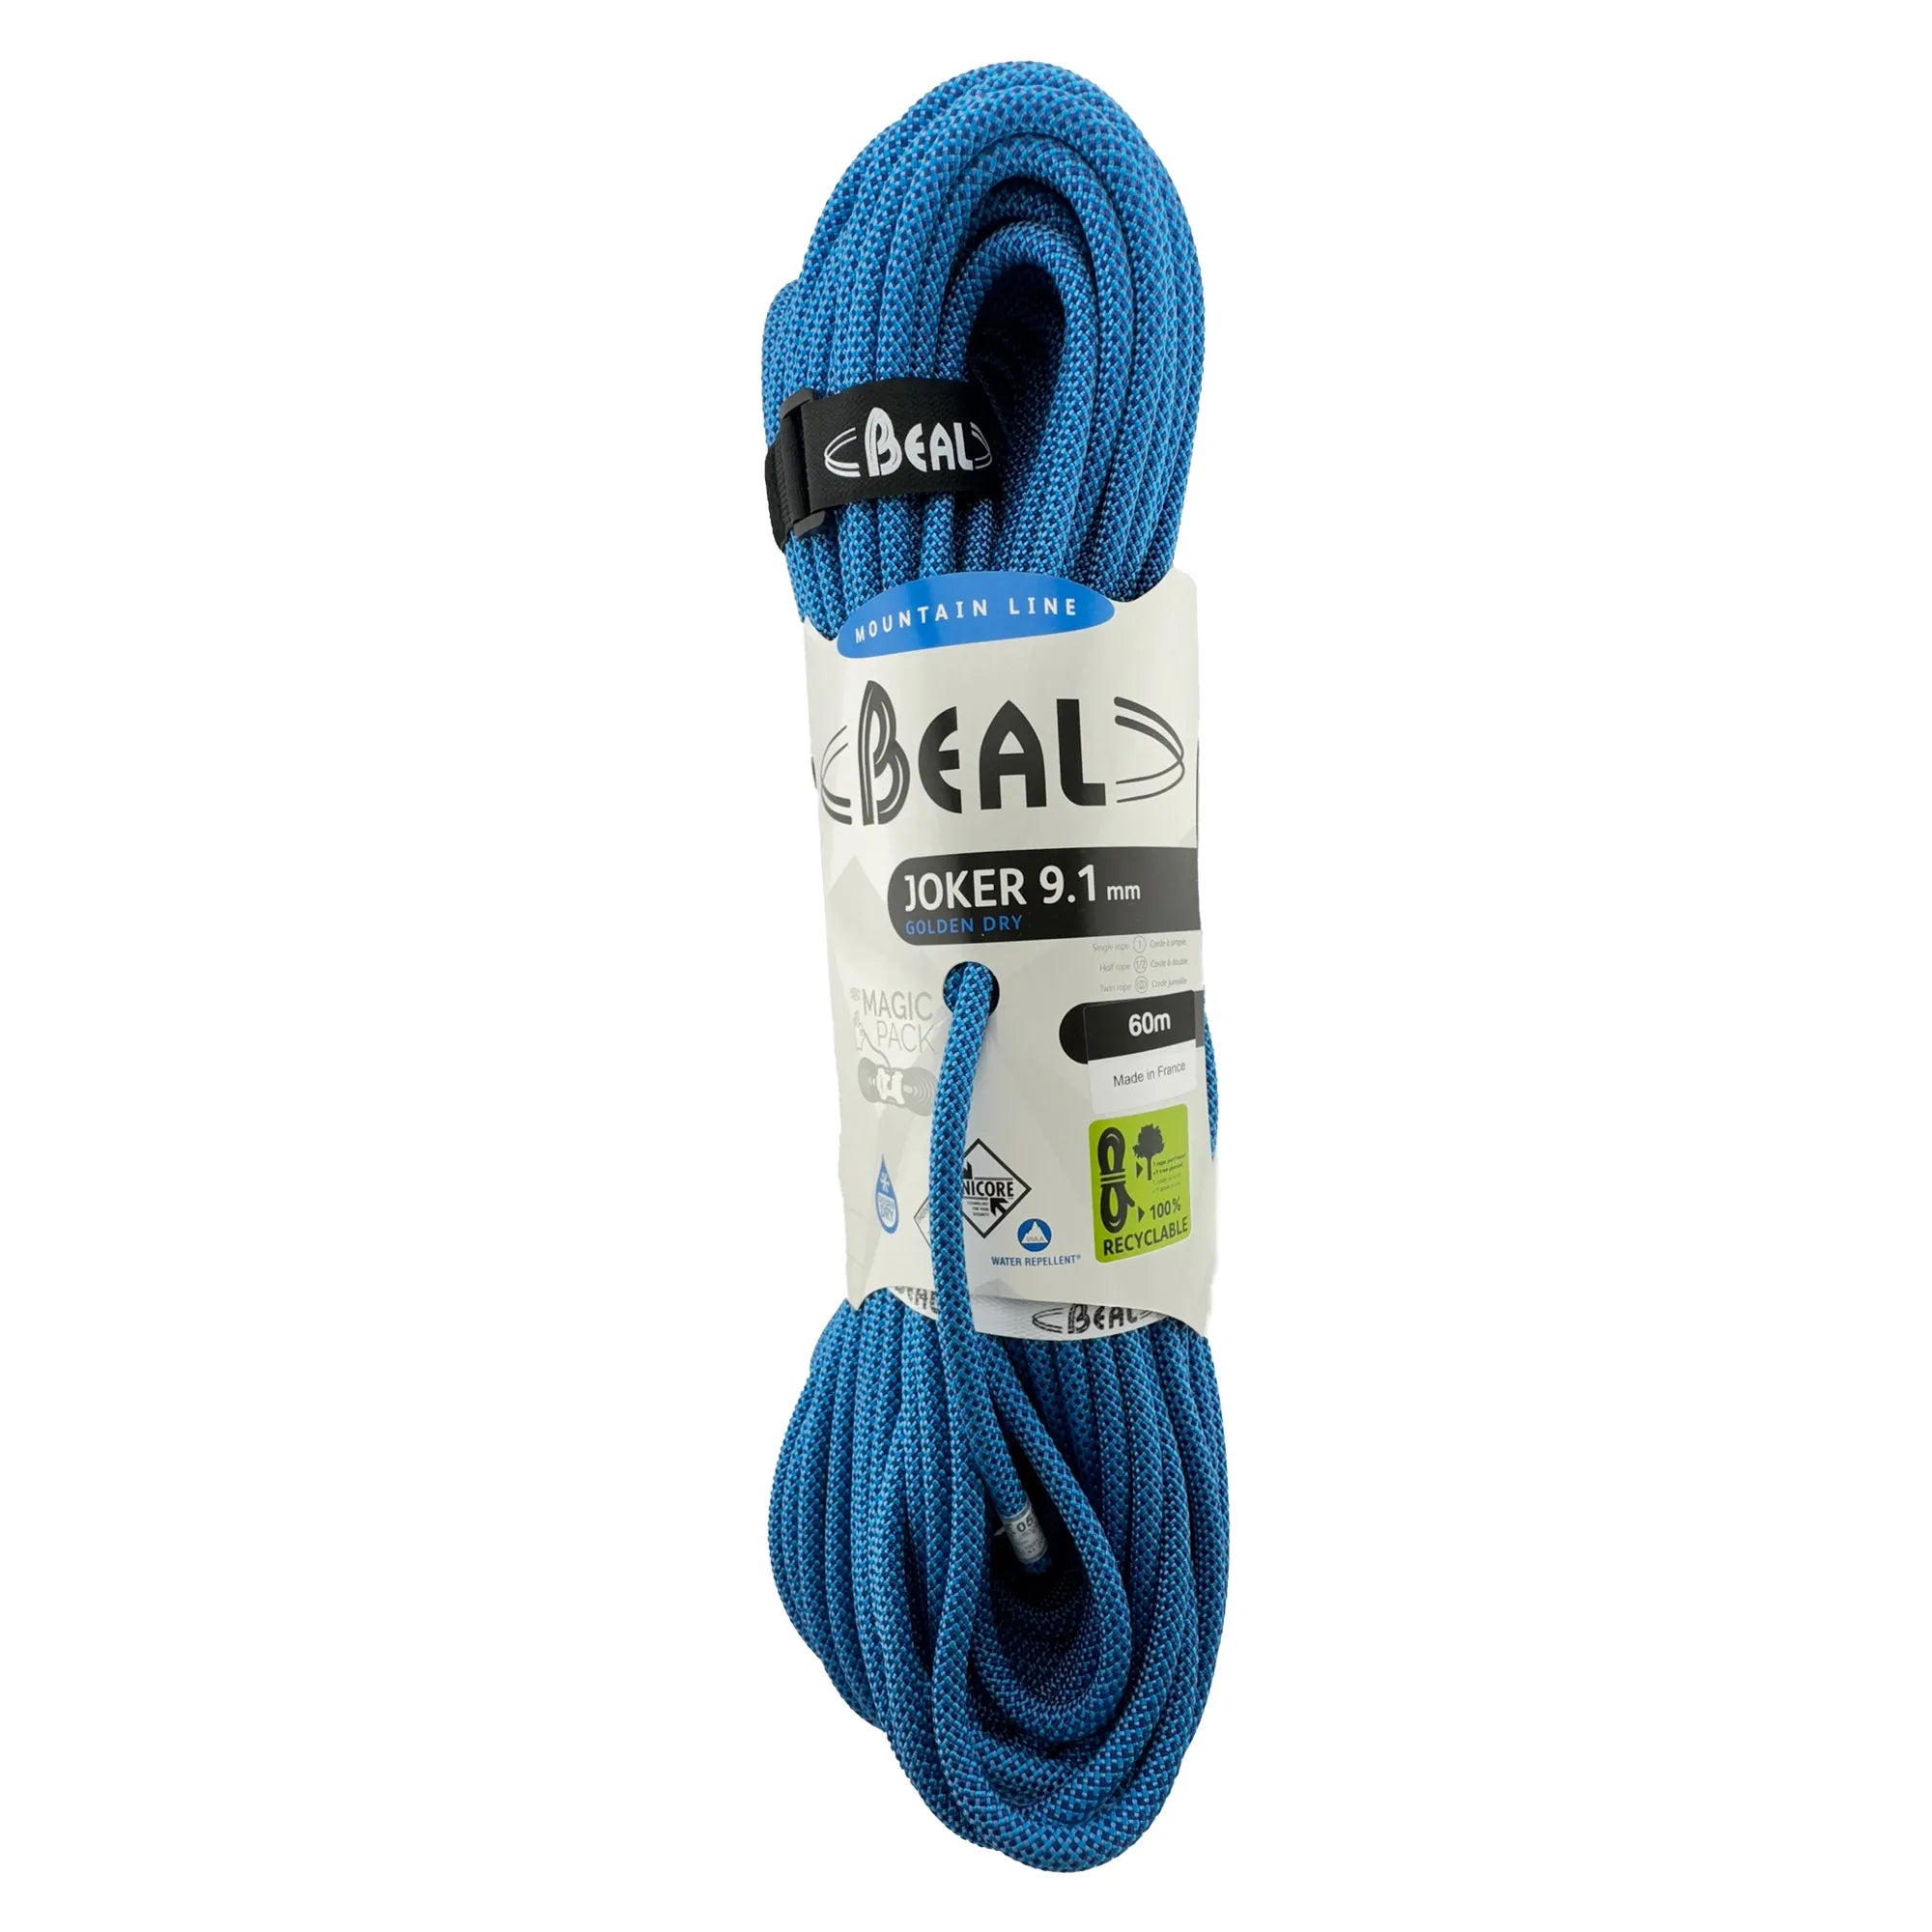
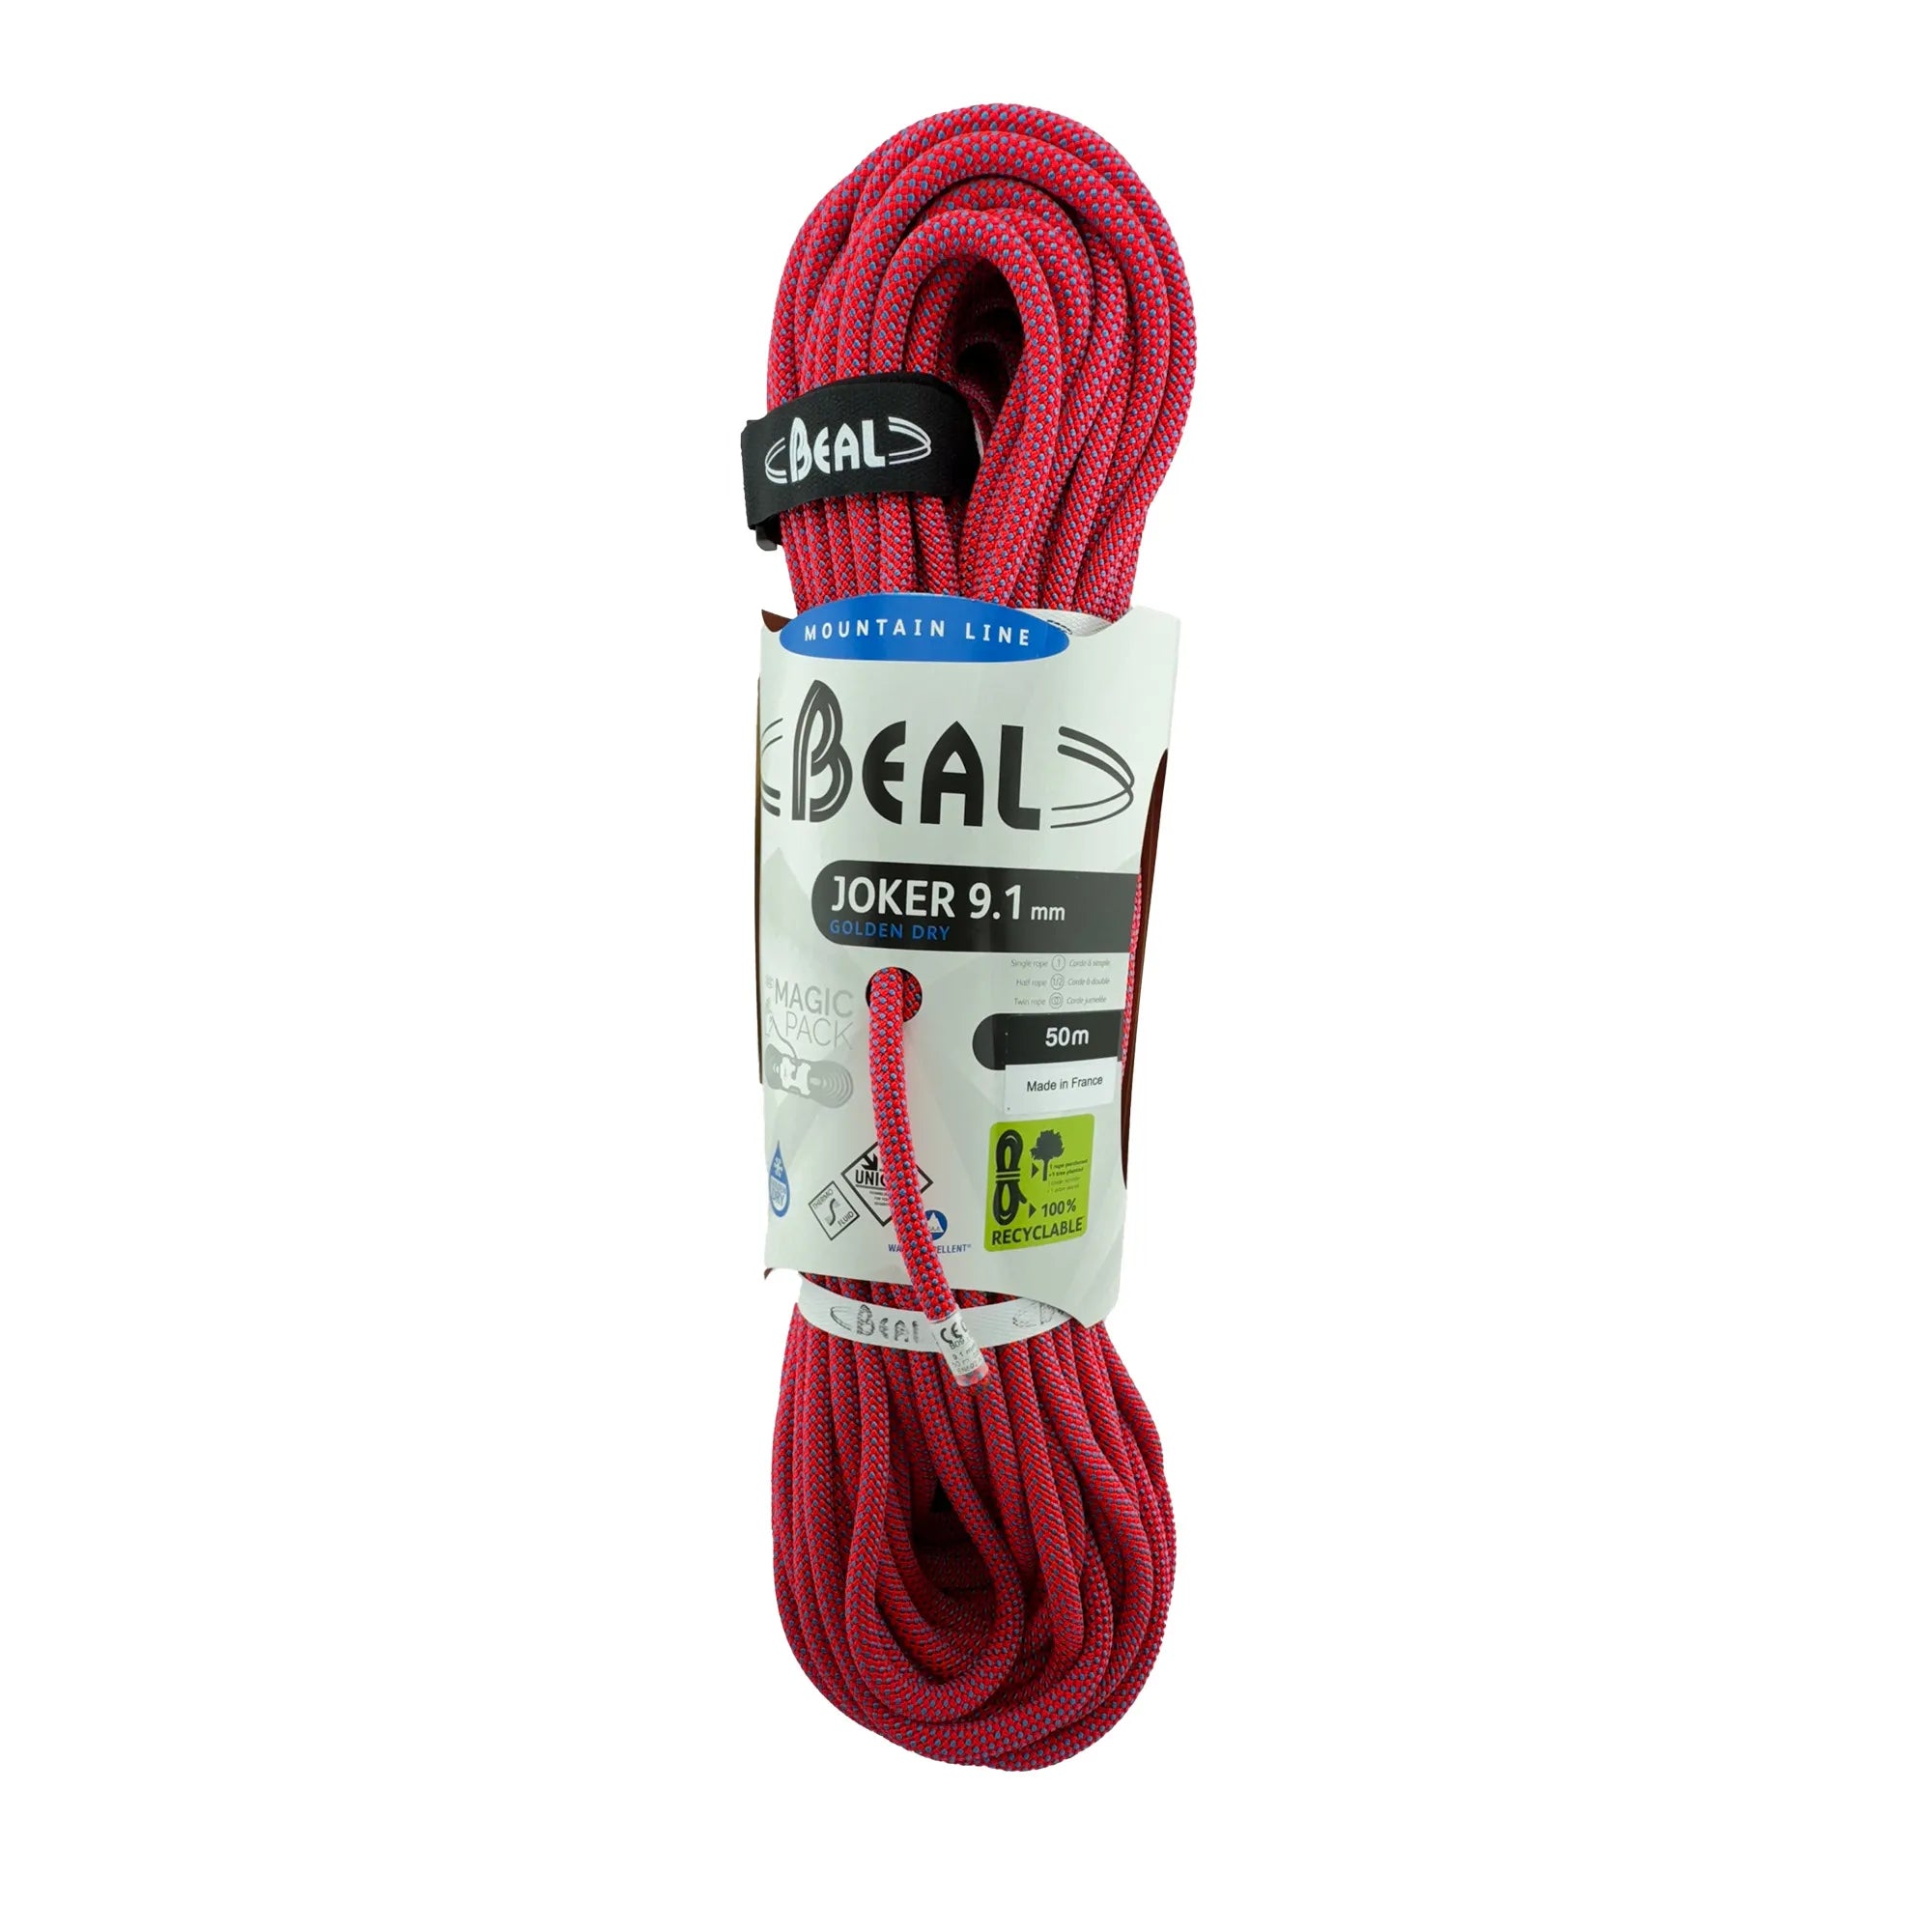
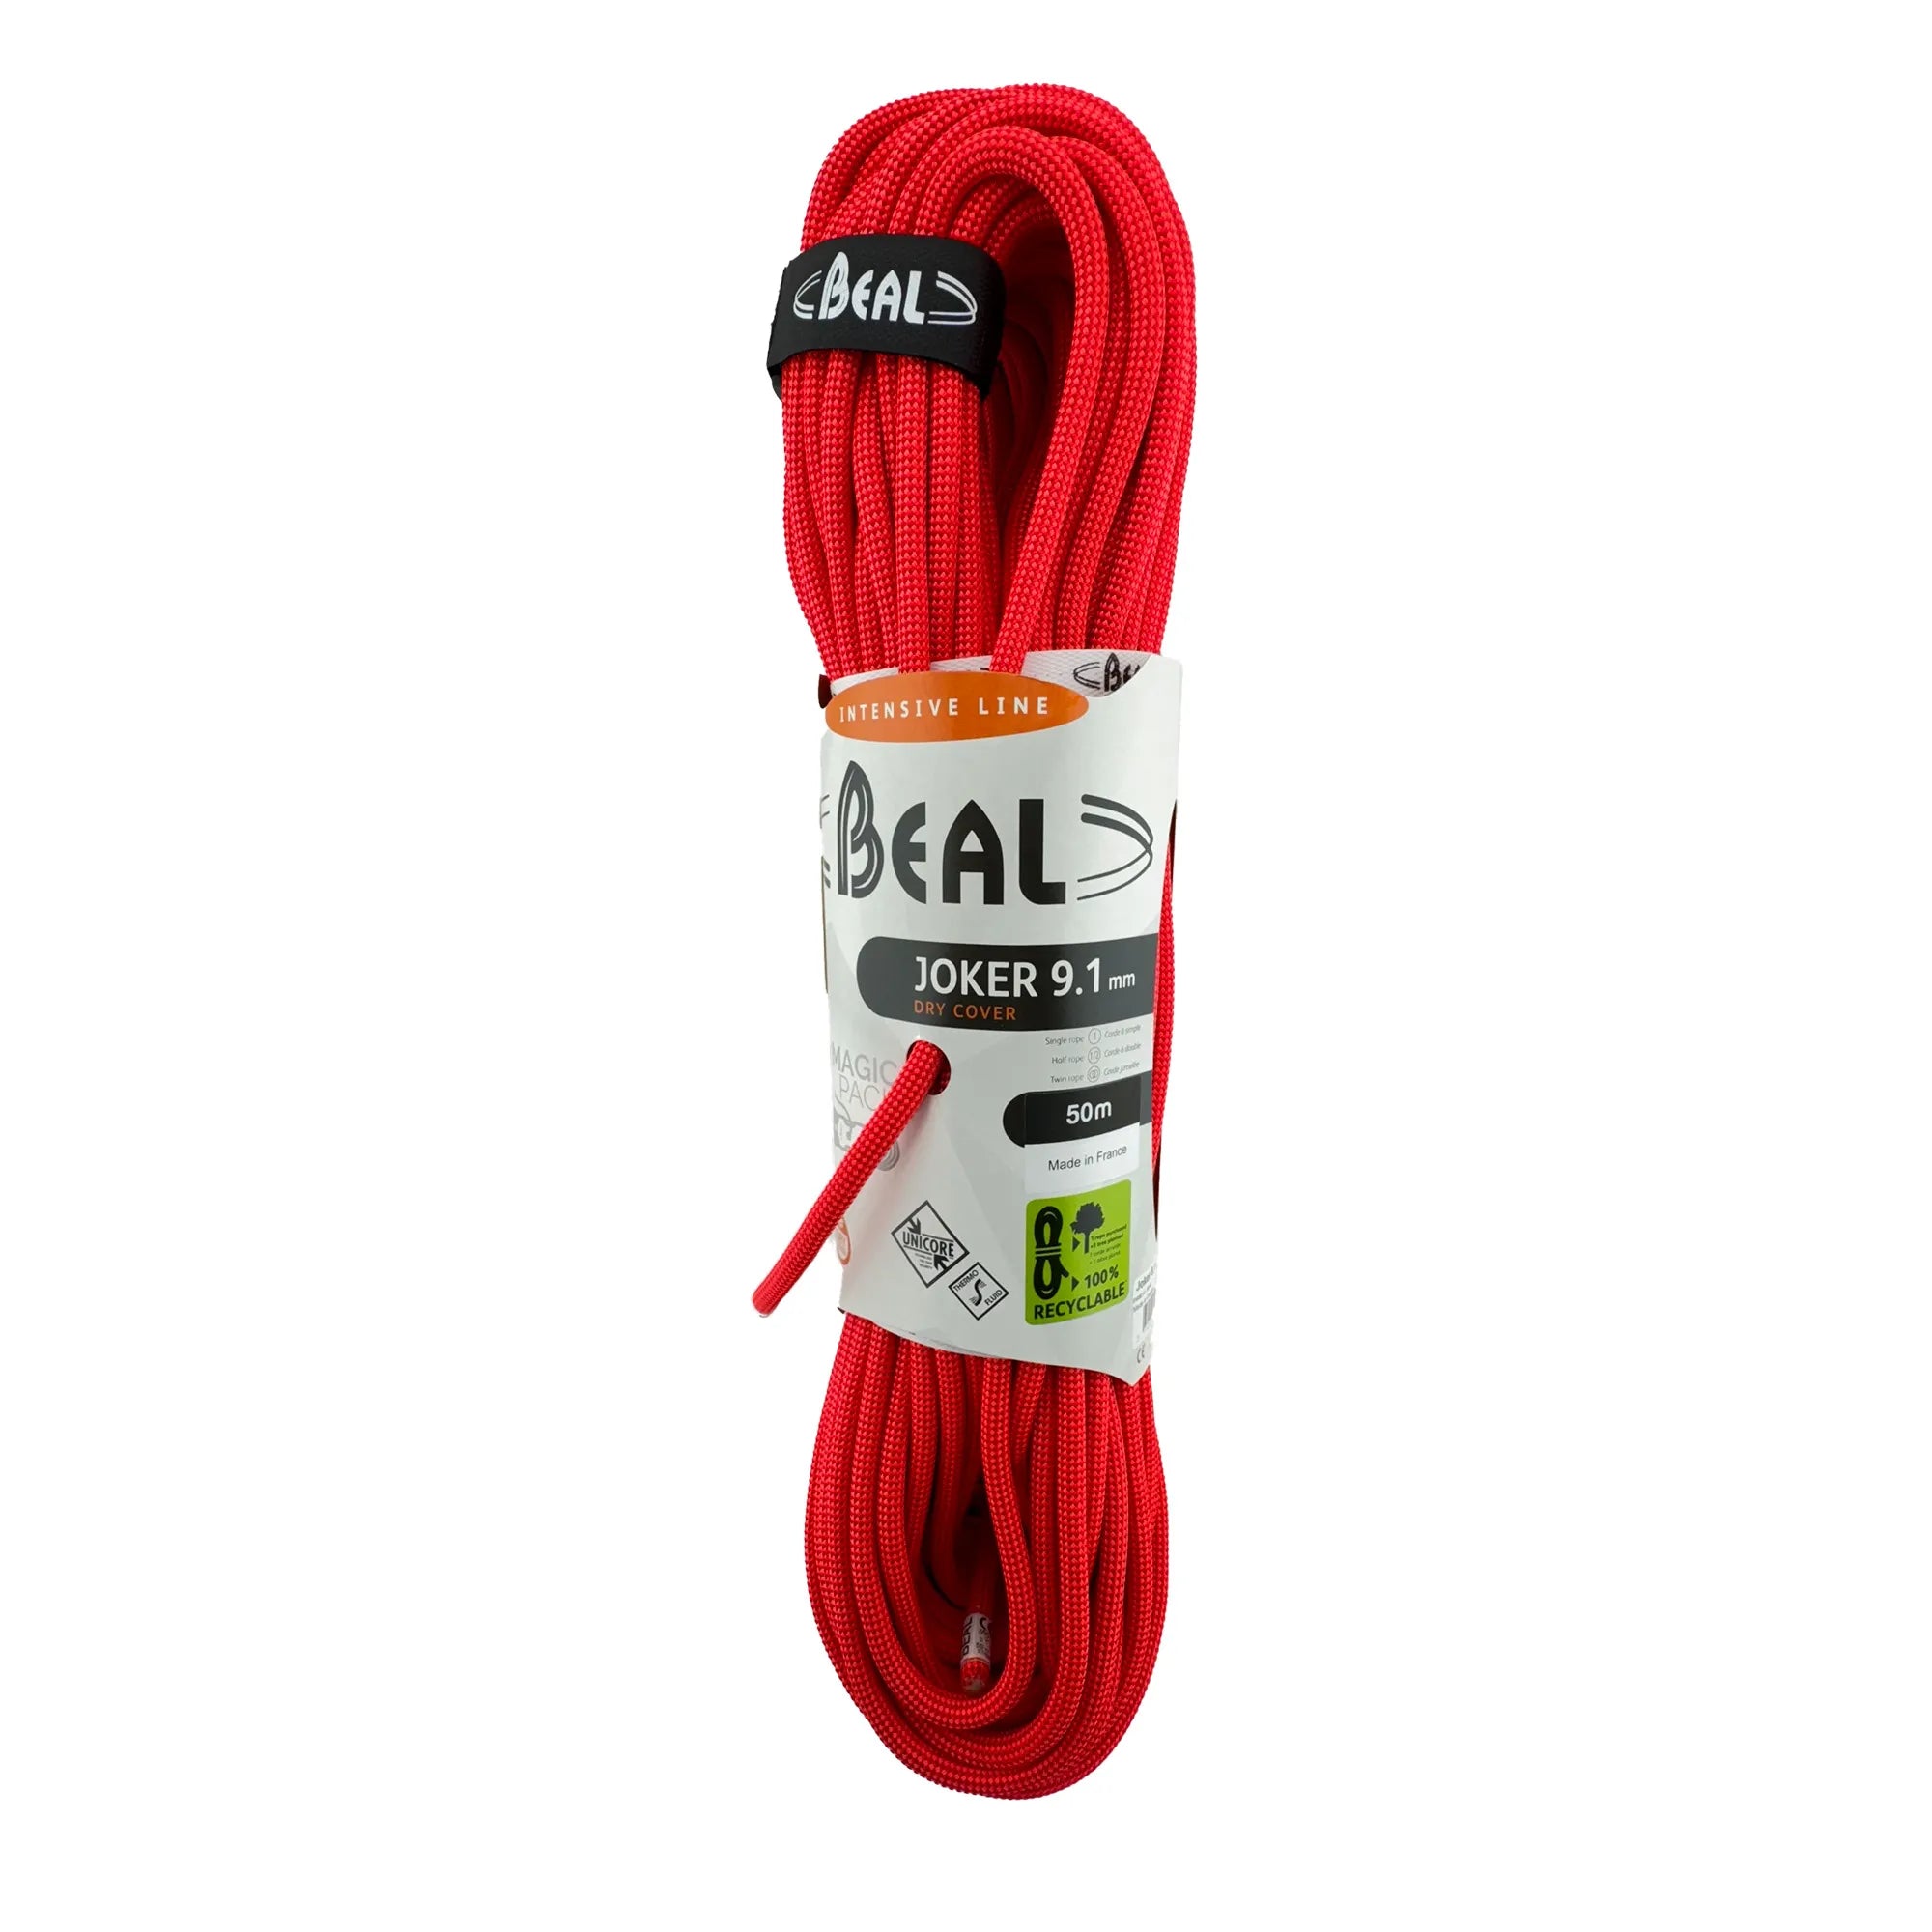
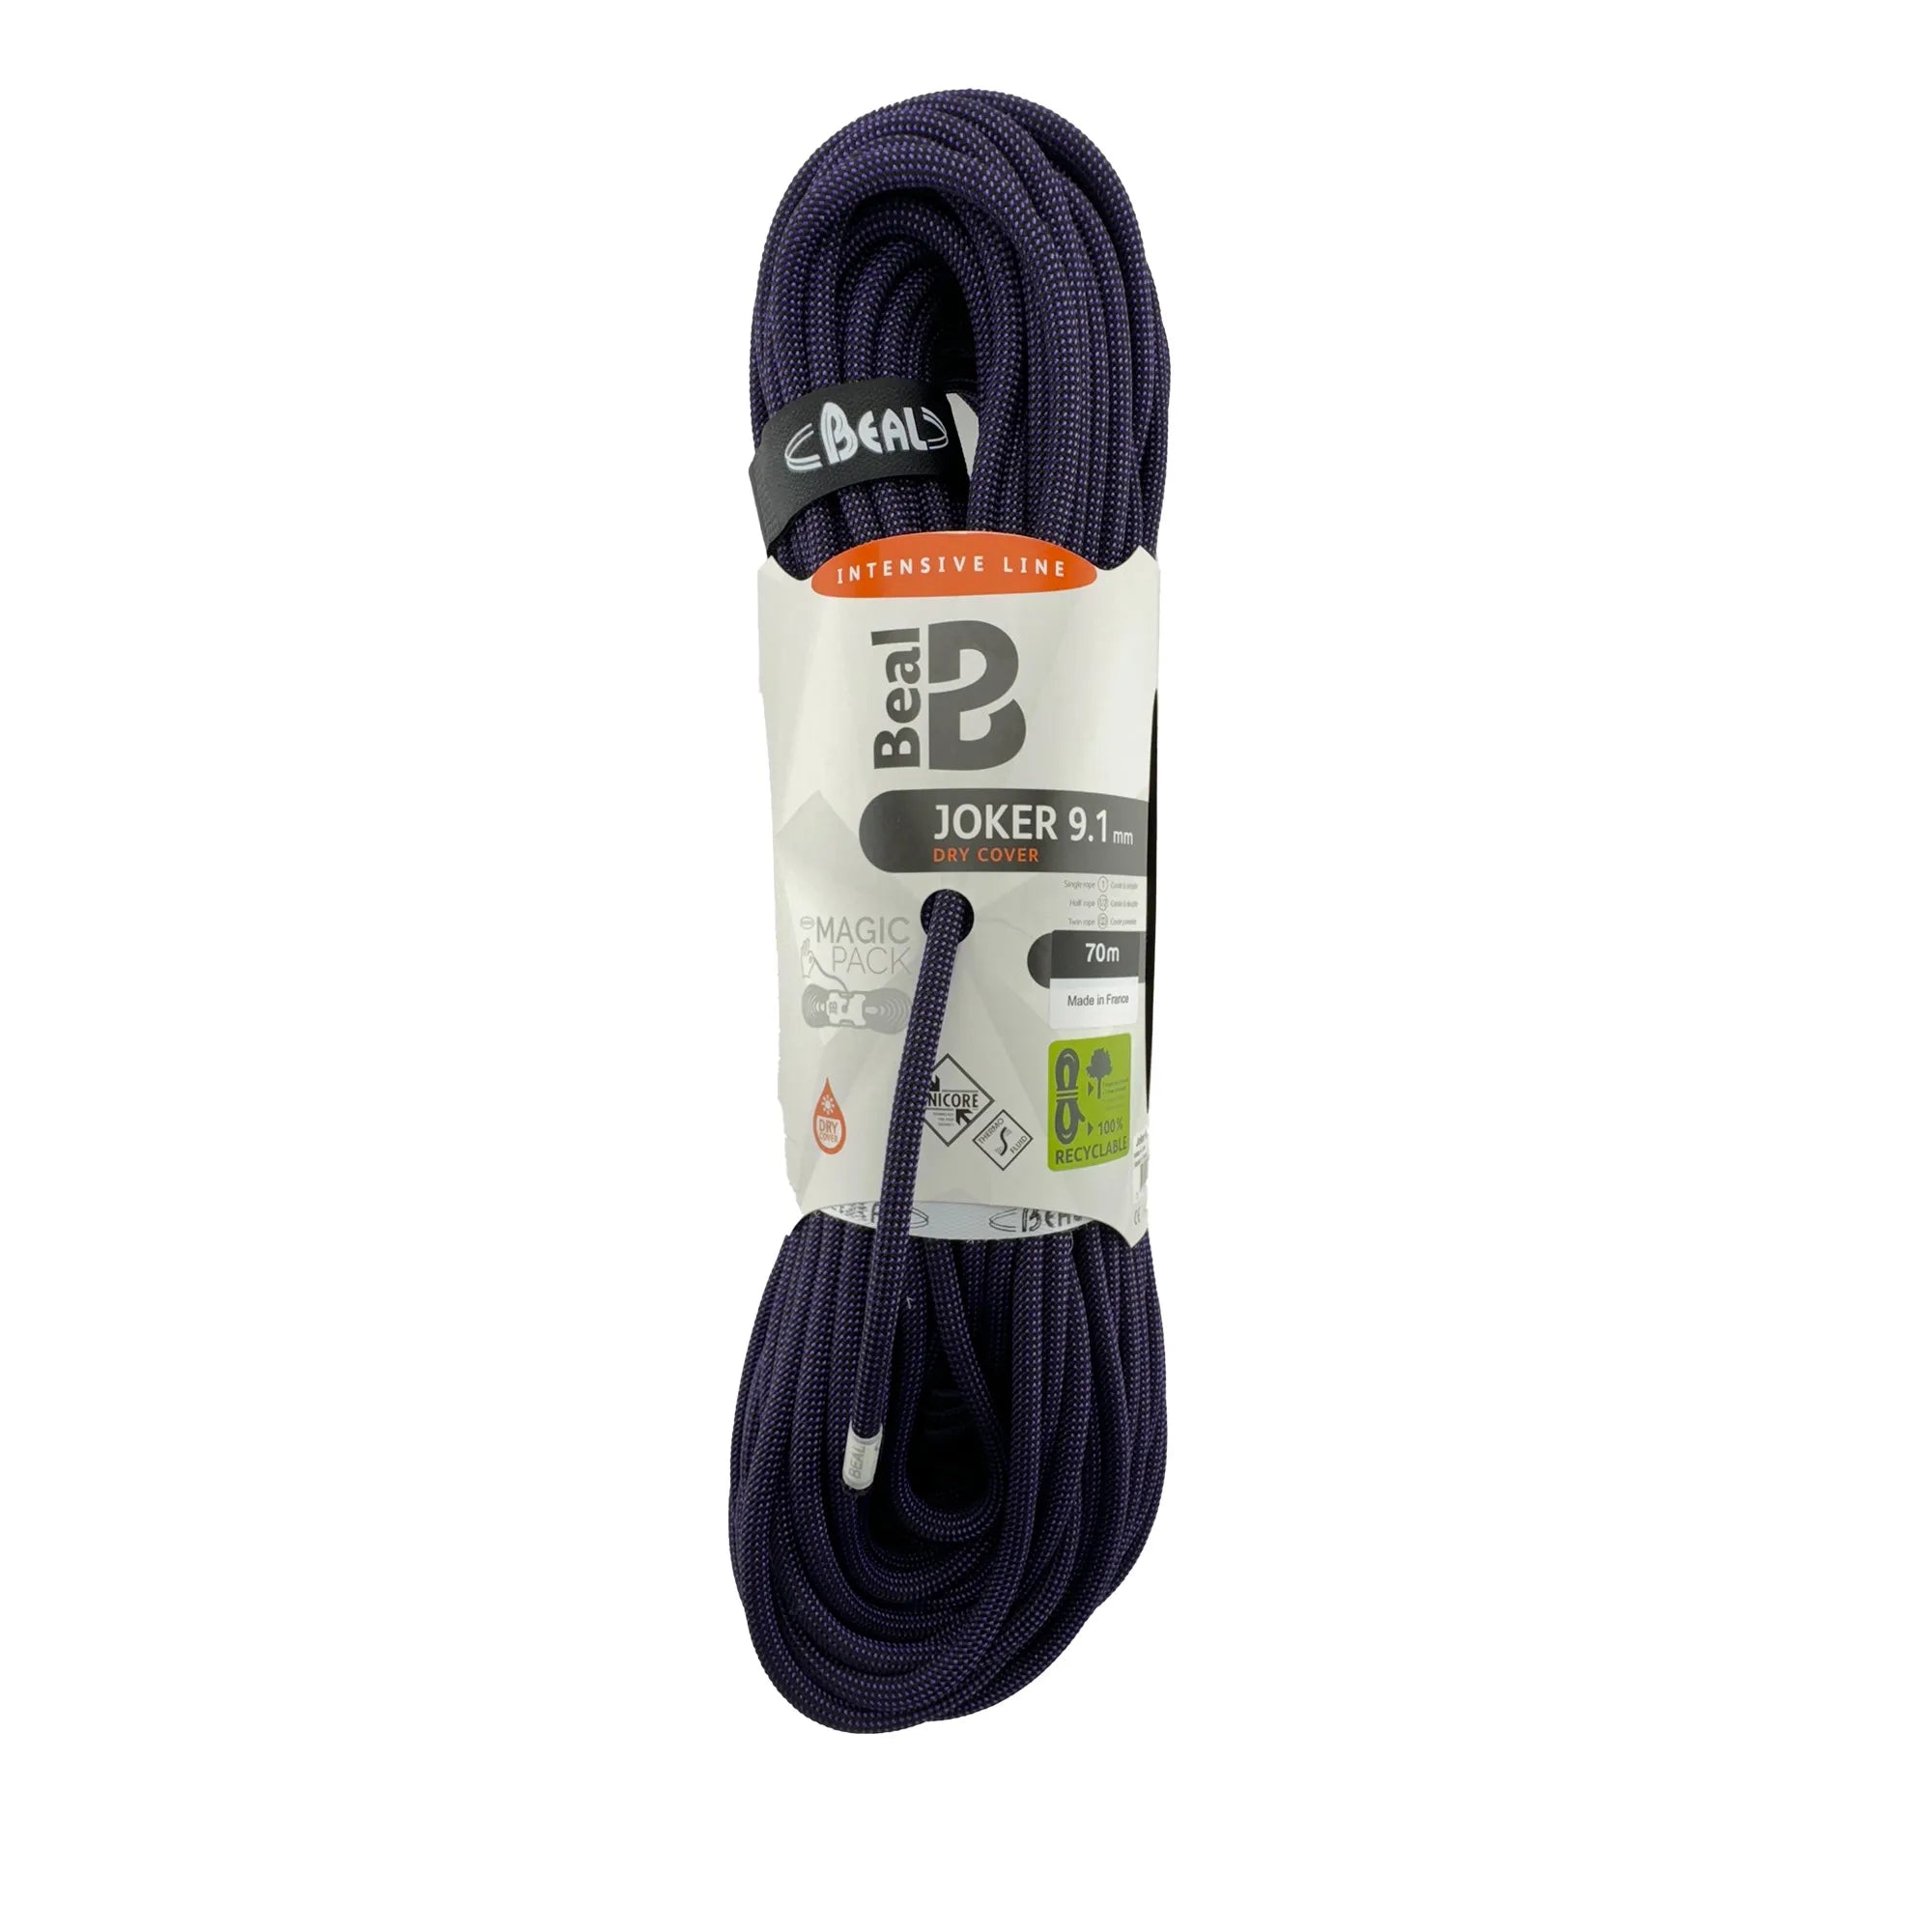
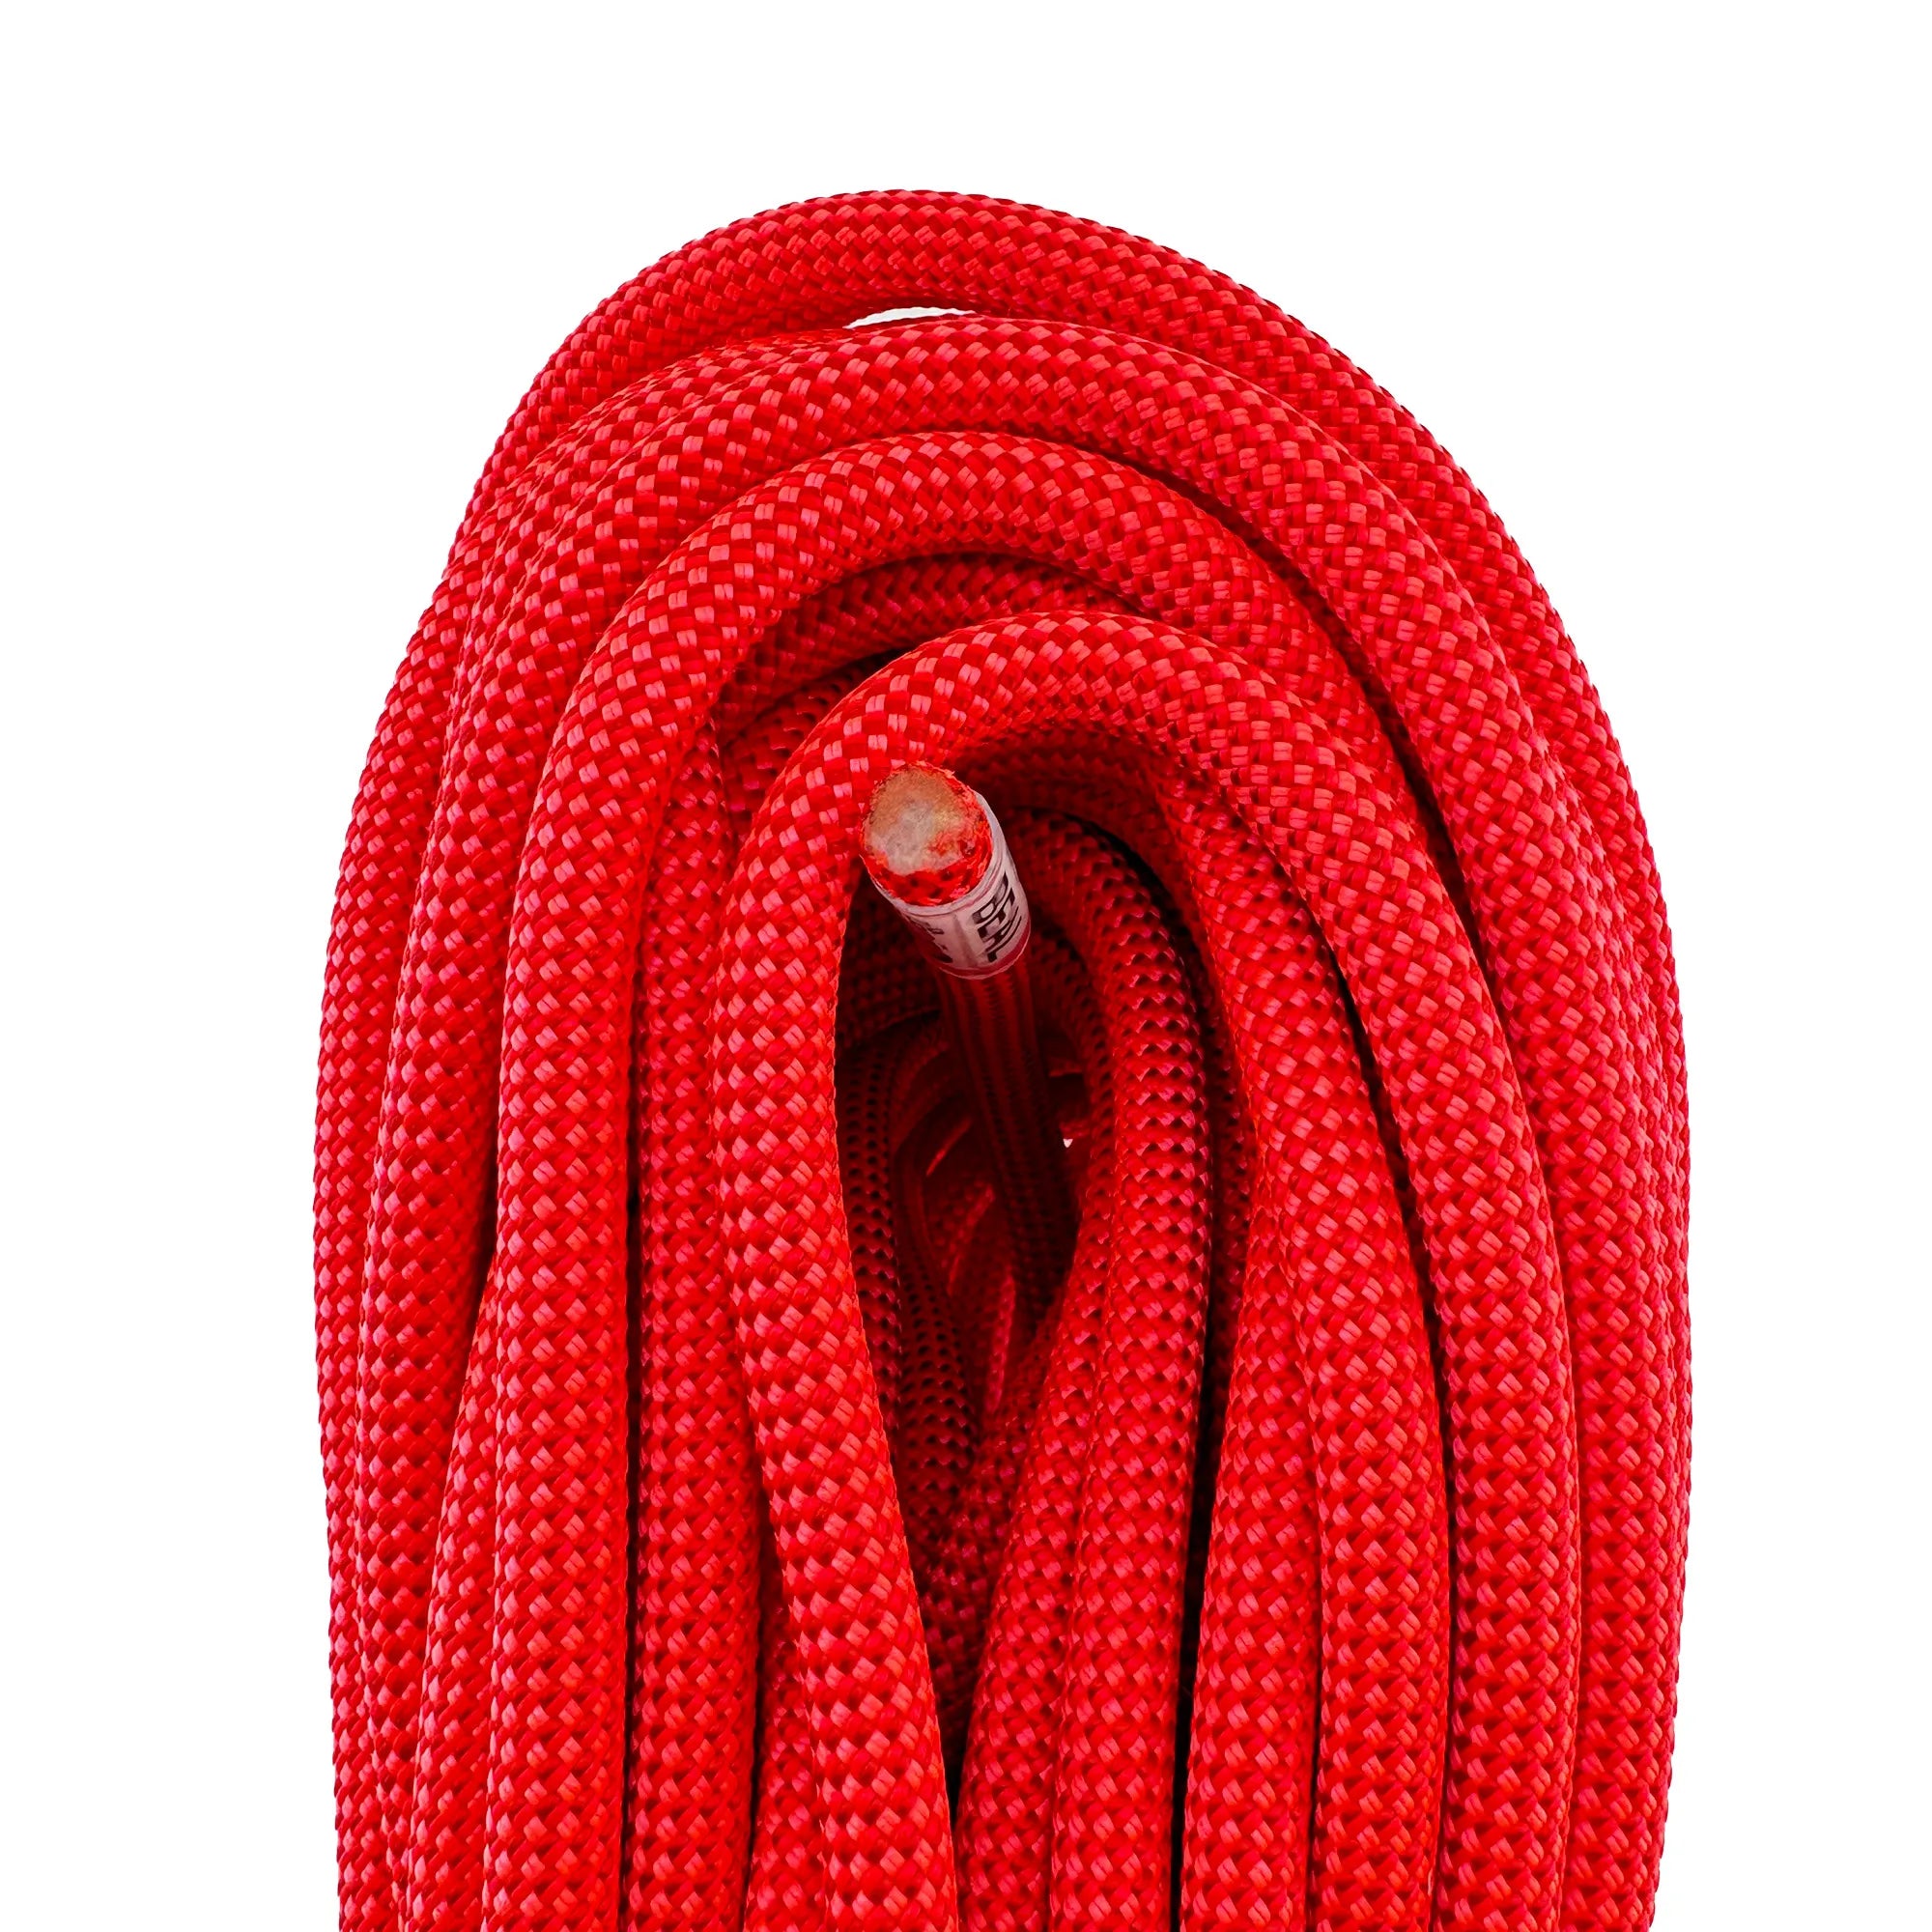
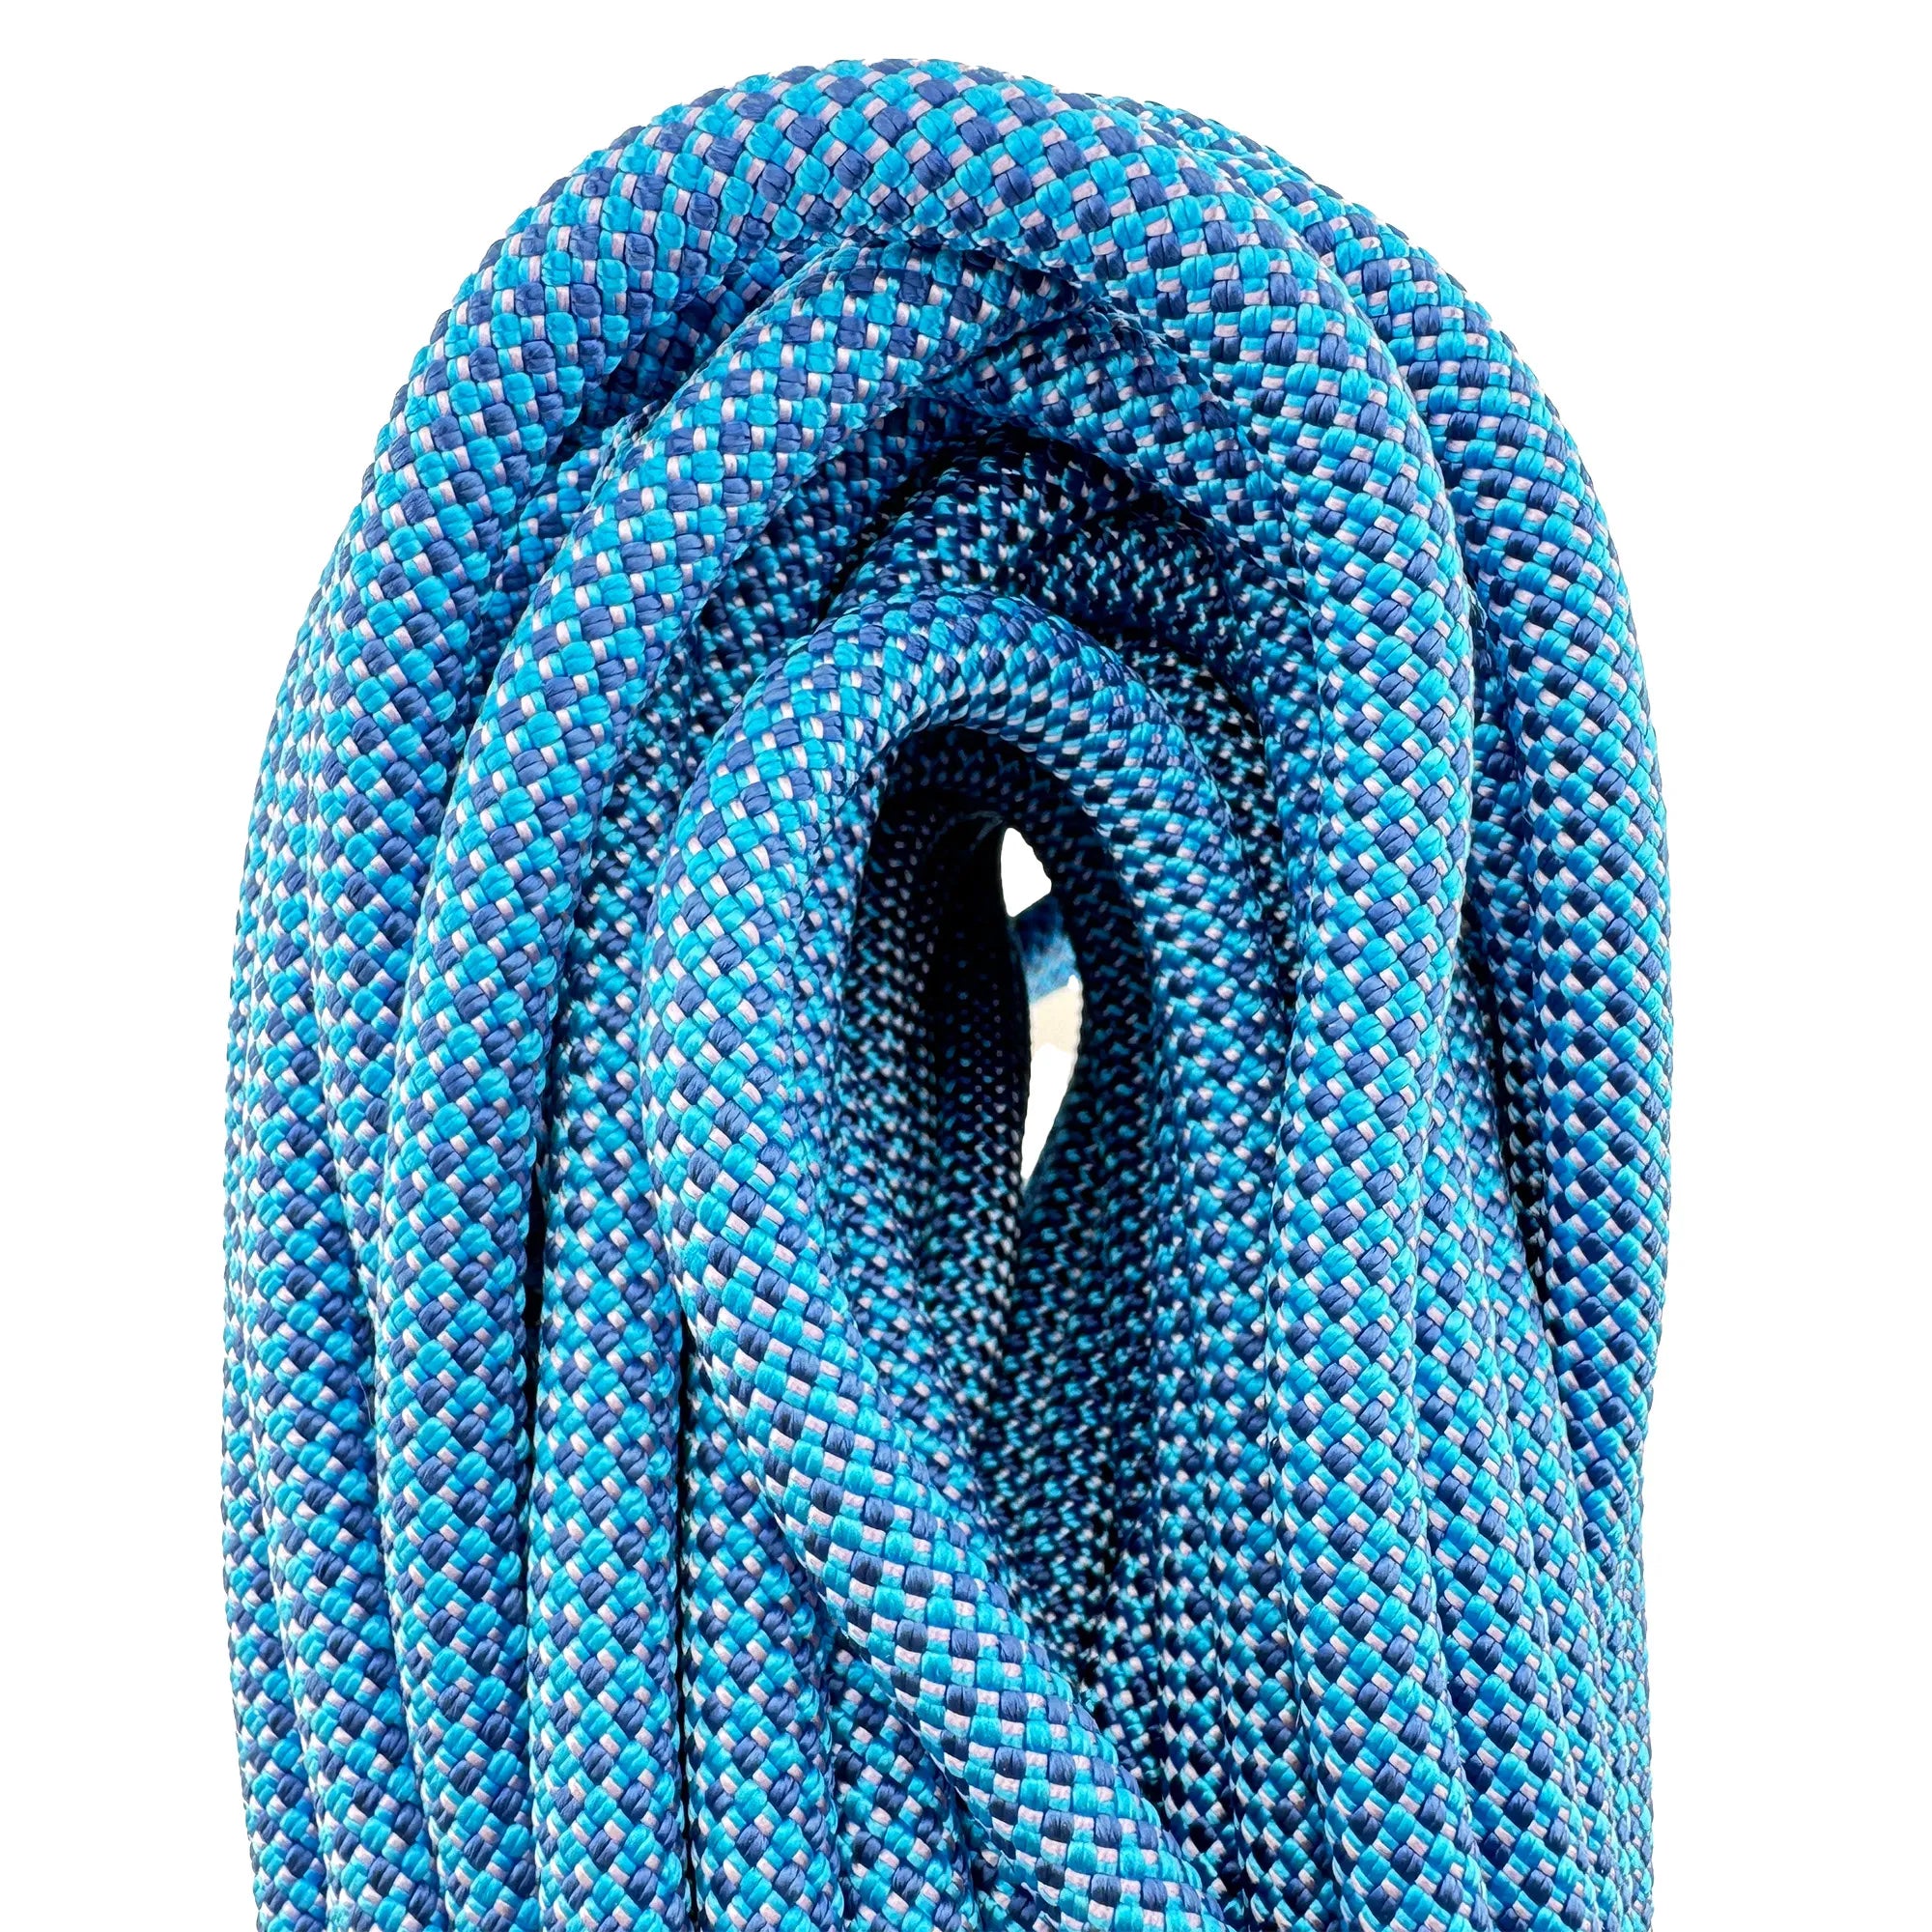
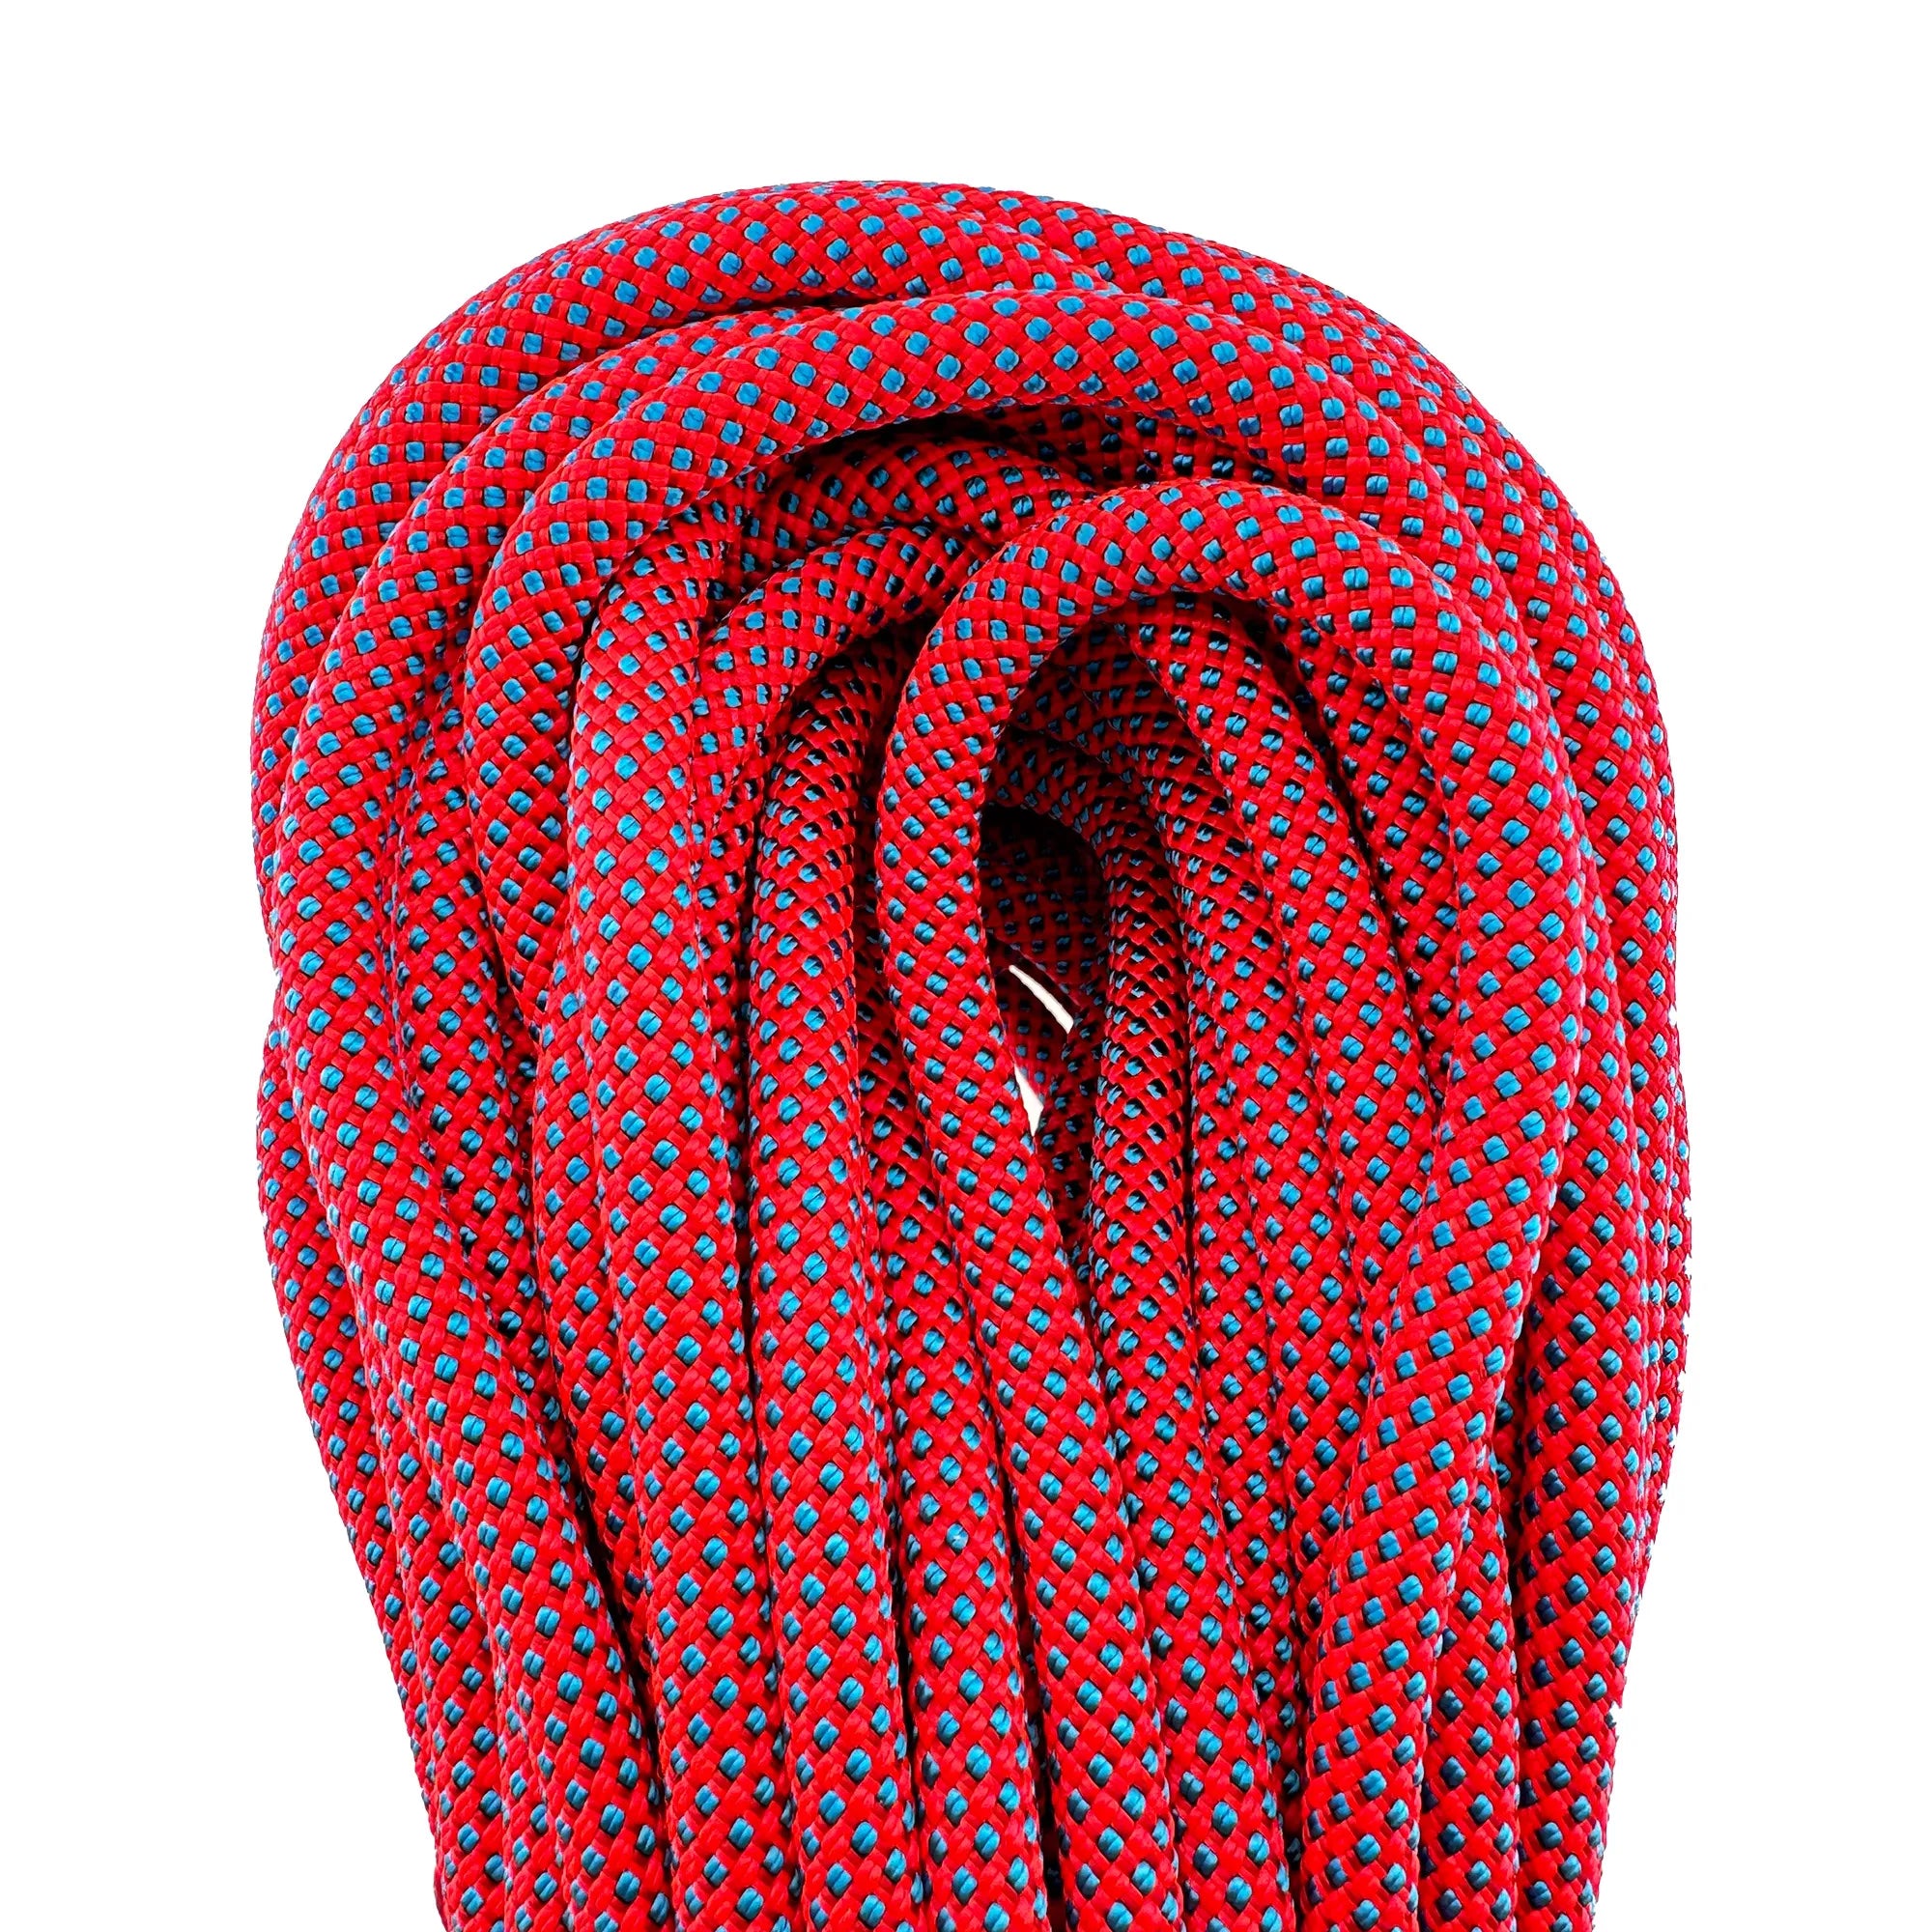
9.1 mm Joker Unicore
Tier benefits:
Tier benefits:
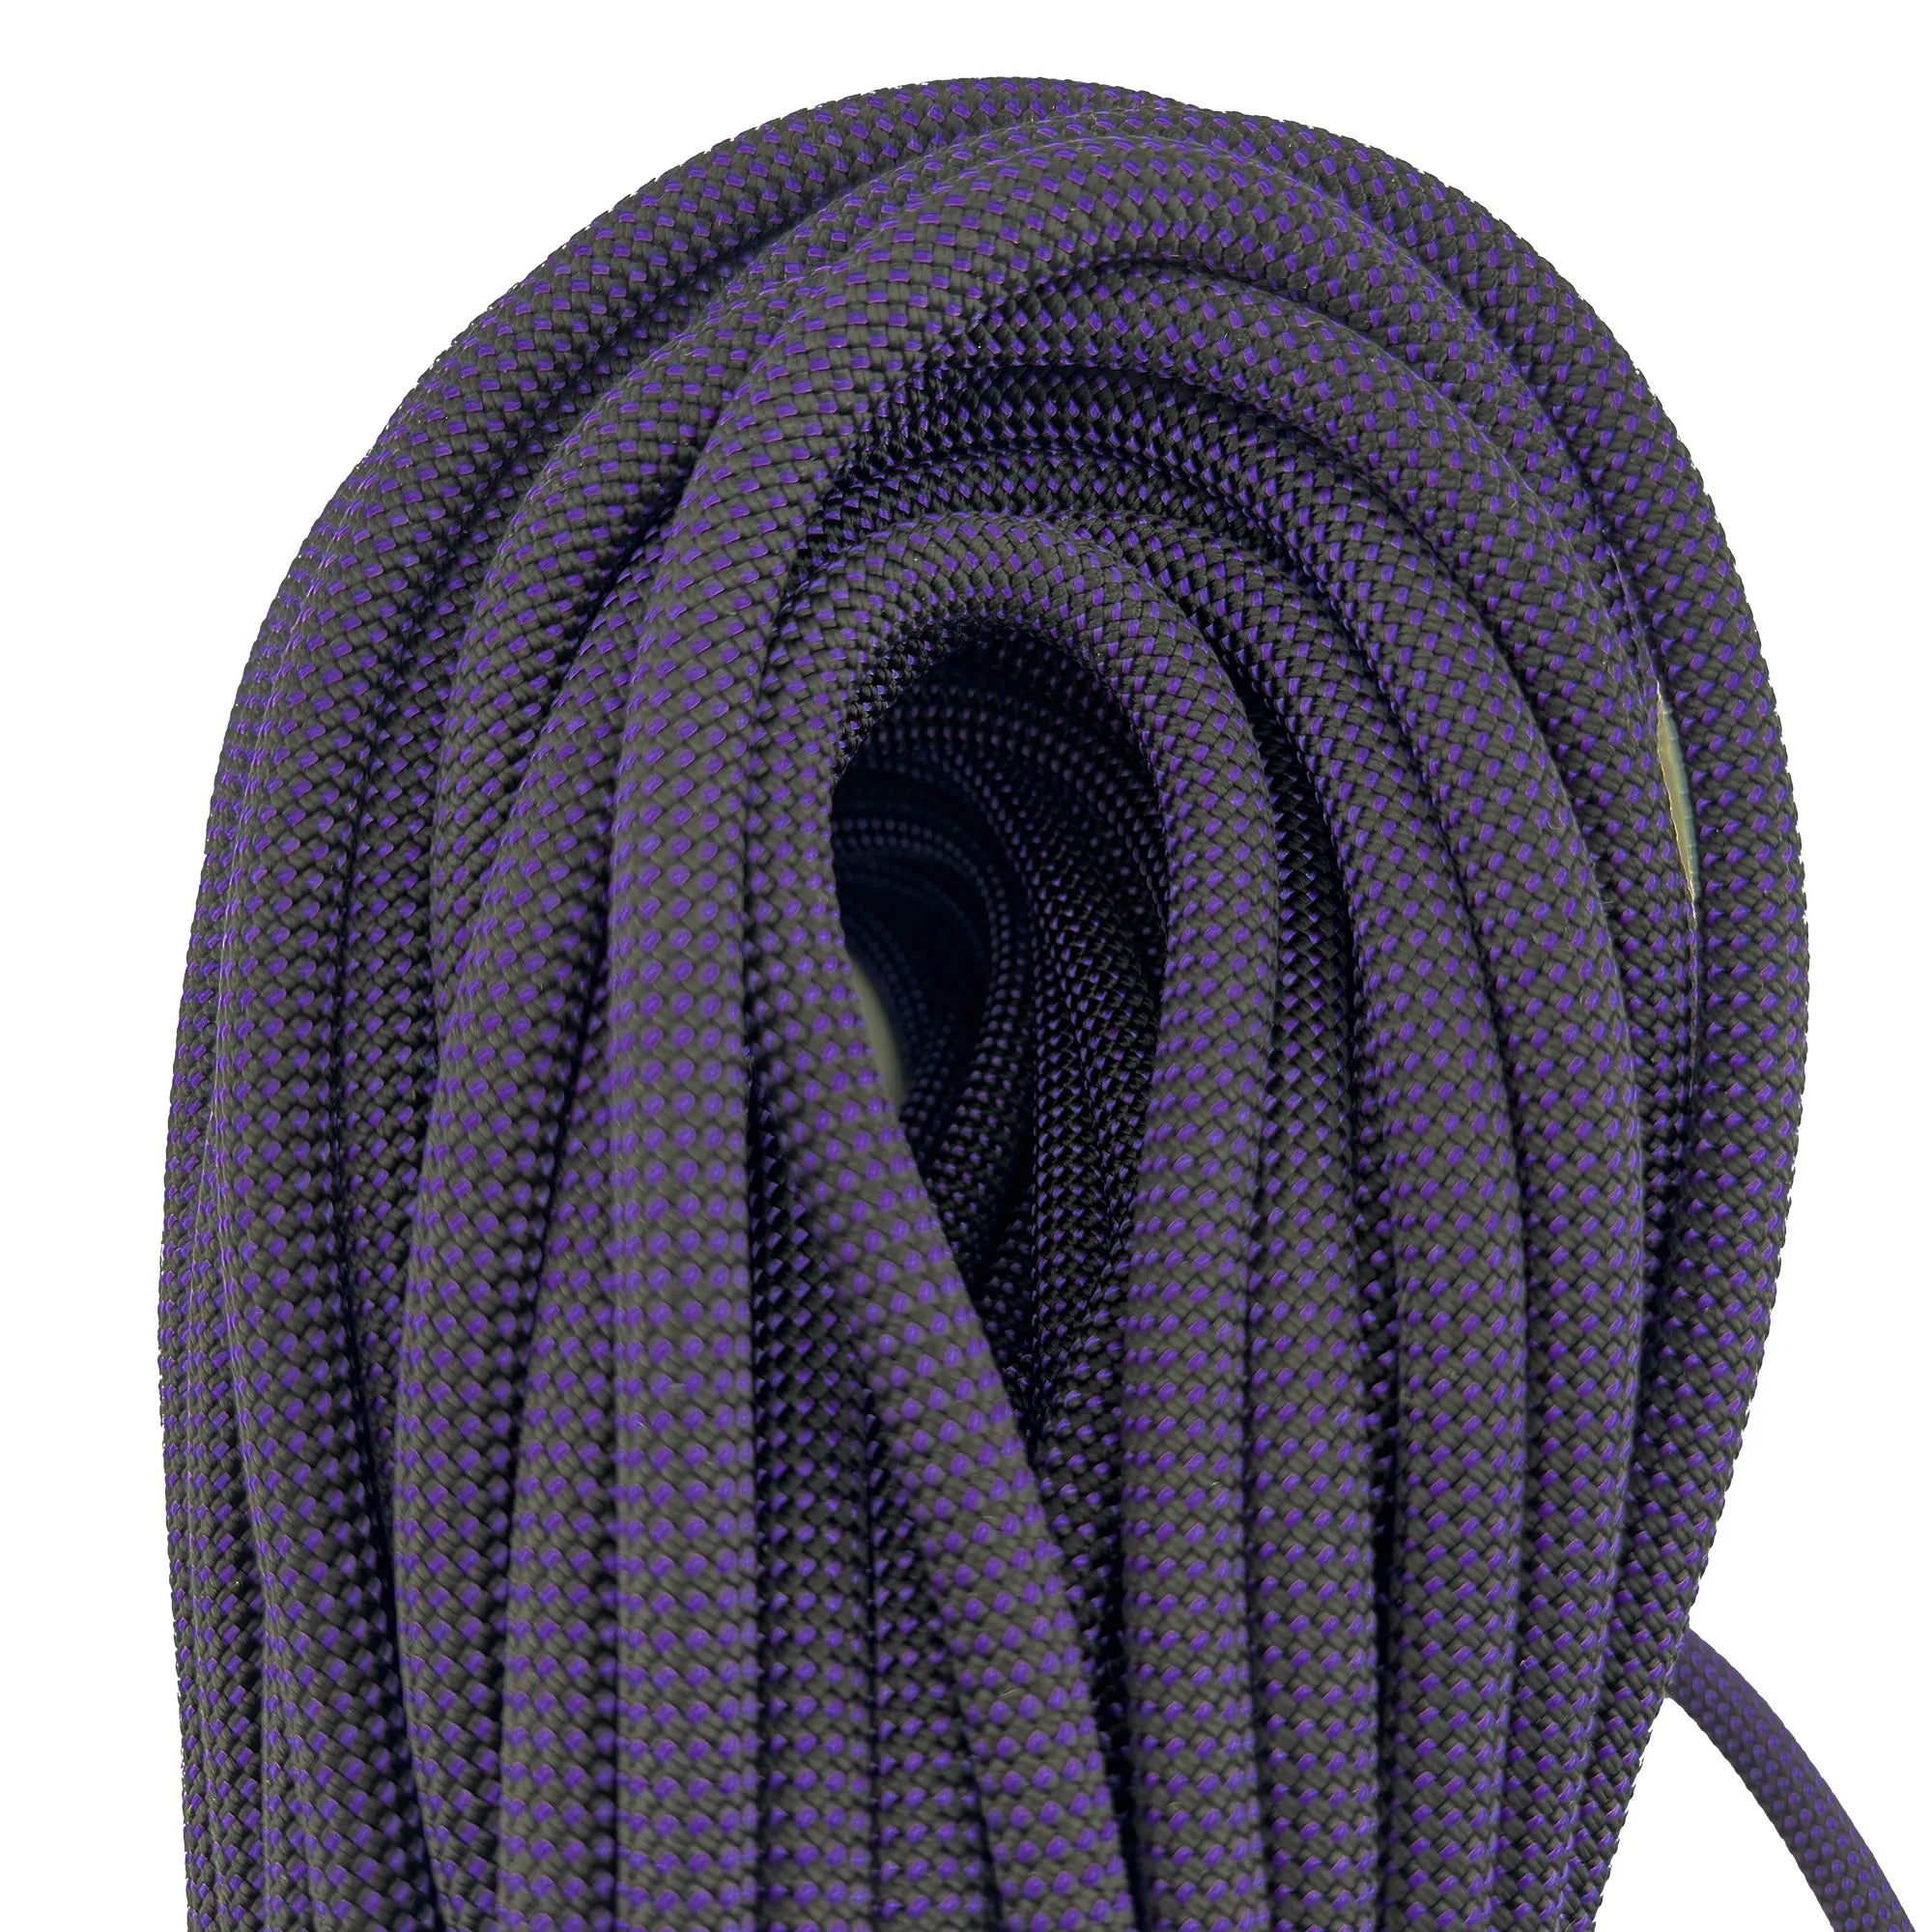
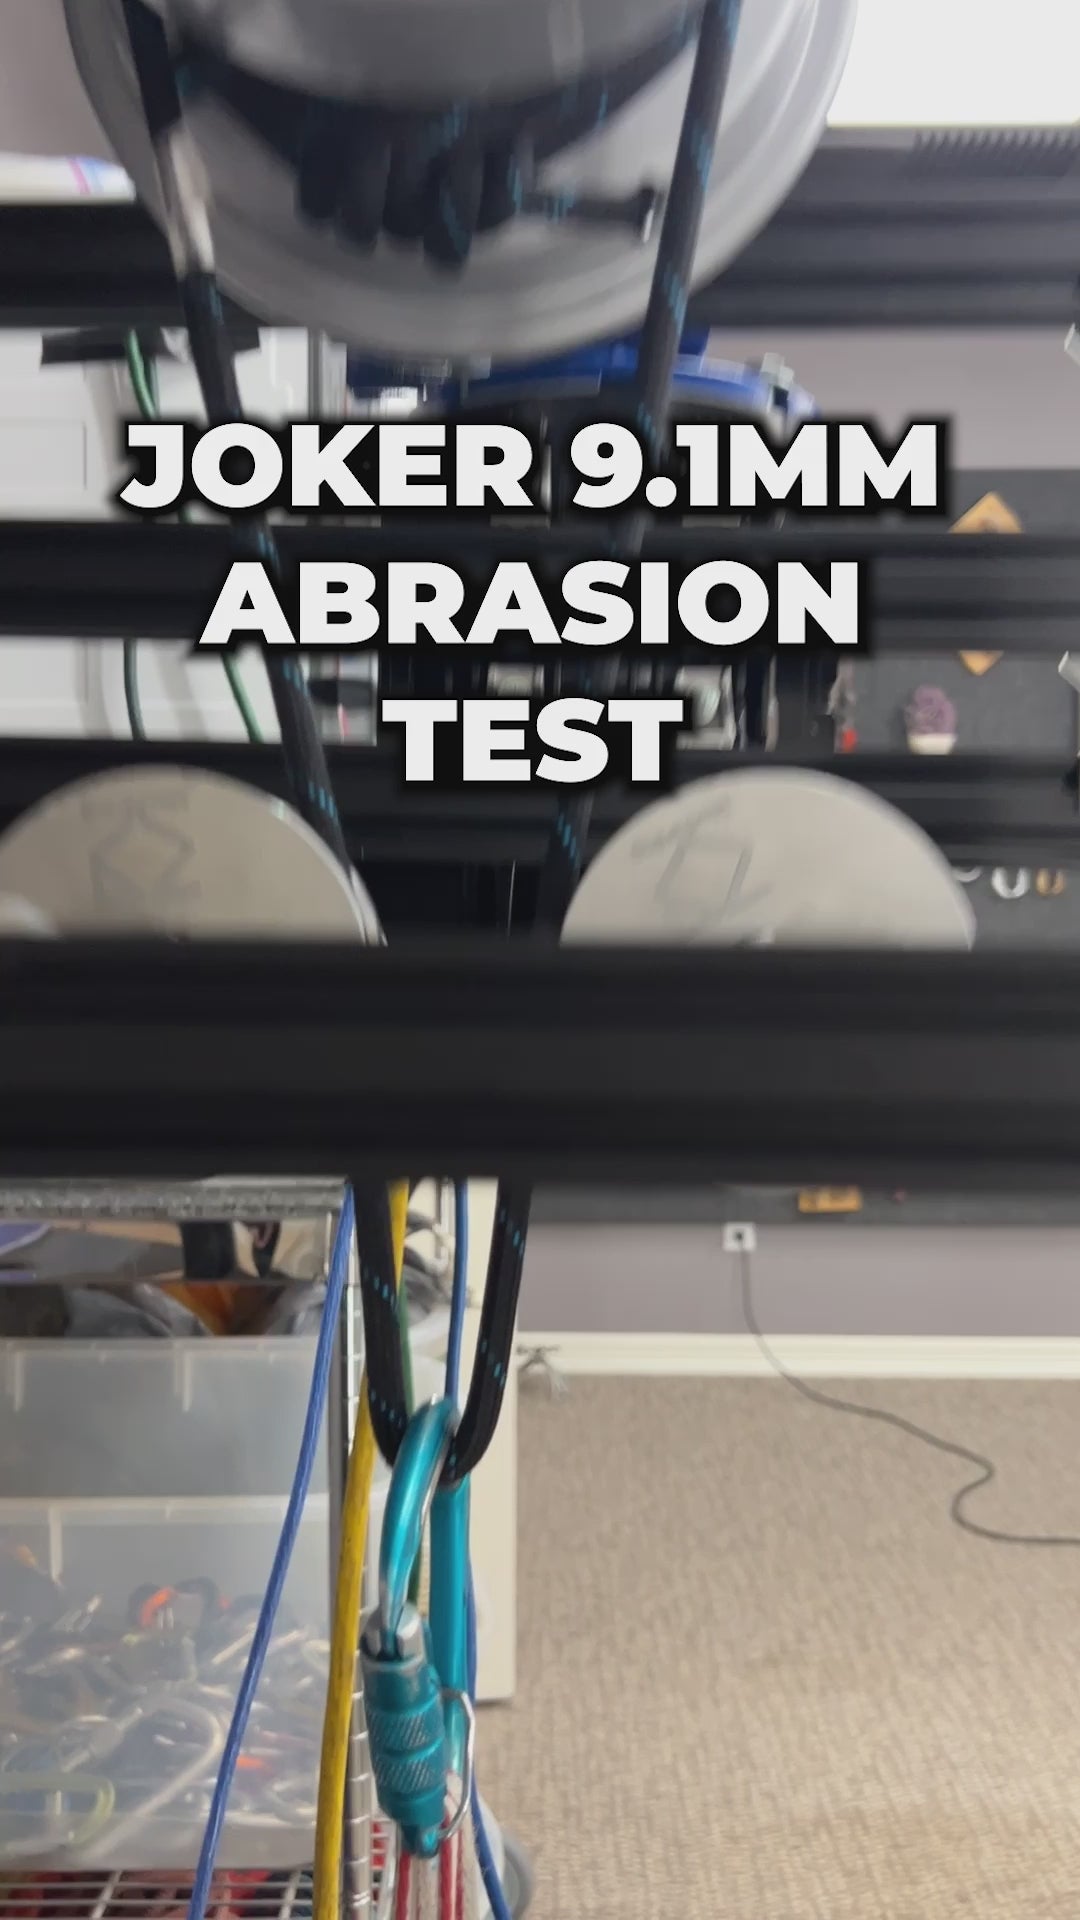
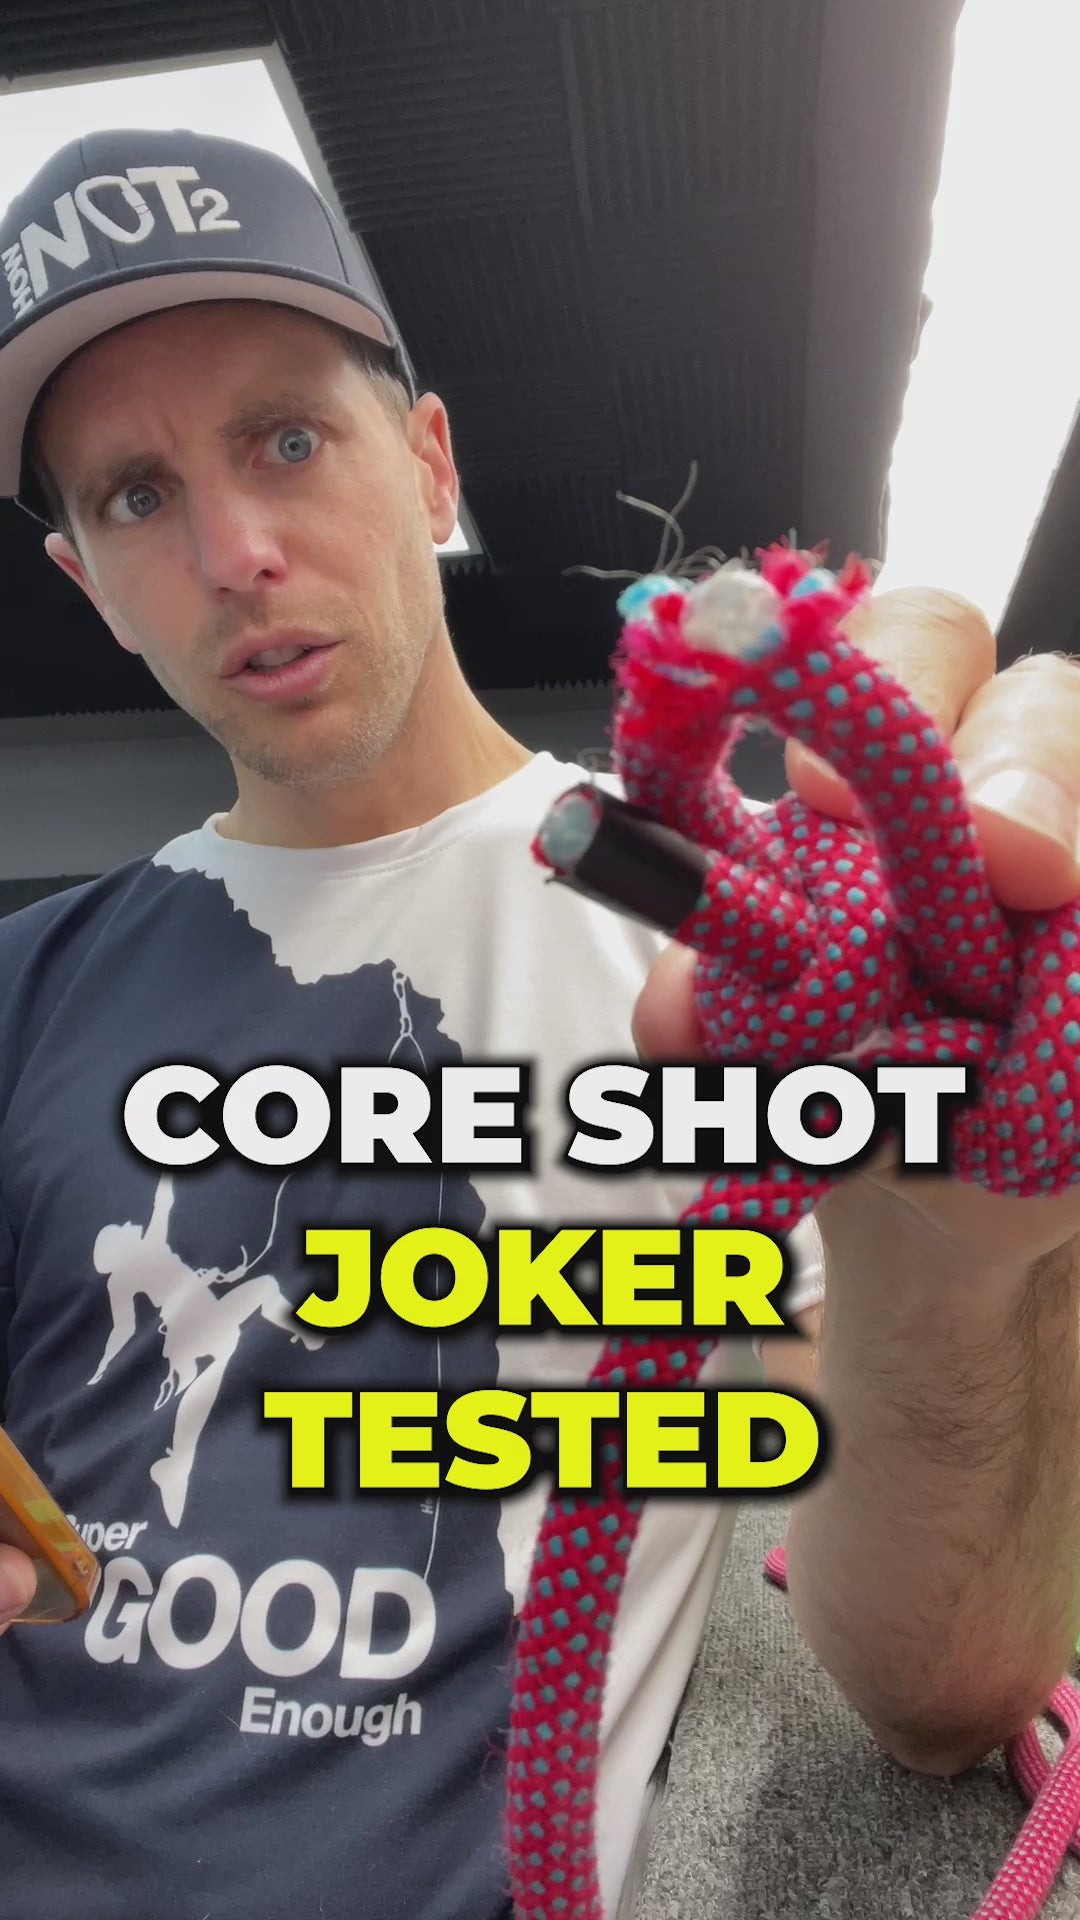
If you want to go lighter, the Joker 9.1mm is amazing, has the dry treatment and unicore. Most of the time I measure it, it reads at 9.5mm. You are only saving about 1lb using this rope over the Tiger 10mm but handling thinner ropes can be another benefit.
Pros
- Thin
- Dry treated
- Unicore
Cons
- Less durable
Haul Bags
I feel like getting accolades from normies after climbing El Cap misses the biggest accomplishment. I practiced rescuing a 200lb “limp dead body” up the entire thing that we nicknamed “pig”. Anyone can get up El Cap, some even without a rope. But if you can drag a bag up the thing, now you have something to be proud of.
You have to carry the thing to the base and off the top so you want a good strap system. Sizing depends on speed and how much comfort you bring. You can take a 15lb stubby on your back while ascending half dome or you can haul 250lbs in 1 giant bag. The benefit of taking two medium bags is both people can carry a bag while hiking and you can keep things separate on the wall. The downside is that you have to buy two, and it can increase the surface area of drag or if they are vertically stacked then accessing the bottom one could suck. I’m a 1 giant bag kind of guy, change my mind.
![id=[47707799748923]](http://hownot2.com/cdn/shop/files/9ac3eee8eba26dfbfb100c4fdb54d99eed324592__68925.jpg?v=1756773344&width=1000)
![id=[47707799748923]](http://hownot2.com/cdn/shop/files/IMG_0457.webp?v=1756773344&width=3024)
![id=[47707799748923]](http://hownot2.com/cdn/shop/files/IMG_0458.webp?v=1756773344&width=3024)
![id=[47707799748923]](http://hownot2.com/cdn/shop/files/IMG_0459.webp?v=1756773344&width=3024)
![id=[47707799748923]](http://hownot2.com/cdn/shop/files/0dbef12c92efbb6e761f6a2397c56b90ef46b2cf__84020.jpg?v=1756773344&width=1000)
![id=[47707799748923]](http://hownot2.com/cdn/shop/files/0ded6422ef2b35409c1ff2b8153d49cfd86eb8e2__04006.jpg?v=1756773345&width=1000)
![id=[47707799748923]](http://hownot2.com/cdn/shop/files/7bd70302d48269b58e60efae89e1dbd1a813ed3d__21429.jpg?v=1756773345&width=1000)
![id=[47707799748923]](http://hownot2.com/cdn/shop/files/316bd2b3d87b8933674be8b2c2589a3686387630__89966.jpg?v=1756773345&width=1000)
![id=[47707799748923]](http://hownot2.com/cdn/shop/files/b8af78e477fc32d53a75f218c485a690eab23503__02936.jpg?v=1756773345&width=1000)
![id=[47707799748923]](http://hownot2.com/cdn/shop/files/b910b5d03db55ca191872bc0a0f9e067be41874b__87523.jpg?v=1756773345&width=1000)
![id=[47707799748923]](http://hownot2.com/cdn/shop/files/e984085f64bba00b947a40aab41294b609faf0b3__80086.jpg?v=1756773345&width=1000)
![id=[47707799748923]](http://hownot2.com/cdn/shop/files/edd7829934ca710dc4dabcec8cded2195661e95d__30737.jpg?v=1756773345&width=1000)
![id=[47707799781691]](http://hownot2.com/cdn/shop/files/7ed0749630881d1c4e233d99c578f7f772ace576__07863.jpg?v=1756773345&width=1000)
![id=[47707799781691]](http://hownot2.com/cdn/shop/files/IMG_0452.webp?v=1756773345&width=3024)
![id=[47707799781691]](http://hownot2.com/cdn/shop/files/IMG_0455.webp?v=1756773345&width=3024)
![id=[47707799781691]](http://hownot2.com/cdn/shop/files/IMG_0456.webp?v=1756773346&width=3024)
![id=[47707799781691]](http://hownot2.com/cdn/shop/files/2aa2194b35a2d54d50262e7c2bc6bad328c98065__66517.jpg?v=1756773346&width=1000)
![id=[47707799781691]](http://hownot2.com/cdn/shop/files/52de083926b969e0a83ed89ae7992968652e0f1e__37199.jpg?v=1756773346&width=1000)
![id=[47707799781691]](http://hownot2.com/cdn/shop/files/6e1ff8f973a9c9245b5bcf7a2ce812434d0804ca__19200.jpg?v=1756773346&width=1000)
![id=[47707799781691]](http://hownot2.com/cdn/shop/files/338883b502faf02c9e10372ce34988dd6e2eaa55__09310.jpg?v=1756773346&width=1000)
![id=[47707799781691]](http://hownot2.com/cdn/shop/files/6ab14eb6410d19bc8af948d8a134a41686b7ac31__46505.jpg?v=1756773346&width=1000)
![id=[47707799781691]](http://hownot2.com/cdn/shop/files/20fe8390c6b0f756dfa51fc75cd49c4dd8d52680__41079.jpg?v=1756773346&width=1000)
![id=[47707799781691]](http://hownot2.com/cdn/shop/files/ad9f62b0911816972784ea52b65cbeac9109876a__77050.jpg?v=1756773346&width=1000)
![id=[47707799781691]](http://hownot2.com/cdn/shop/files/f8ef026d2a713cf642b669eadf8b1f2f1ef11018__86881.jpg?v=1756773346&width=1000)
![id=[47707799814459]](http://hownot2.com/cdn/shop/files/eea15211b4b440cb6b00450be0a90453724b05d4__50306.jpg?v=1756773347&width=1000)
![id=[47707799814459]](http://hownot2.com/cdn/shop/files/IMG_0449.webp?v=1756773347&width=3024)
![id=[47707799814459]](http://hownot2.com/cdn/shop/files/IMG_0450.webp?v=1756773347&width=3024)
![id=[47707799814459]](http://hownot2.com/cdn/shop/files/IMG_0451.webp?v=1756773347&width=3024)
![id=[47707799814459]](http://hownot2.com/cdn/shop/files/5fcfd16179b781e8fc19febf95159587f5ca732b__21127.jpg?v=1756773347&width=1000)
![id=[47707799814459]](http://hownot2.com/cdn/shop/files/27325f0edfda335910a4dc3783f0b24ee84ecd00__36625.jpg?v=1756773347&width=1000)
![id=[47707799814459]](http://hownot2.com/cdn/shop/files/4fe1e4edf9bd0a4f0a09efc5cbf749e64e190482__61715.jpg?v=1756773347&width=1000)
![id=[47707799814459]](http://hownot2.com/cdn/shop/files/649fce12f83af5669cb6b649c3a886855672cdf2__68633.jpg?v=1756773347&width=1000)
![id=[47707799748923, 47707799781691, 47707799814459]](http://hownot2.com/cdn/shop/files/IMG_0461.webp?v=1756773348&width=3024)
![id=[47707799814459]](http://hownot2.com/cdn/shop/files/9bac9356d2492b1e2906b36bef3a4a4a3502aa03__74249.jpg?v=1756773348&width=1000)
![id=[47707799814459]](http://hownot2.com/cdn/shop/files/8a58251abe36bd1604df574ff81ea15582cbe902__35361.jpg?v=1756773348&width=1000)
![id=[47707799814459]](http://hownot2.com/cdn/shop/files/ac20e22f912363f7d30fa3a591f0fc84cc5553b9__13609.jpg?v=1756773348&width=1000)
![id=[47707799814459]](http://hownot2.com/cdn/shop/files/6f6862c012db64e8eb2ba8ad7eb82b863fcfcc80__13729.jpg?v=1756773348&width=1000)
![id=[47707799814459]](http://hownot2.com/cdn/shop/files/6e2ee137675837a1c1565003ec75f59f7953a467__02424.jpg?v=1756773348&width=1000)
![id=[47707799748923, 47707799781691, 47707799814459]](http://hownot2.com/cdn/shop/files/73d40888-fcf1-440e-8a8b-86224fd11ce5_Jeremiah_Watt_Zion_3432.jpg?v=1756773348&width=907)
![id=[47707799748923, 47707799781691, 47707799814459]](http://hownot2.com/cdn/shop/files/da02b24d-ef85-4ca4-8b5a-9a127467b490_Jeremiah_Watt_Zion_3103.jpg?v=1756773348&width=907)
Wall Hauler
Tier benefits:
Tier benefits:
Holy crap. I just got the new style in stock and grabbed it to write about it here. They upgraded it SO MUCH. I own and used old ones so this is what I’m stoked about:
- Waist belt isn’t just taller but lower. That ridgid base won’t be poking in my back anymore underneath the belt!
- BD finally realized G hook buckles were invented! They are everywhere. You don’t have to spend an hour at the base of the climb unweaving your bag straps. They are also at the top making it easier to close the bag when your gun-ho partner starts hauling before it’s fully sealed up.
- The material isn’t permanently in the flat shape it arrived in from the mail carrier. The old material was so stiff I stopped using my bags for the Metolius haul bags. Some reviews are upset it’s the “flimsy” TPS material and not the “durable” Durathane but I’ve used TPS for years on my other bags and never had to replace them because of wear. Maybe I just haul steep routes?
- Roll top is so much better. The old sphincter cinch top was just a funnel for water and dirt. Now I can actually close my bag. It also has an exterior pocket on it!
- There are more gear loops inside and they aren’t stiffened meaning they won’t get caught on so much crap as you pull out your stuff.
NOTE: There is extra material for the rear kangaroo pouch intended to stuff your straps. While empty, it can poke you in the back. Stuff it with your puffy while you hike and it becomes a feature, not a bug.
Pros
- Everything!
Cons
- It's still a haul bag
Portaledges
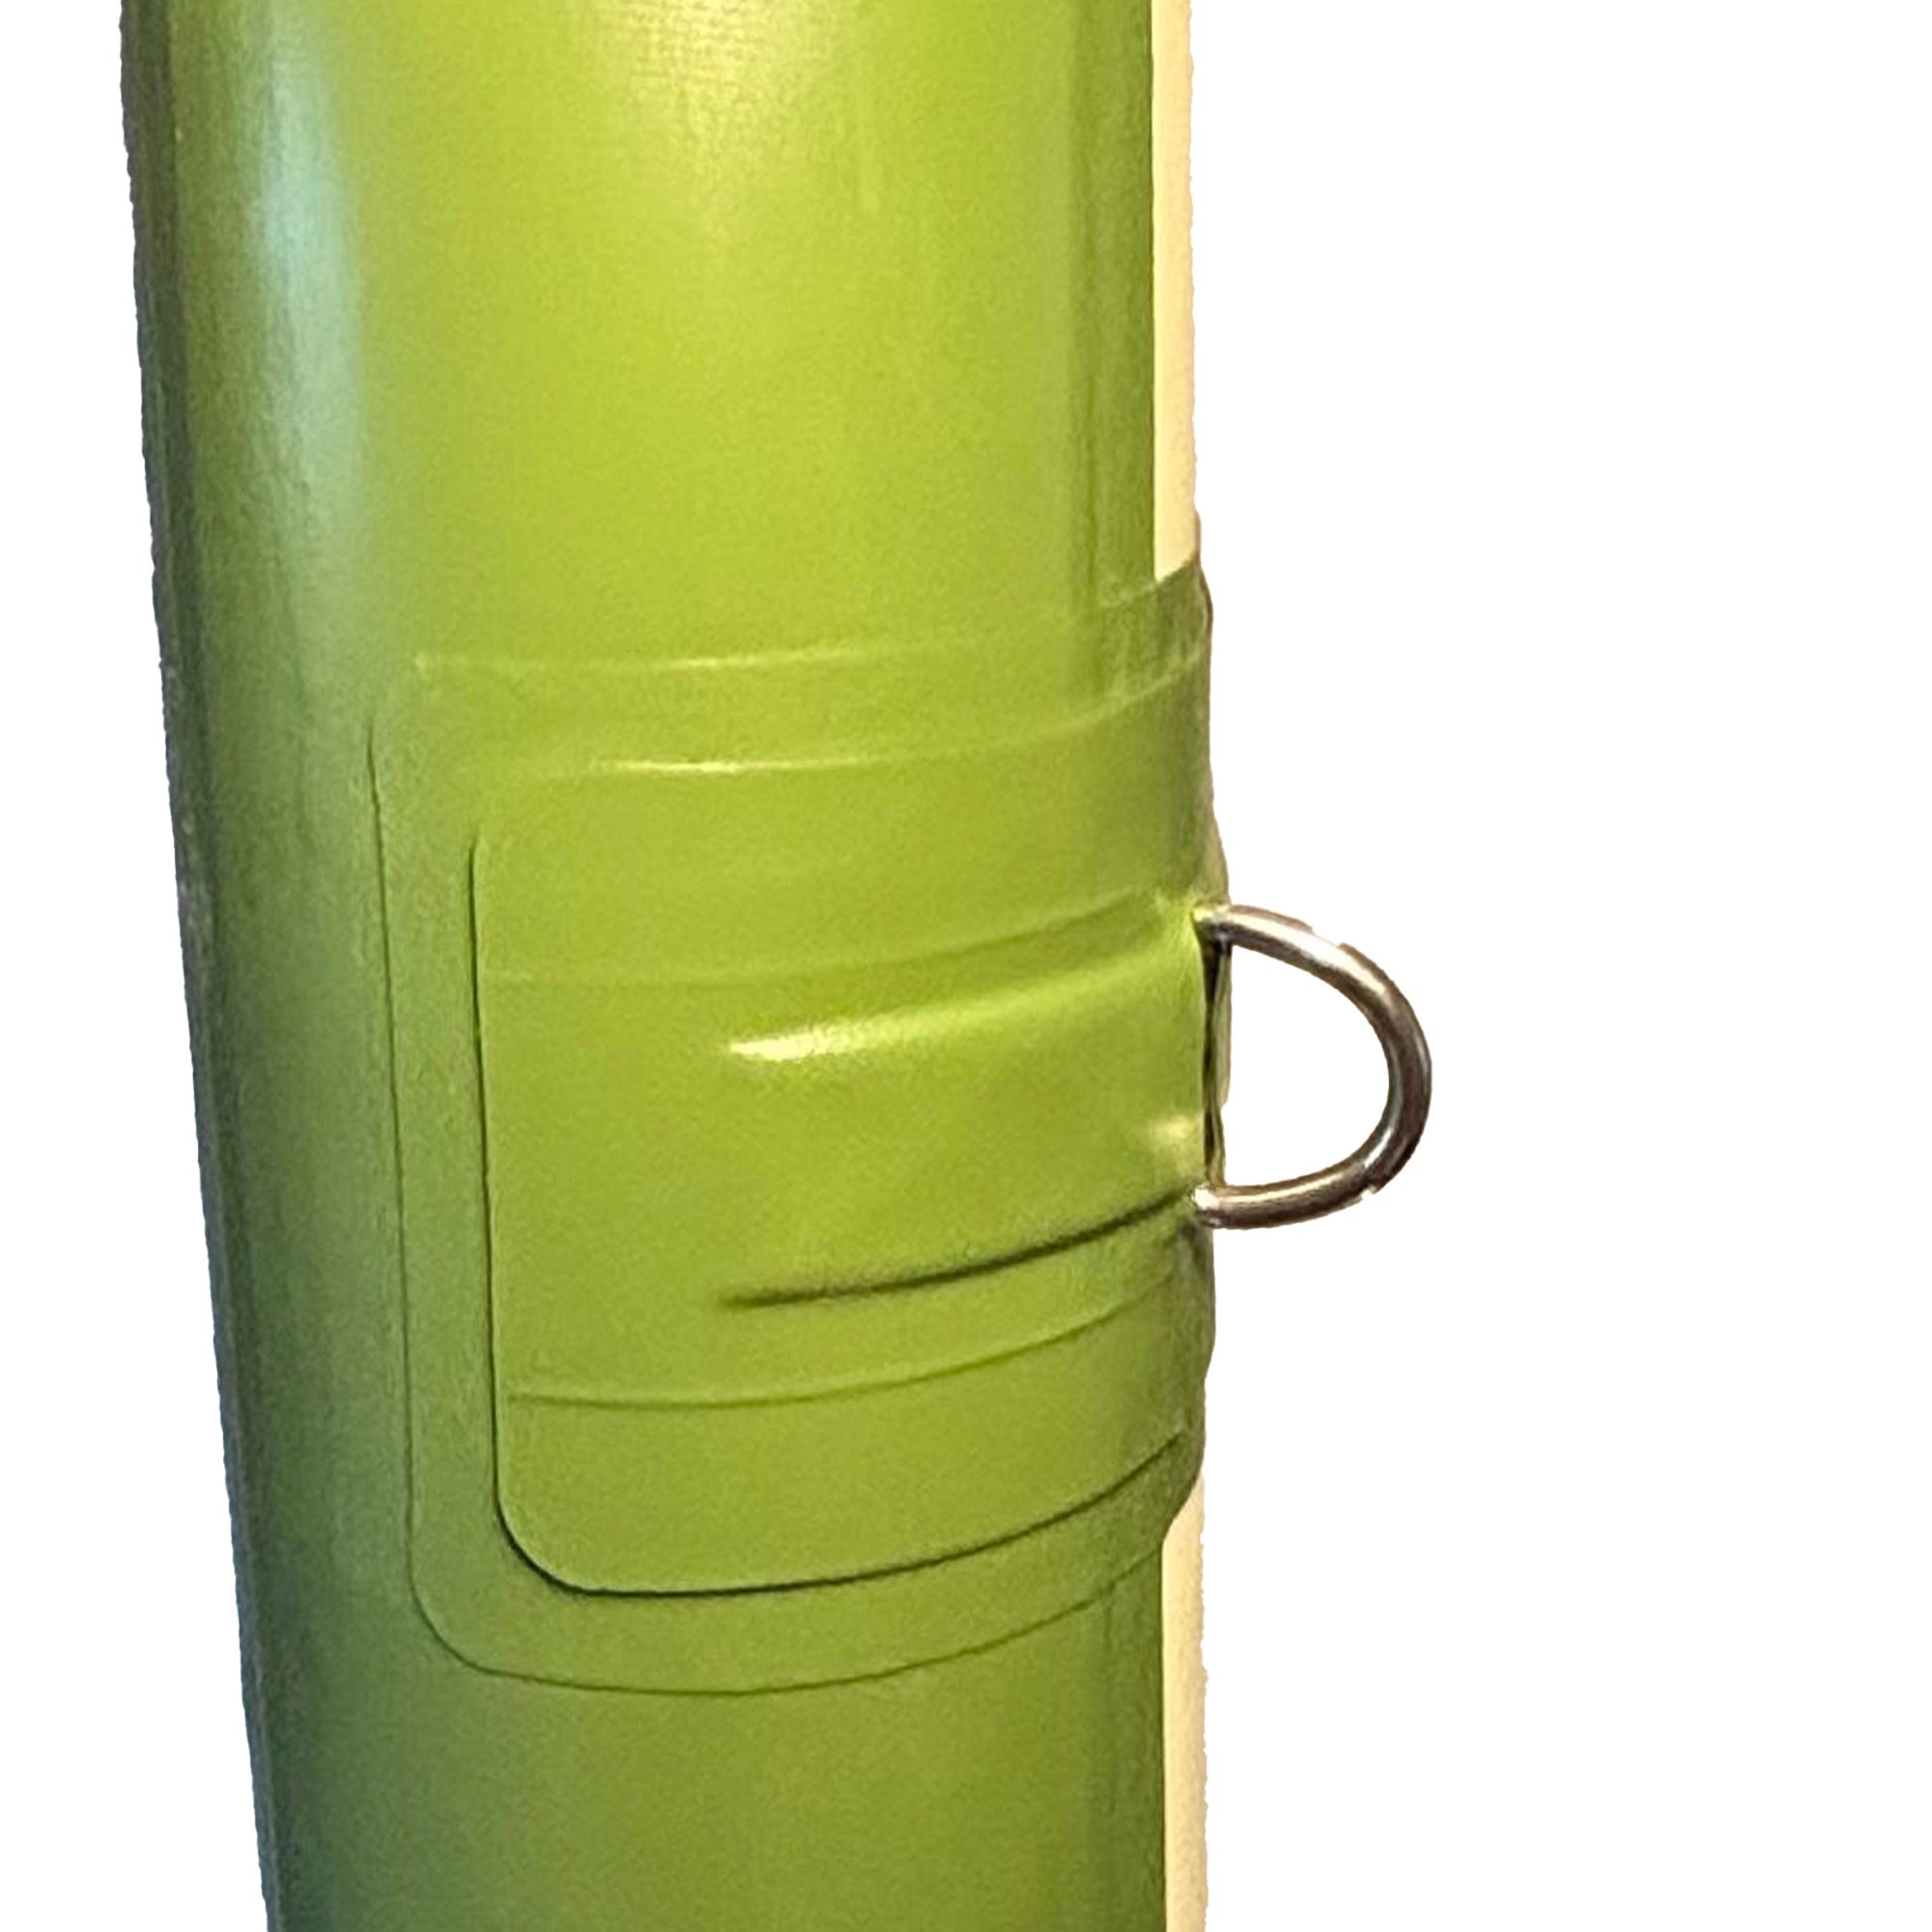
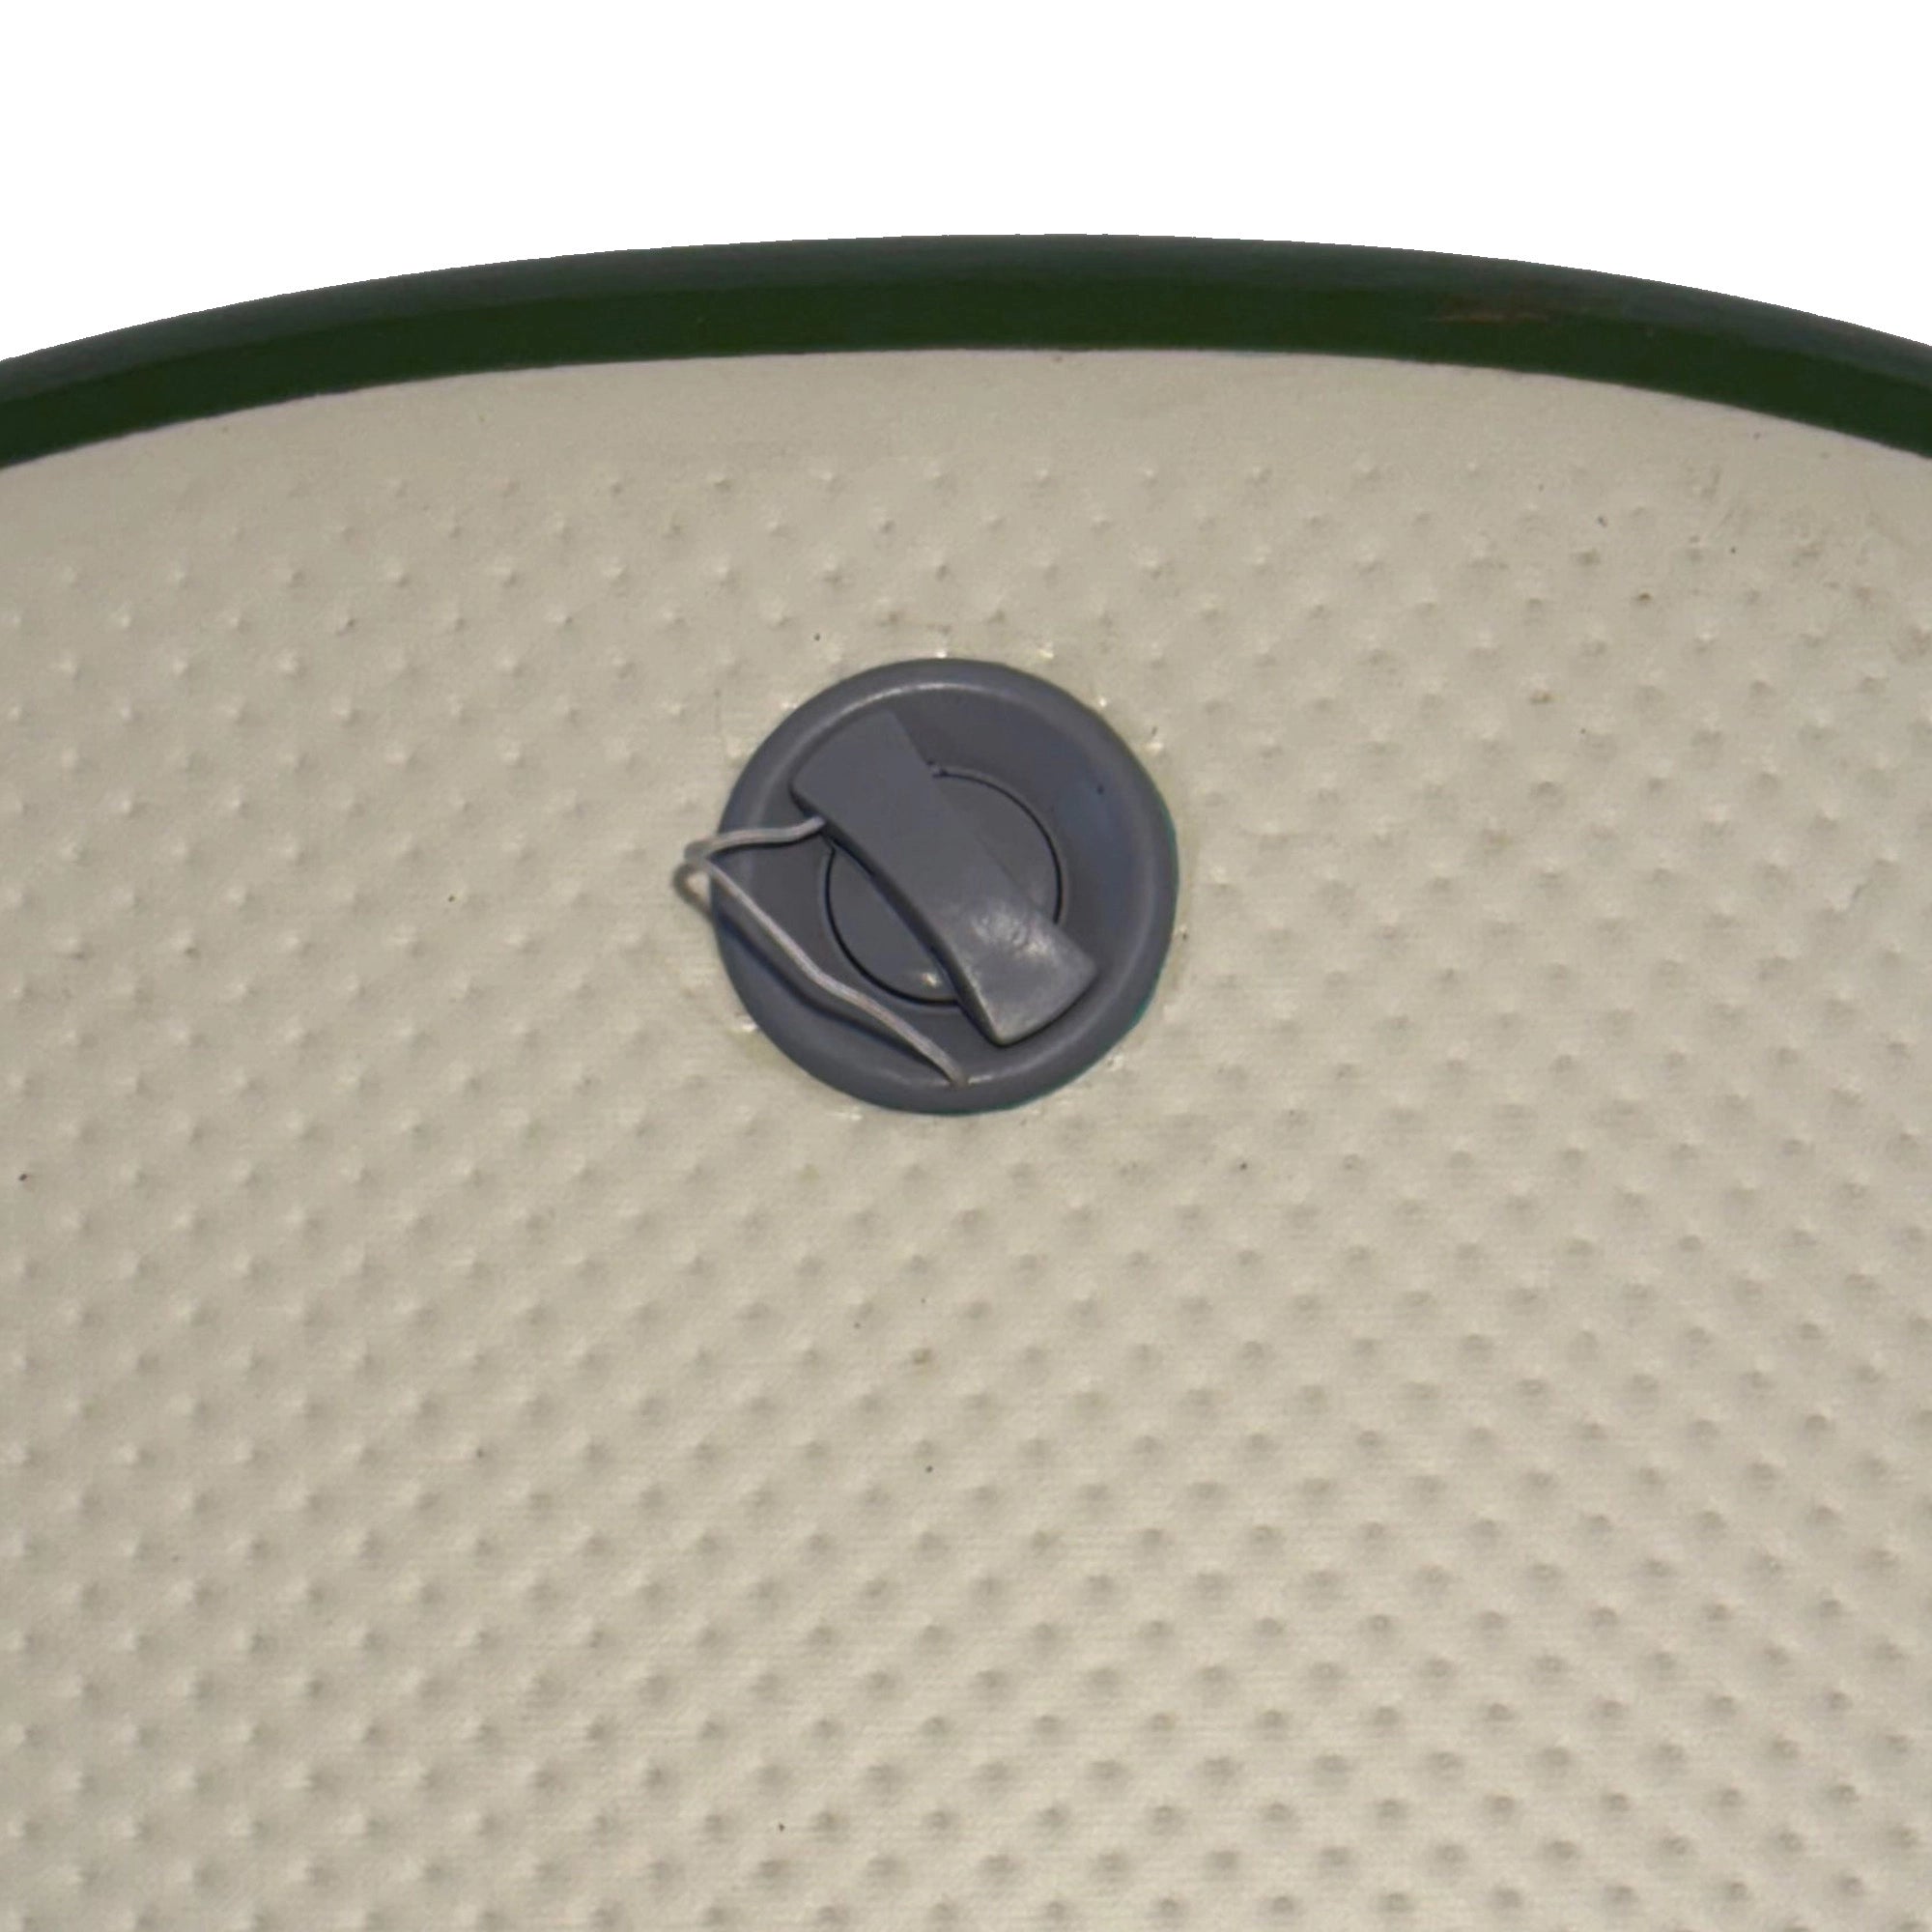
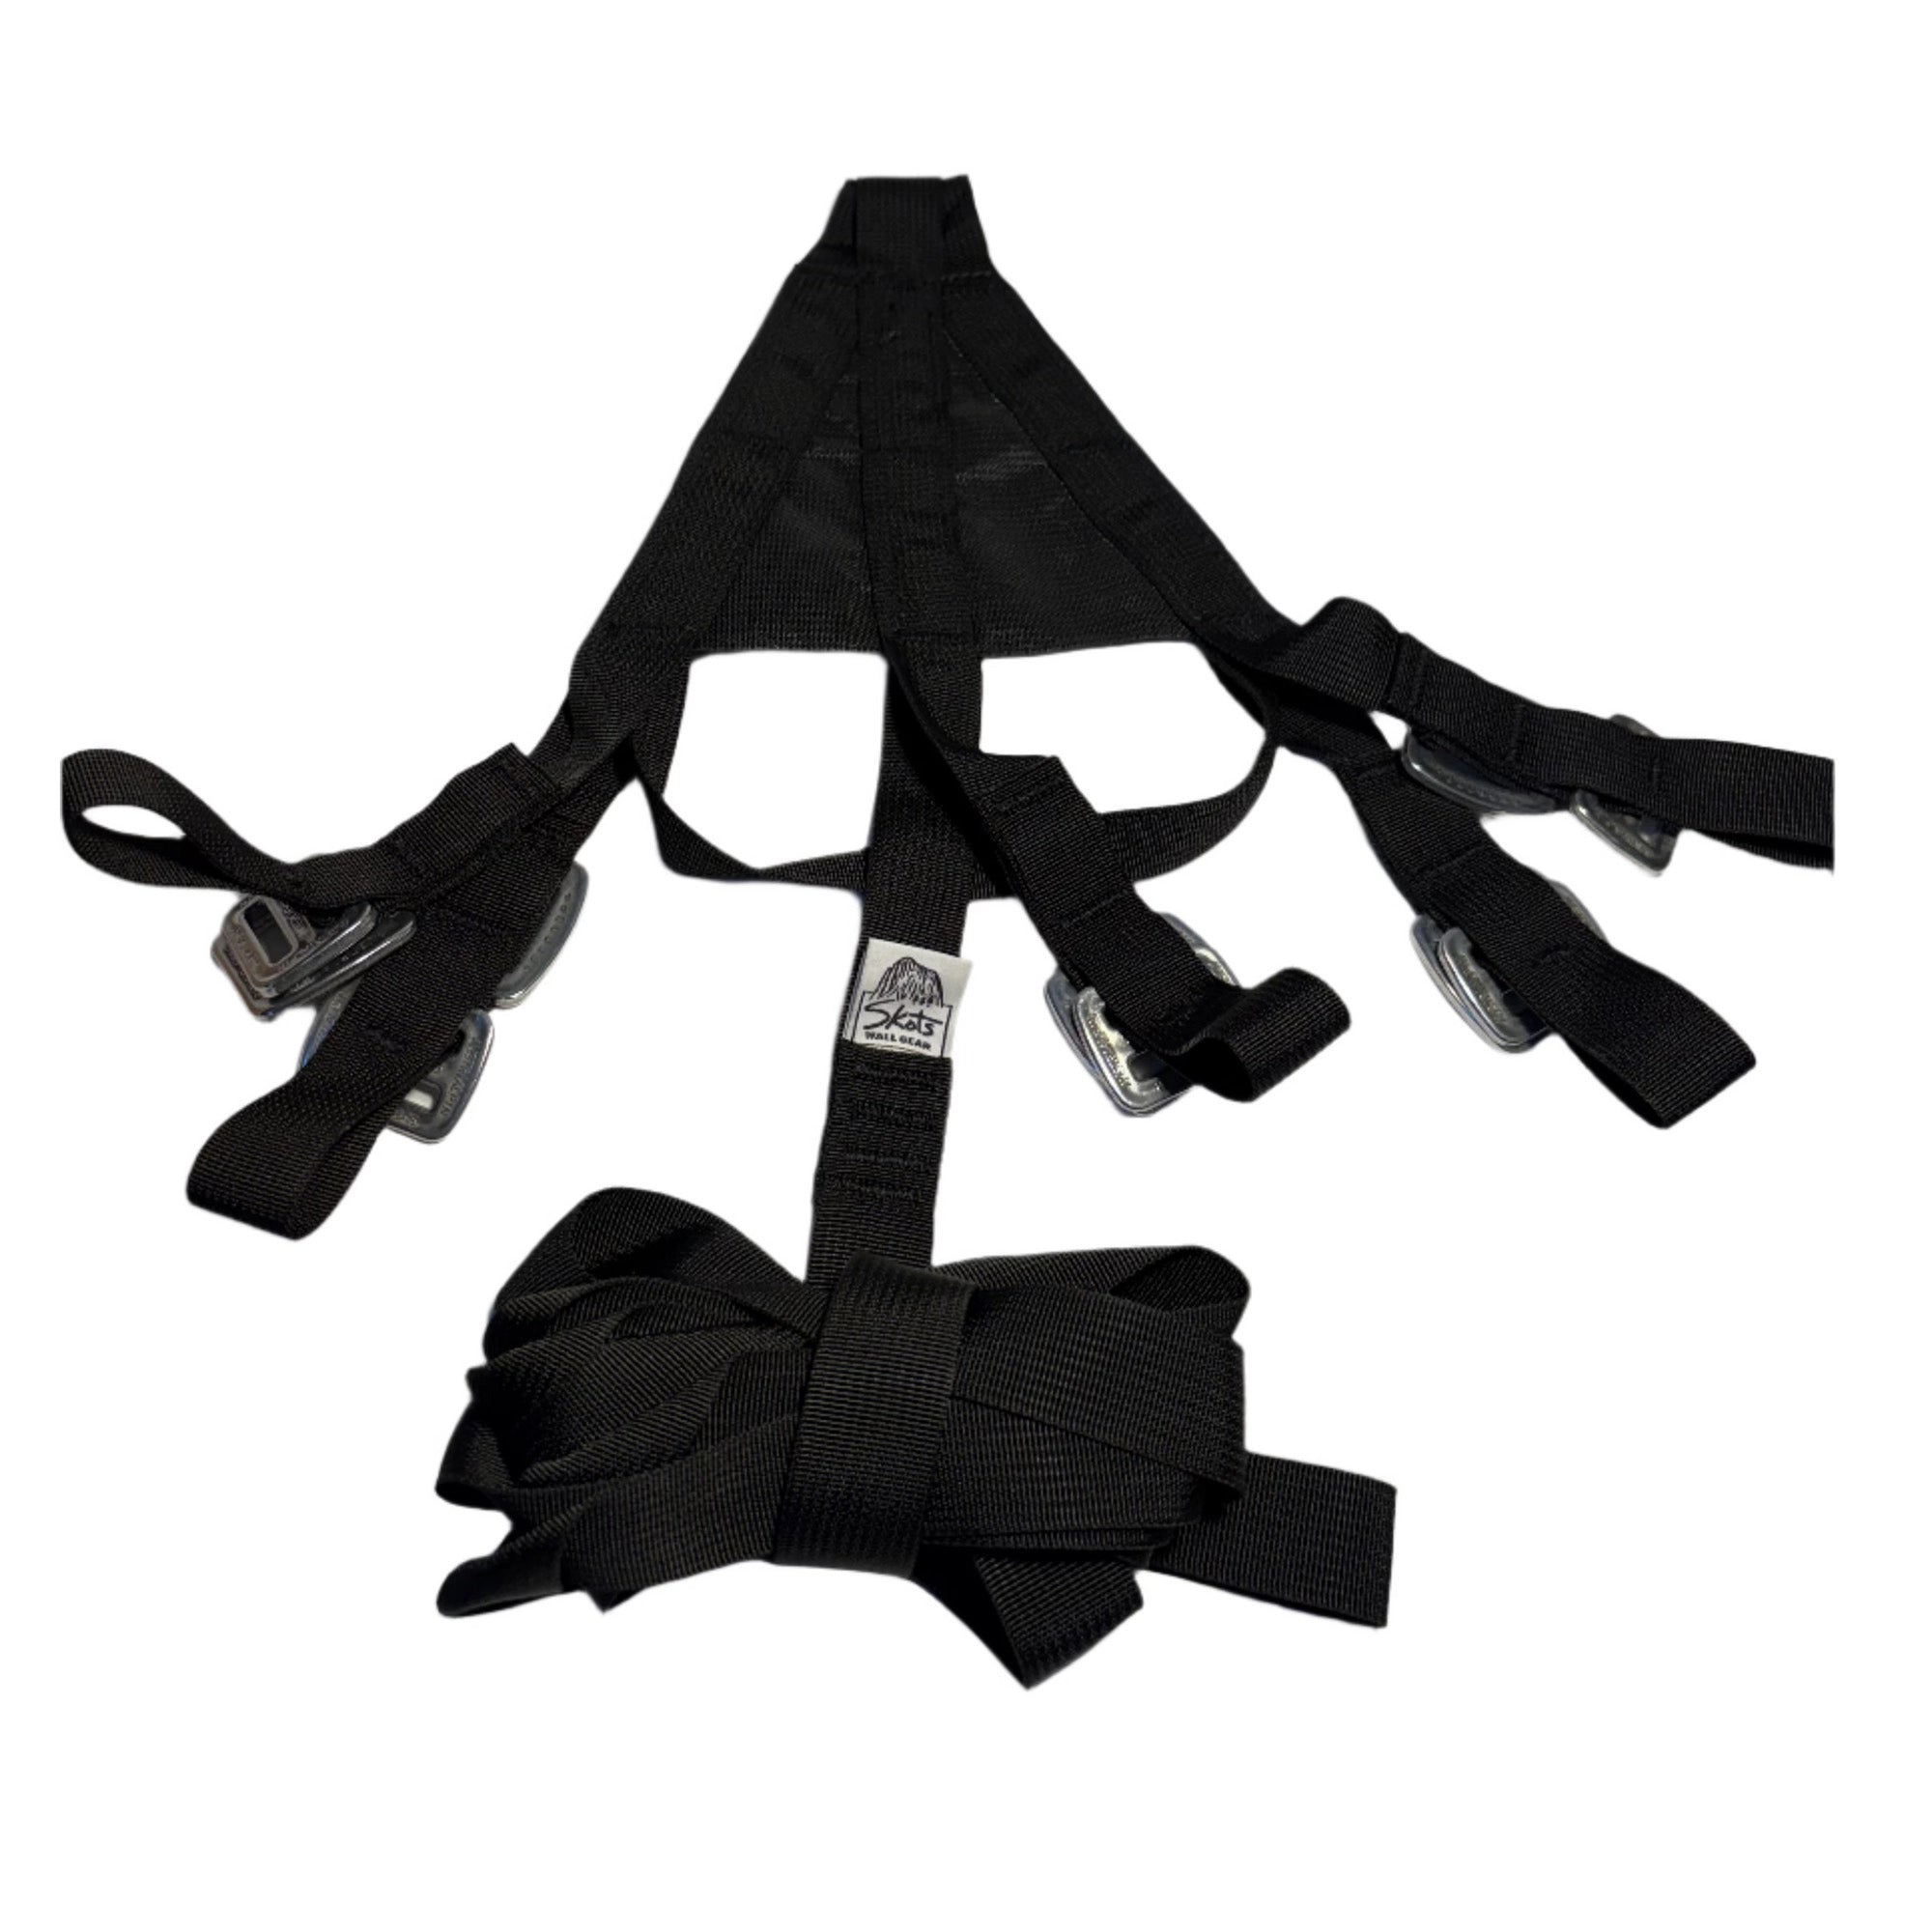
It’s exciting to stock both the nicest and cheapest options plus the classic. Framed ledges such as Metolius’ Bomb Shelter have their place. They are a pain to set up but ridgid can be nice. It is also a 2 person solution. It’s awkward to carry, still requires some insulation to sleep on, and is heavy, so I tend to lean toward the newer air-filled options. G7’s aren’t cheap, it’s the main downside for sure. It’s also almost impossible to get a fly for them so it's great to have another solution. The Taco from High Mountain Gear is the cheapest solution and can possibly use the air mattress you already have (requires horizontal baffles). It can be set up in recliner mode and we have their Gordito Fly available. The downside to those is your air mattress isn’t really designed up to be stood on in the middle while hanging in a tarp. You can’t flag it easily for hanging belays, and there is no cuddle modes!
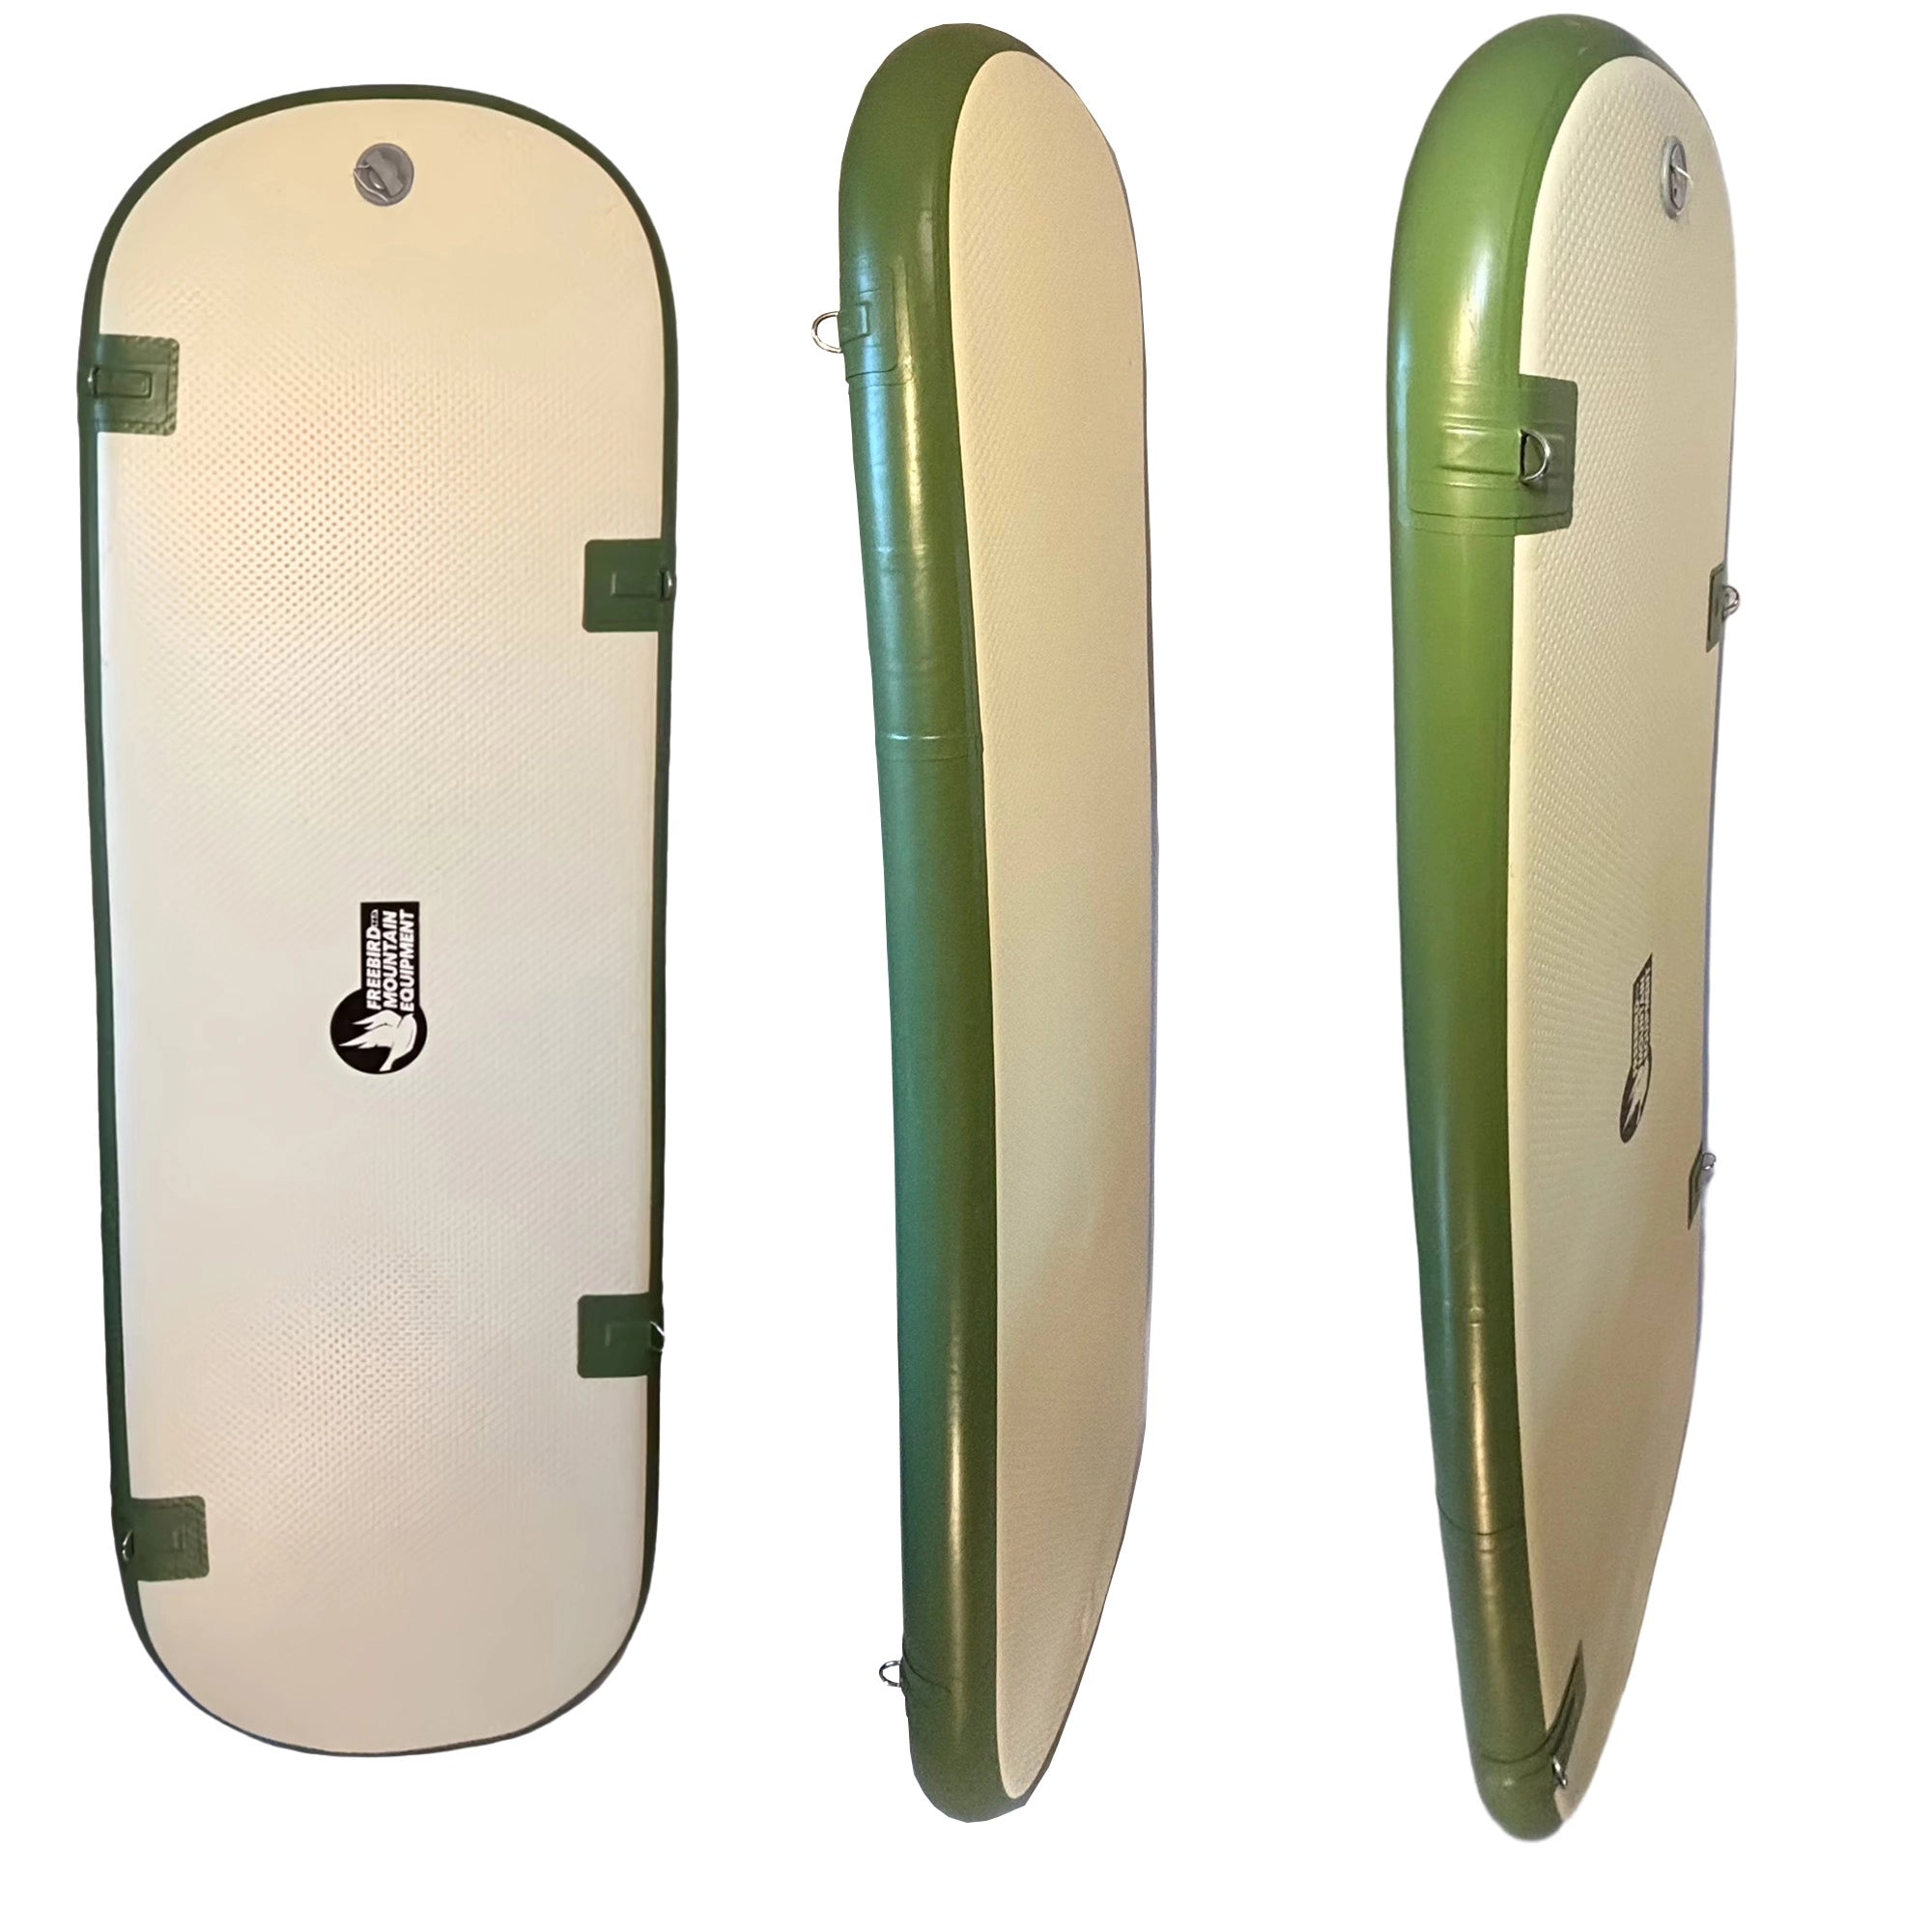
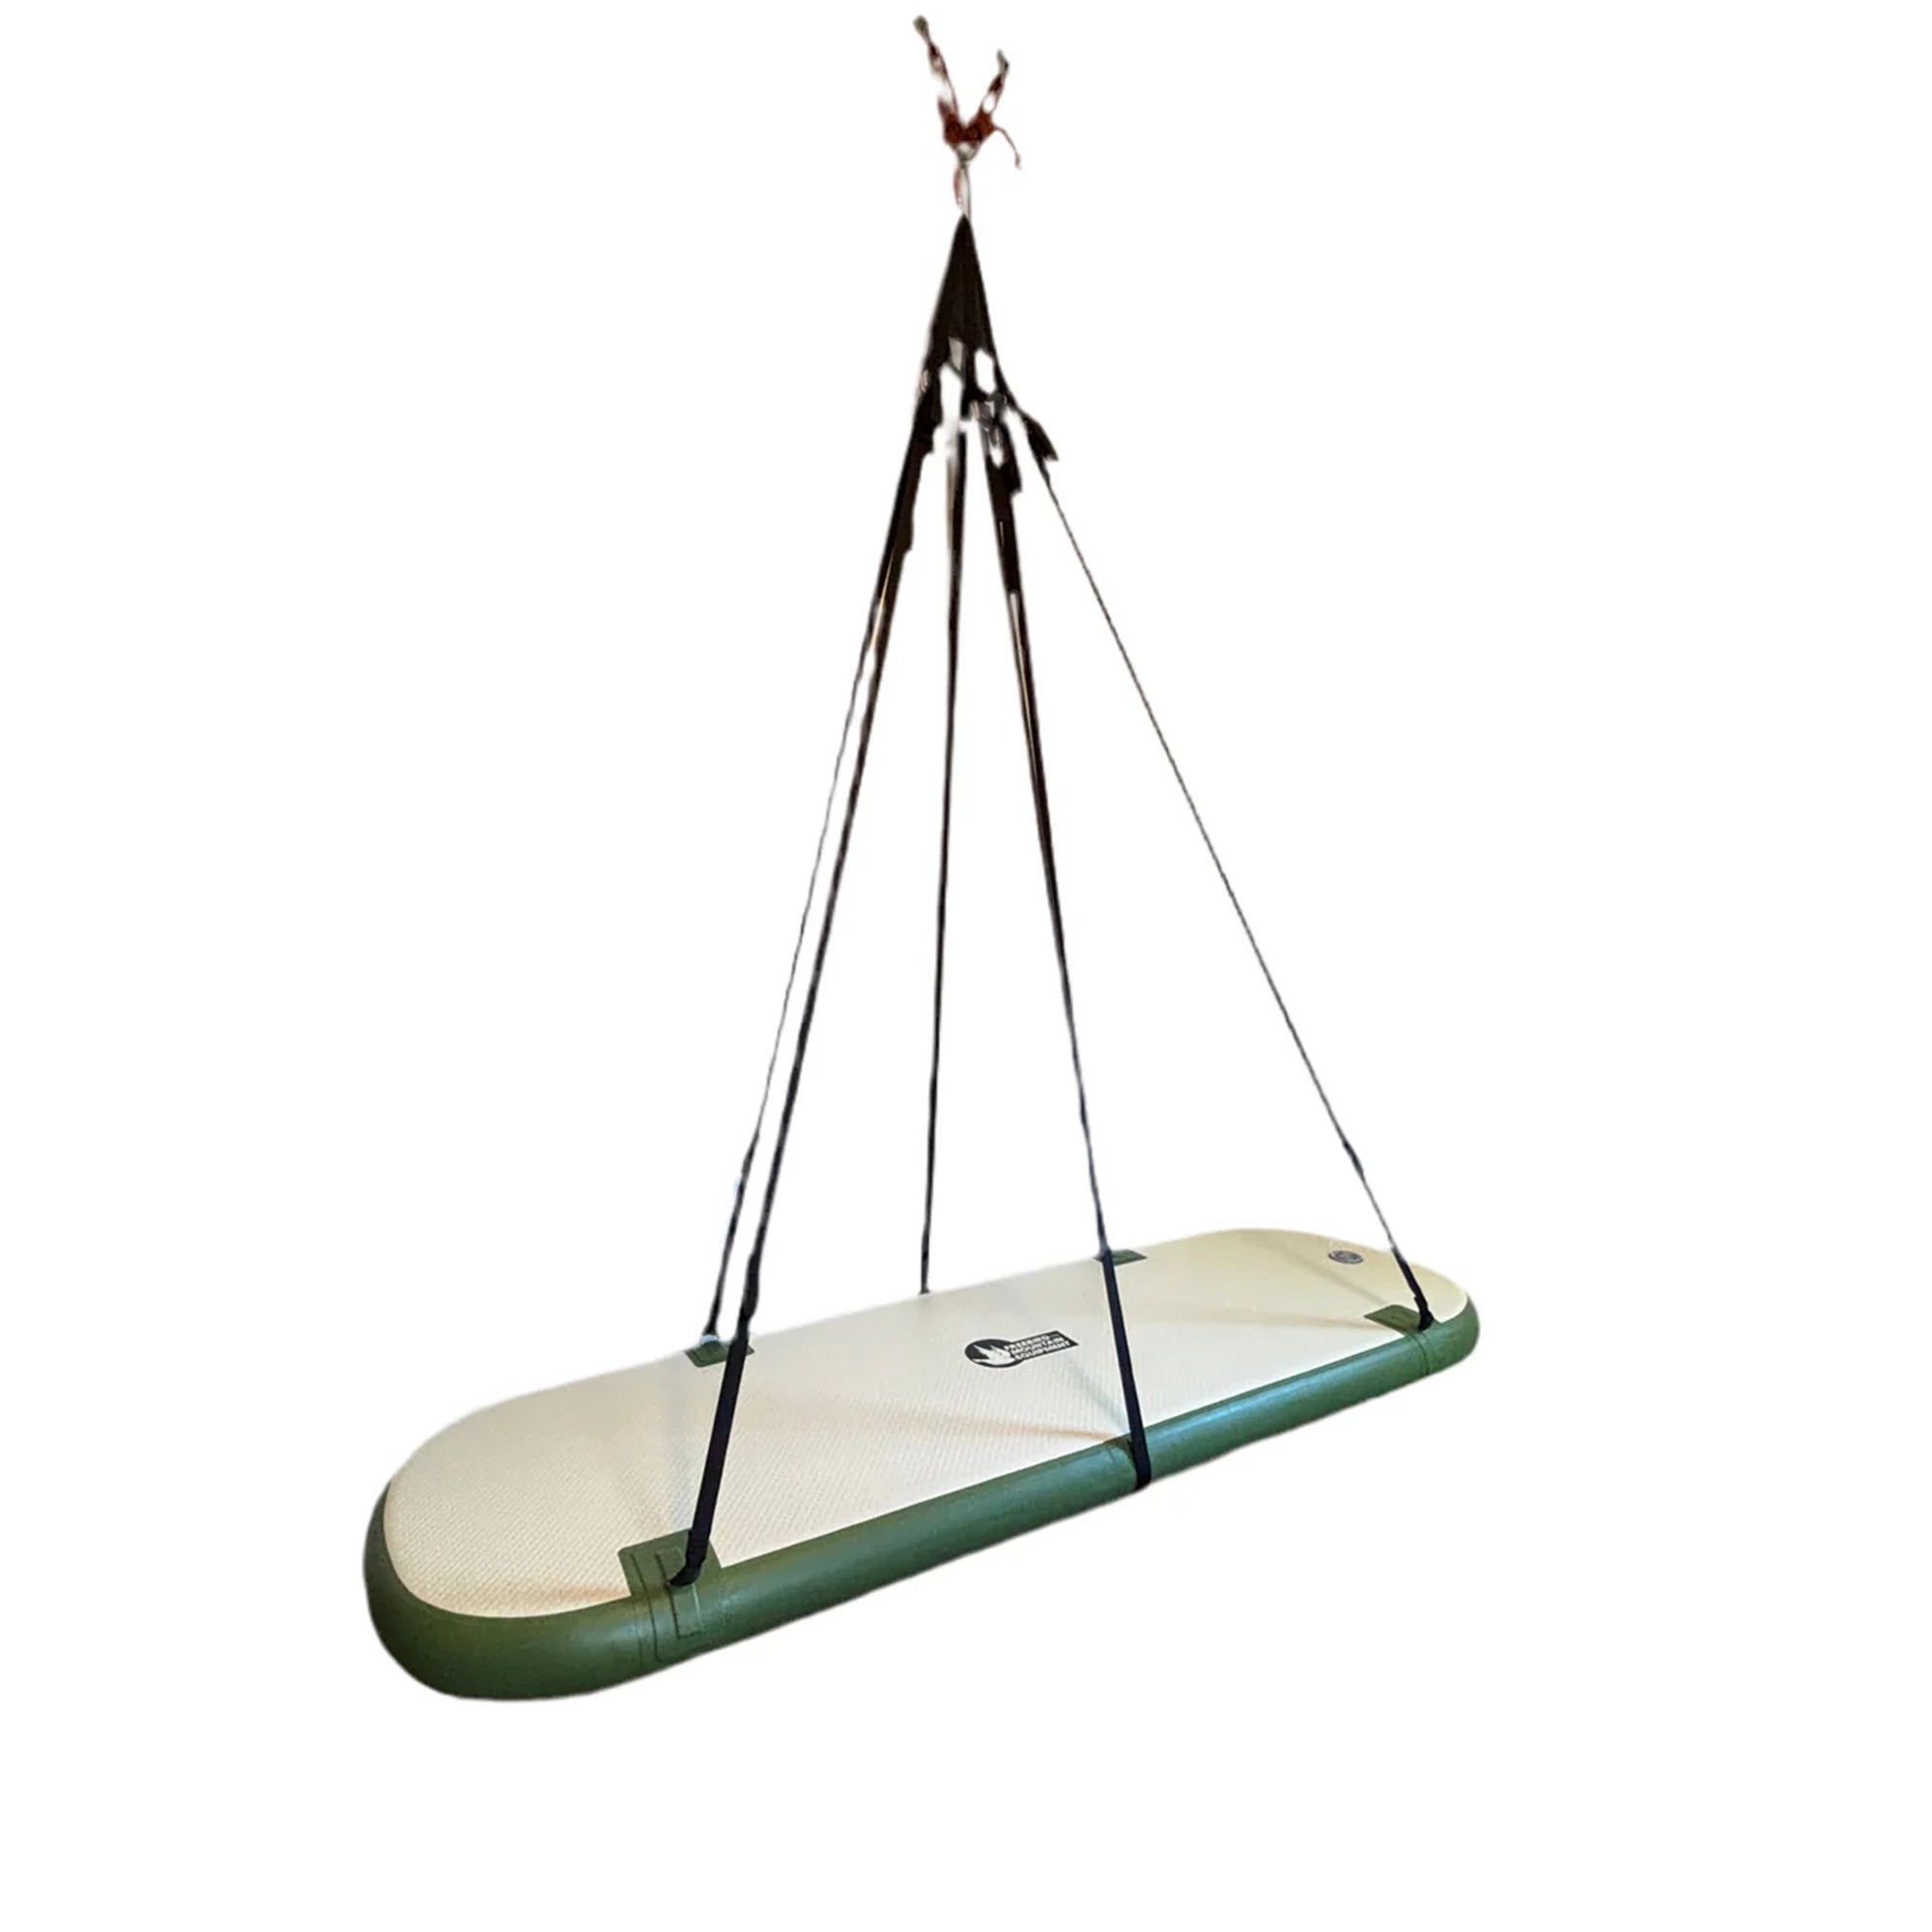
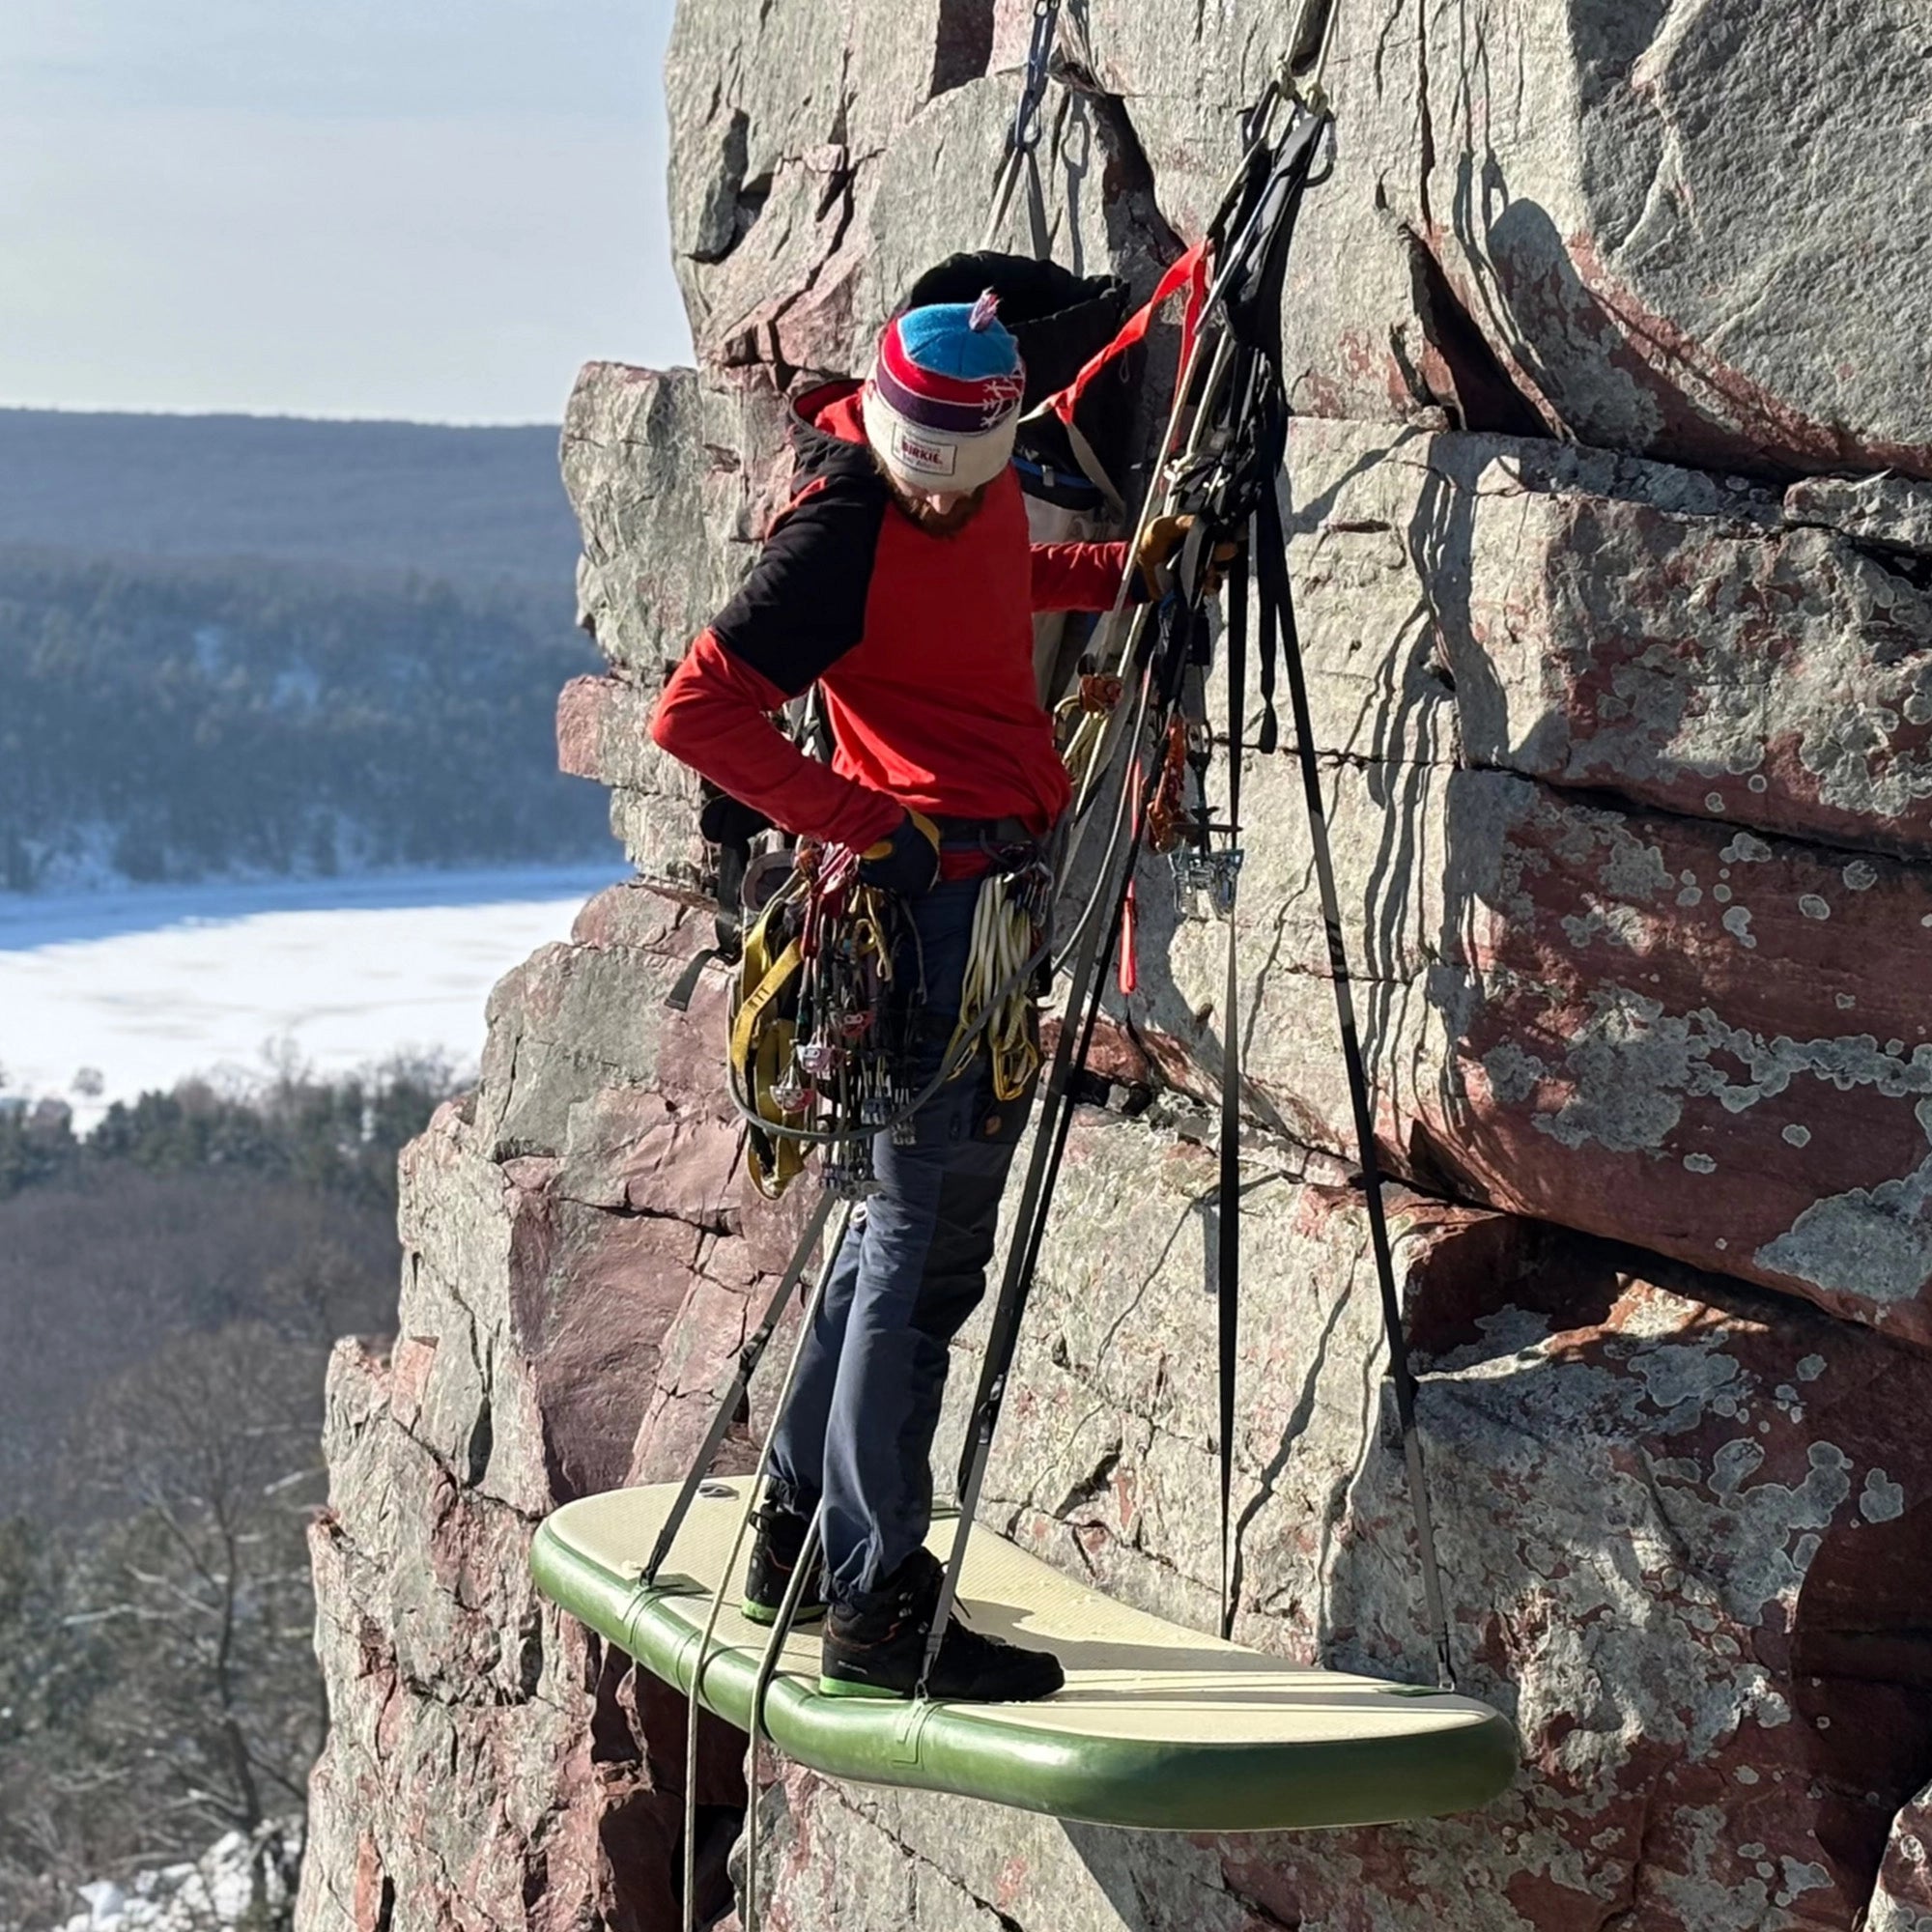
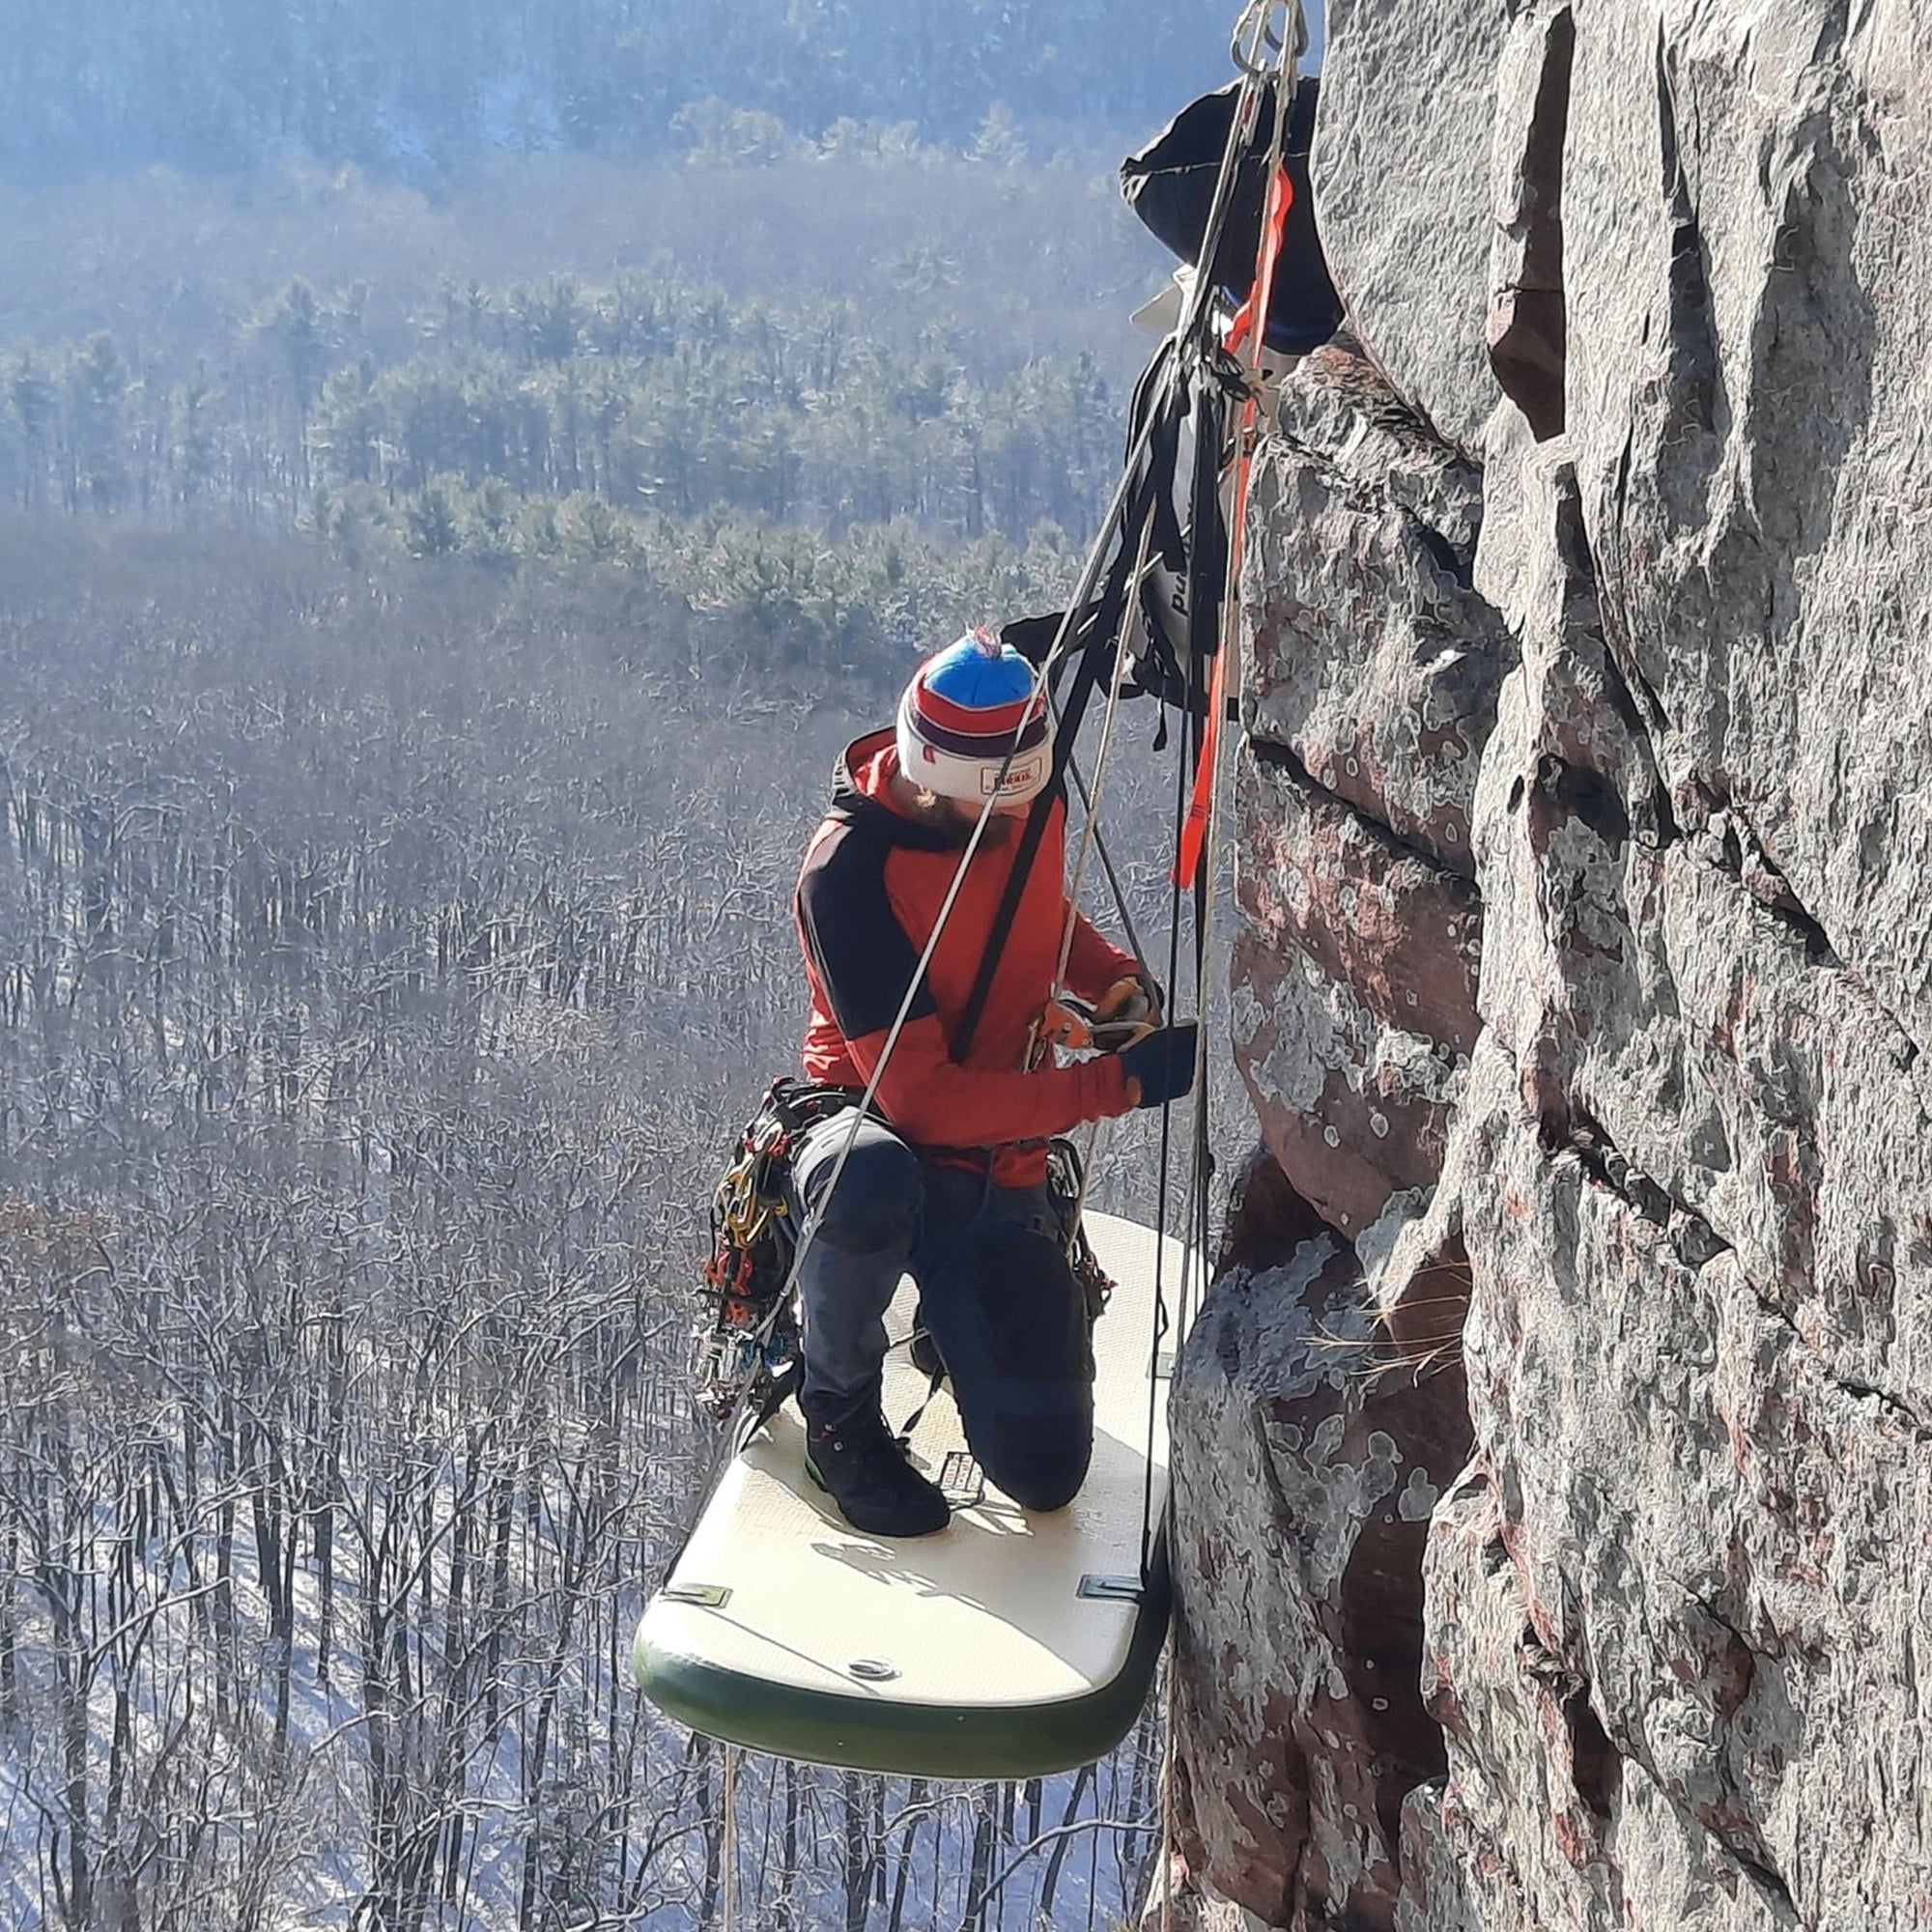
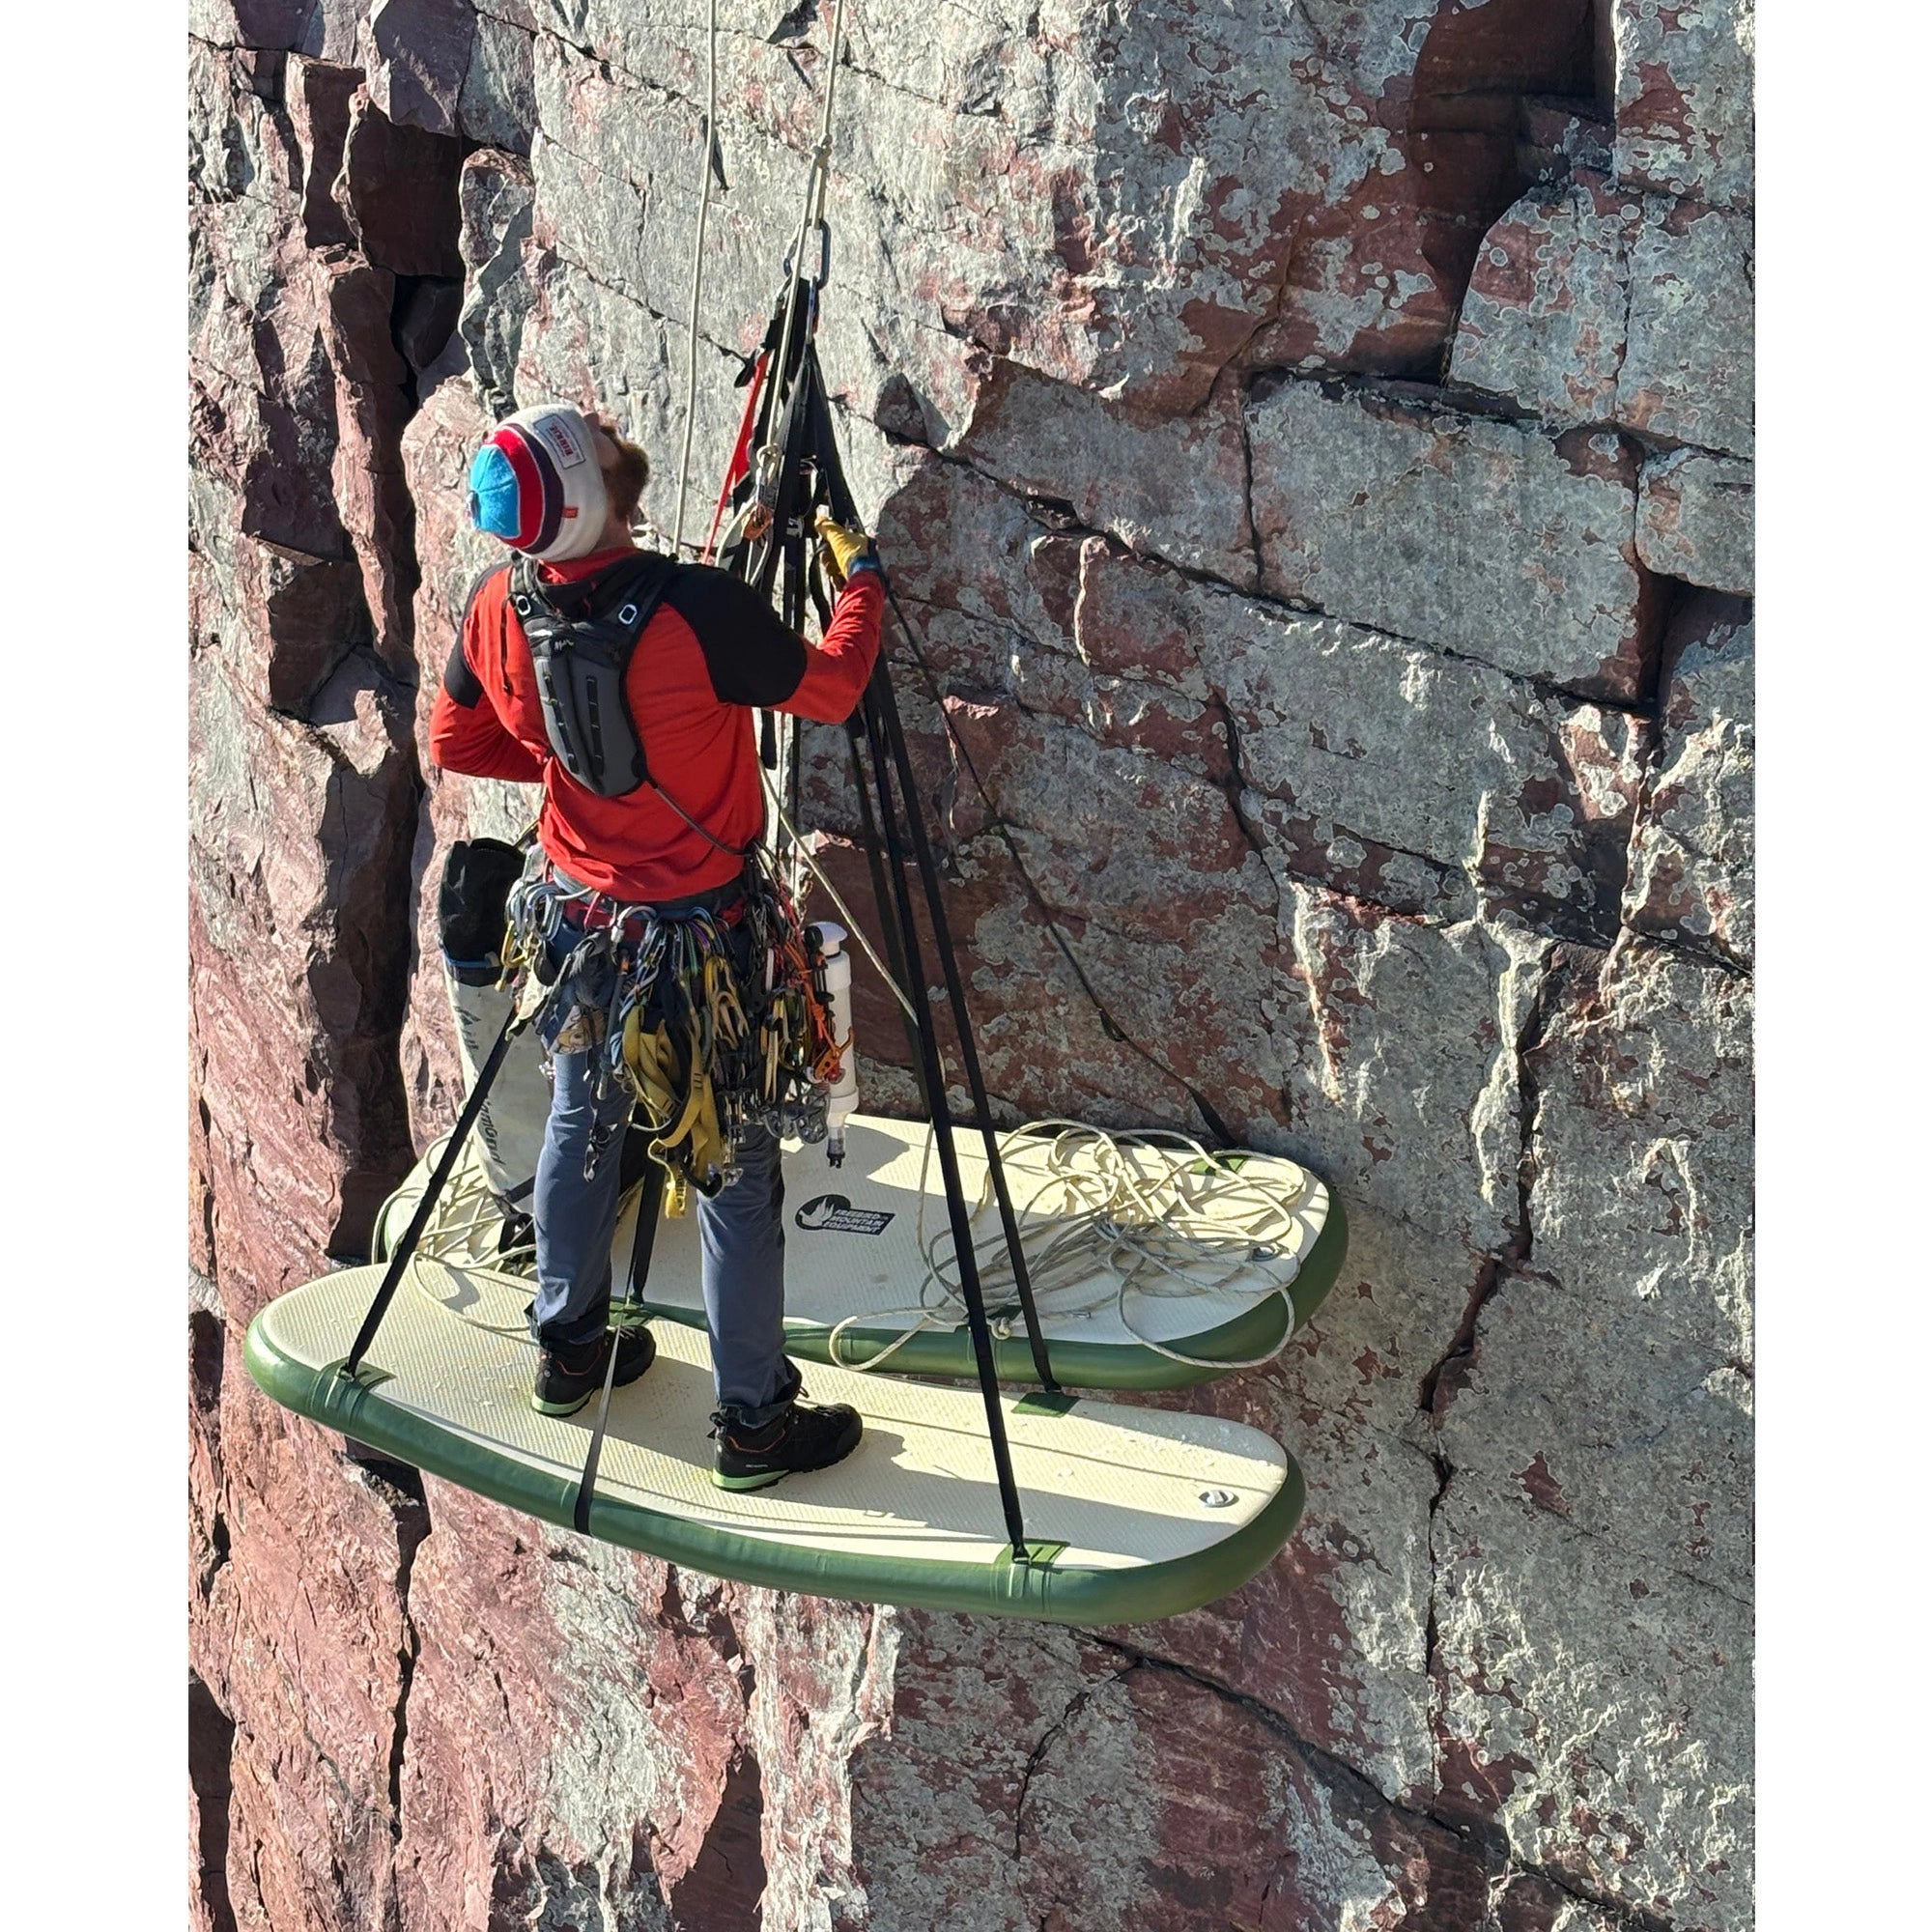
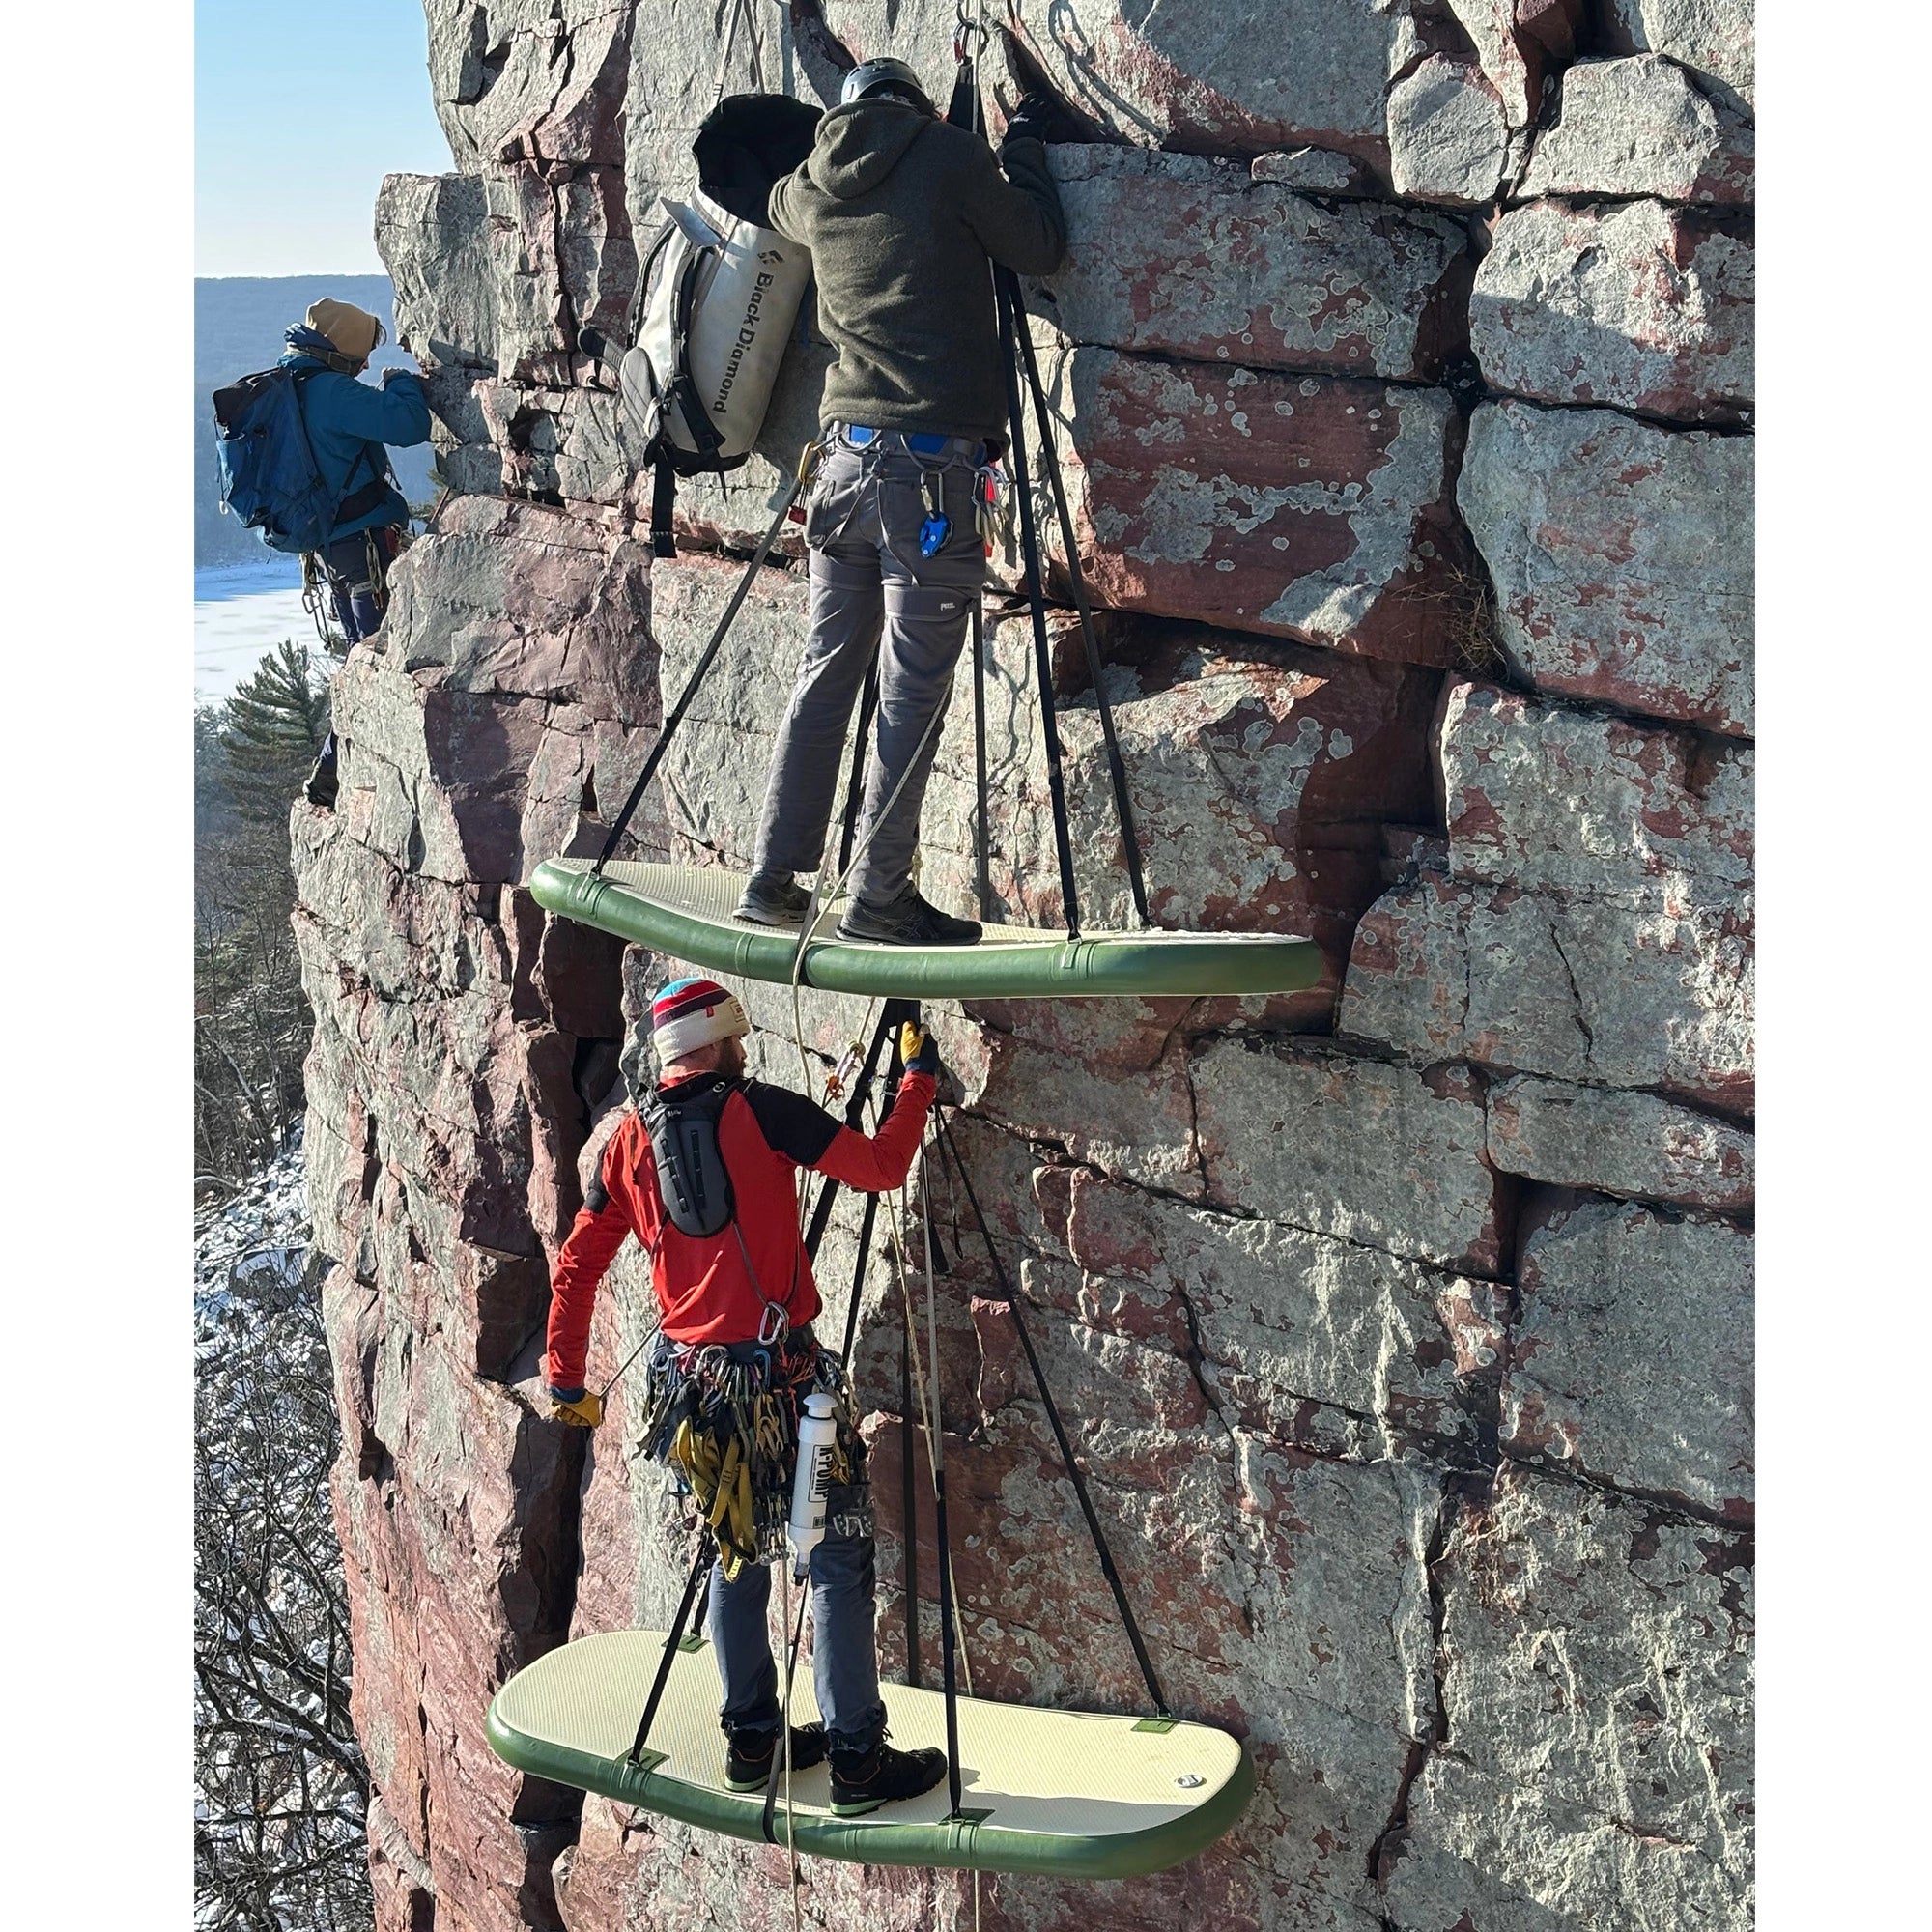
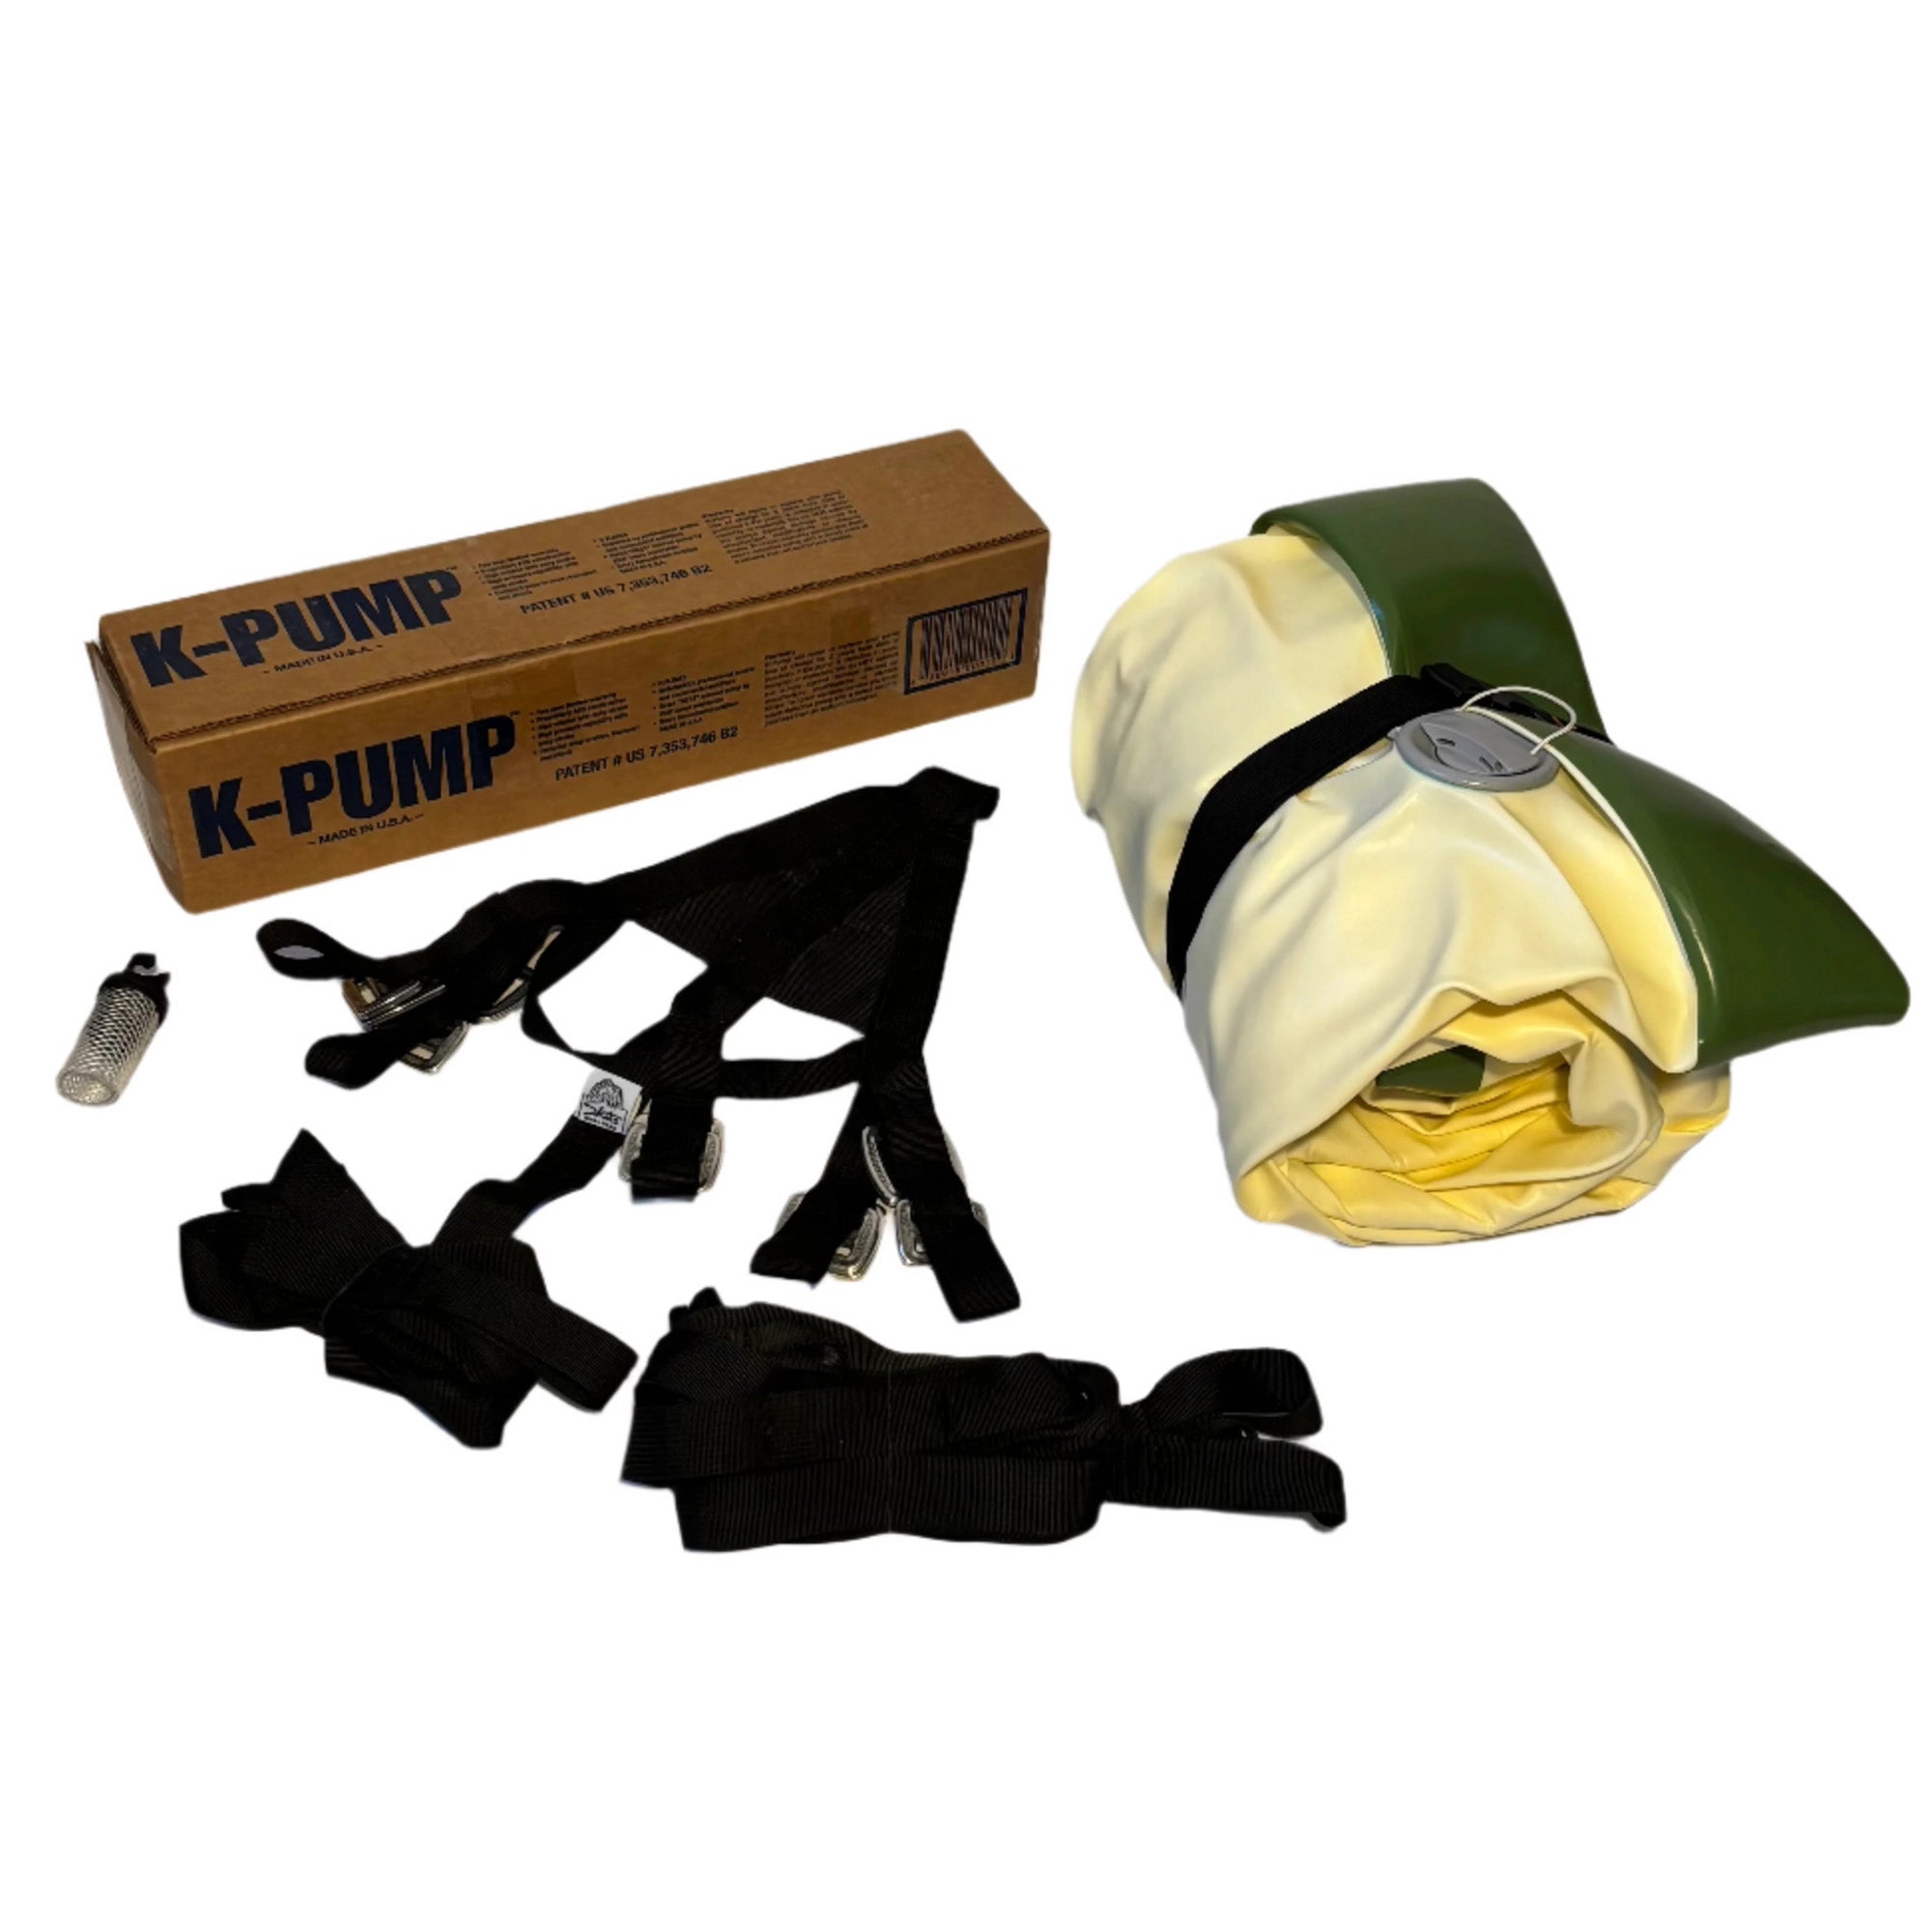
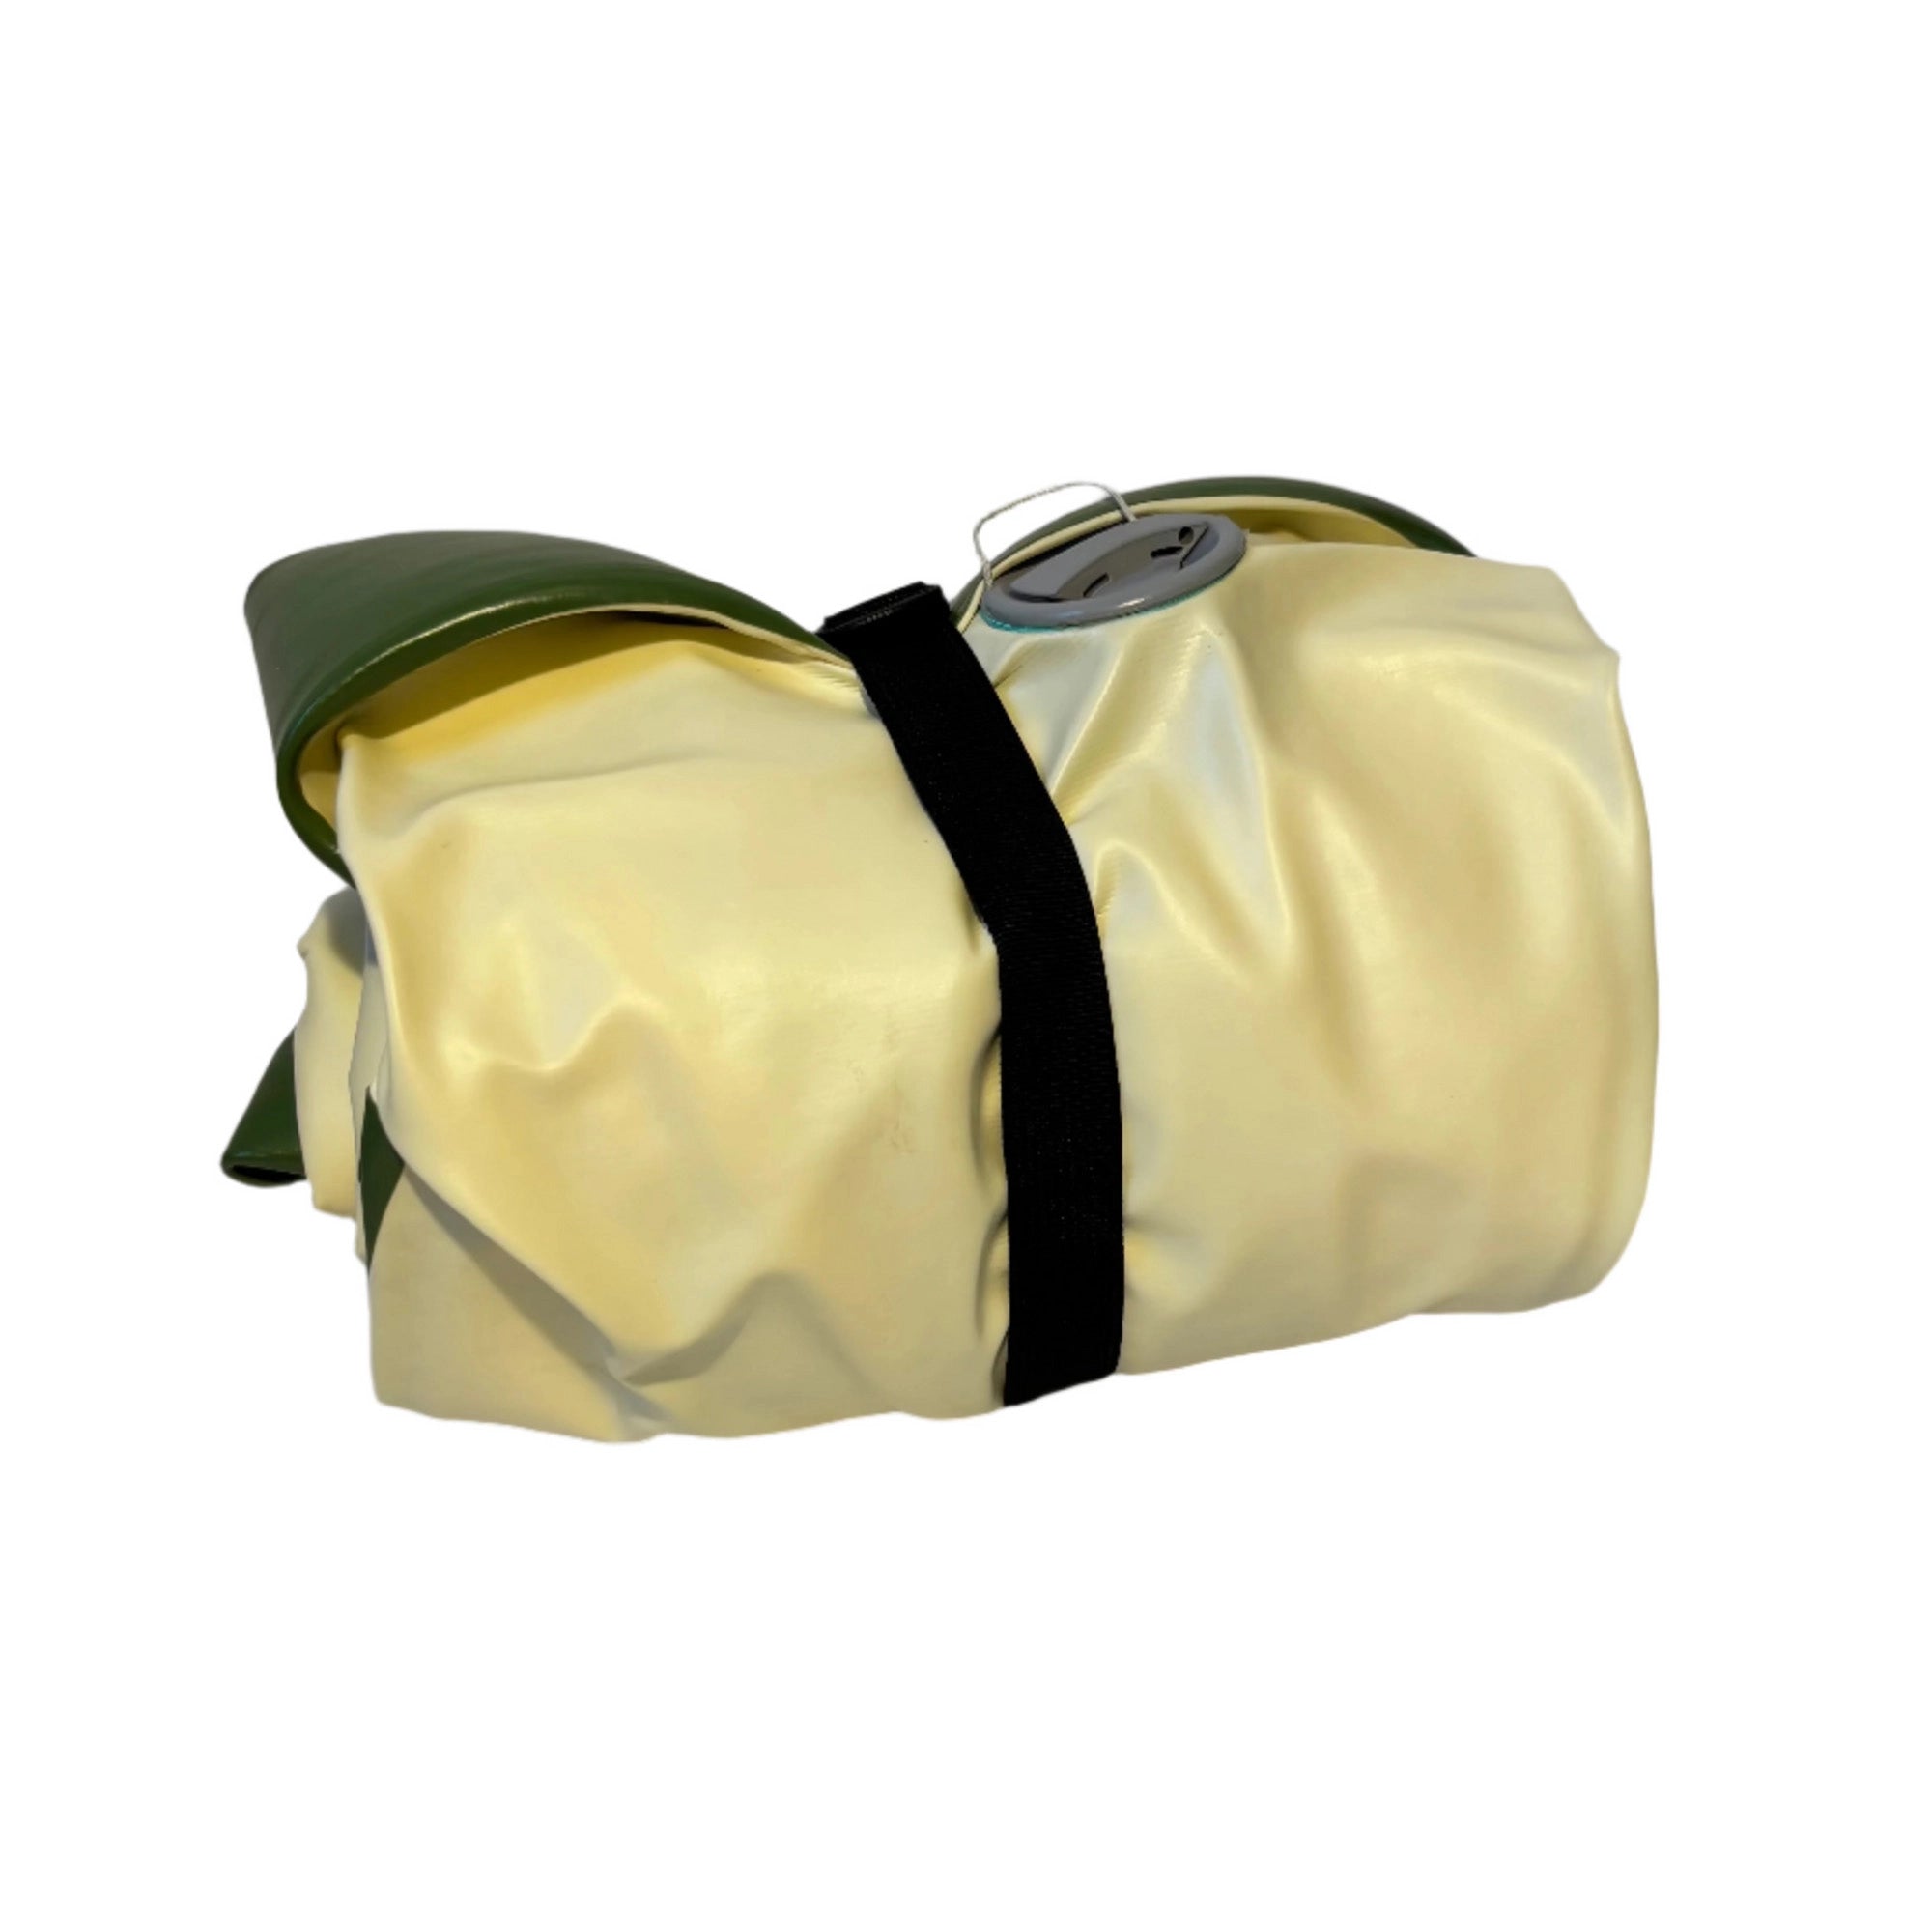

Single Multiledge Portaledge
Tier benefits:
Tier benefits:
Now that I have used them, I can’t go back. It’s an investment to get 2 but damn, they are so light and compact, especially when considering you don’t need an air mattress now. Easy to flag and I even clipped it to my gear loop (still inflated) as I jugged so I’d always have a ledge to stand at every hanging belay. You can bunk bed or double suite two of them. It can be unnerving to have an air mattress hanging by a string but popping them in my tests was very difficult and easy to patch. Just DON’T use the alcohol wipe first unless you let it dry for hours. If it isn’t covered in Zion sand stone or cave mud, the patch will stick. Blow them up as much as you want. They get super firm enough to use as a ledge. If your route has ok bivy for 1, this is a great solution to not bring an entire framed ledge. The full VIDEO I have on it ironically has a million views but it’s also very helpful to the 0.00001% of the audience who will use one.
Pros
- Firm but comfortable
- Light
- Convenient
Cons
- High price point
Helmets
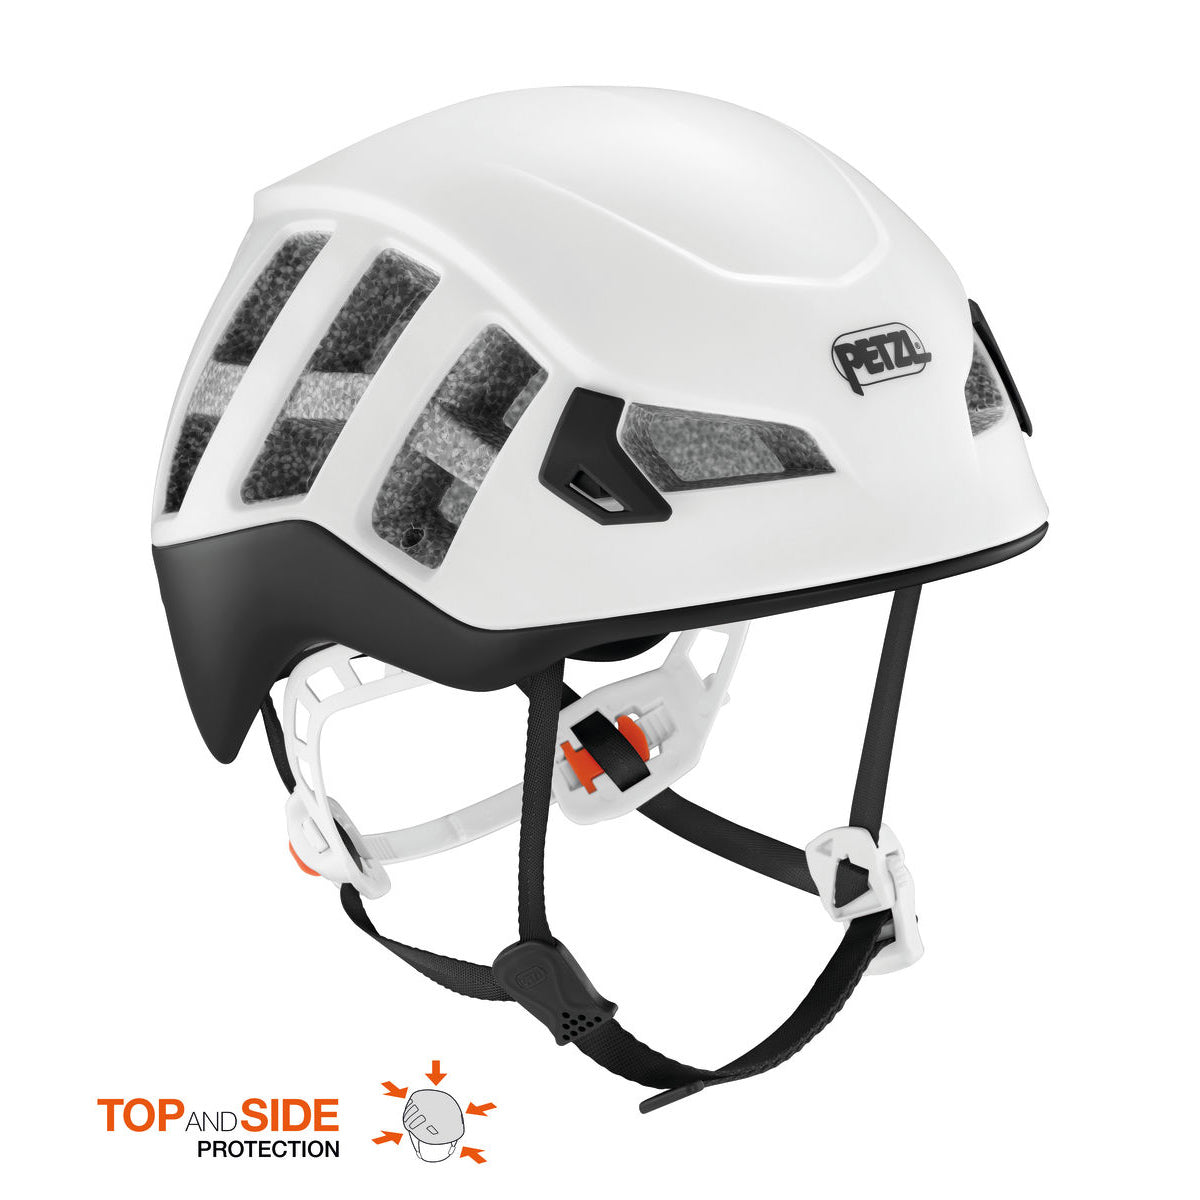
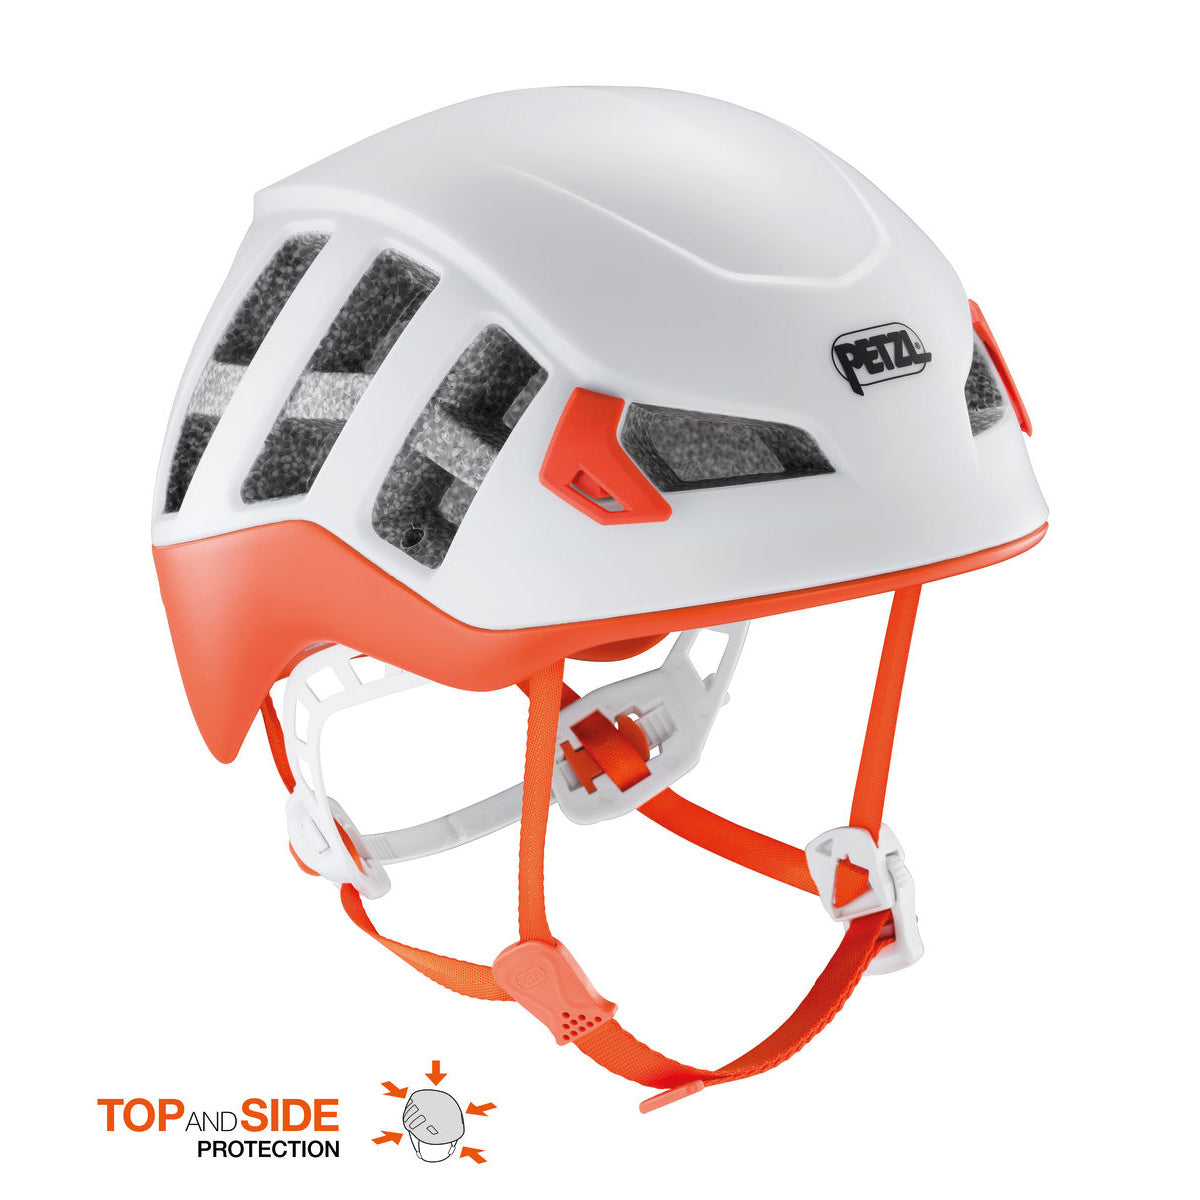
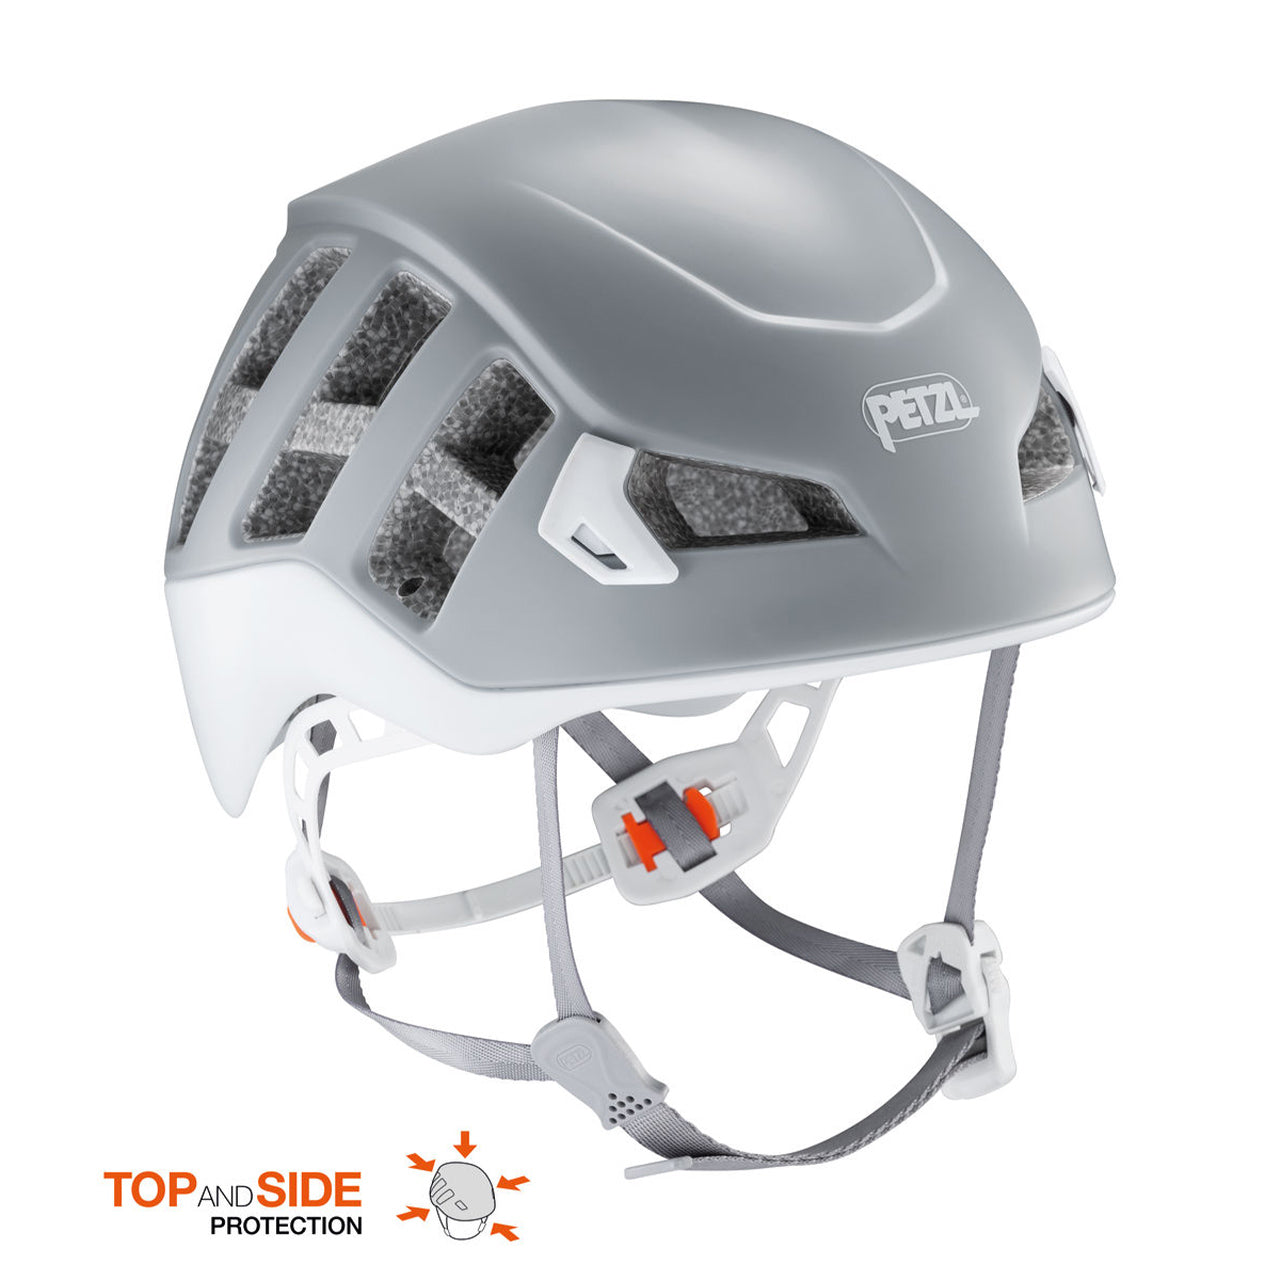
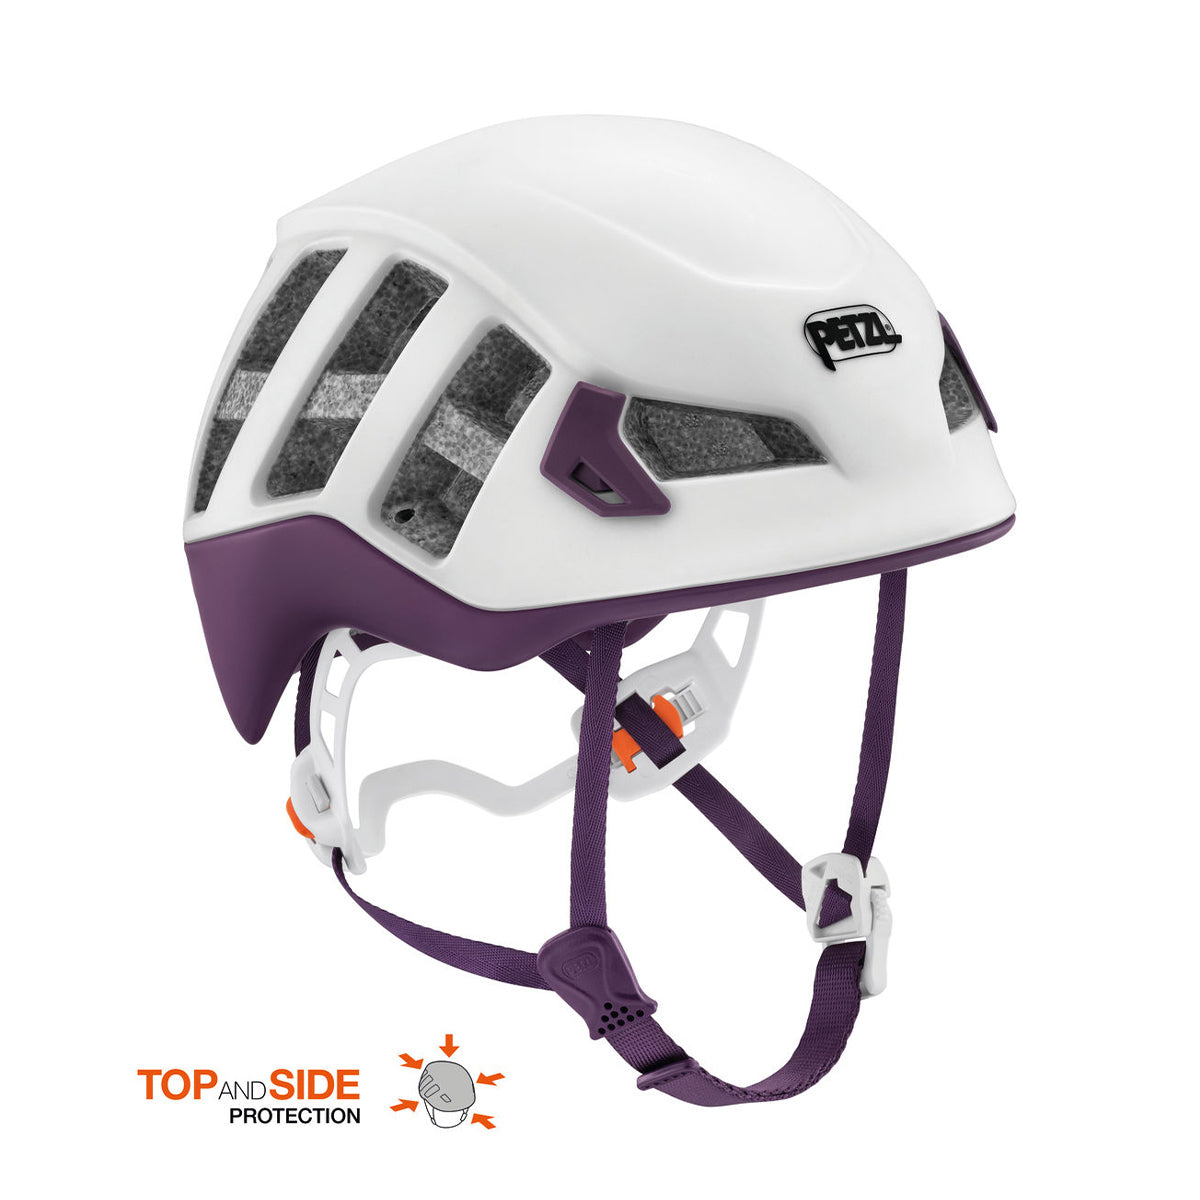
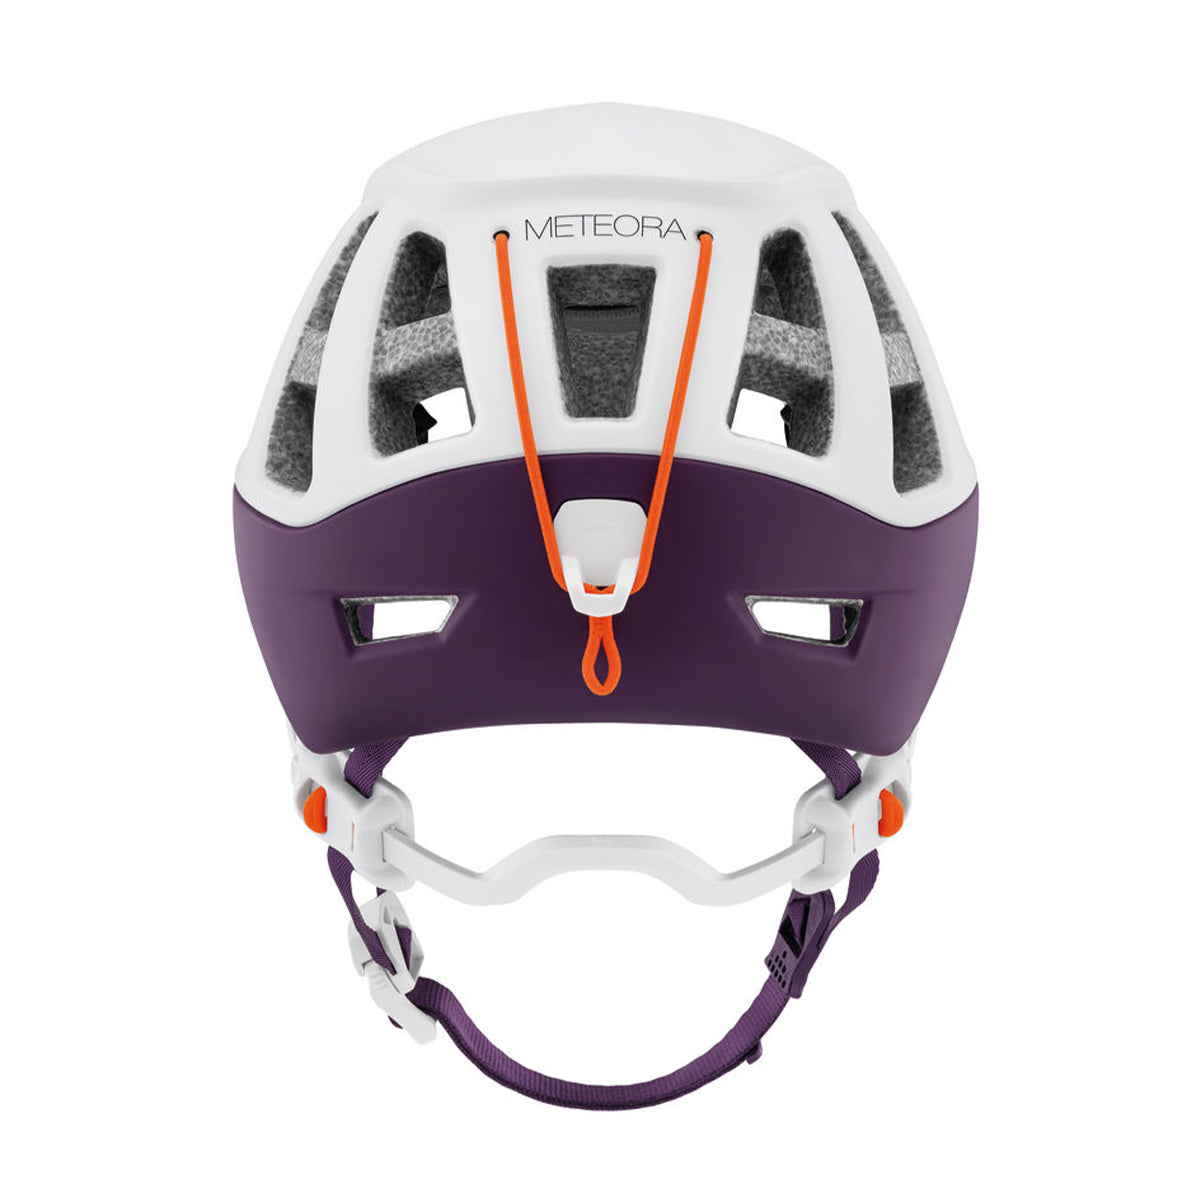
If you ever see booty at the base of El Cap, think about how it got there. From above. It’s so sketchy to hike the base of it casually without a helmet, but even more so while you climb. I think half my whippers flipped me around. A full hard shell can take a beating but a hybrid hard/soft shell is going to be lighter and feel better on your head. Whatever helmet you choose will hold your oatmeal packet full of boiling water just fine.
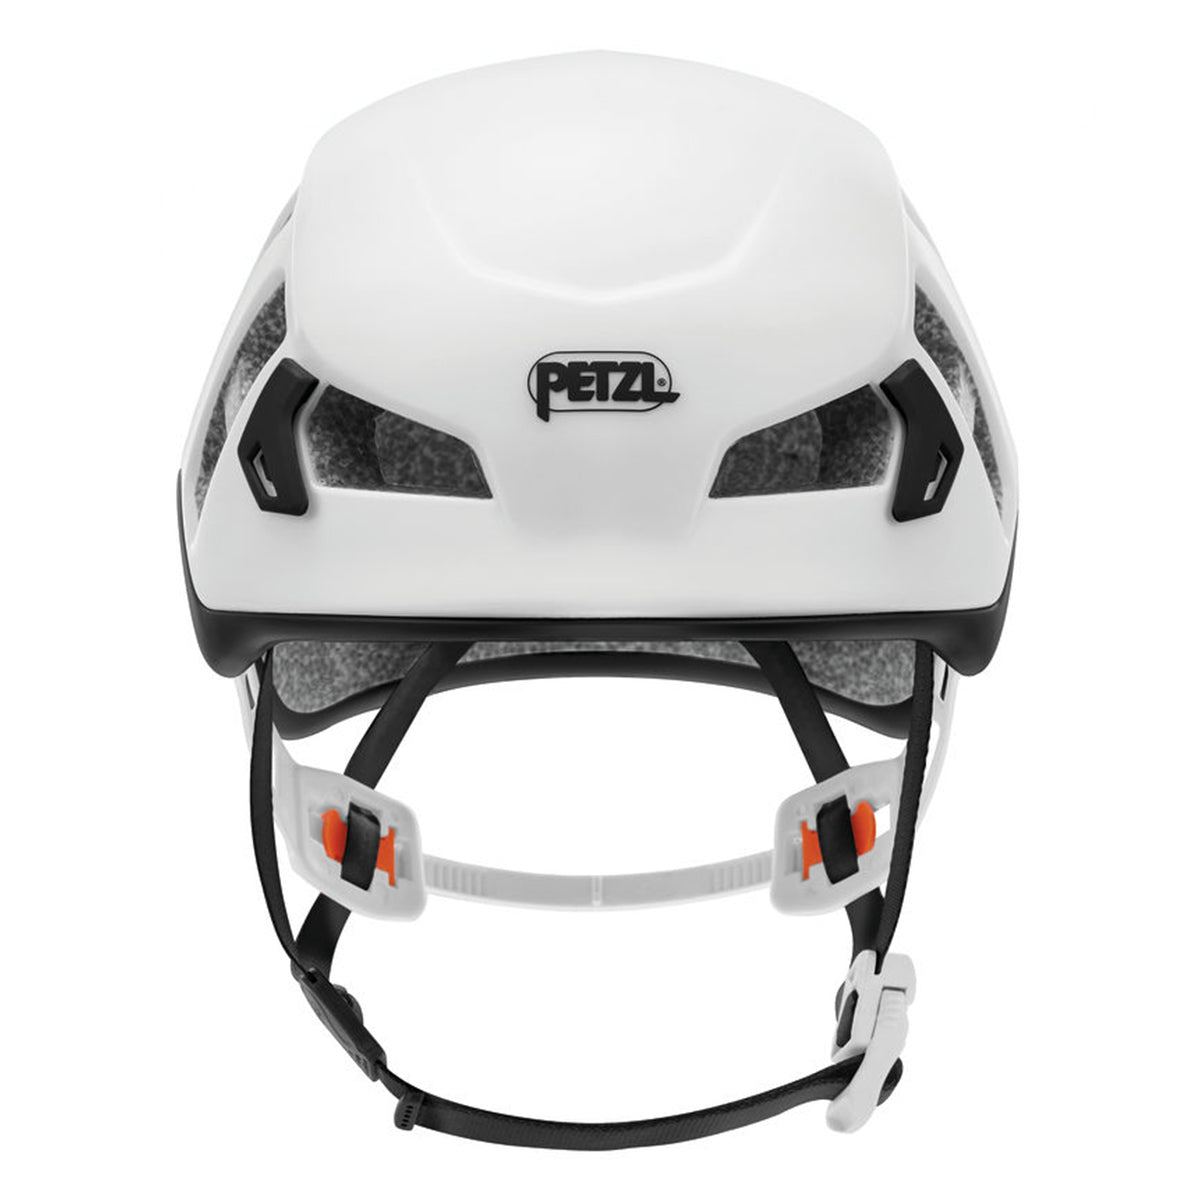
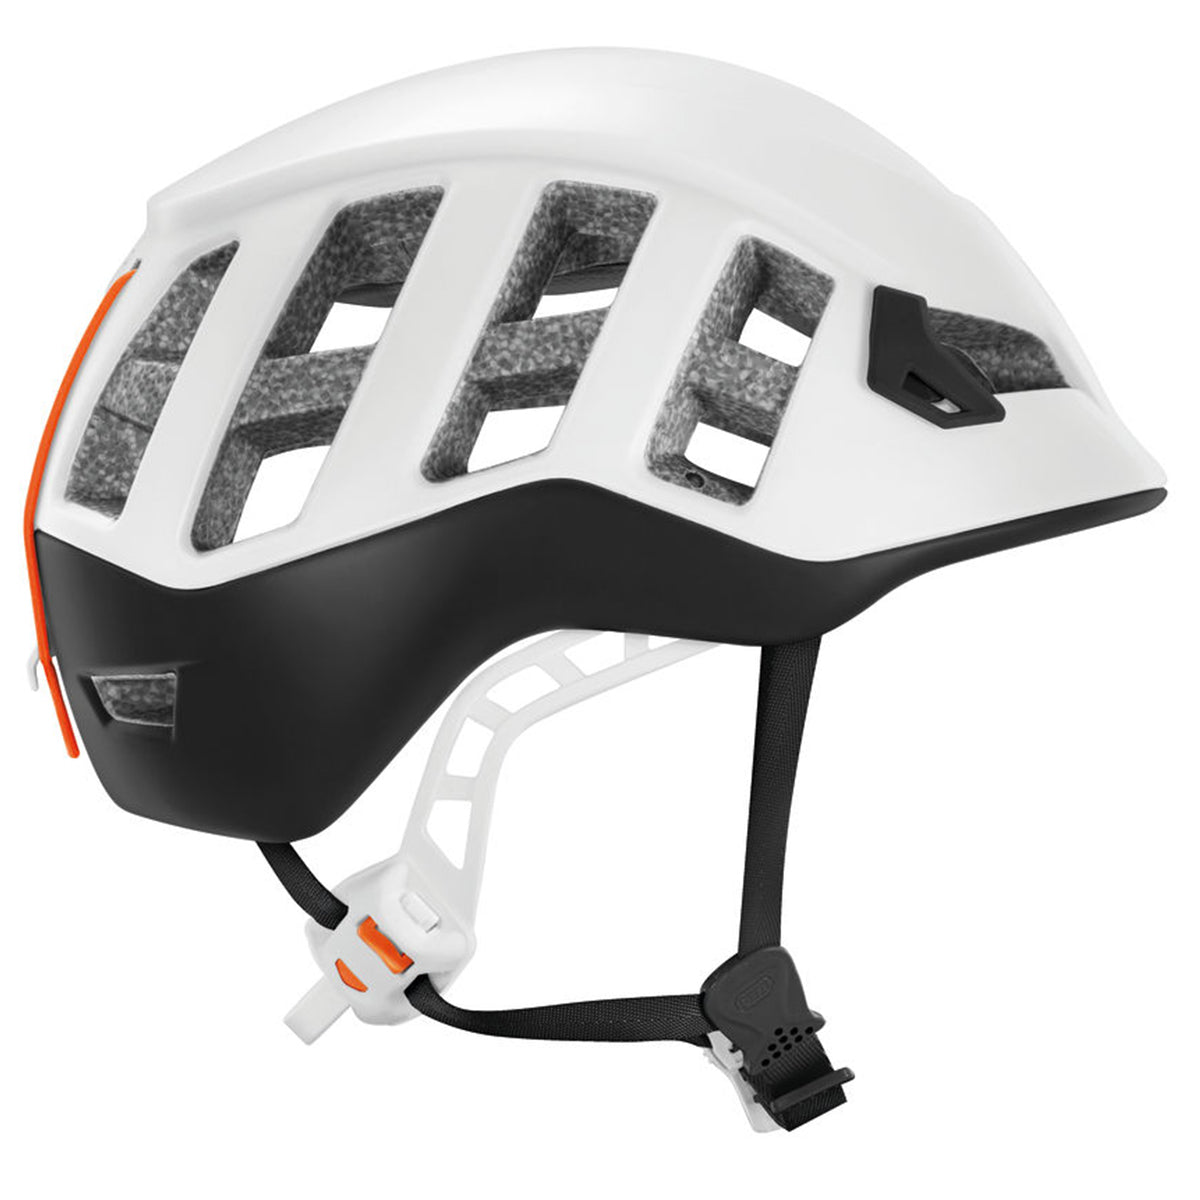
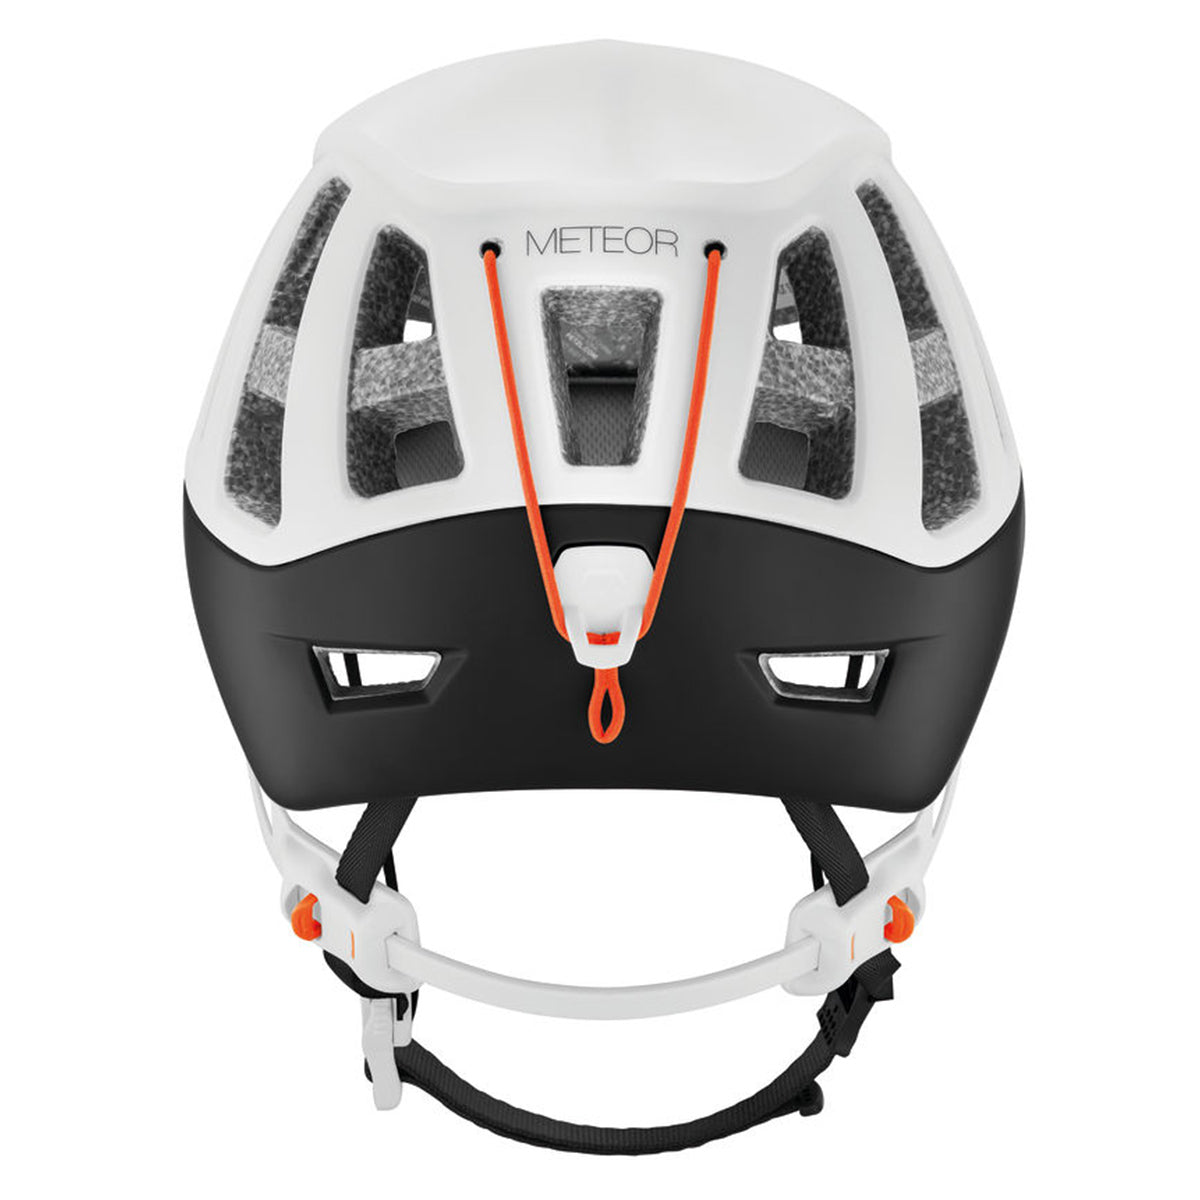
Meteor / Meteora
Tier benefits:
Tier benefits:
This helmet hits the best of both worlds when it comes to weight and durability. Heavy helmets might make you want to take it off if it is on your head for hours and hours and hours. That makes a lighter helmet a safer one. The Meteor still has a full plastic outer, so it is more resistant to wear and tear than a helmet with a foam outer.
Pros
- Light
- Magnetic buckle makes it easy to put on with one hand
Cons
- Higher cost
- Magnetic buckle attracts iron dust
C.L.A.M.P.
If you are on a portaledge, it can be risky holding your jet boil in your hands trying to heat food up. Using a pot loosely sitting on a pocket rocket while sitting on a G7 Pod is more scary than leading A3+. Ask me how I know. You can get the kits designed for you all in one cooker system and those are better because they hold the cooker from the bottom, the part that makes the fire, but it's not uncommon for them to be homemade. You can see Priscilla show us her jet boil hanging kit at 13:26 in this VIDEO
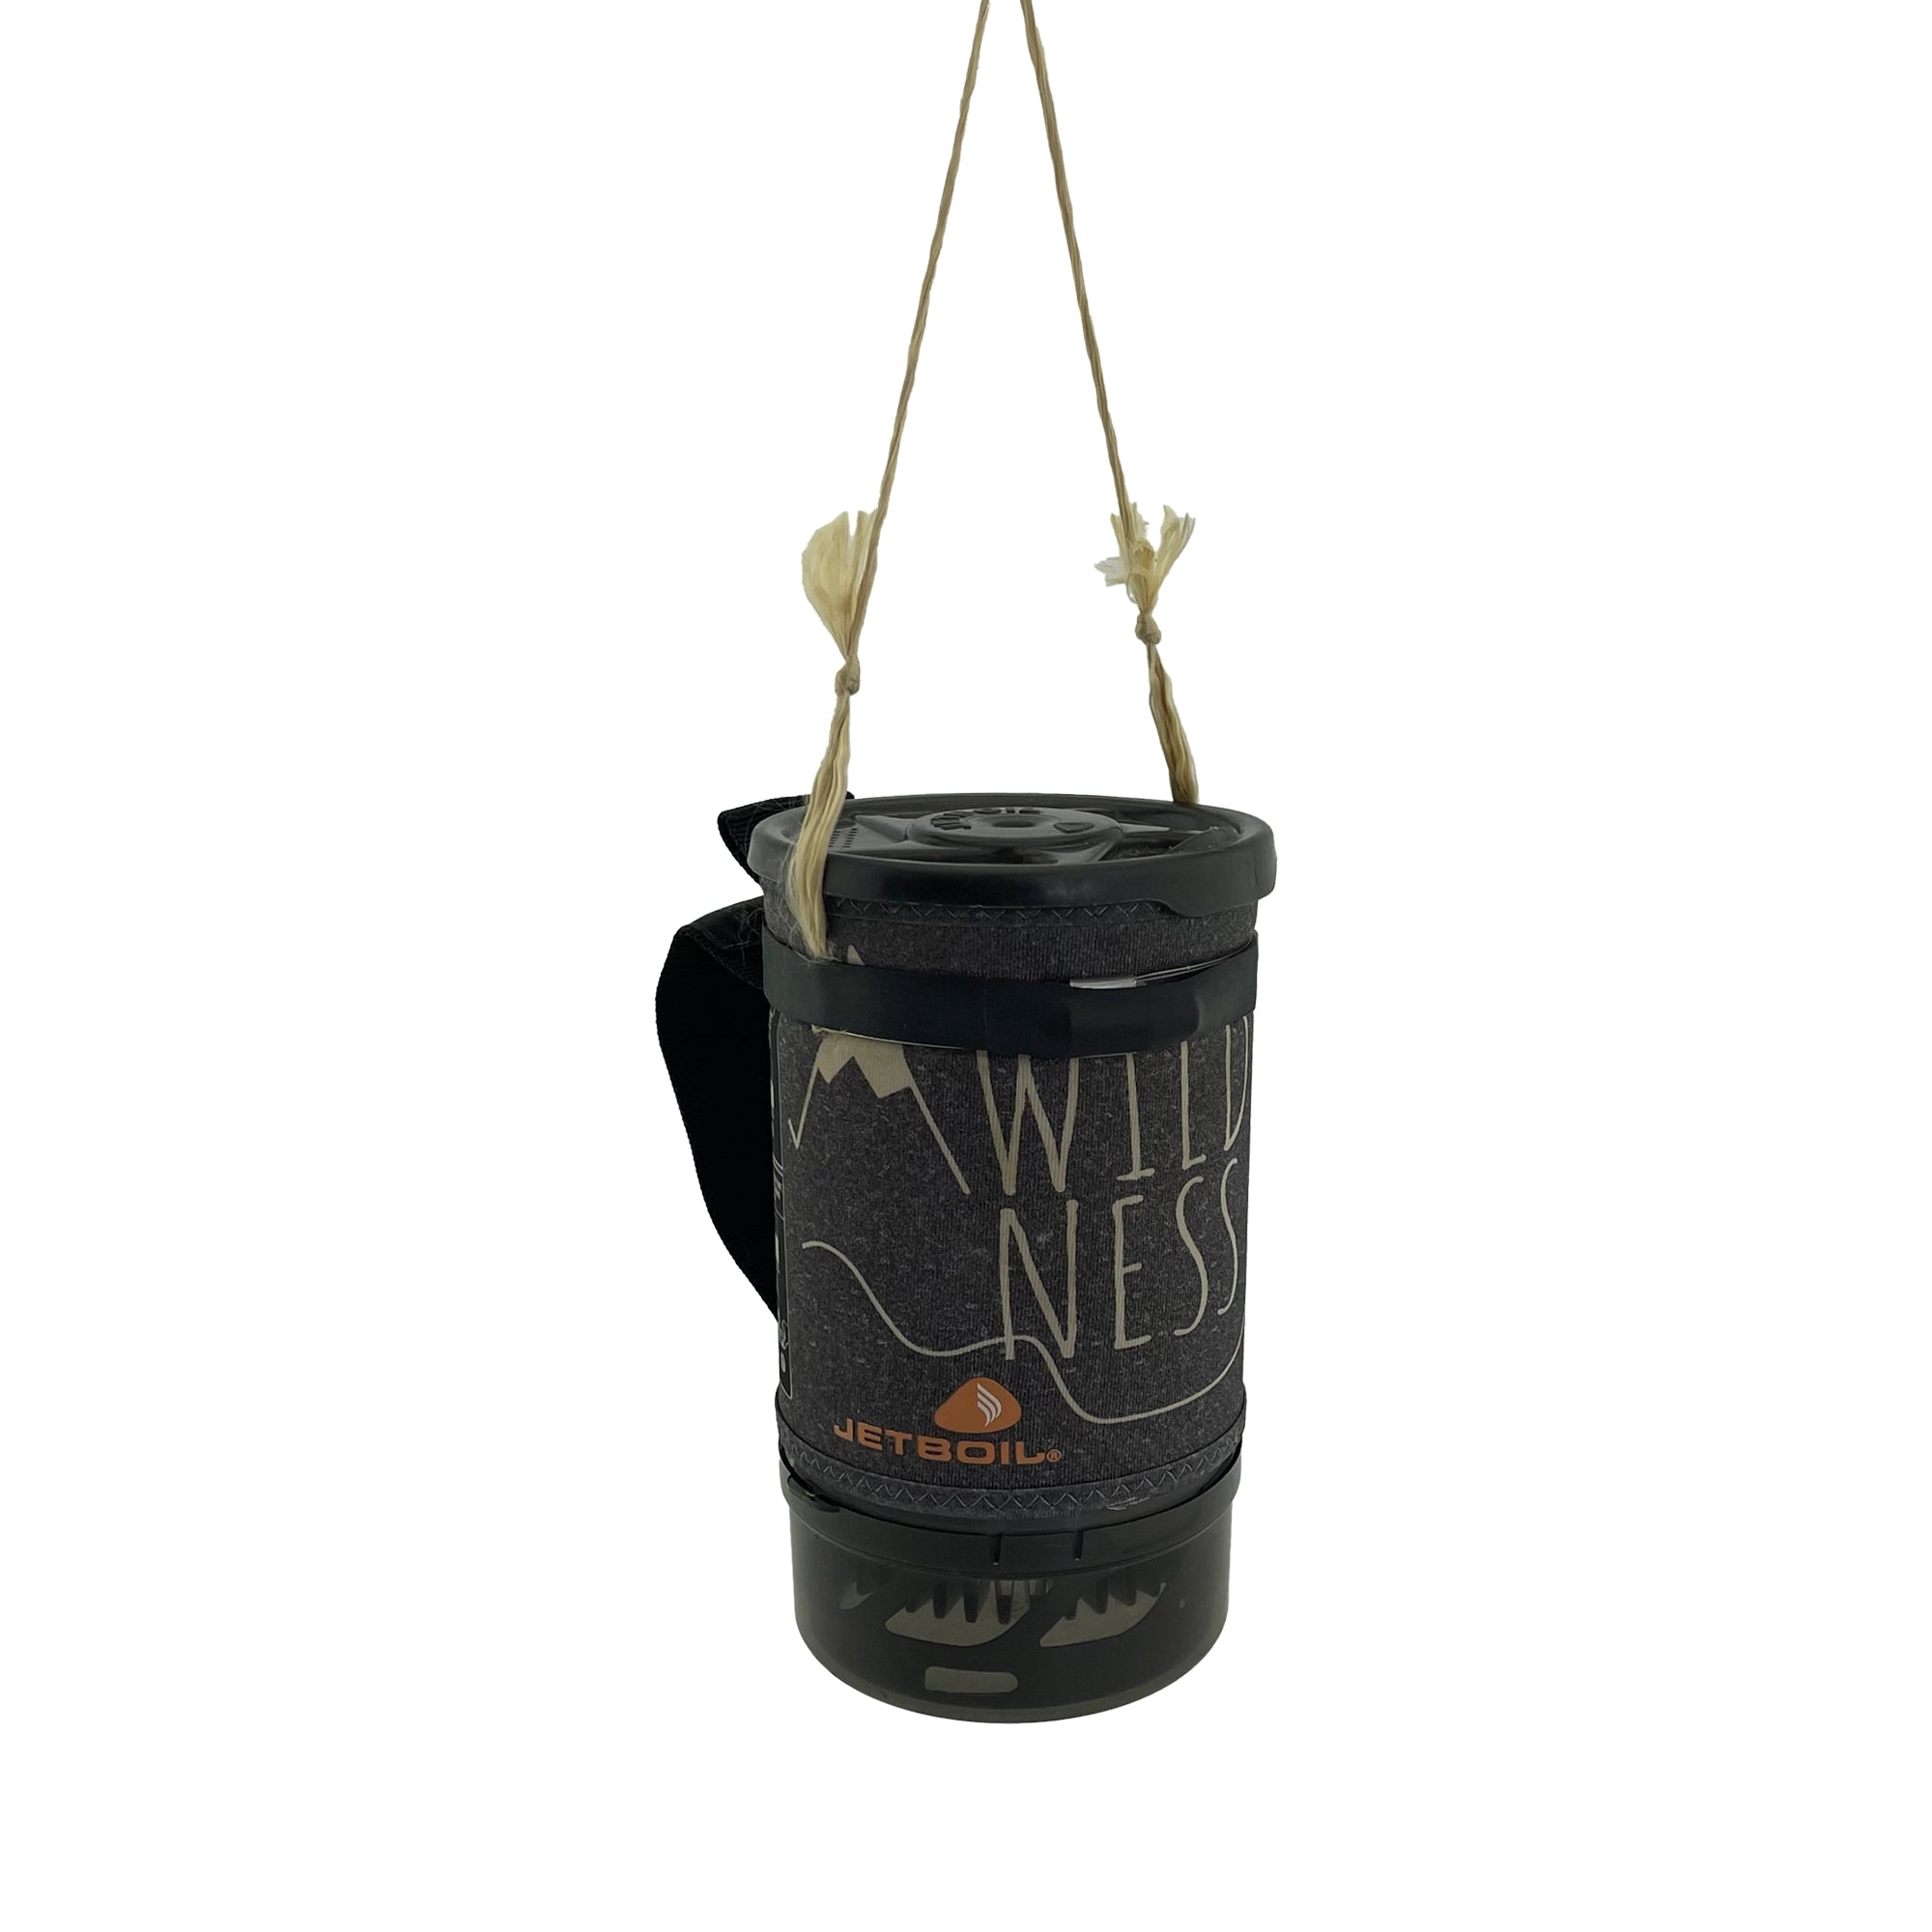
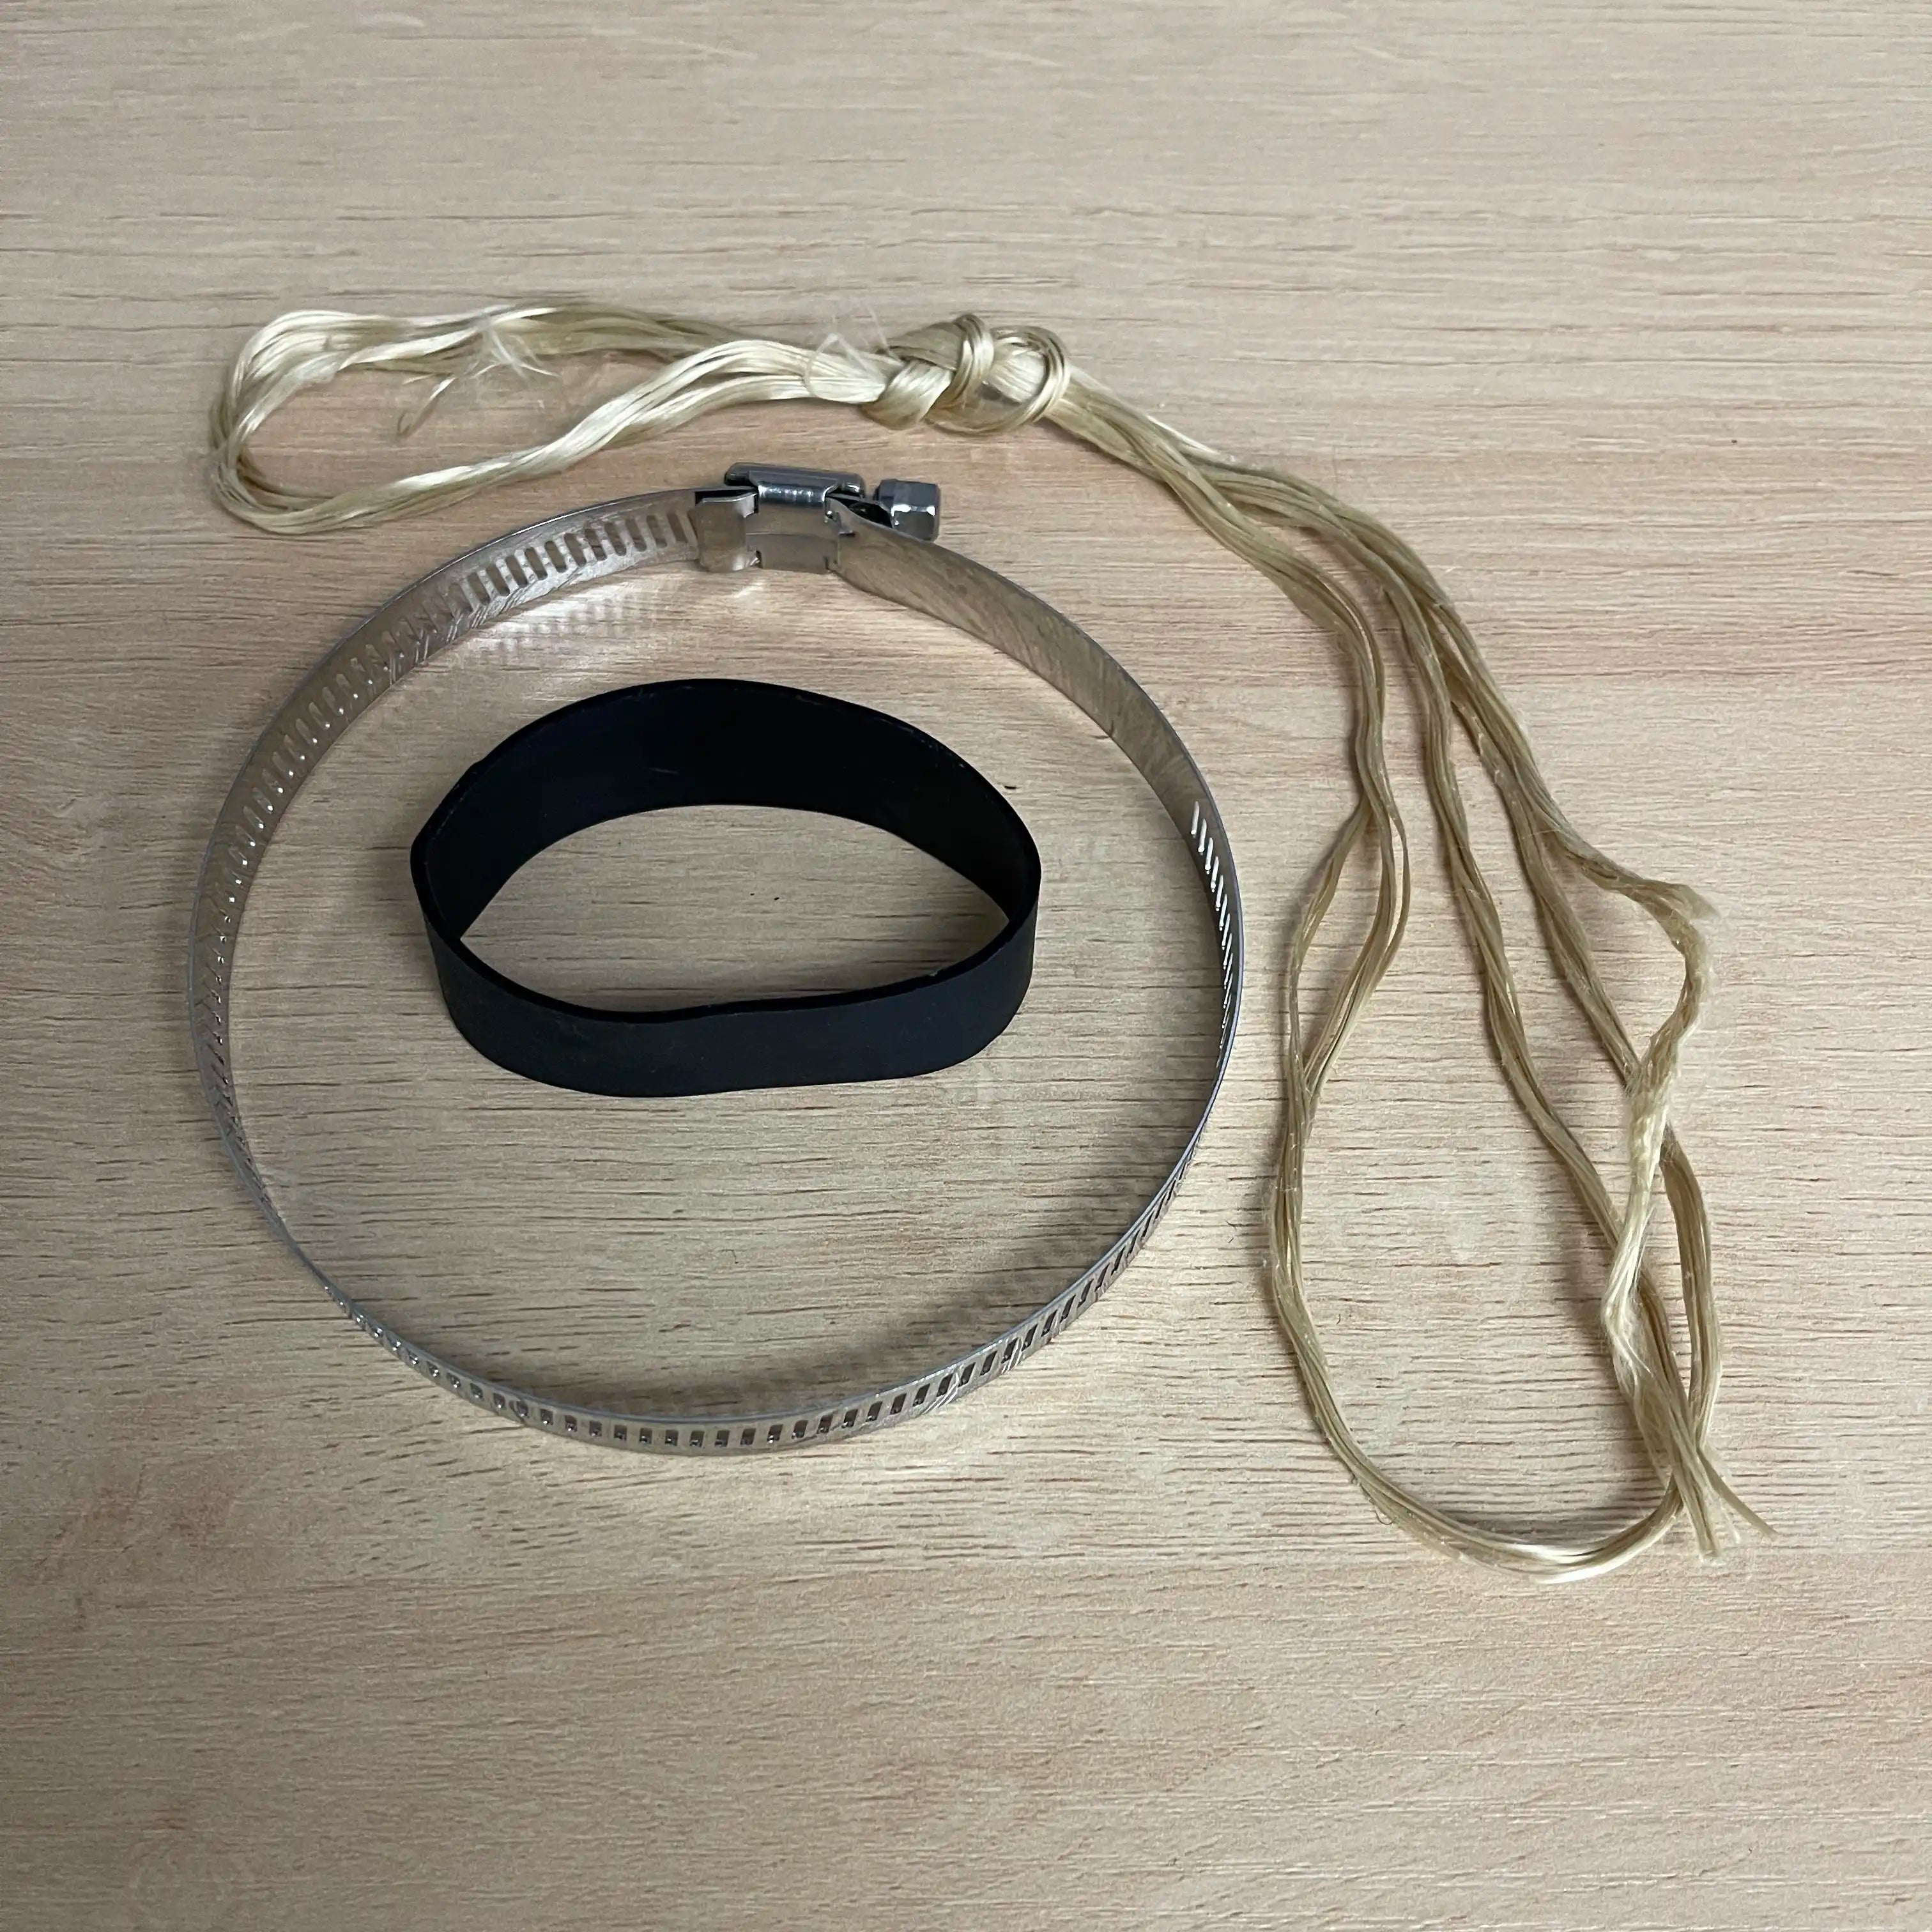
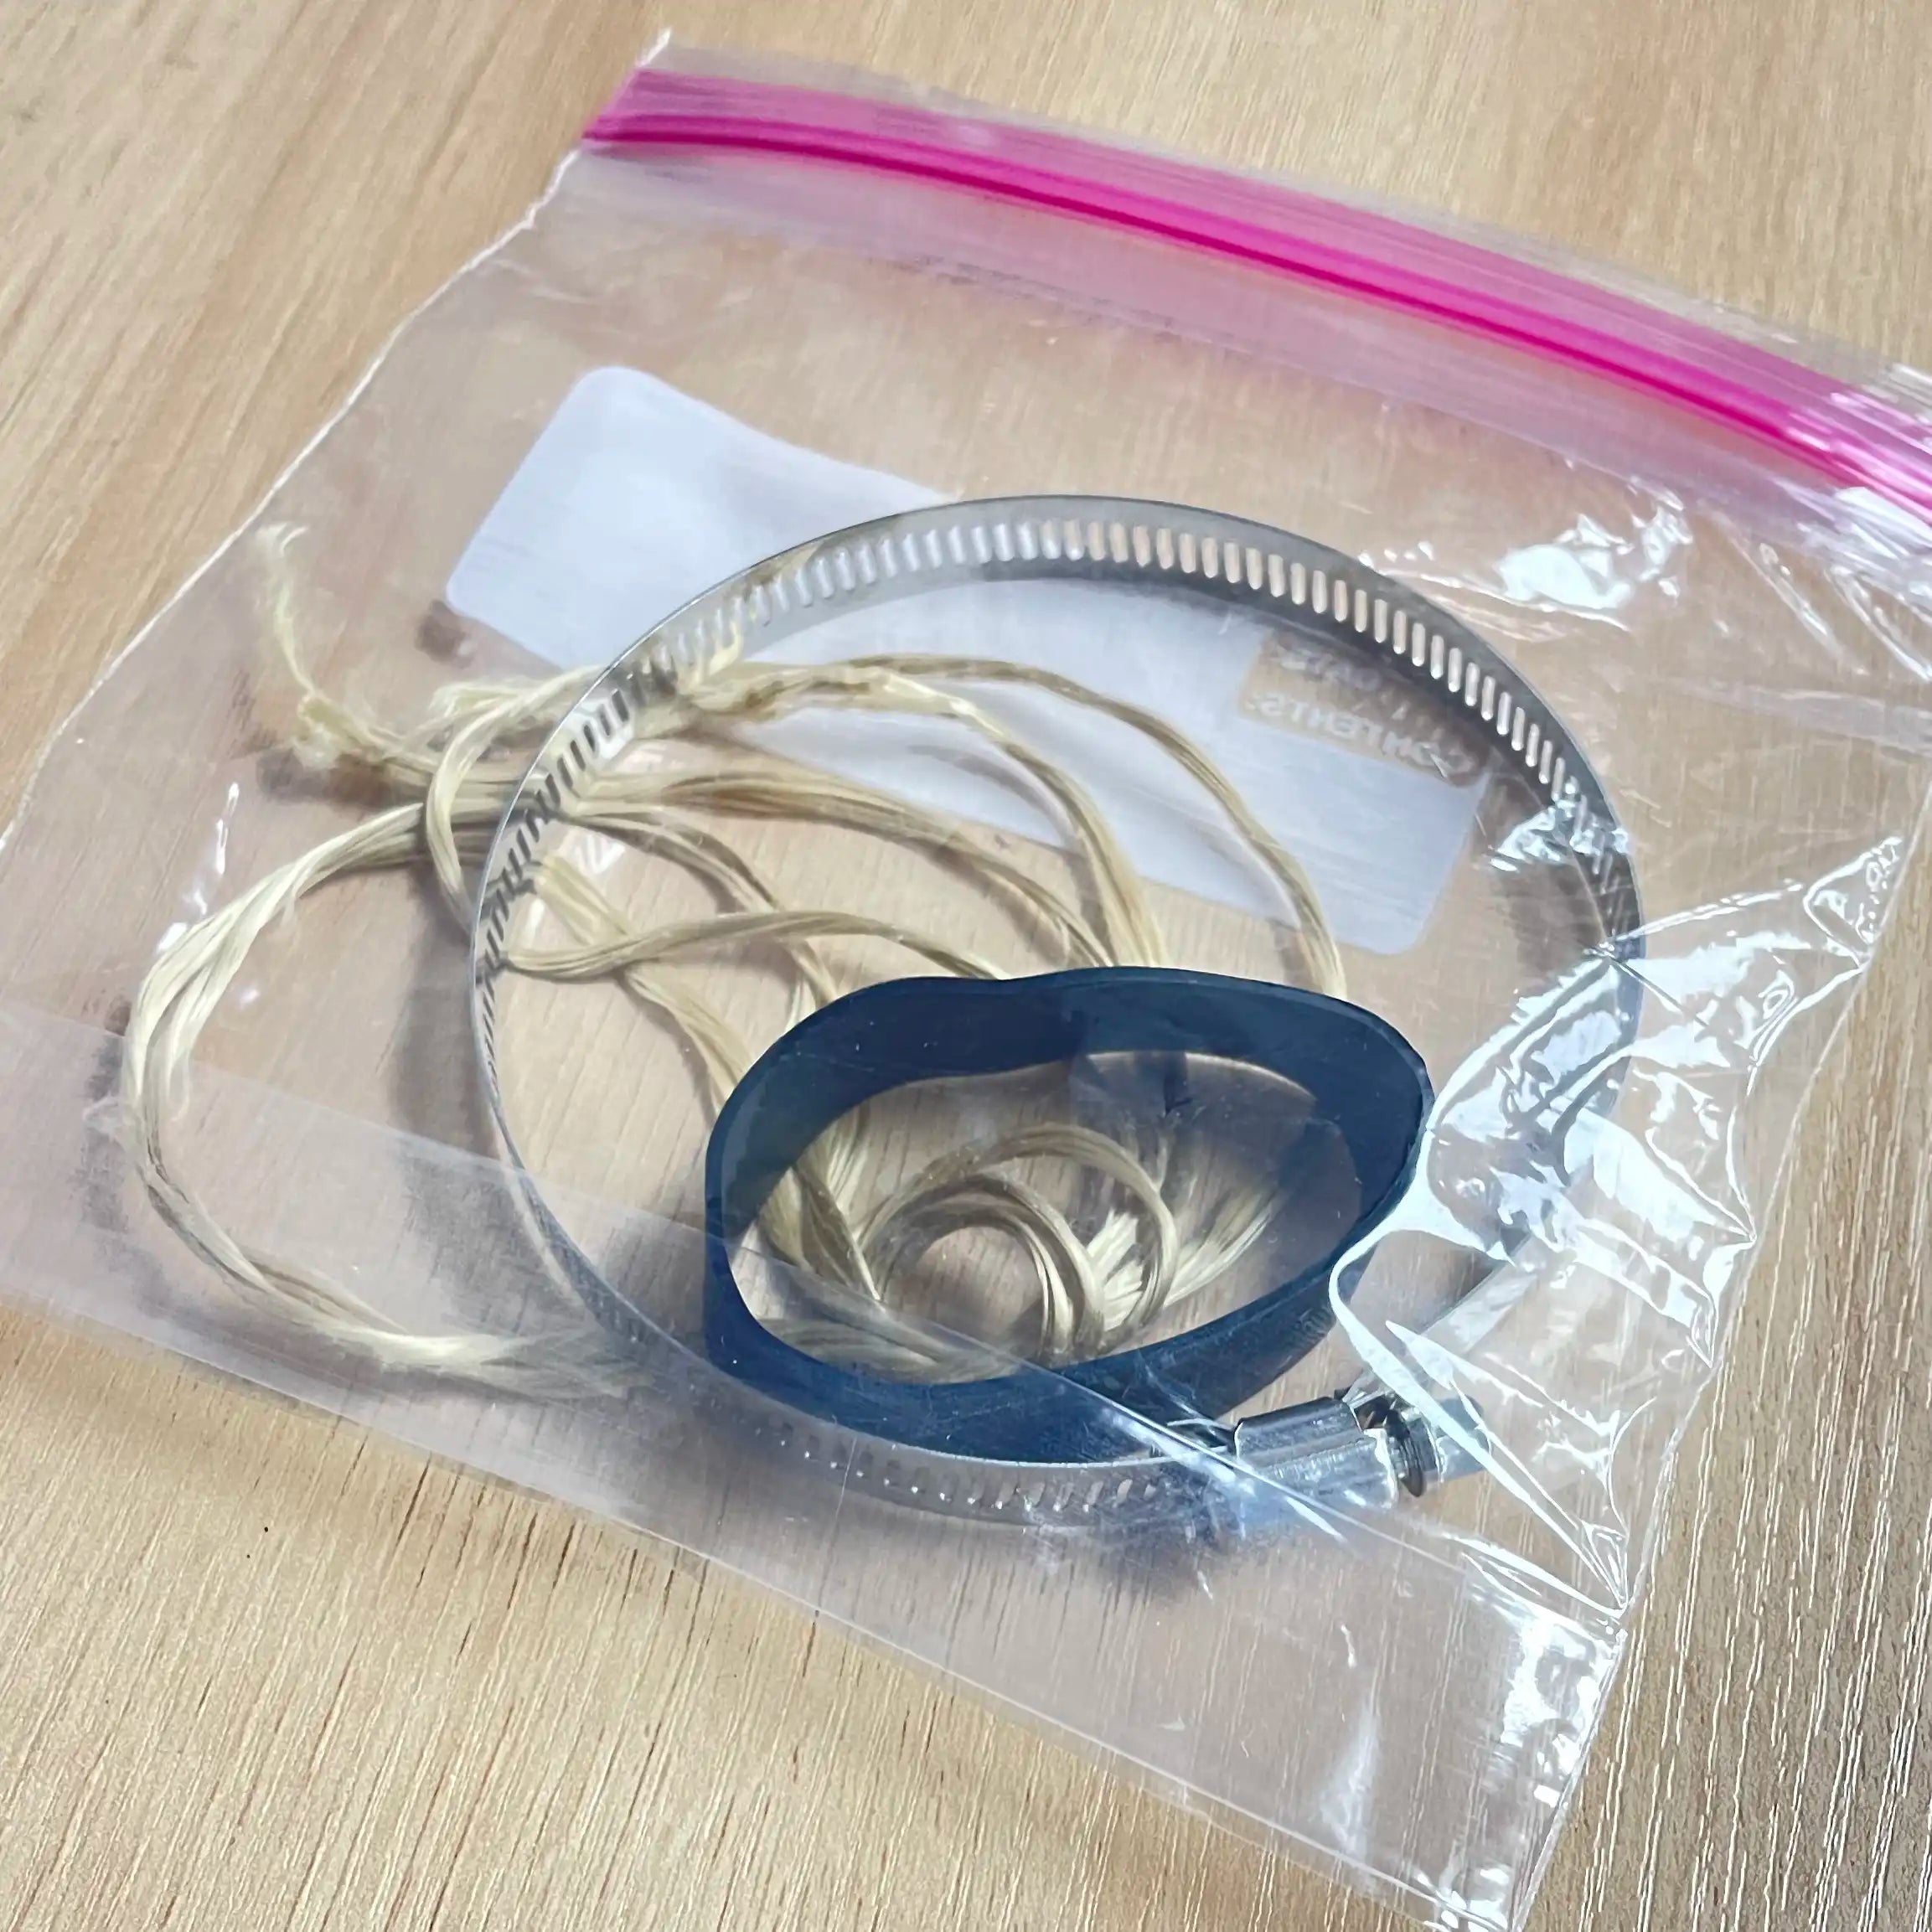
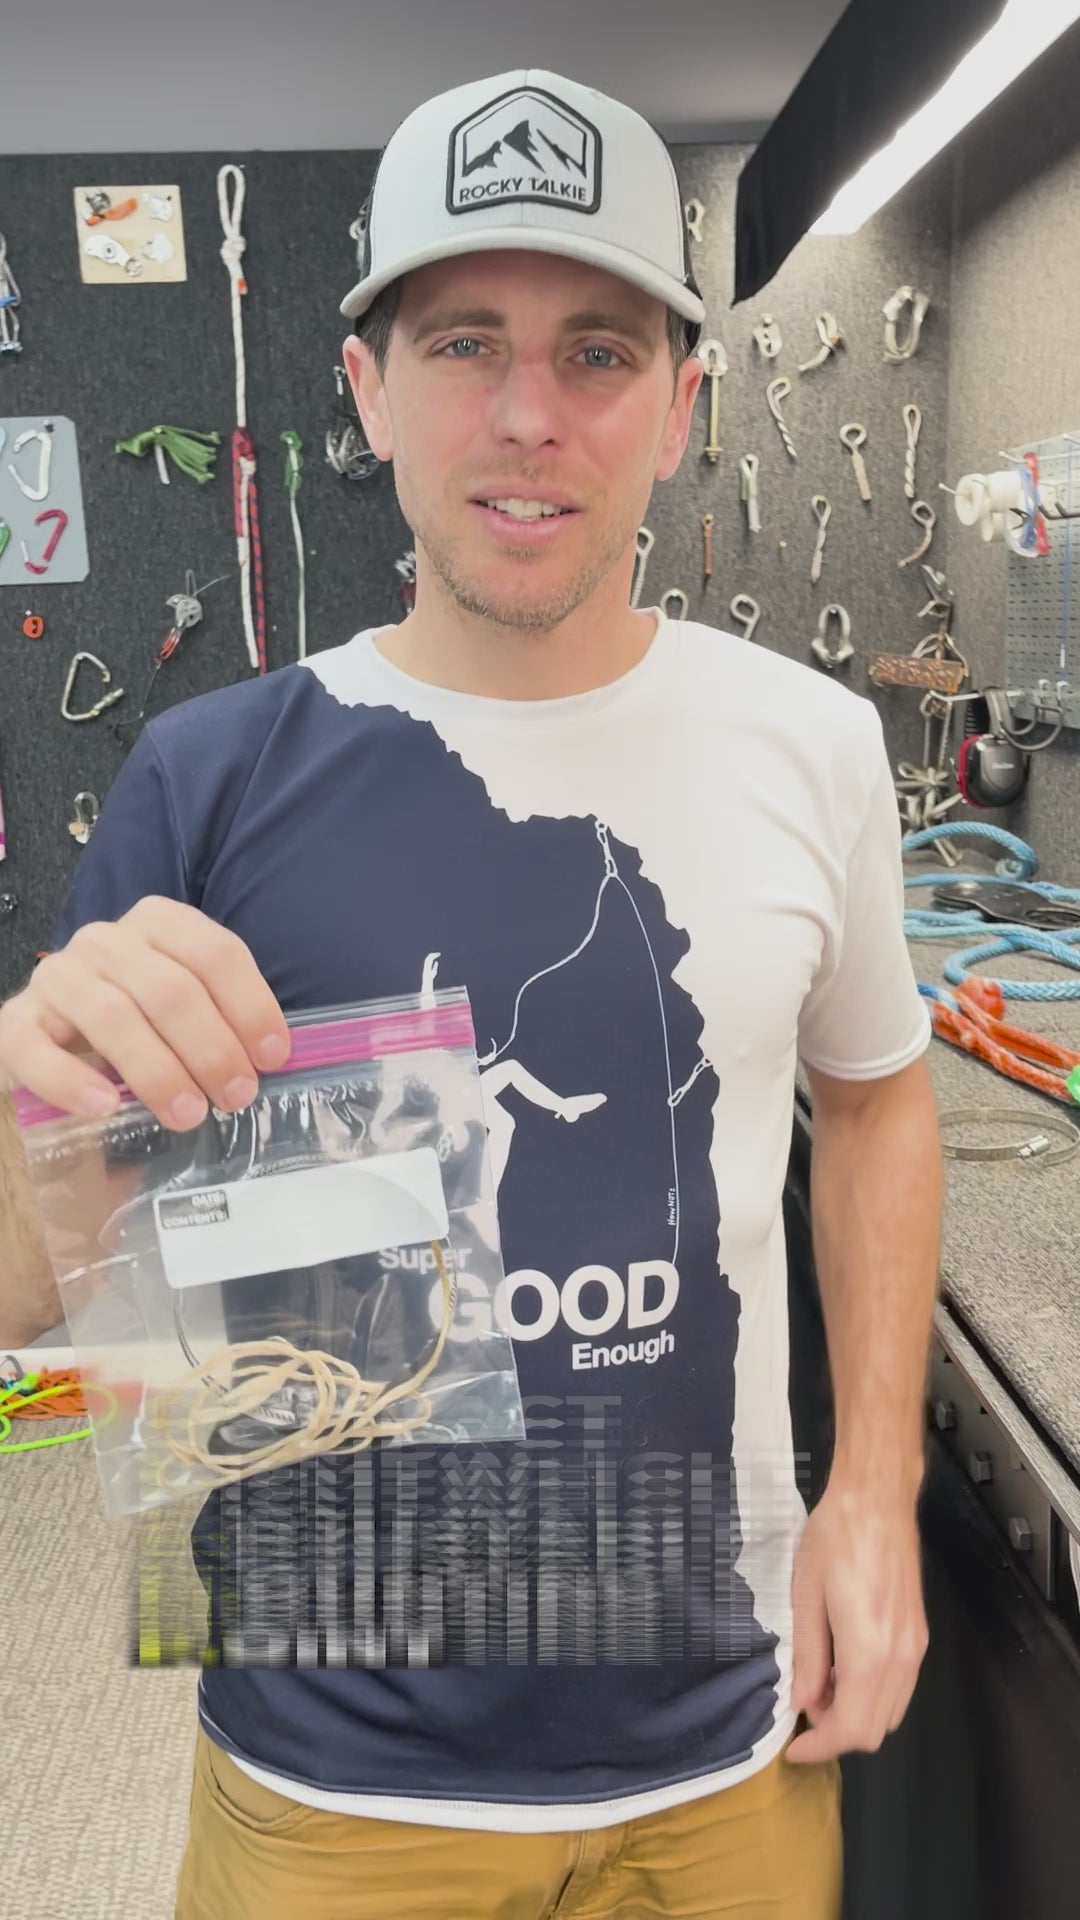
C.L.A.M.P. Big Wall Stove Hanger
Tier benefits:
Tier benefits:
We tried to make “doing it yourself” a little more convenient. A 4” hose clamp fits most all-in-one cookers, technora doesn’t melt (easily), and the rubber band helps cover some of the sharp edges so it doesn’t rip (more) holes in your puffy. We sell it at cost just to try to be helpful.
Pros
- Cheap
- Easy to use
Cons
- Doesn't support stove base.
Carabiners
You need a LOT of carabiners. Ideally, everything inside your haul bag has a dedicated biner. Every piece of pro could/should have its own biner. The haul bag straps should already have them on it. Your anchors should already have 4 pre-clipped to it. When you take a jacket off or literally anything, it needs to be clipped. Since you are usually fighting for space when you clip a lot of things to one thing, a skinny notchless nose is amazing on every carabiner you take.
Warning: don’t try to use cheap amazon carabiners you wouldn’t trust your life to and say “they are just for my ladders” or “it’s just for my jet boil”. Things get mix and mashed up before pitch 1 is done. That key chain carabiner somehow turned into your anchor master point??? Don’t take non-life supporting gear with you!
What are the kinds that you want? These are my favorites but it’s the shapes and styles I’m recommending more than anything.
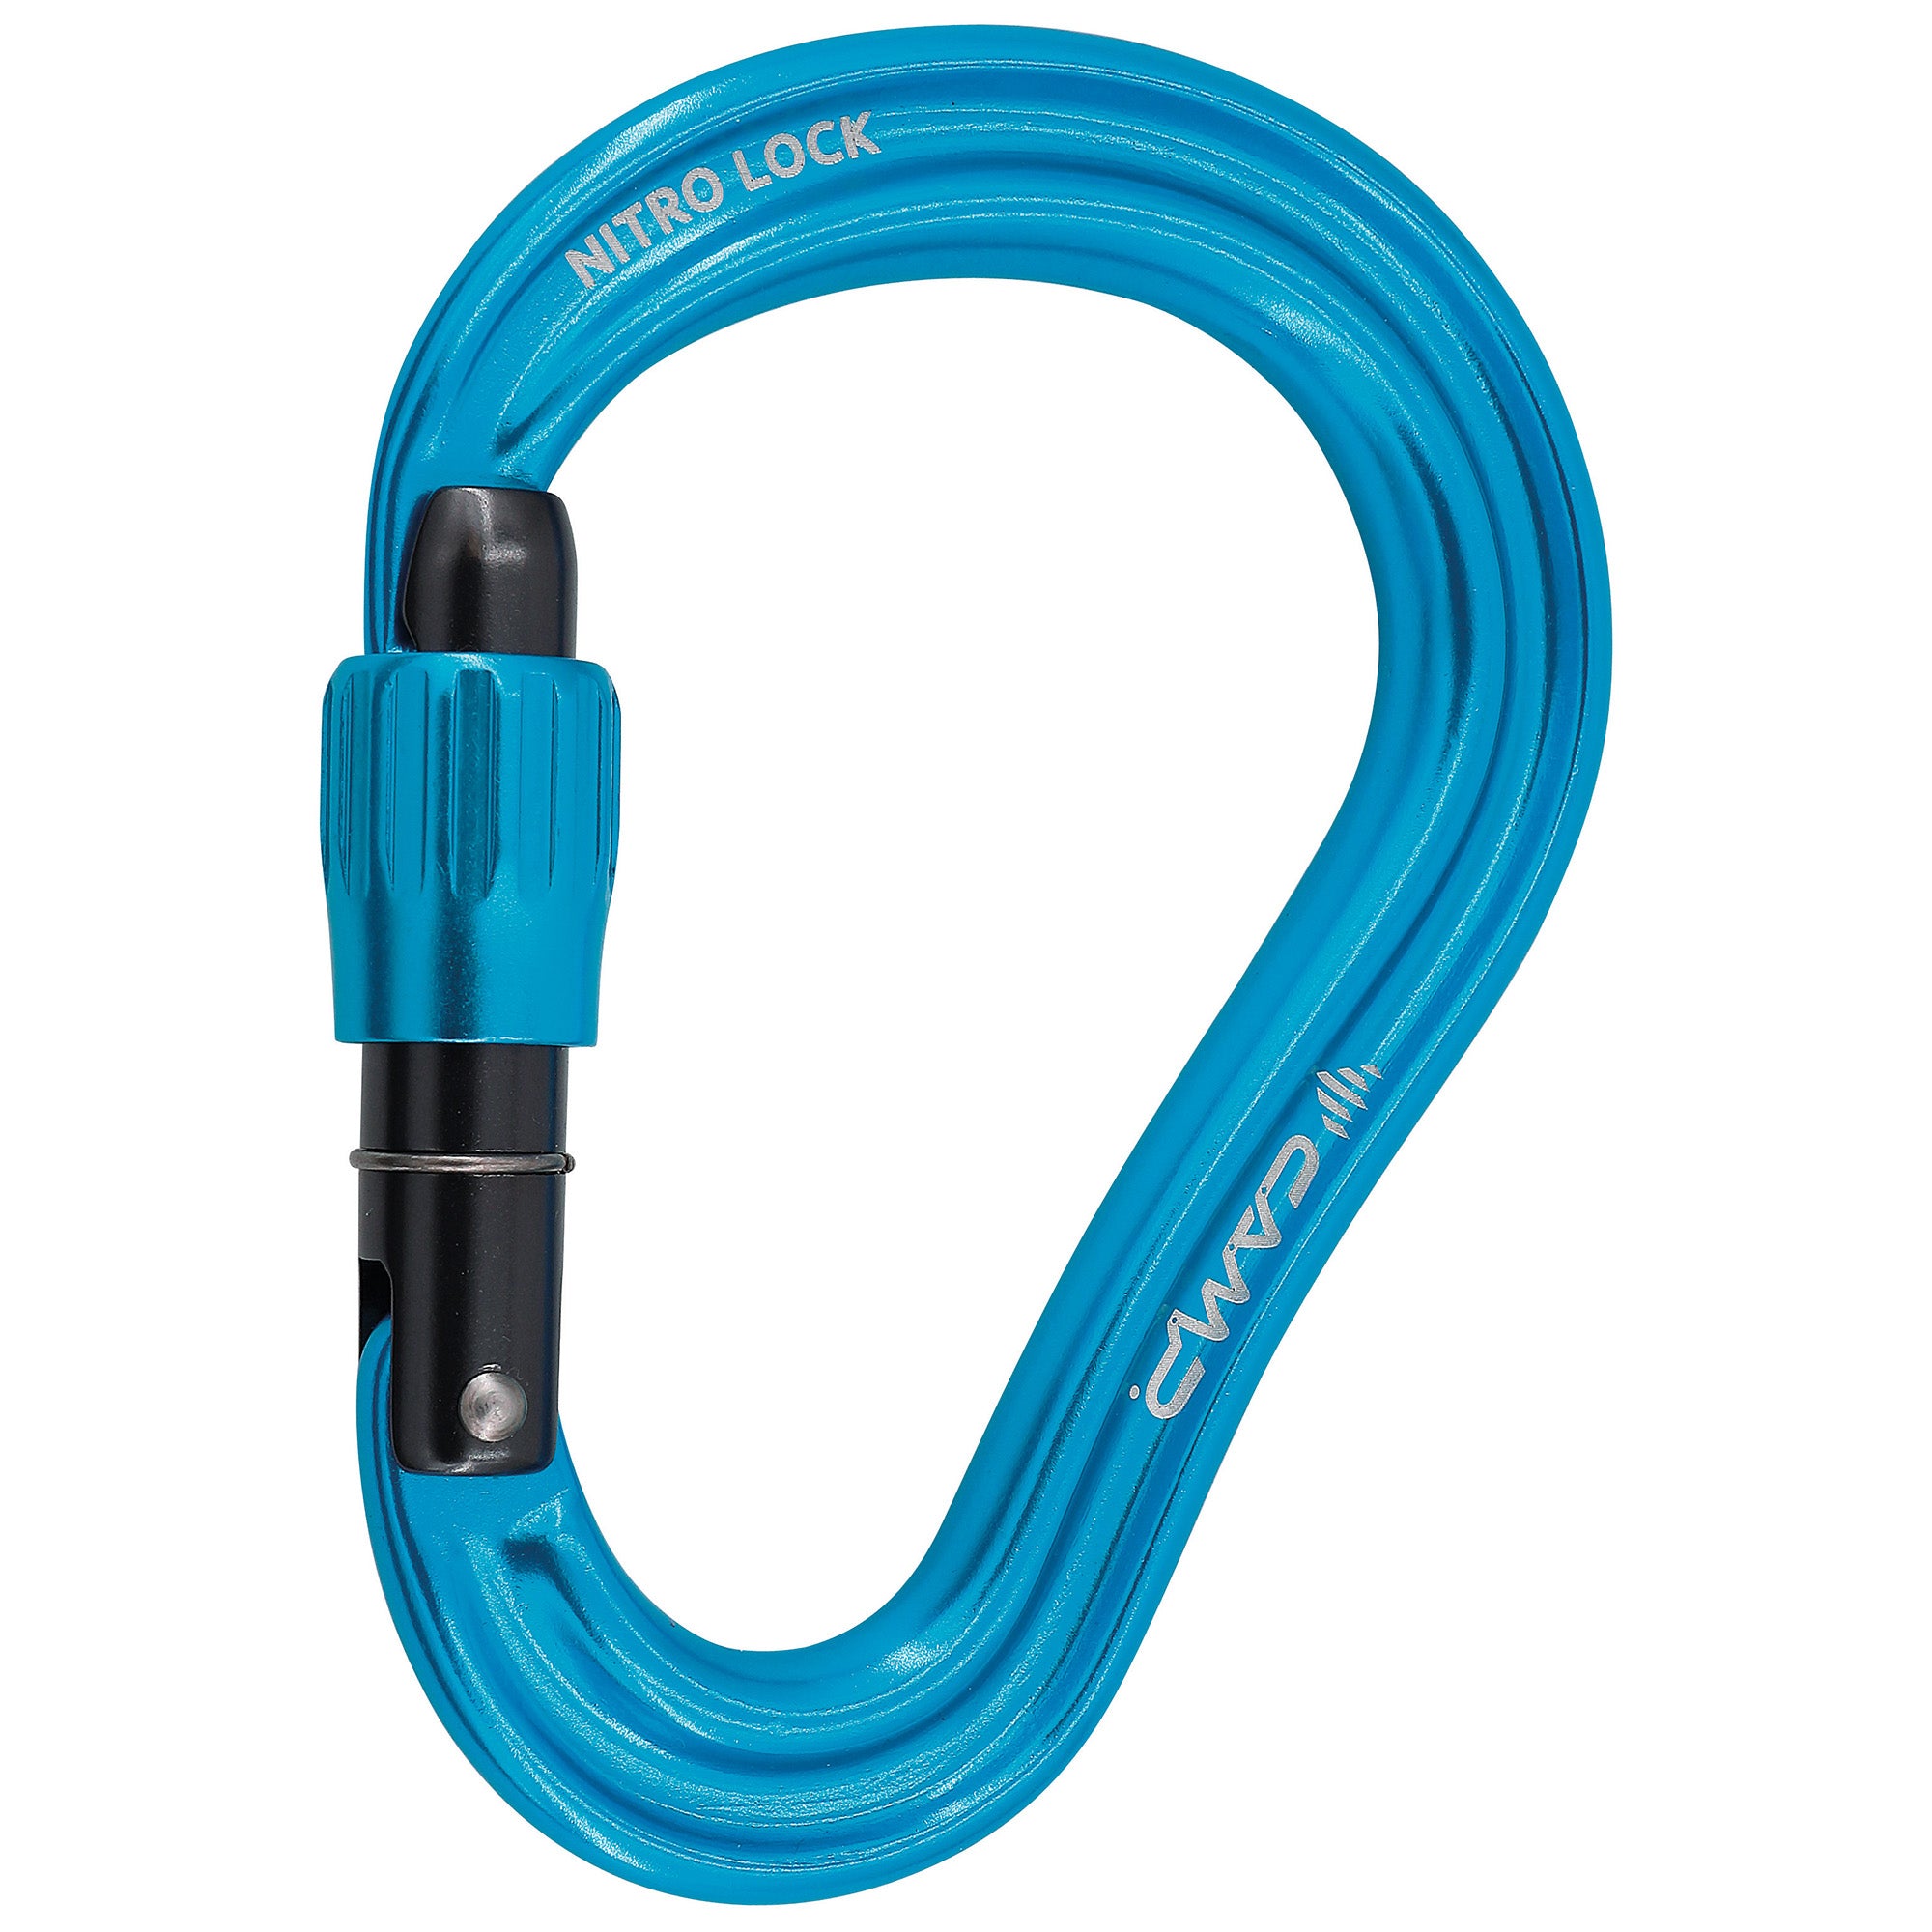
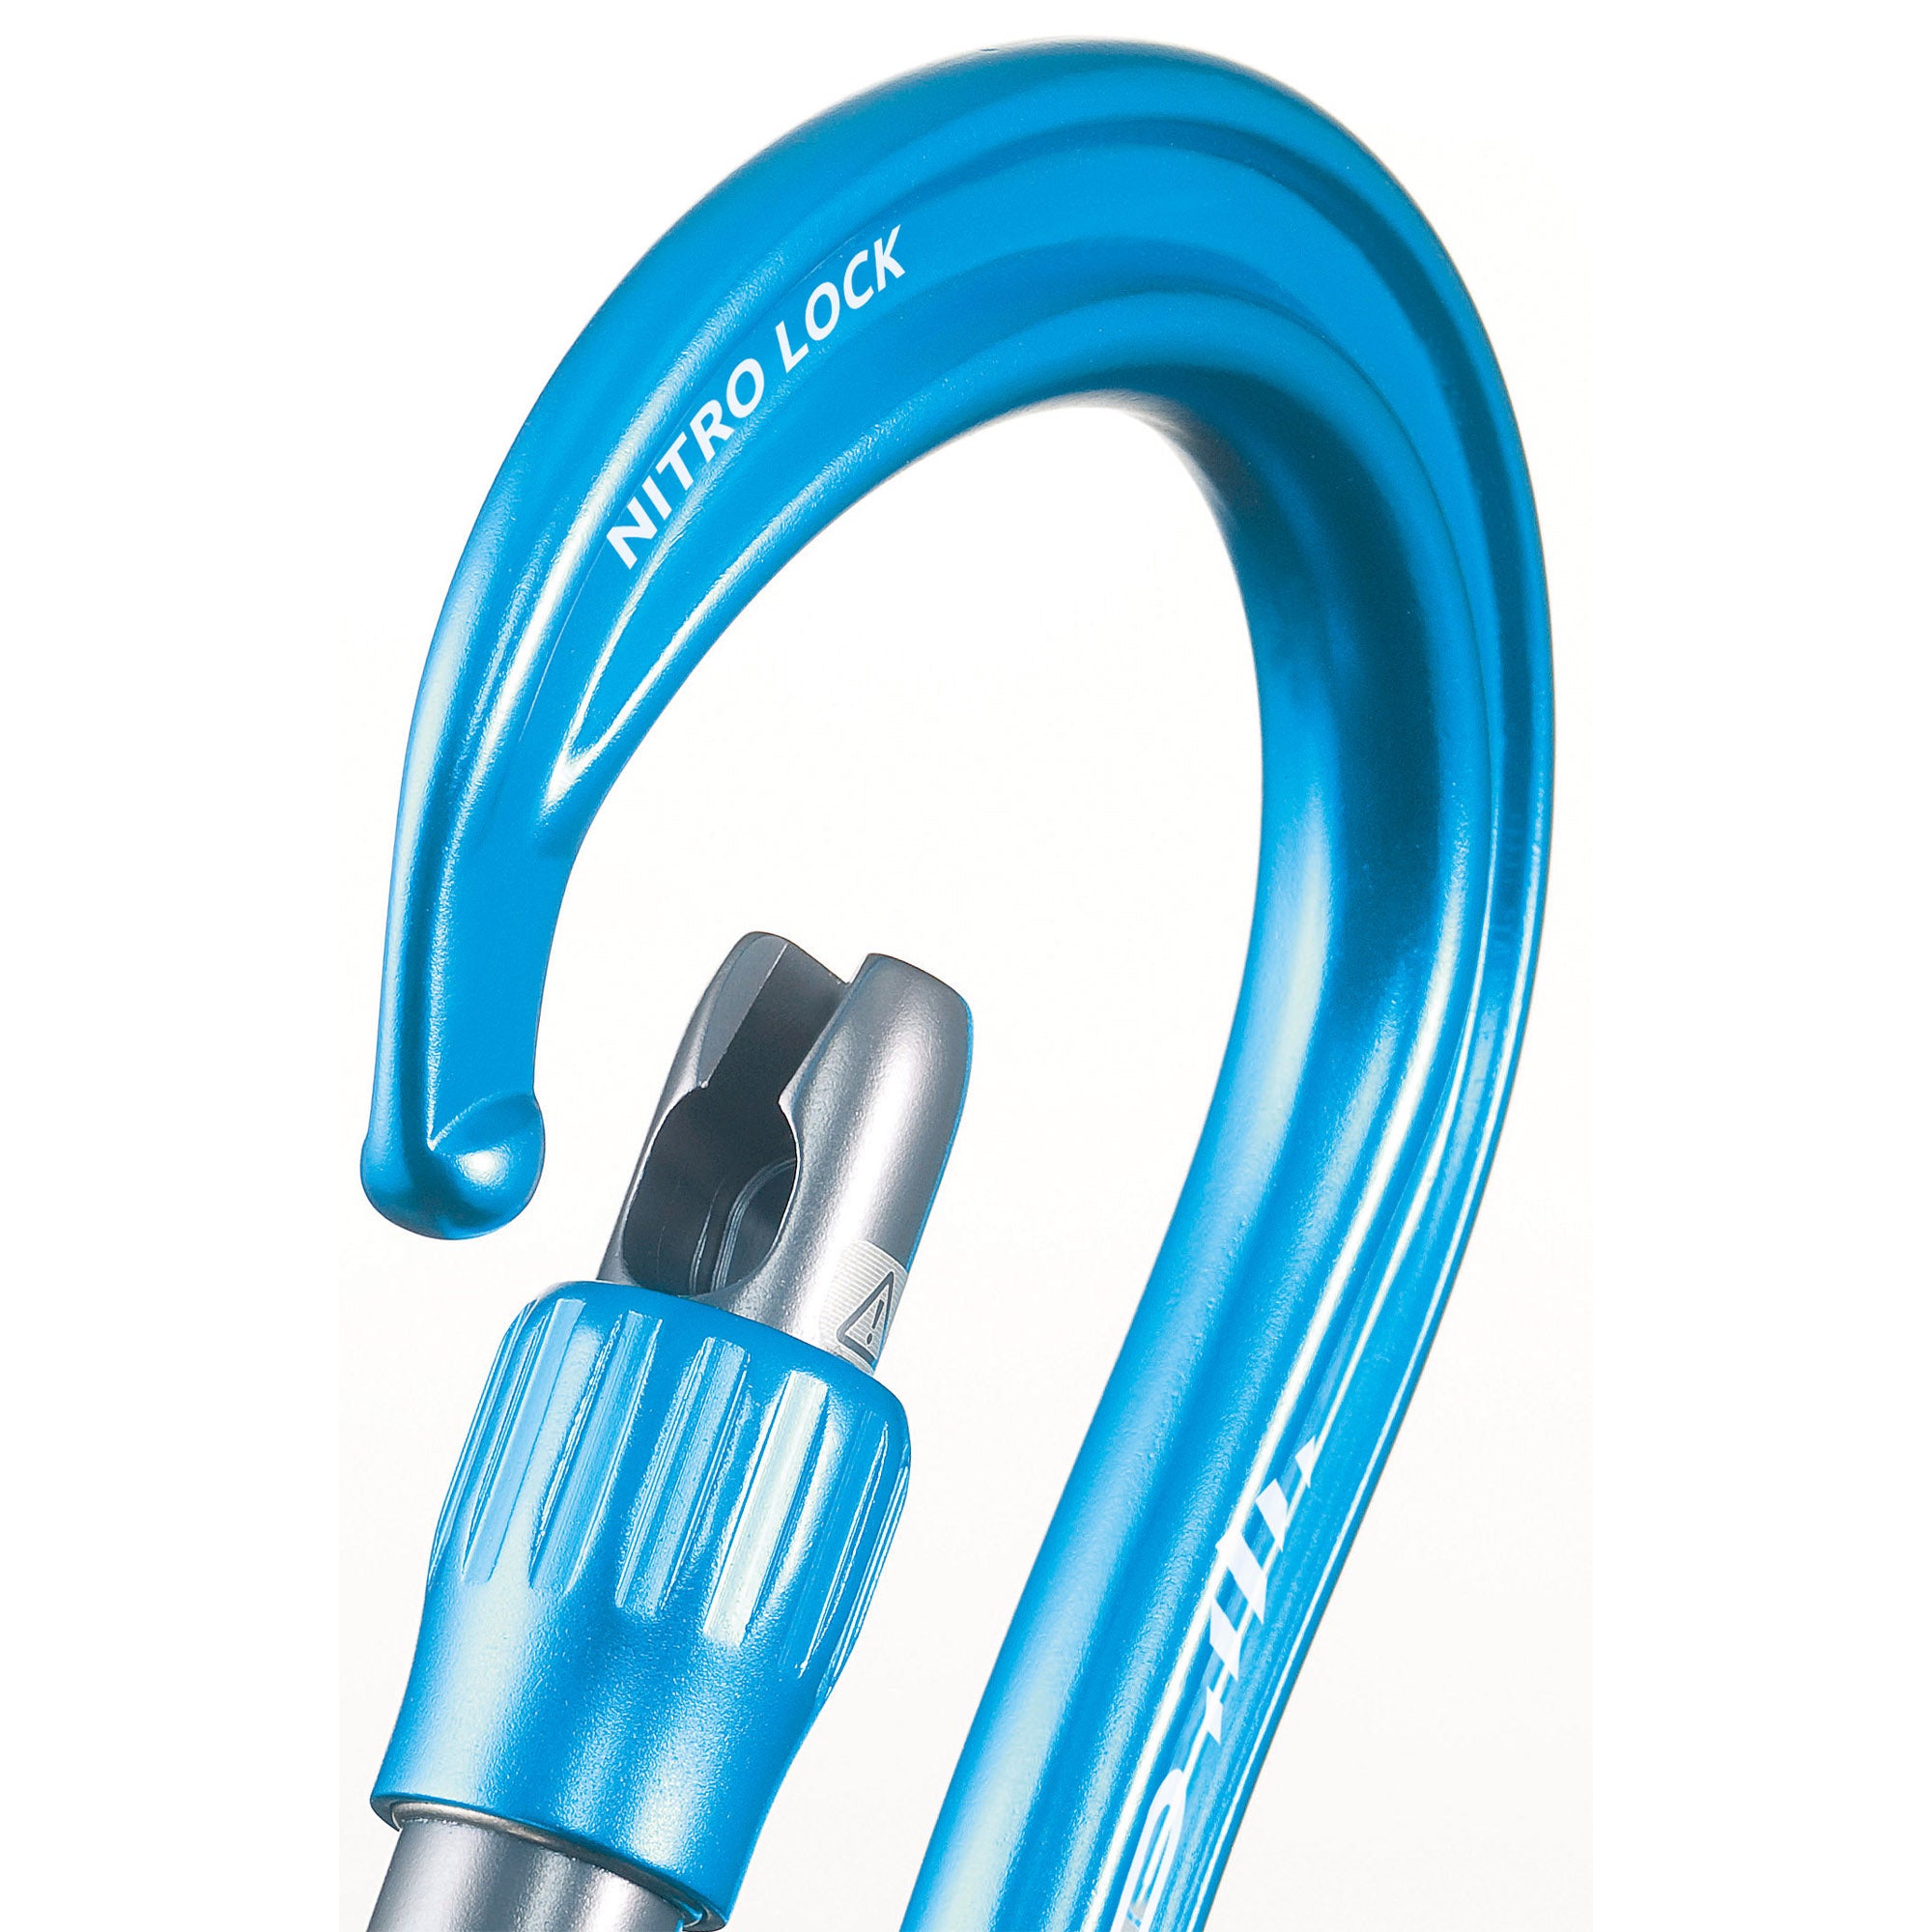
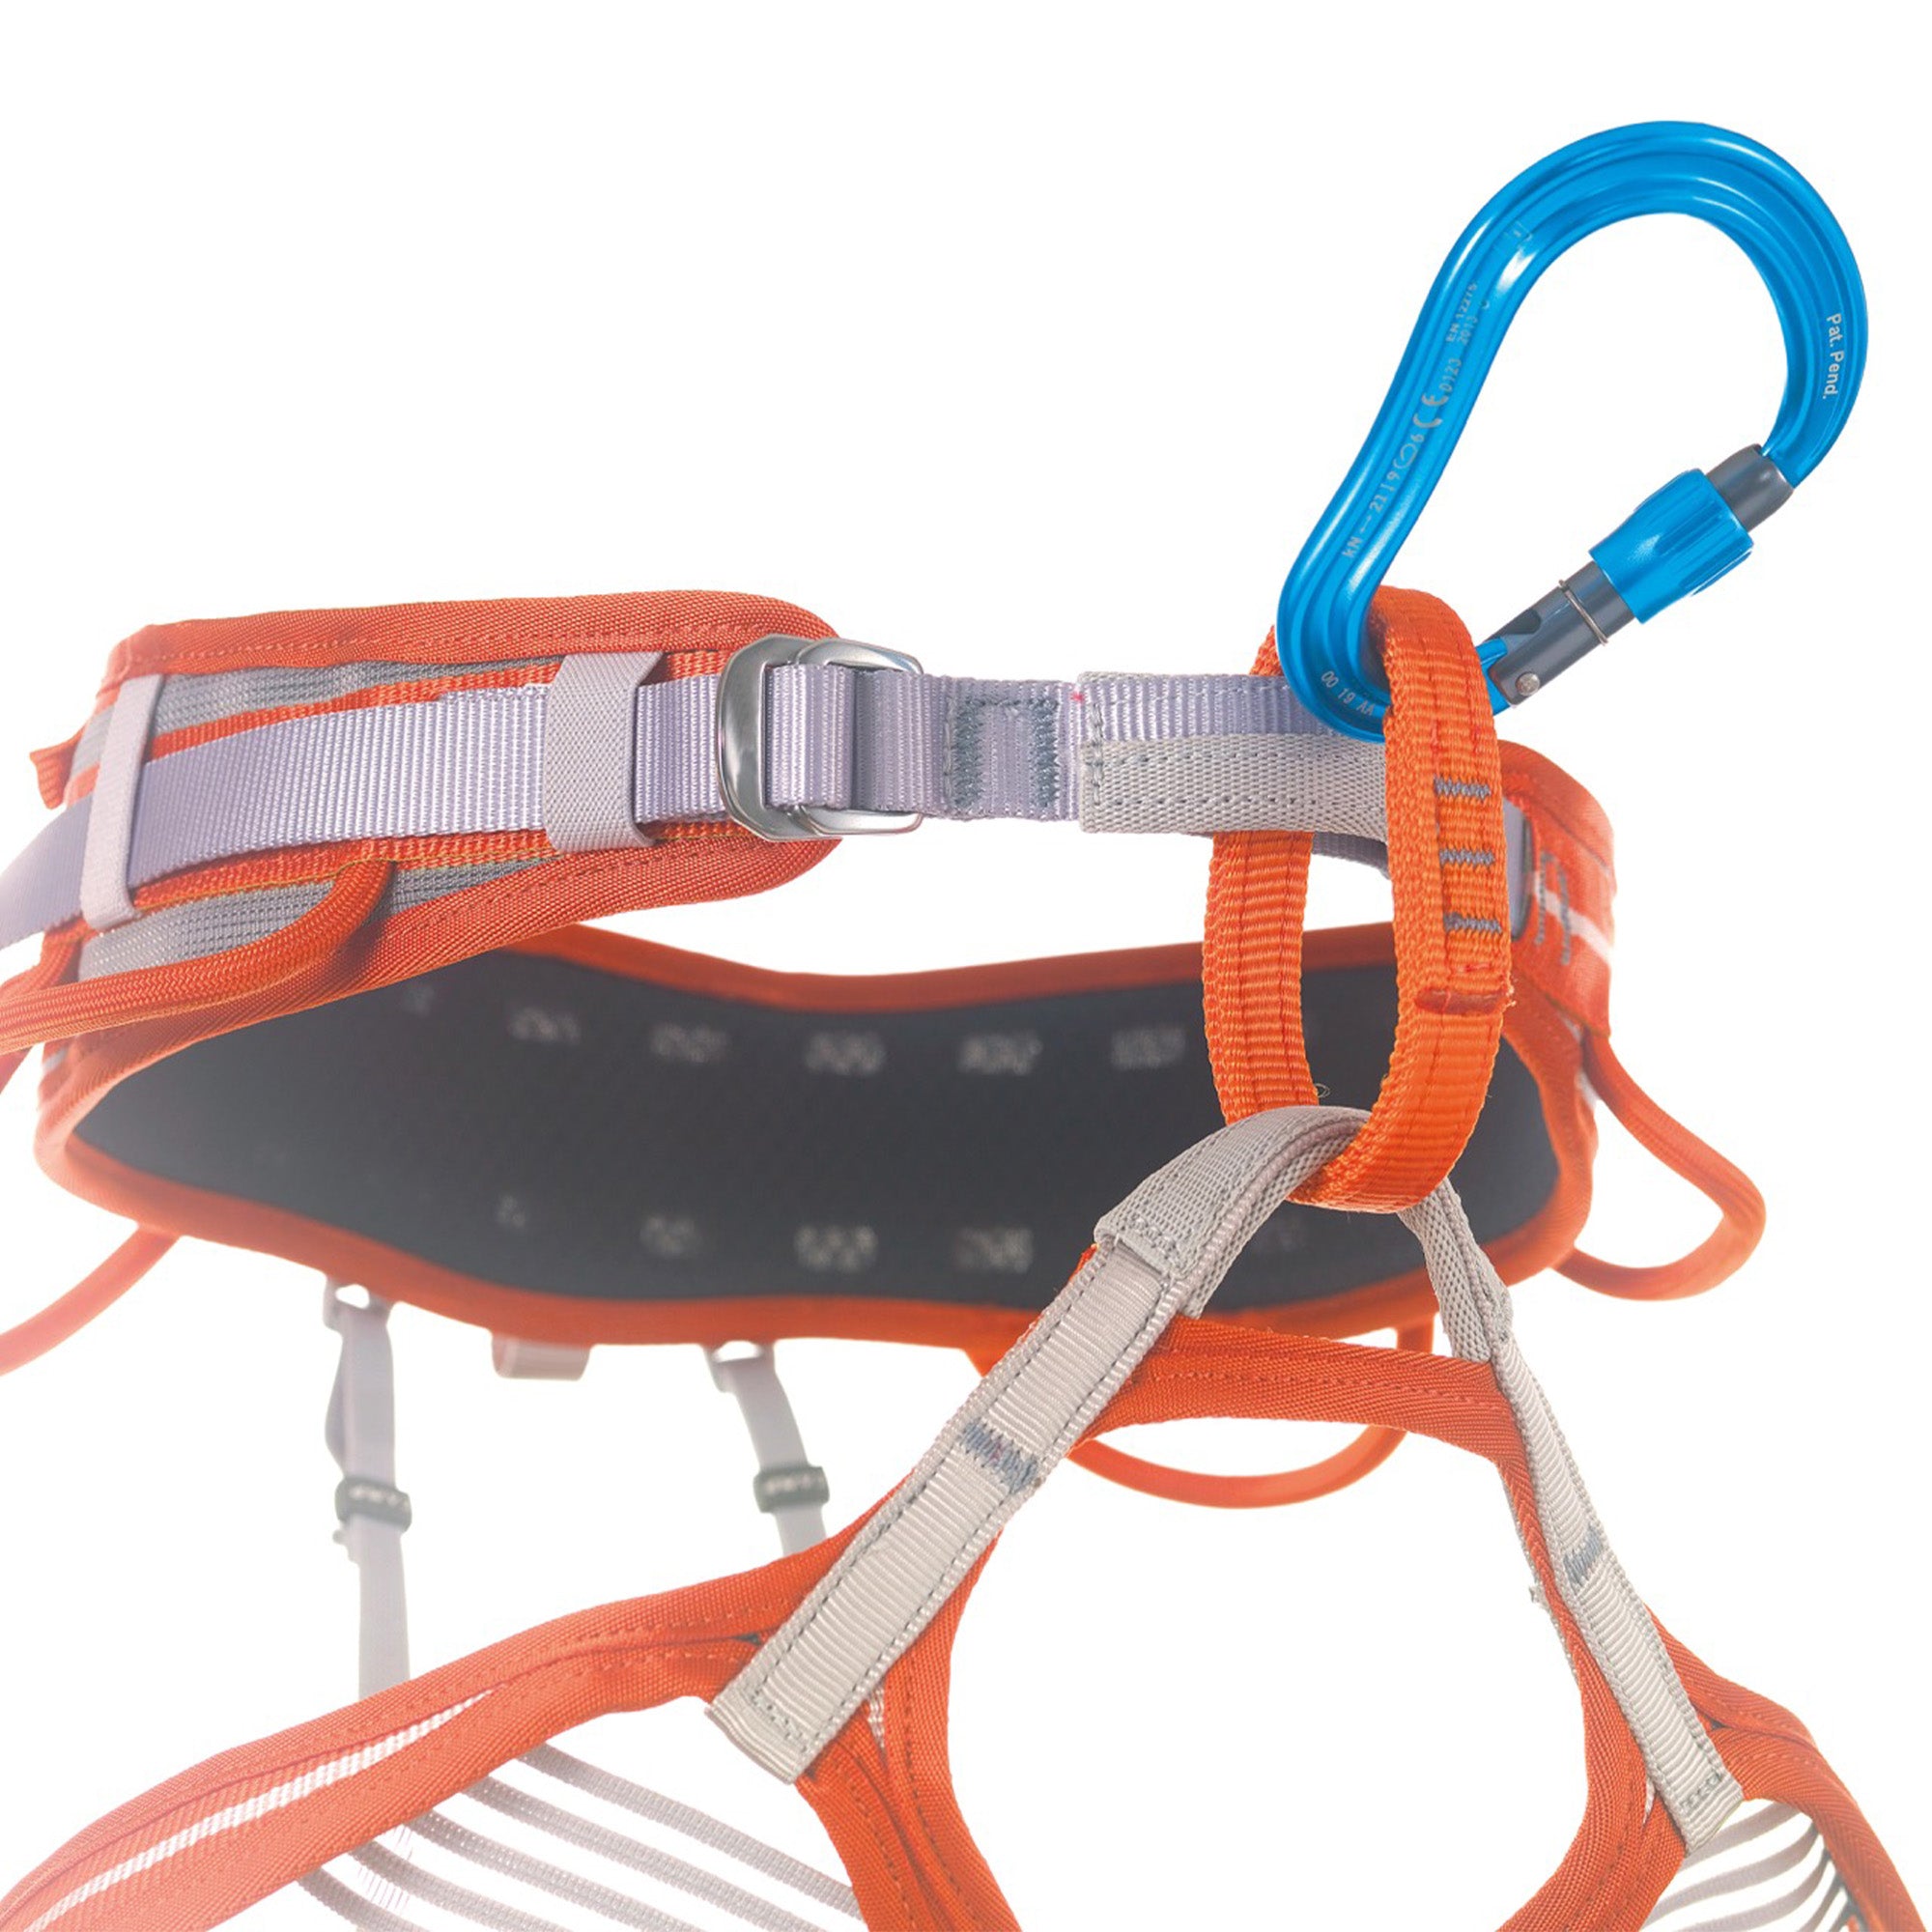
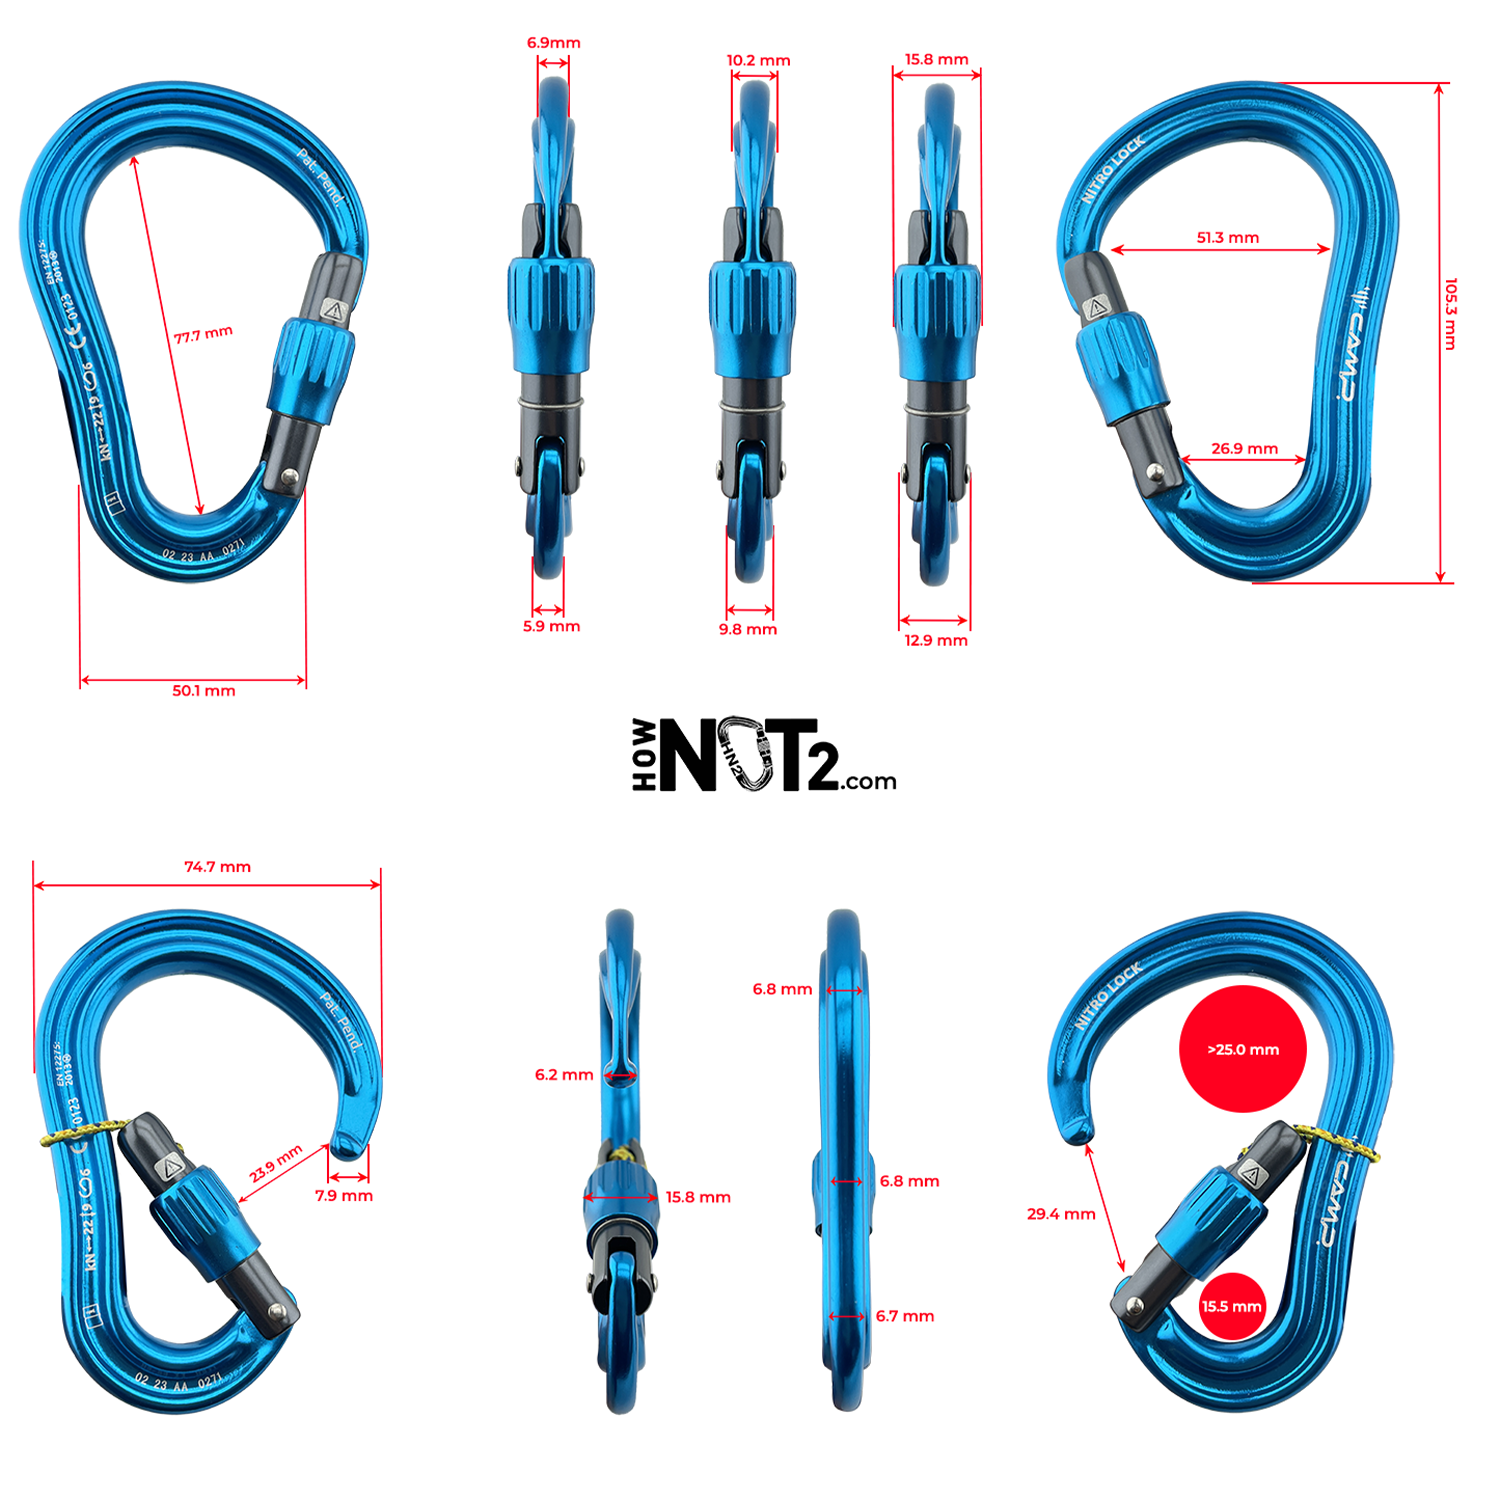
Nitro Lock
Tier benefits:
Tier benefits:
HMS or Pear shaped are “poor man rigging plates”. They should be the first thing you clip to an anchor bolt and everything else gets clipped to it so nothing gets smashed. 4 for each anchor (x2), 2 for your haul bag, 3 spares on each person = 16
Pros
- Skinny nose
- Fat!
Cons
- Price
![id=[47179787075899]](http://hownot2.com/cdn/shop/files/293101.jpg?v=1756773446&width=2000)
![id=[49569549877563]](http://hownot2.com/cdn/shop/files/Photon_pack.webp?v=1756773446&width=2000)
![id=[47179787075899]](http://hownot2.com/cdn/shop/files/912_2-293101_C.jpg?v=1756773446&width=2000)
![id=[47833785794875]](http://hownot2.com/cdn/shop/files/Green_Photon.webp?v=1756773446&width=2000)
![id=[47179787075899, 47179787108667, 47734976151867, 47833785794875, 49569549877563]](http://hownot2.com/cdn/shop/files/PhotonLockerv2.jpg?v=1756773447&width=4614)
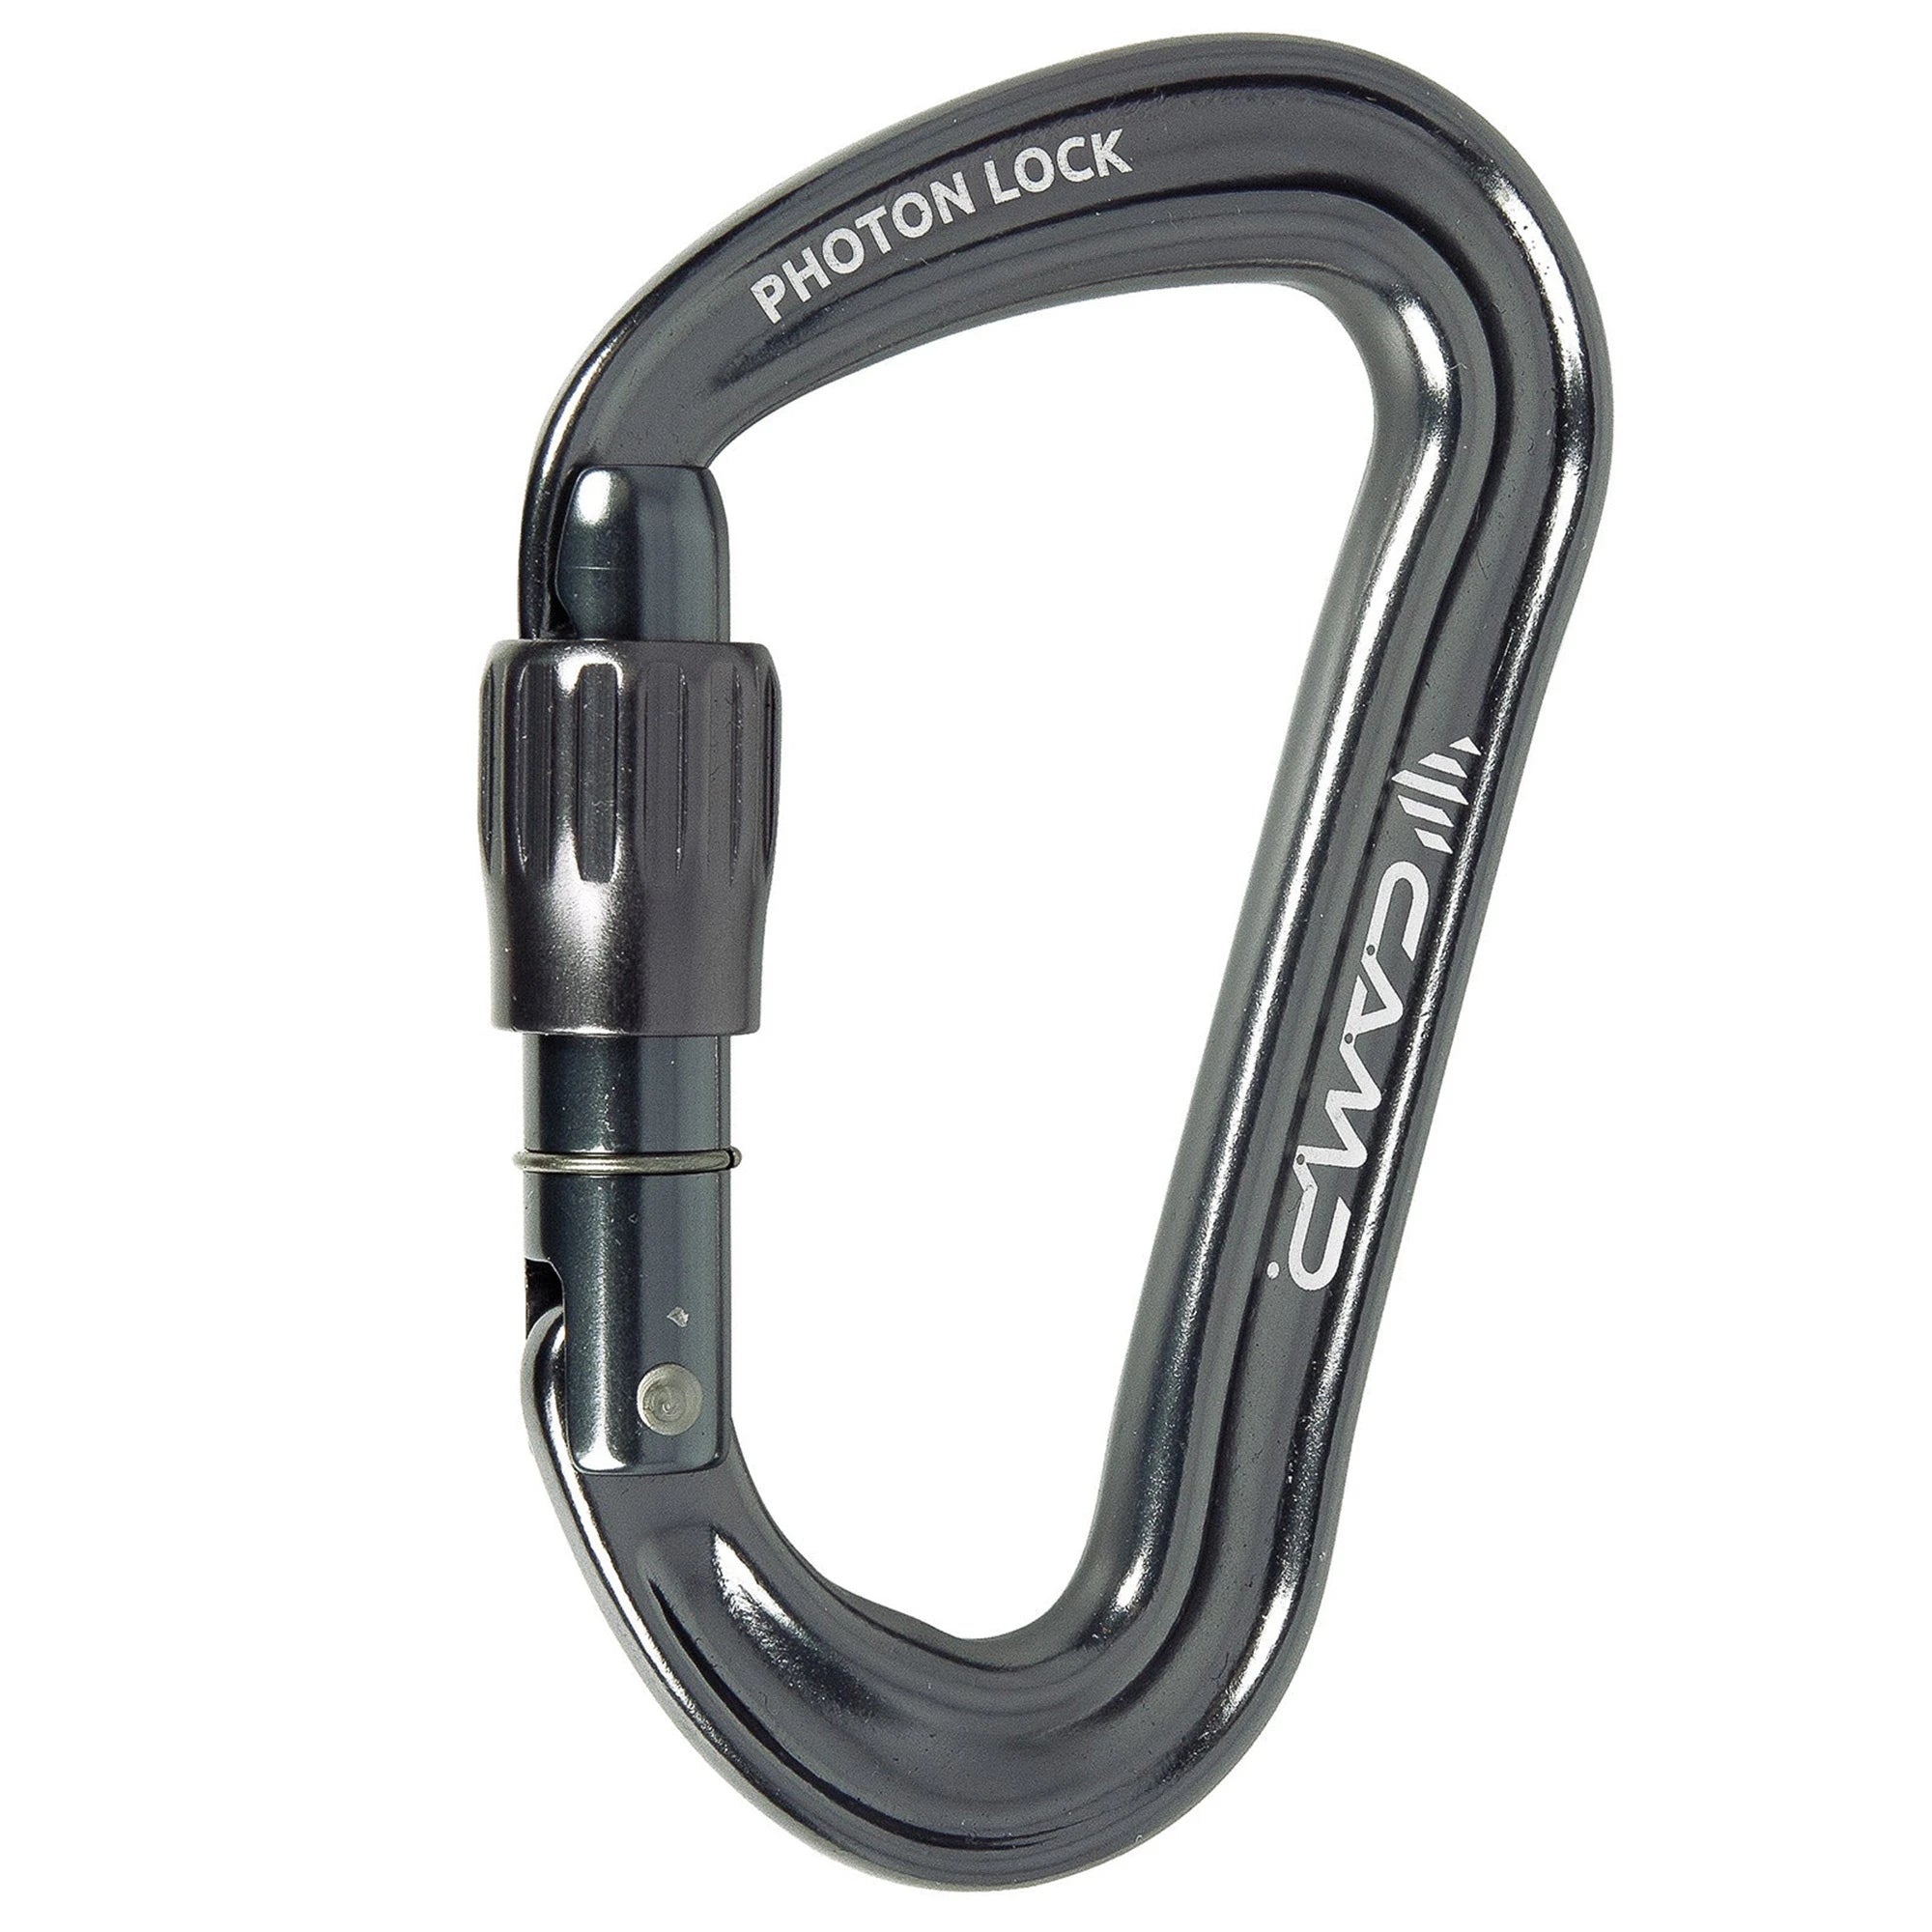
Photon Lock
Tier benefits:
Tier benefits:
D-shaped Screw lockers for your personal anchors and general things you want to be locked. These are the other half of your lockers. 1 for the hauler, 1 for each person’s daisies (2x2), 1 for each grigri, a whole bunch of spares = 10-15ish
Pros
- Skinny Nose
Cons
- Price
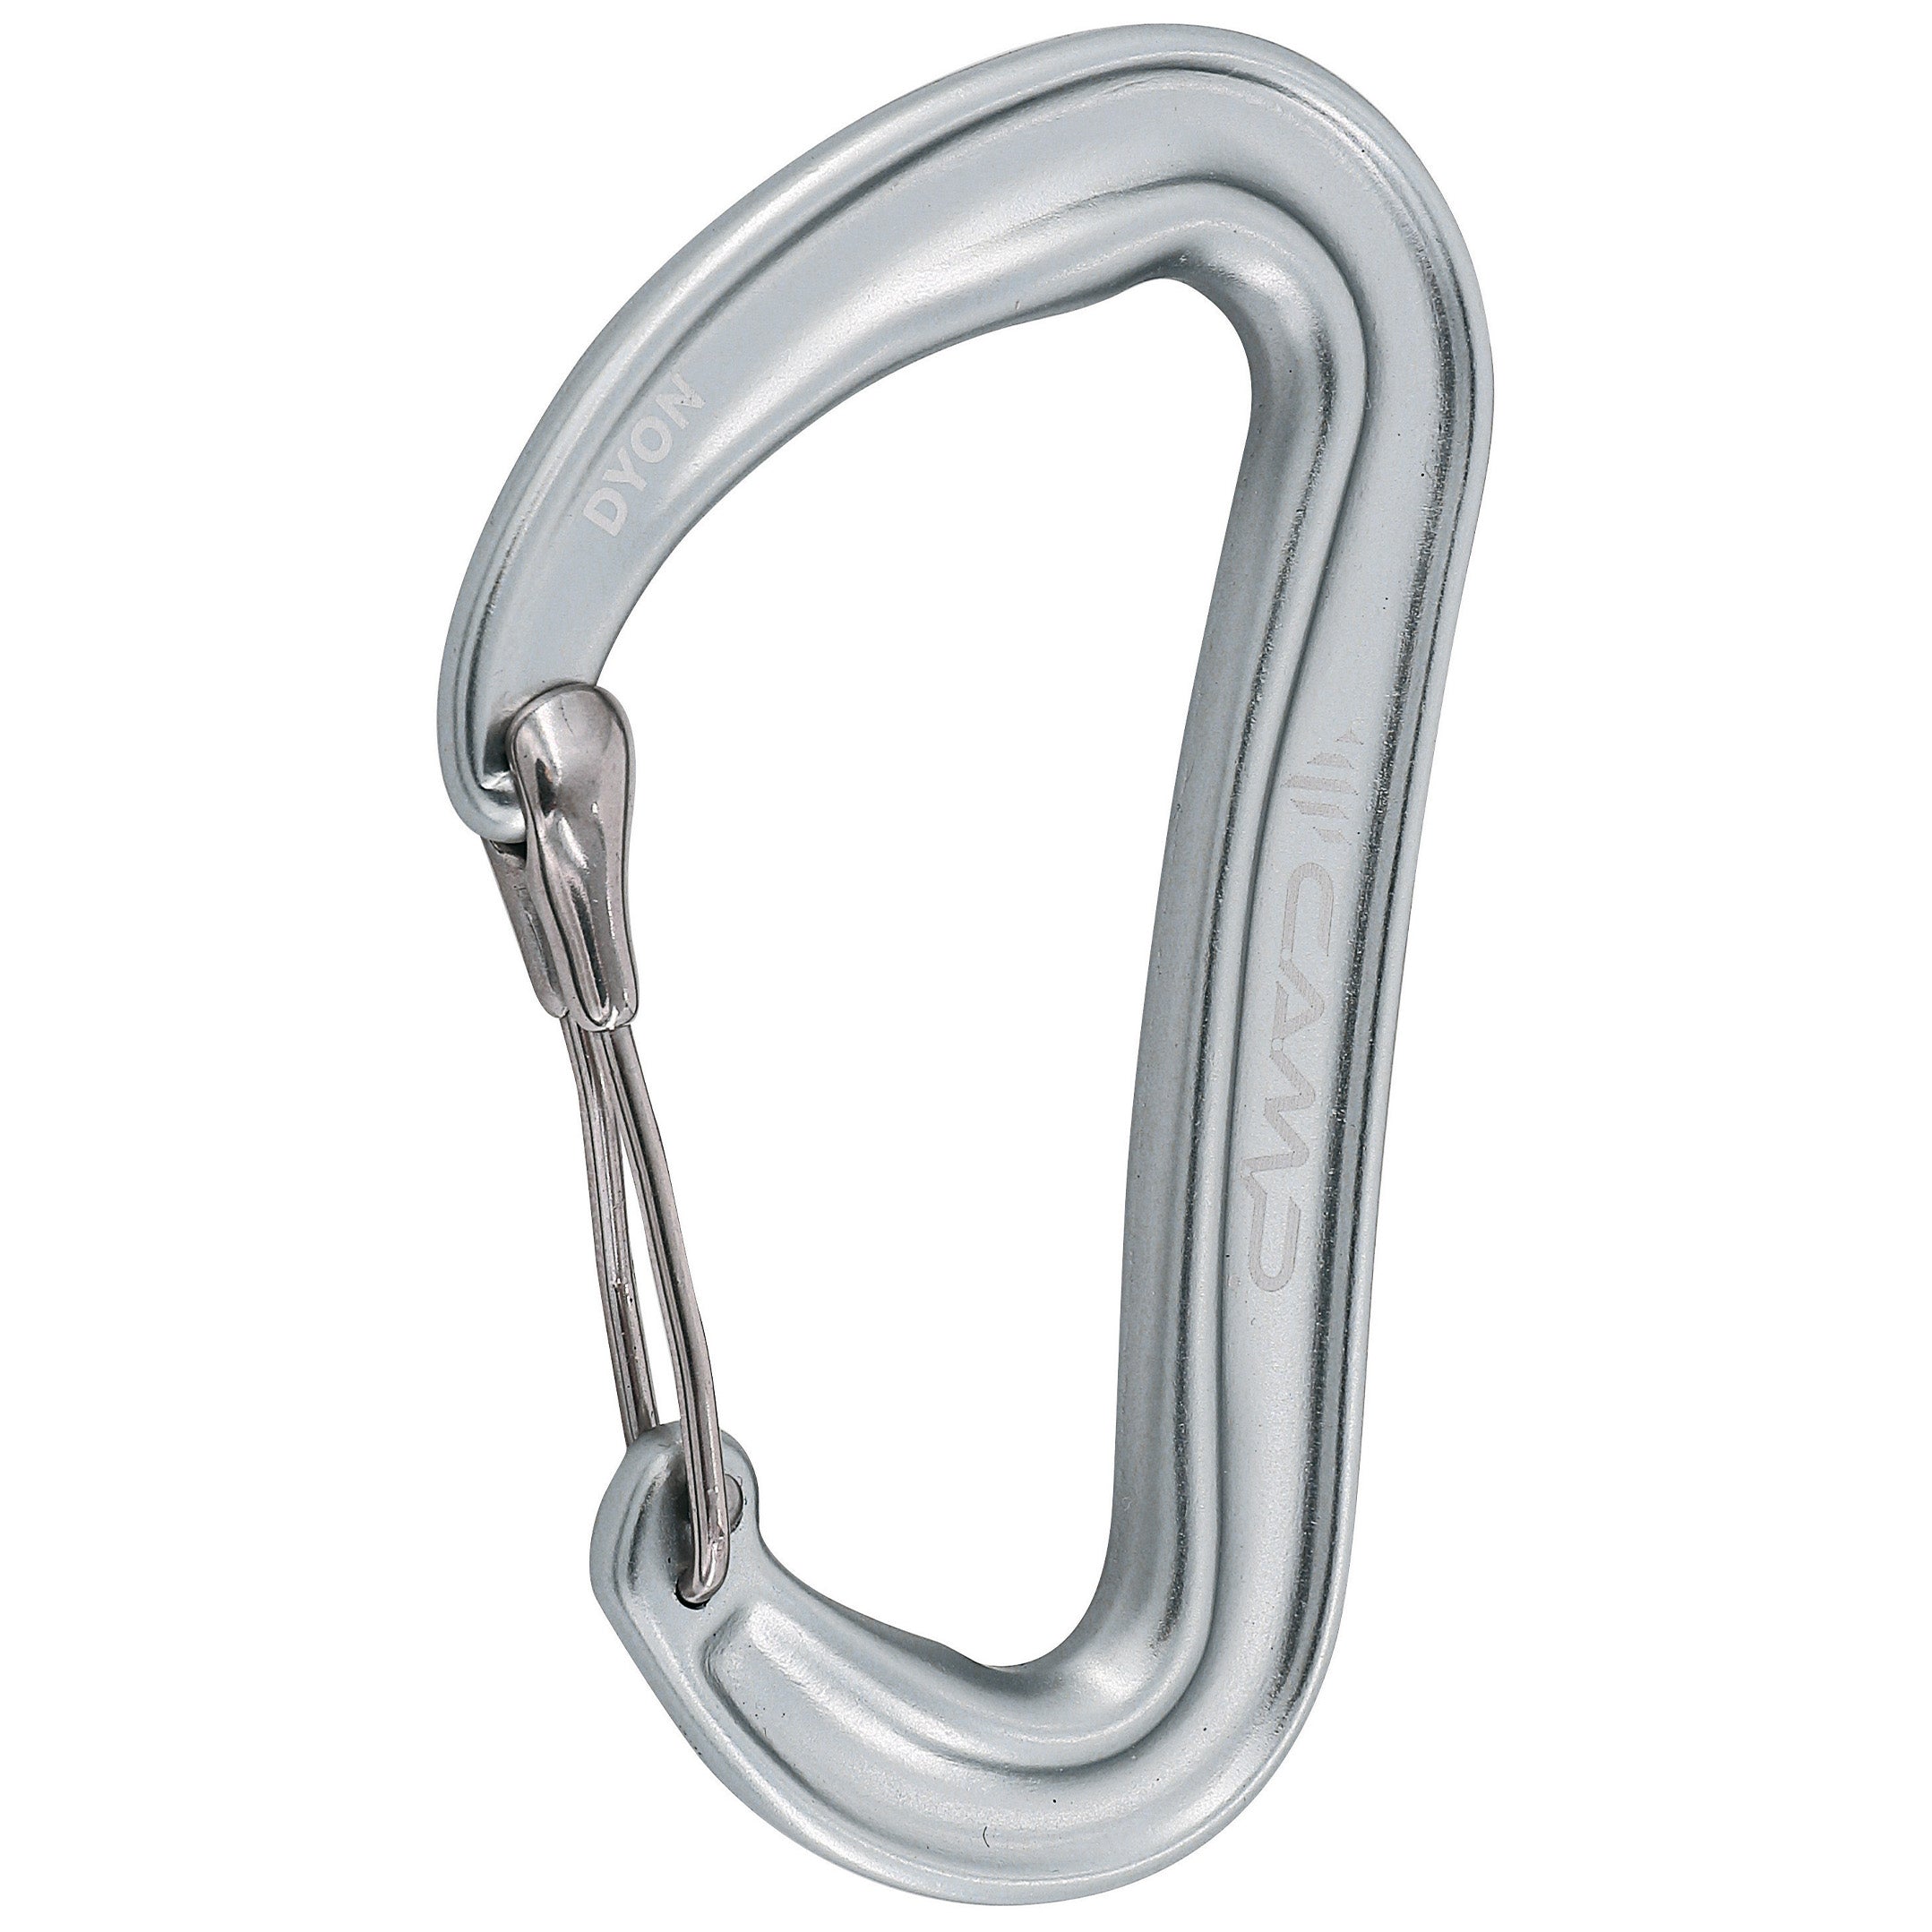
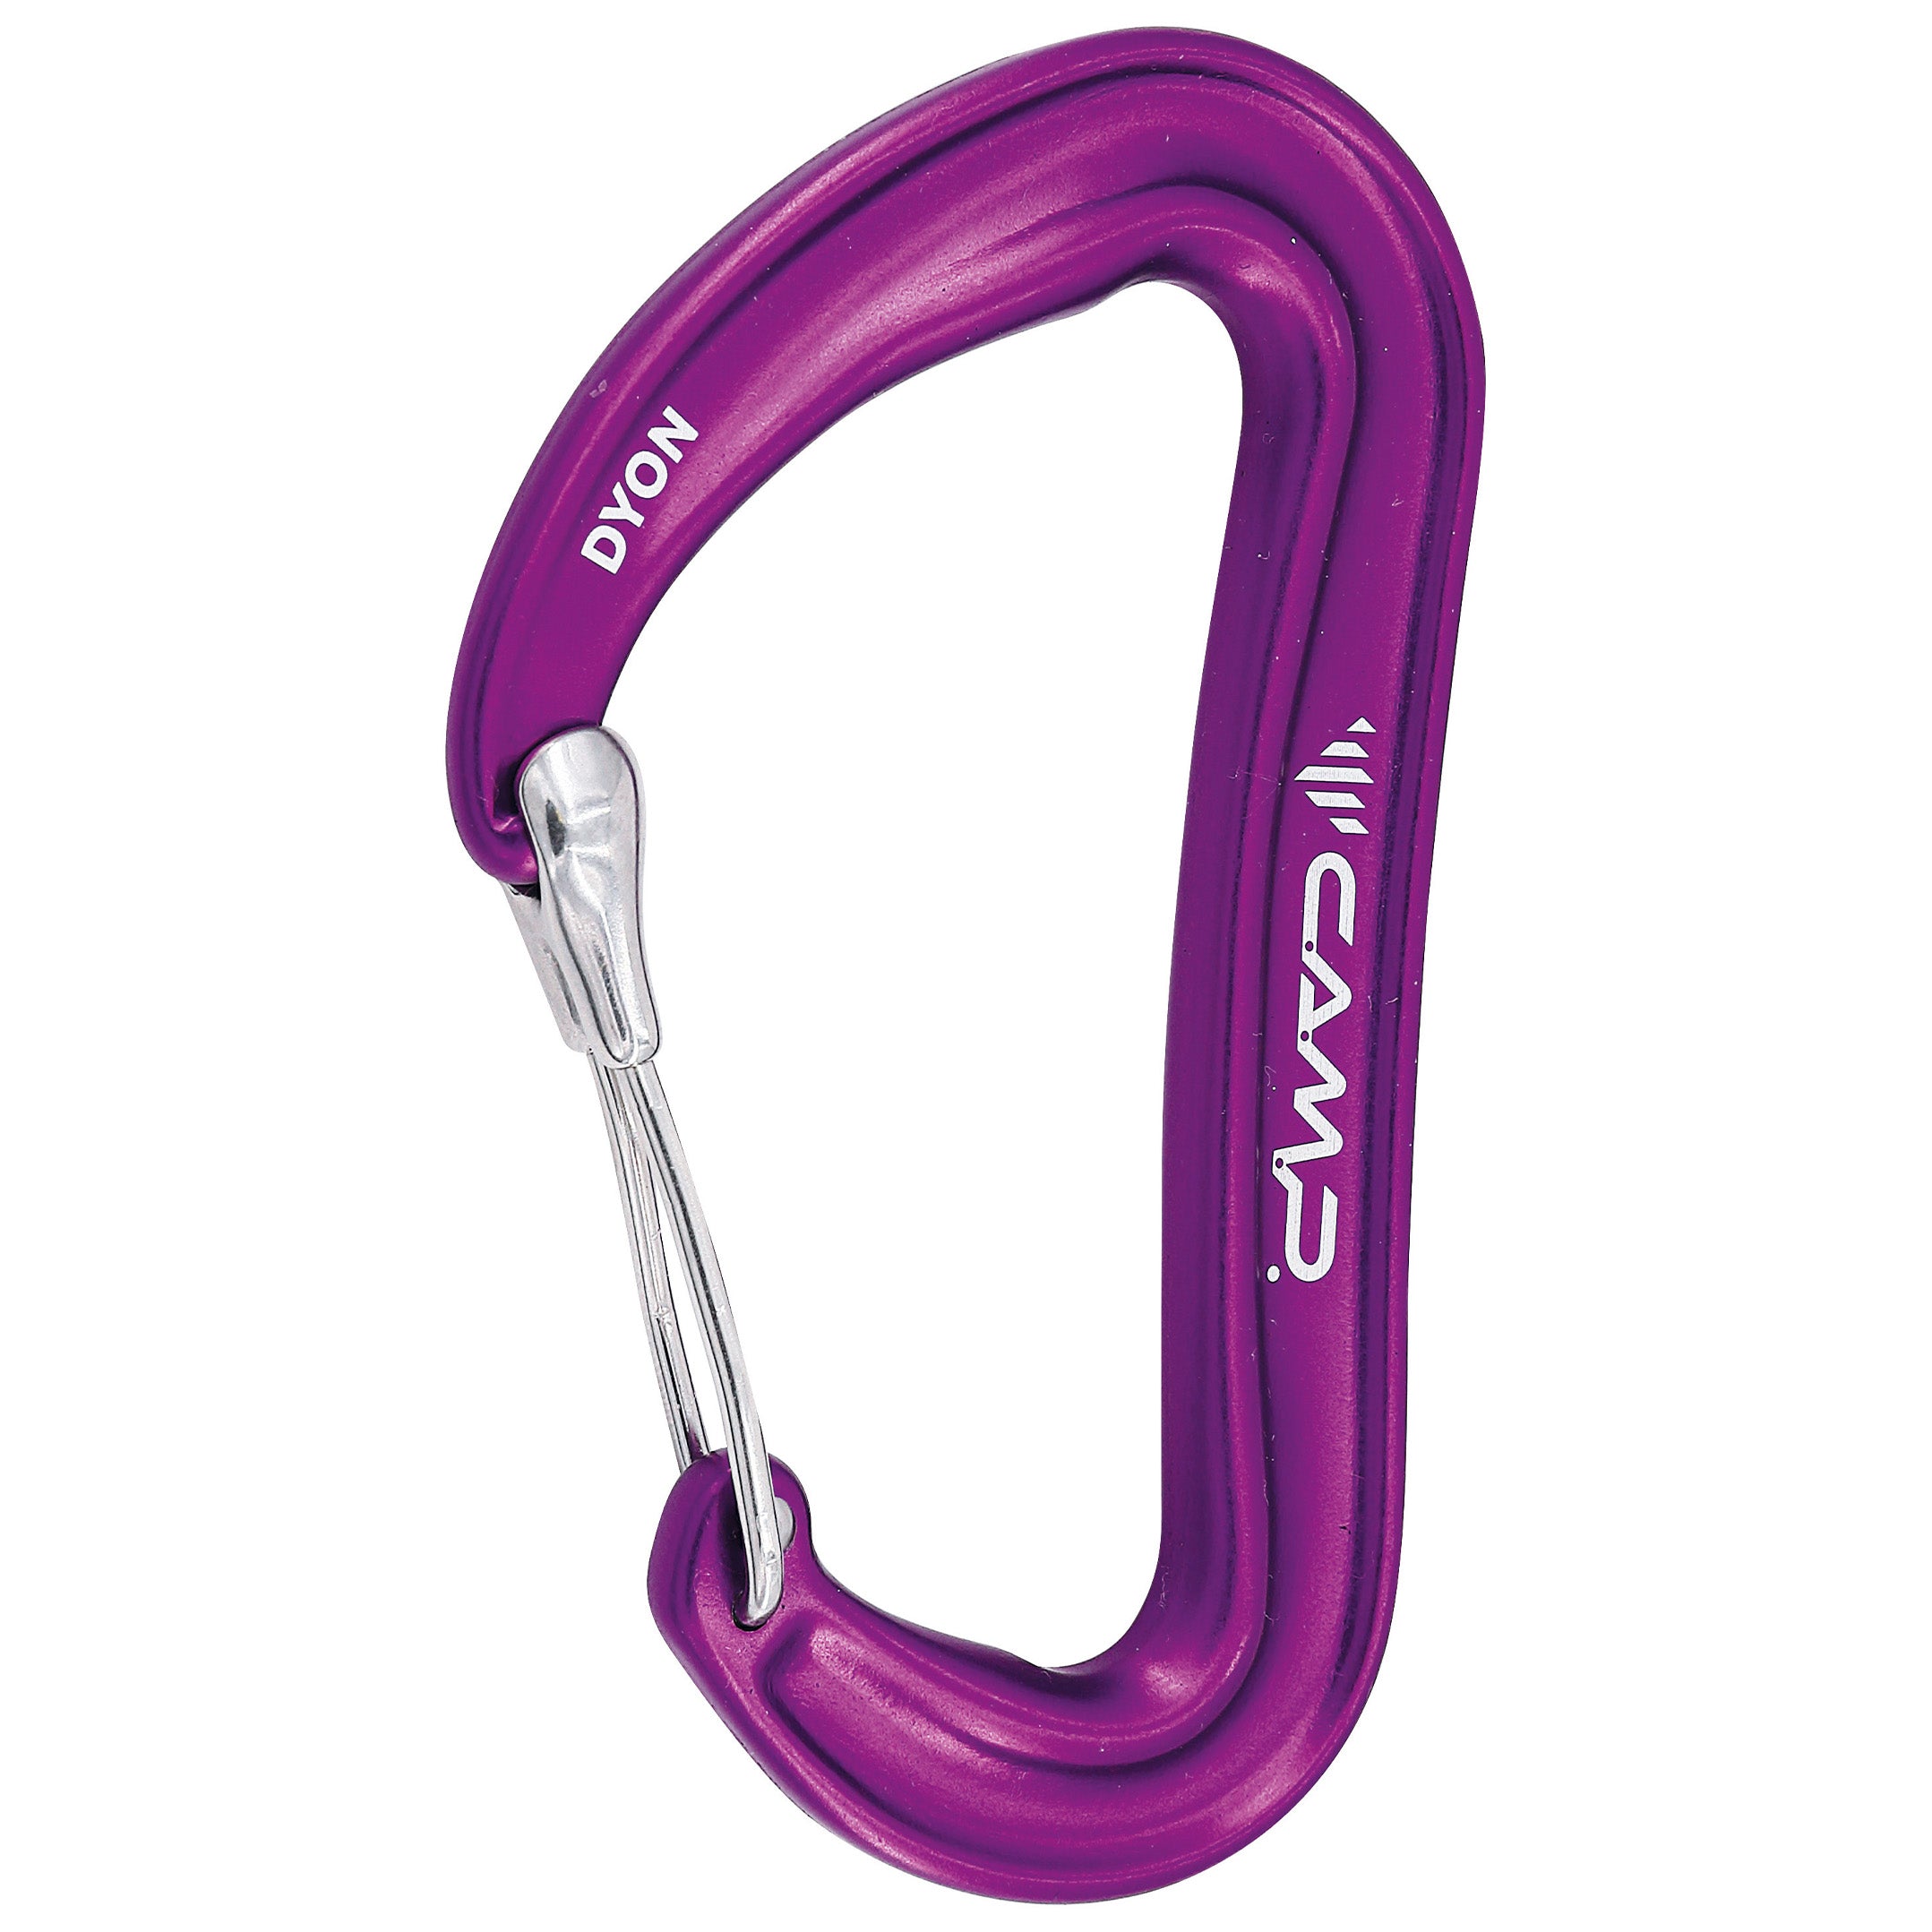
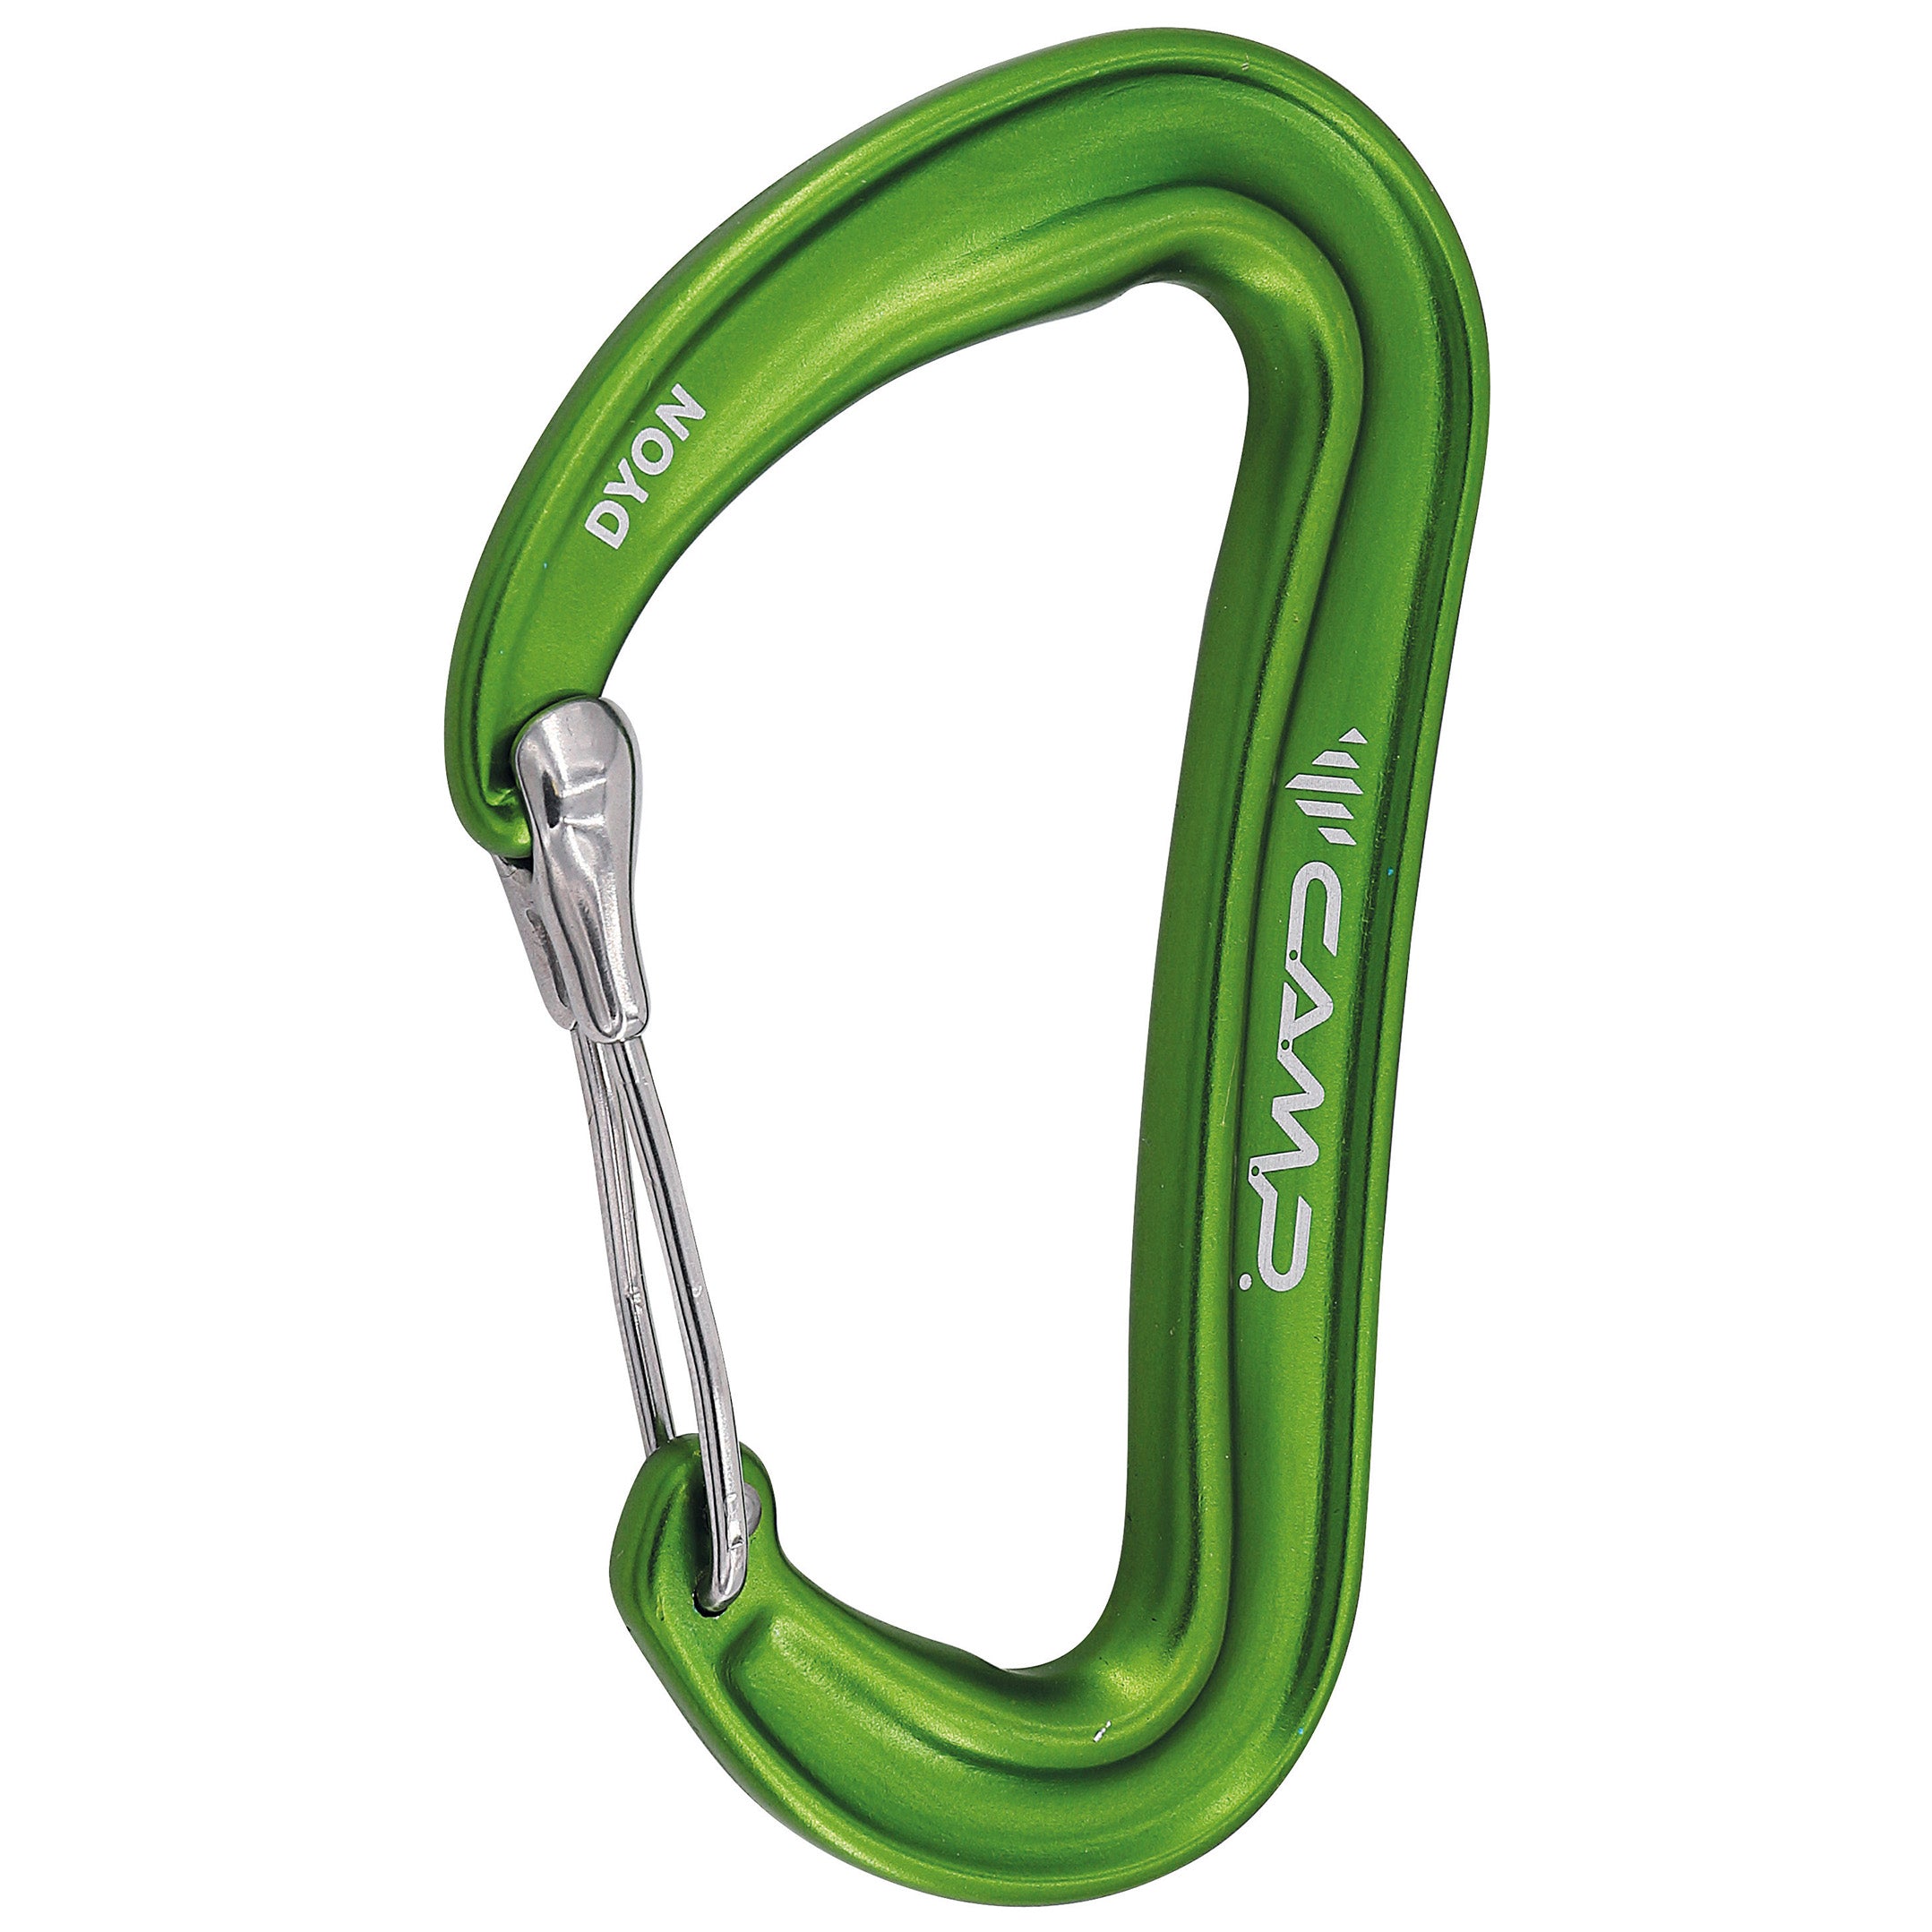
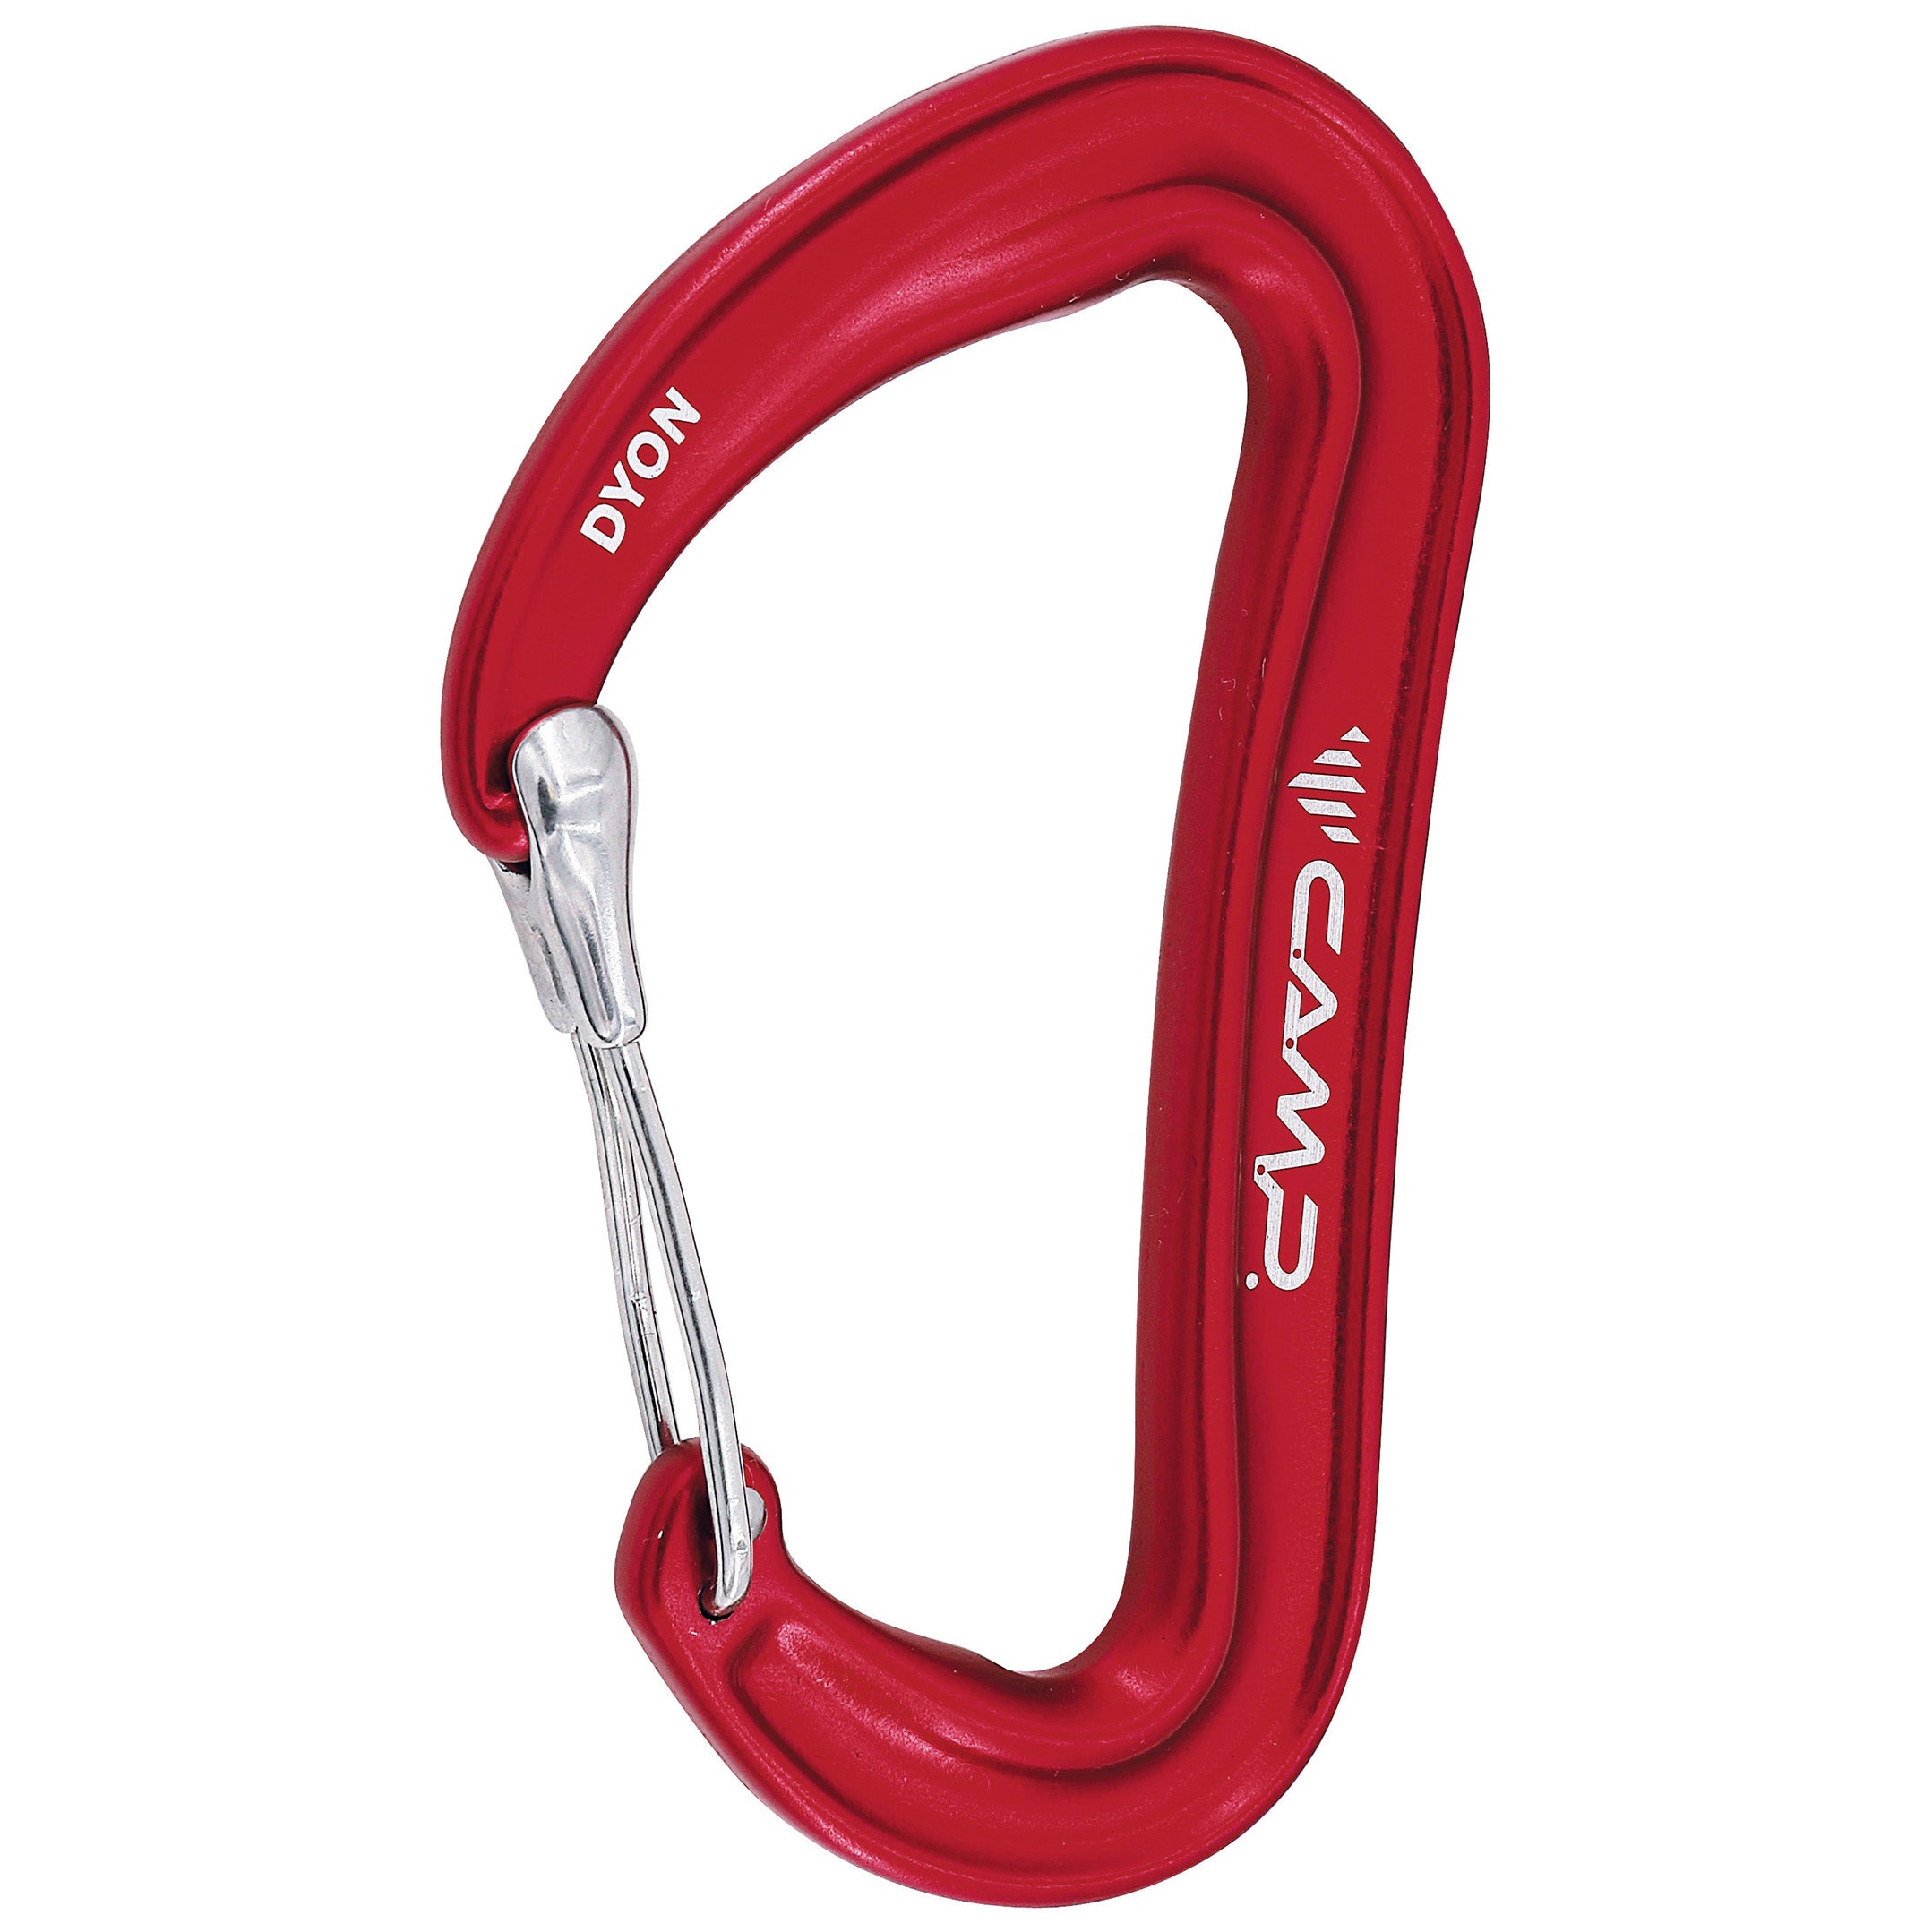
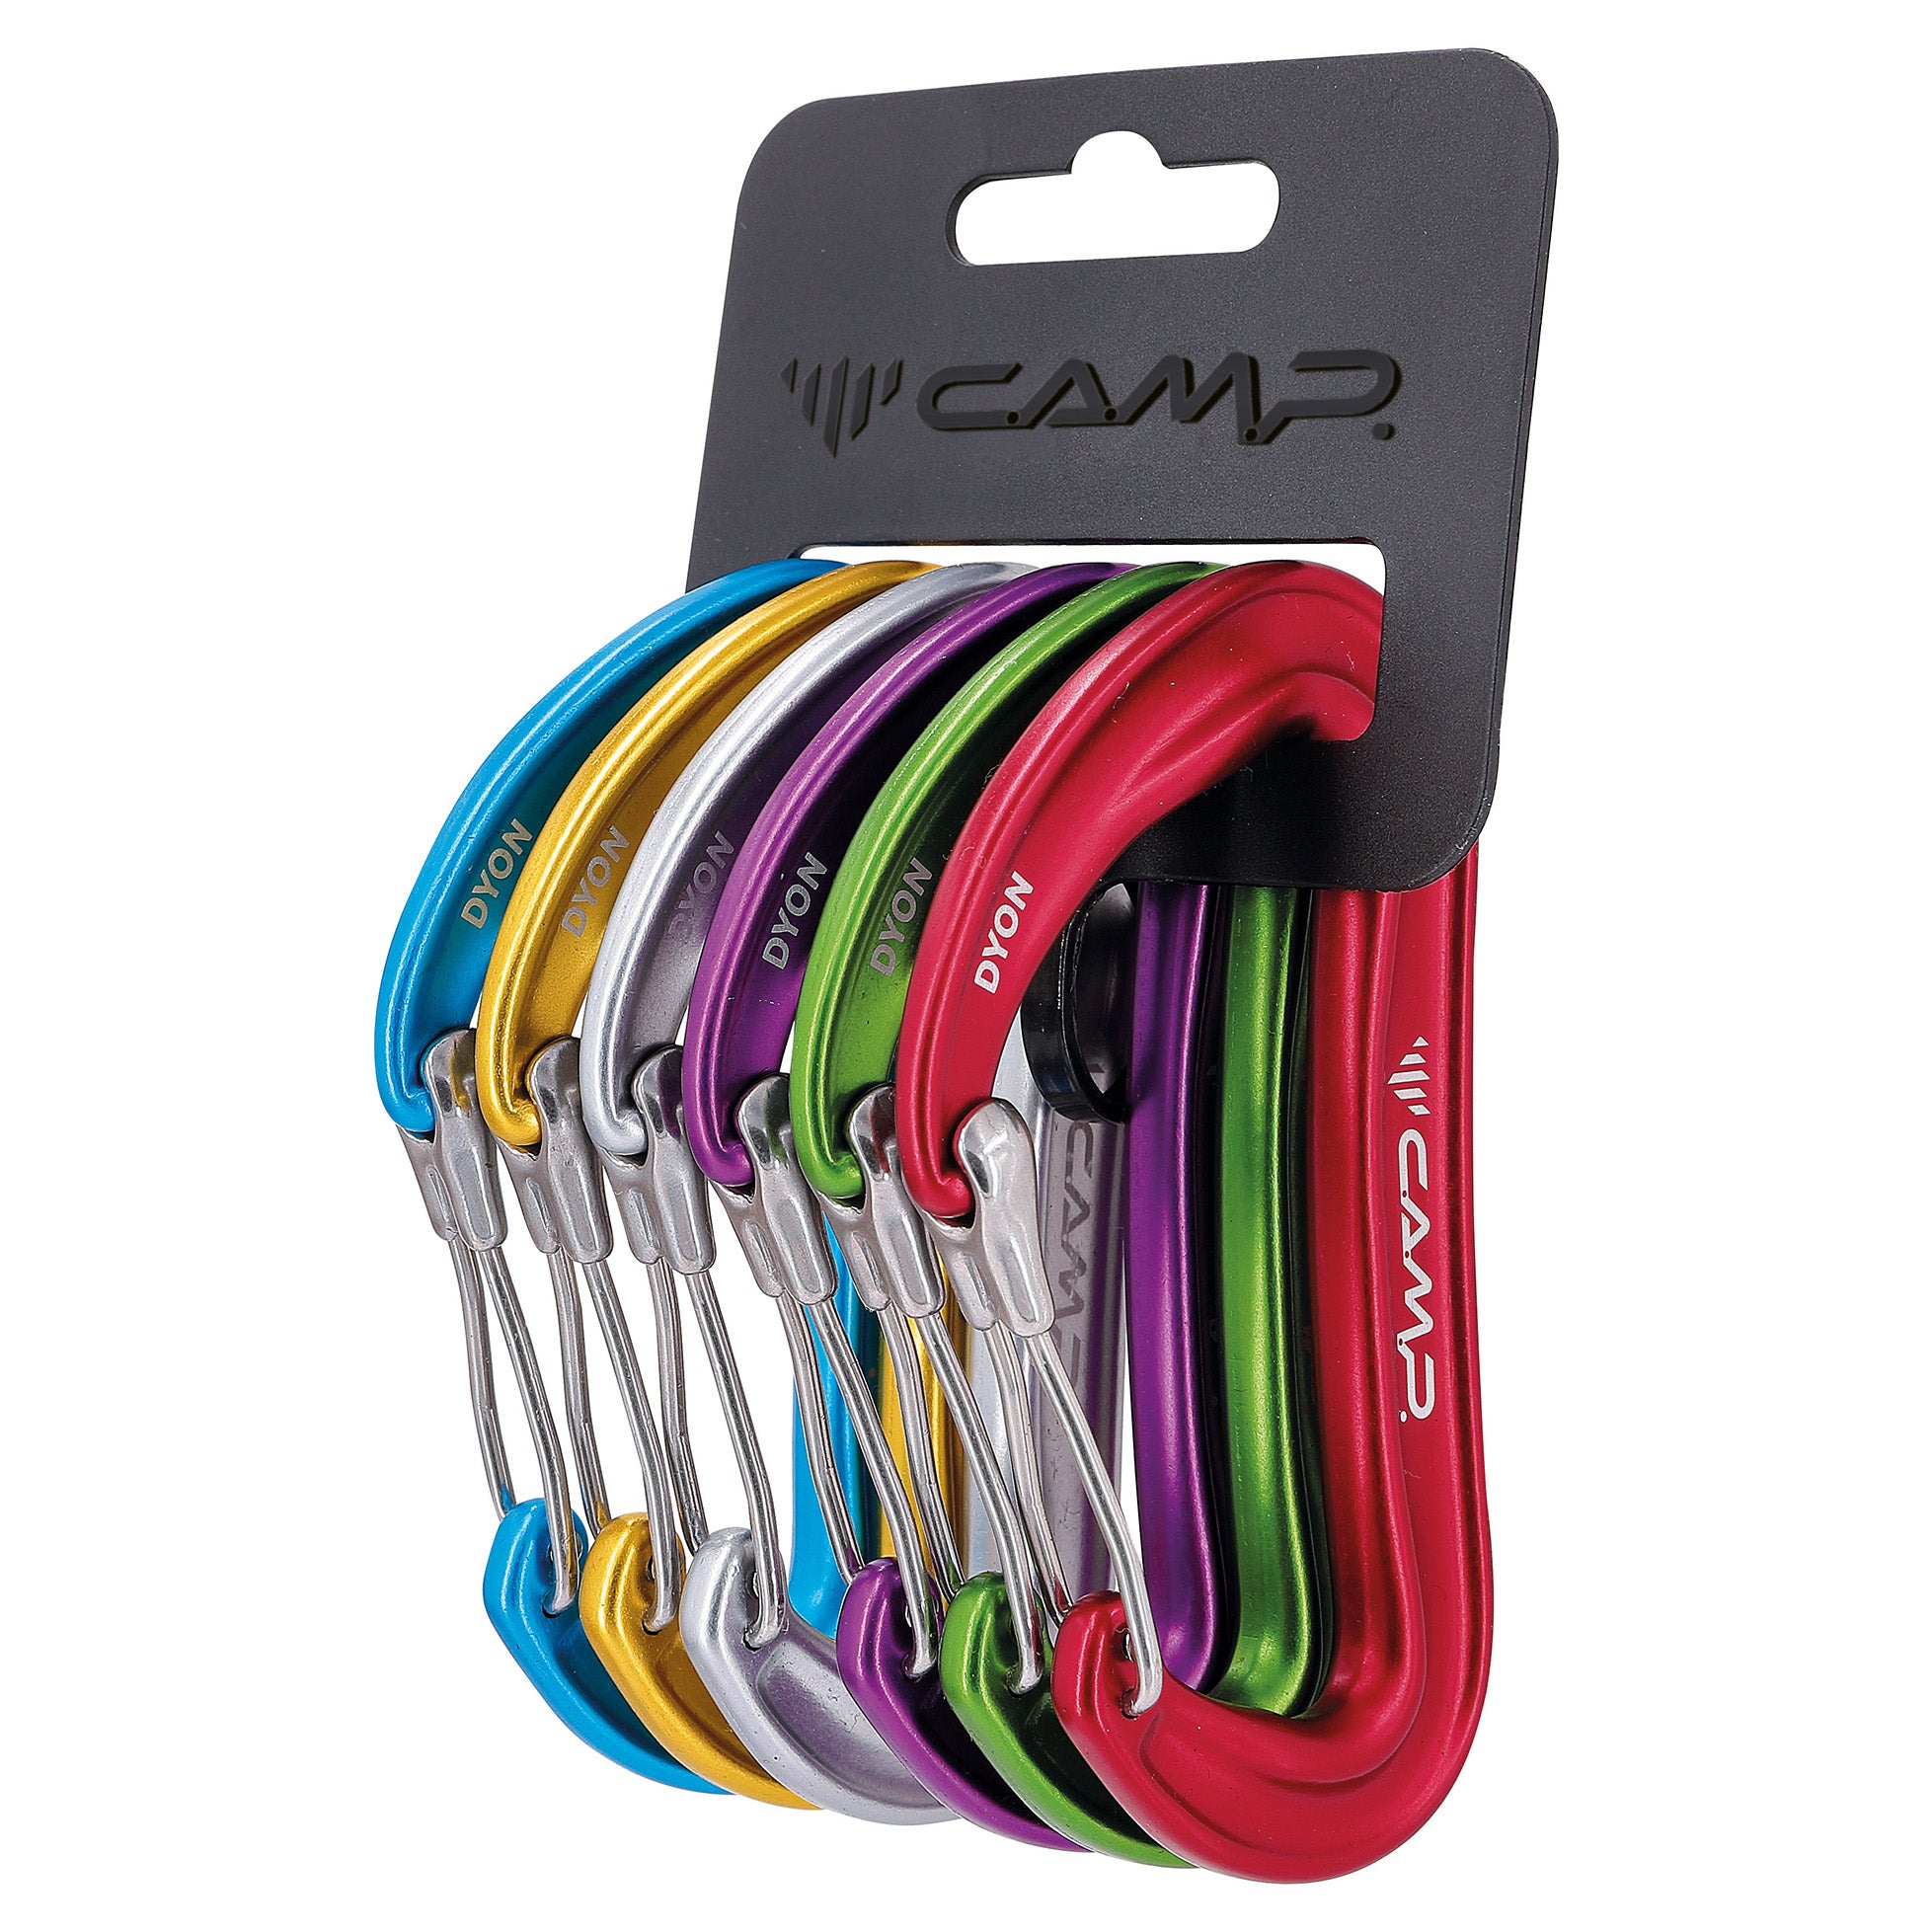
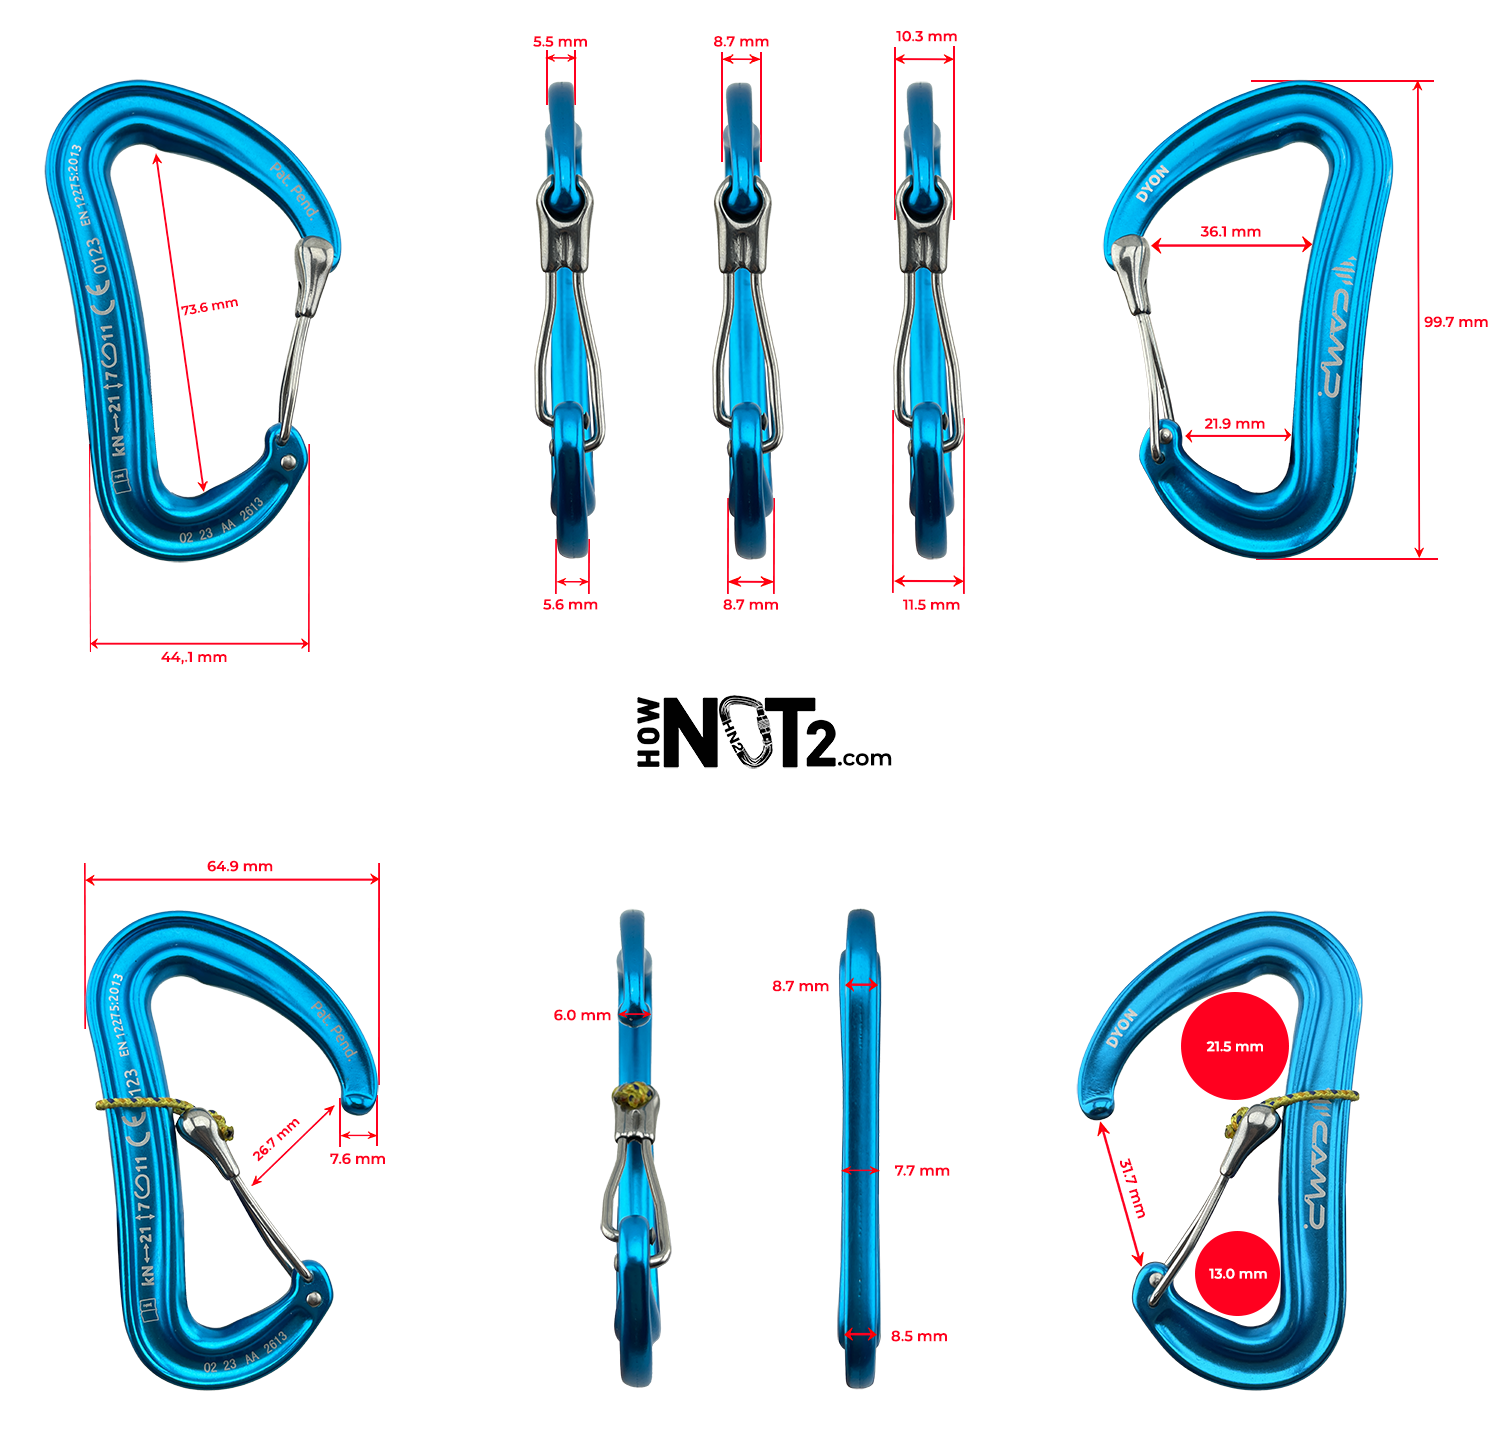
Dyon
Tier benefits:
Tier benefits:
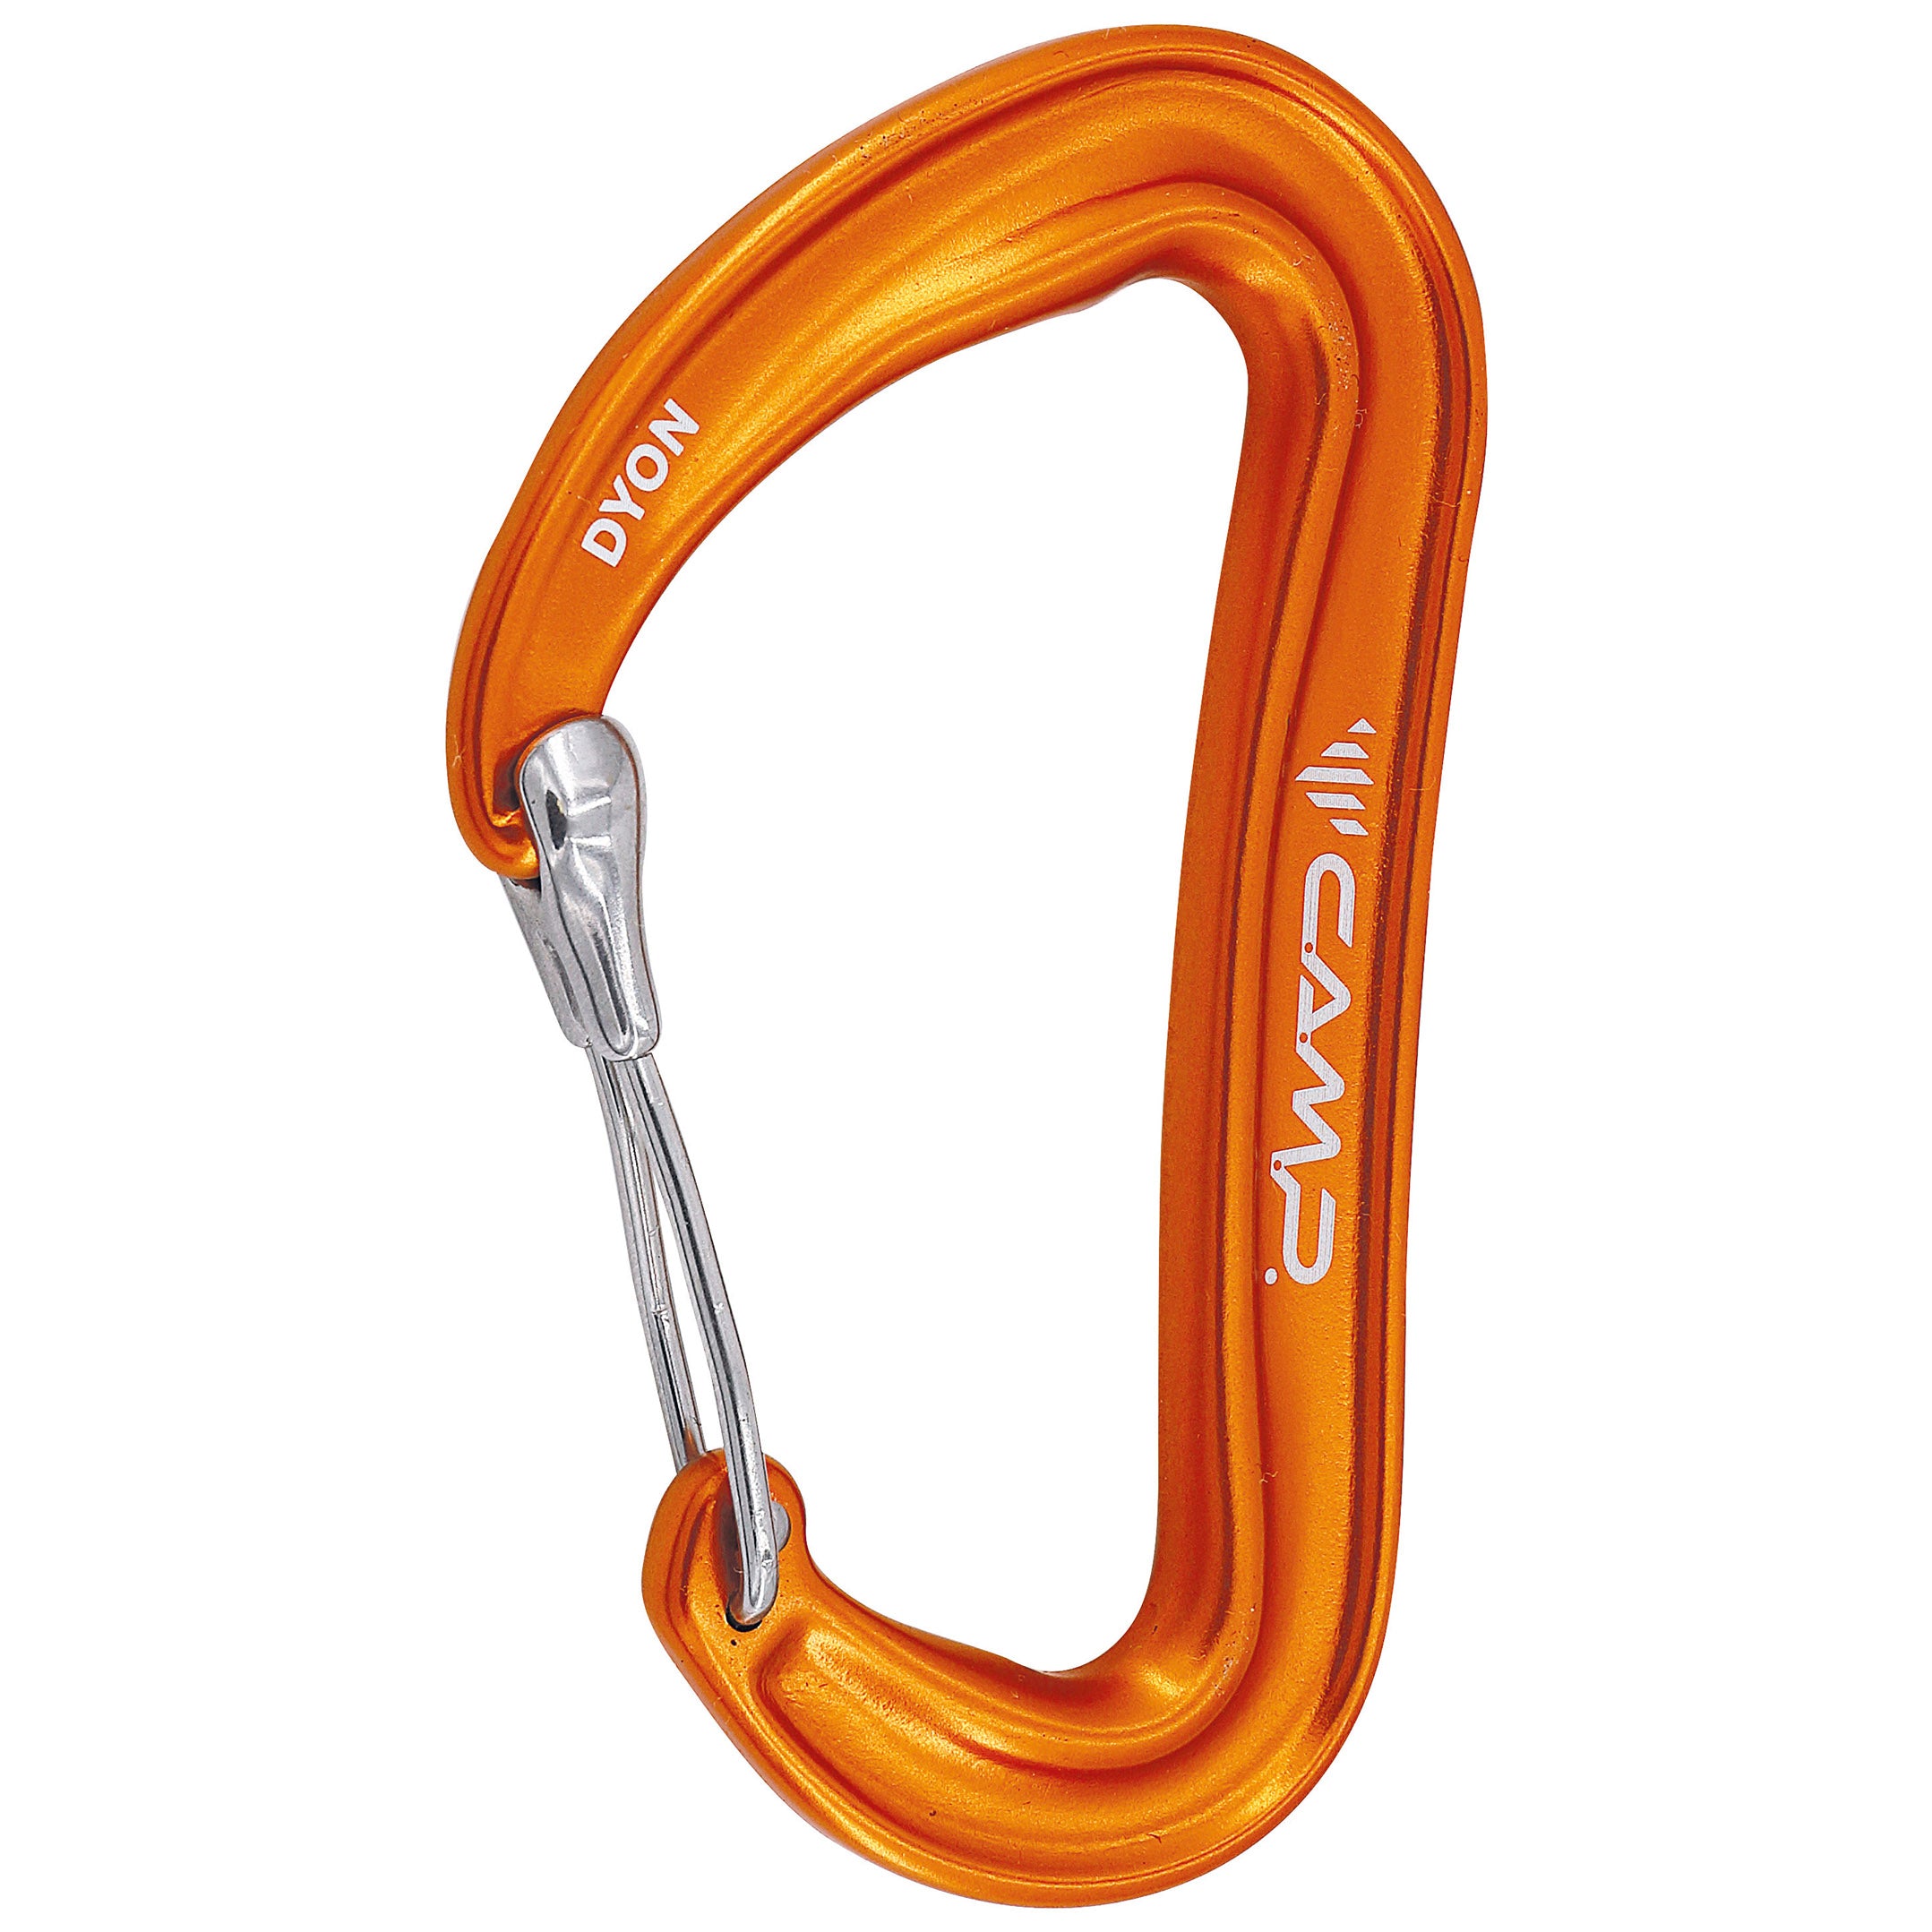
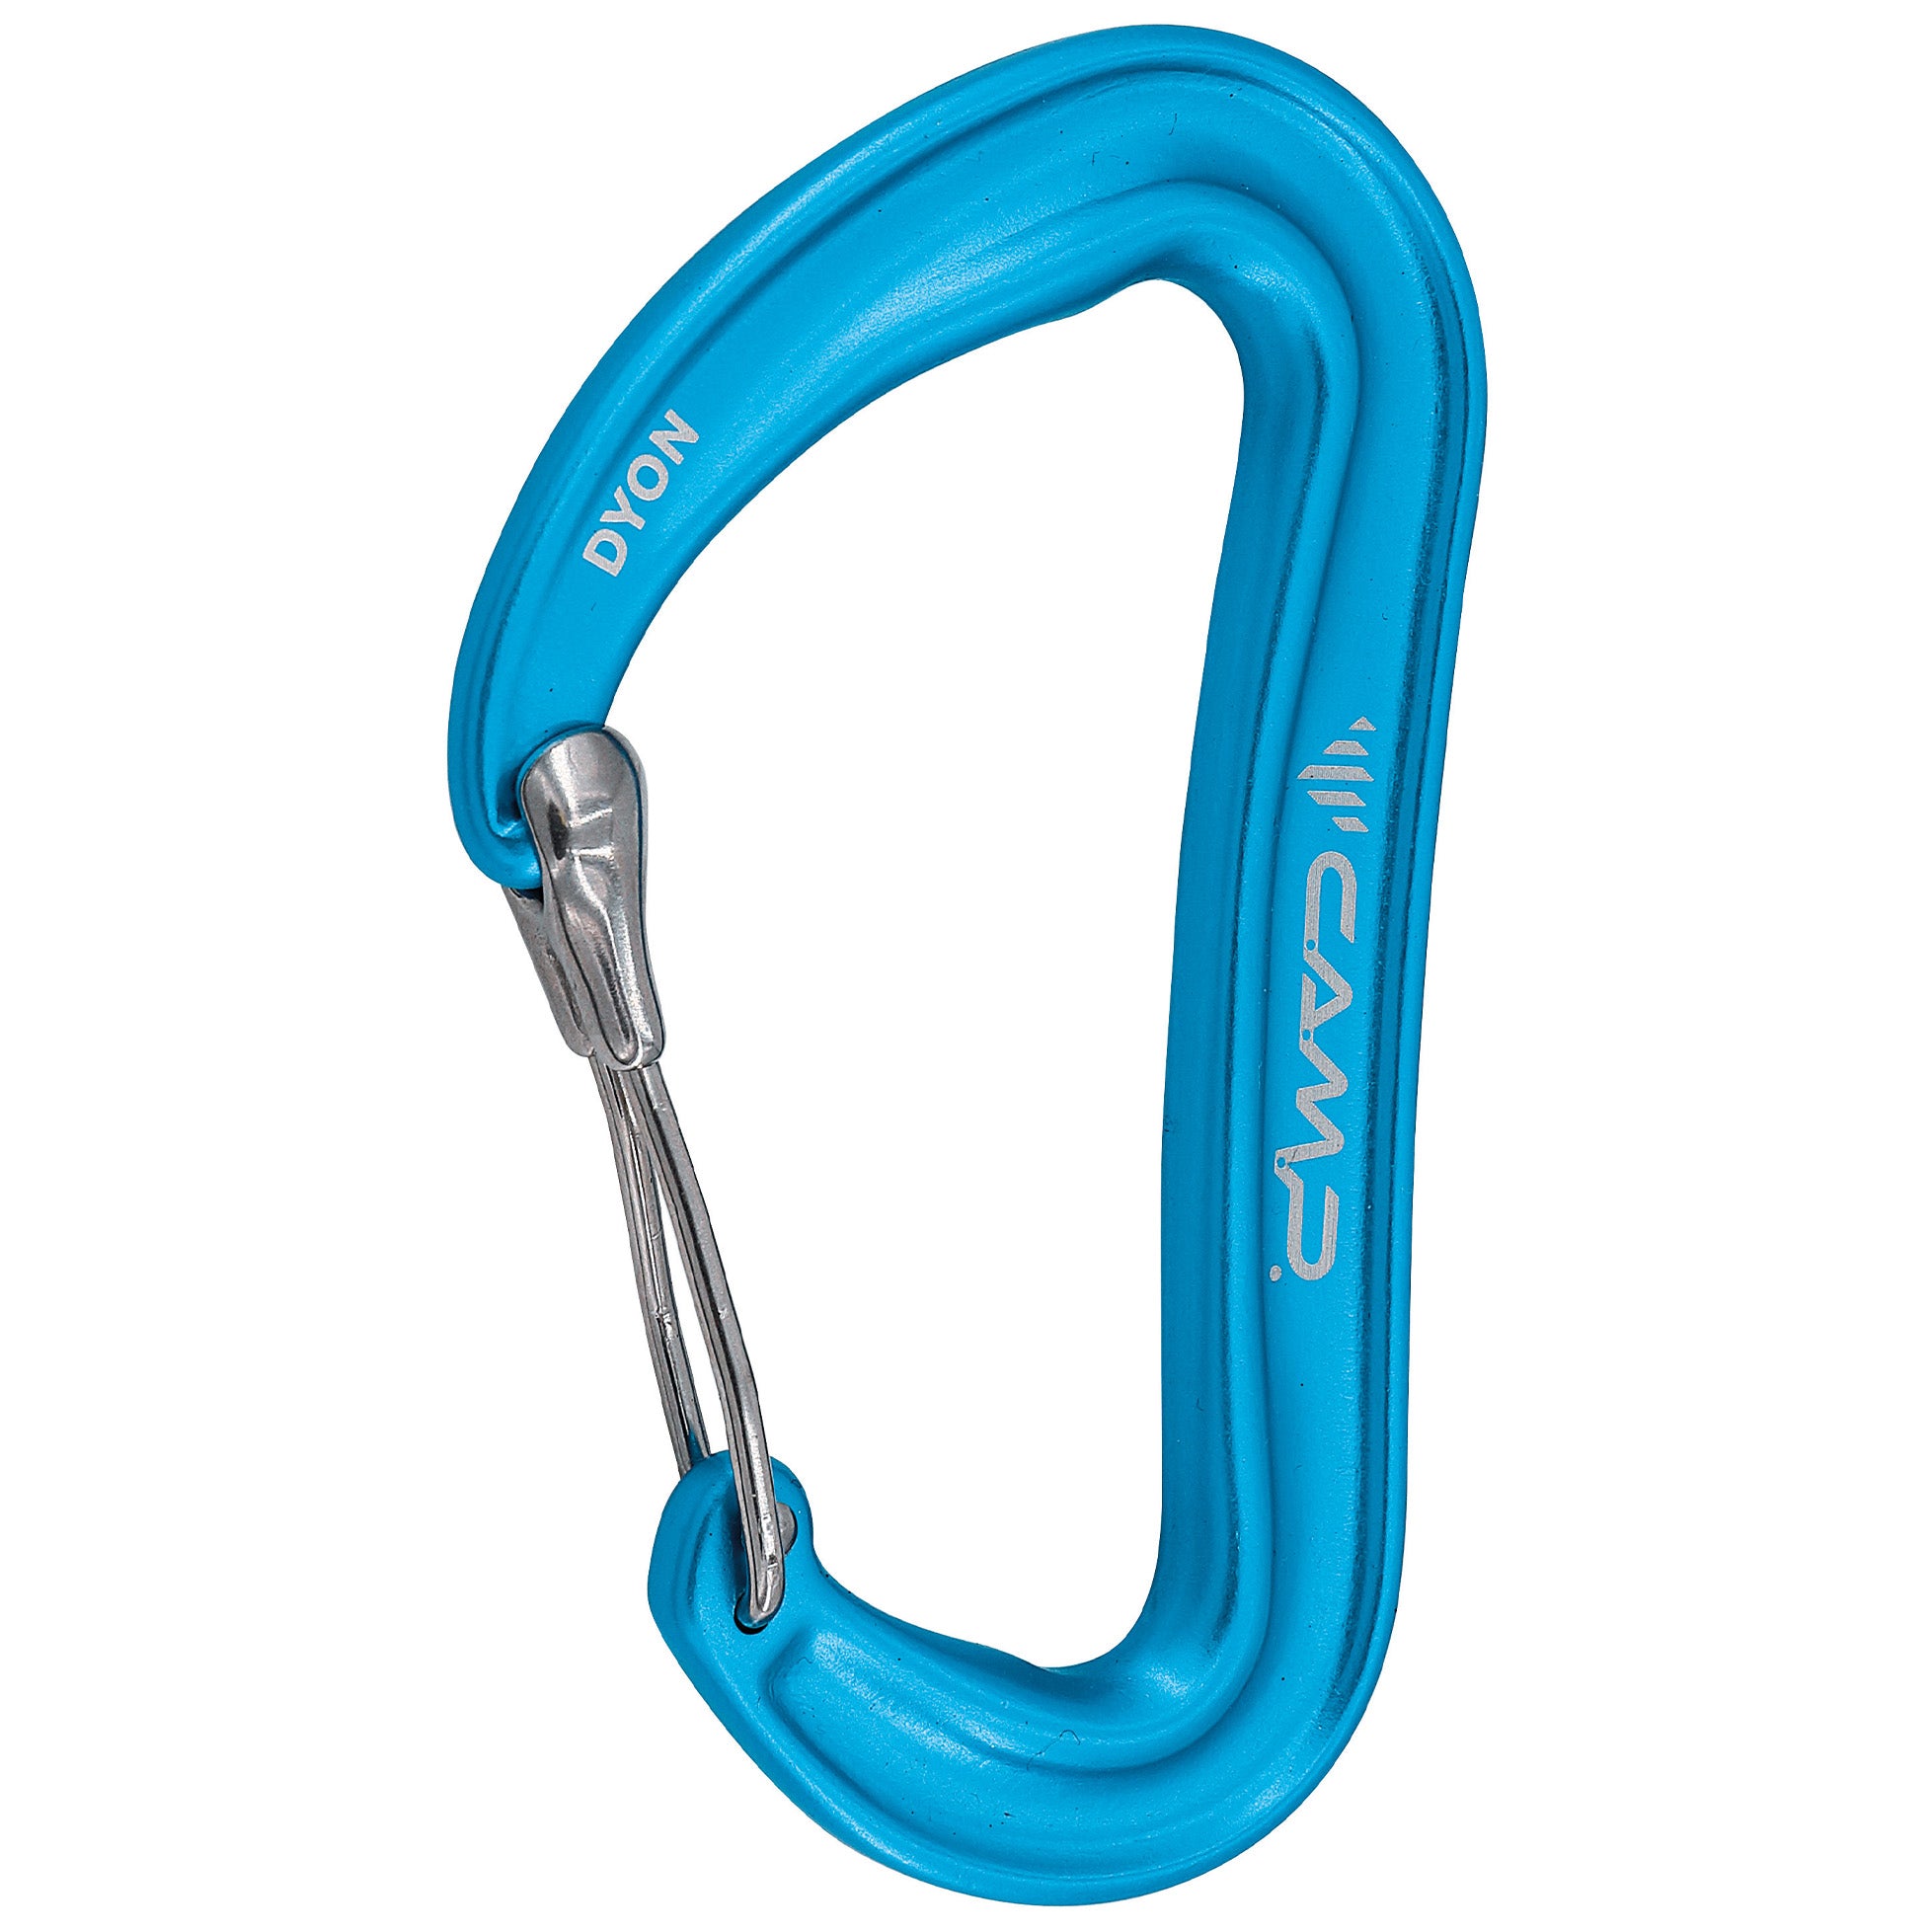
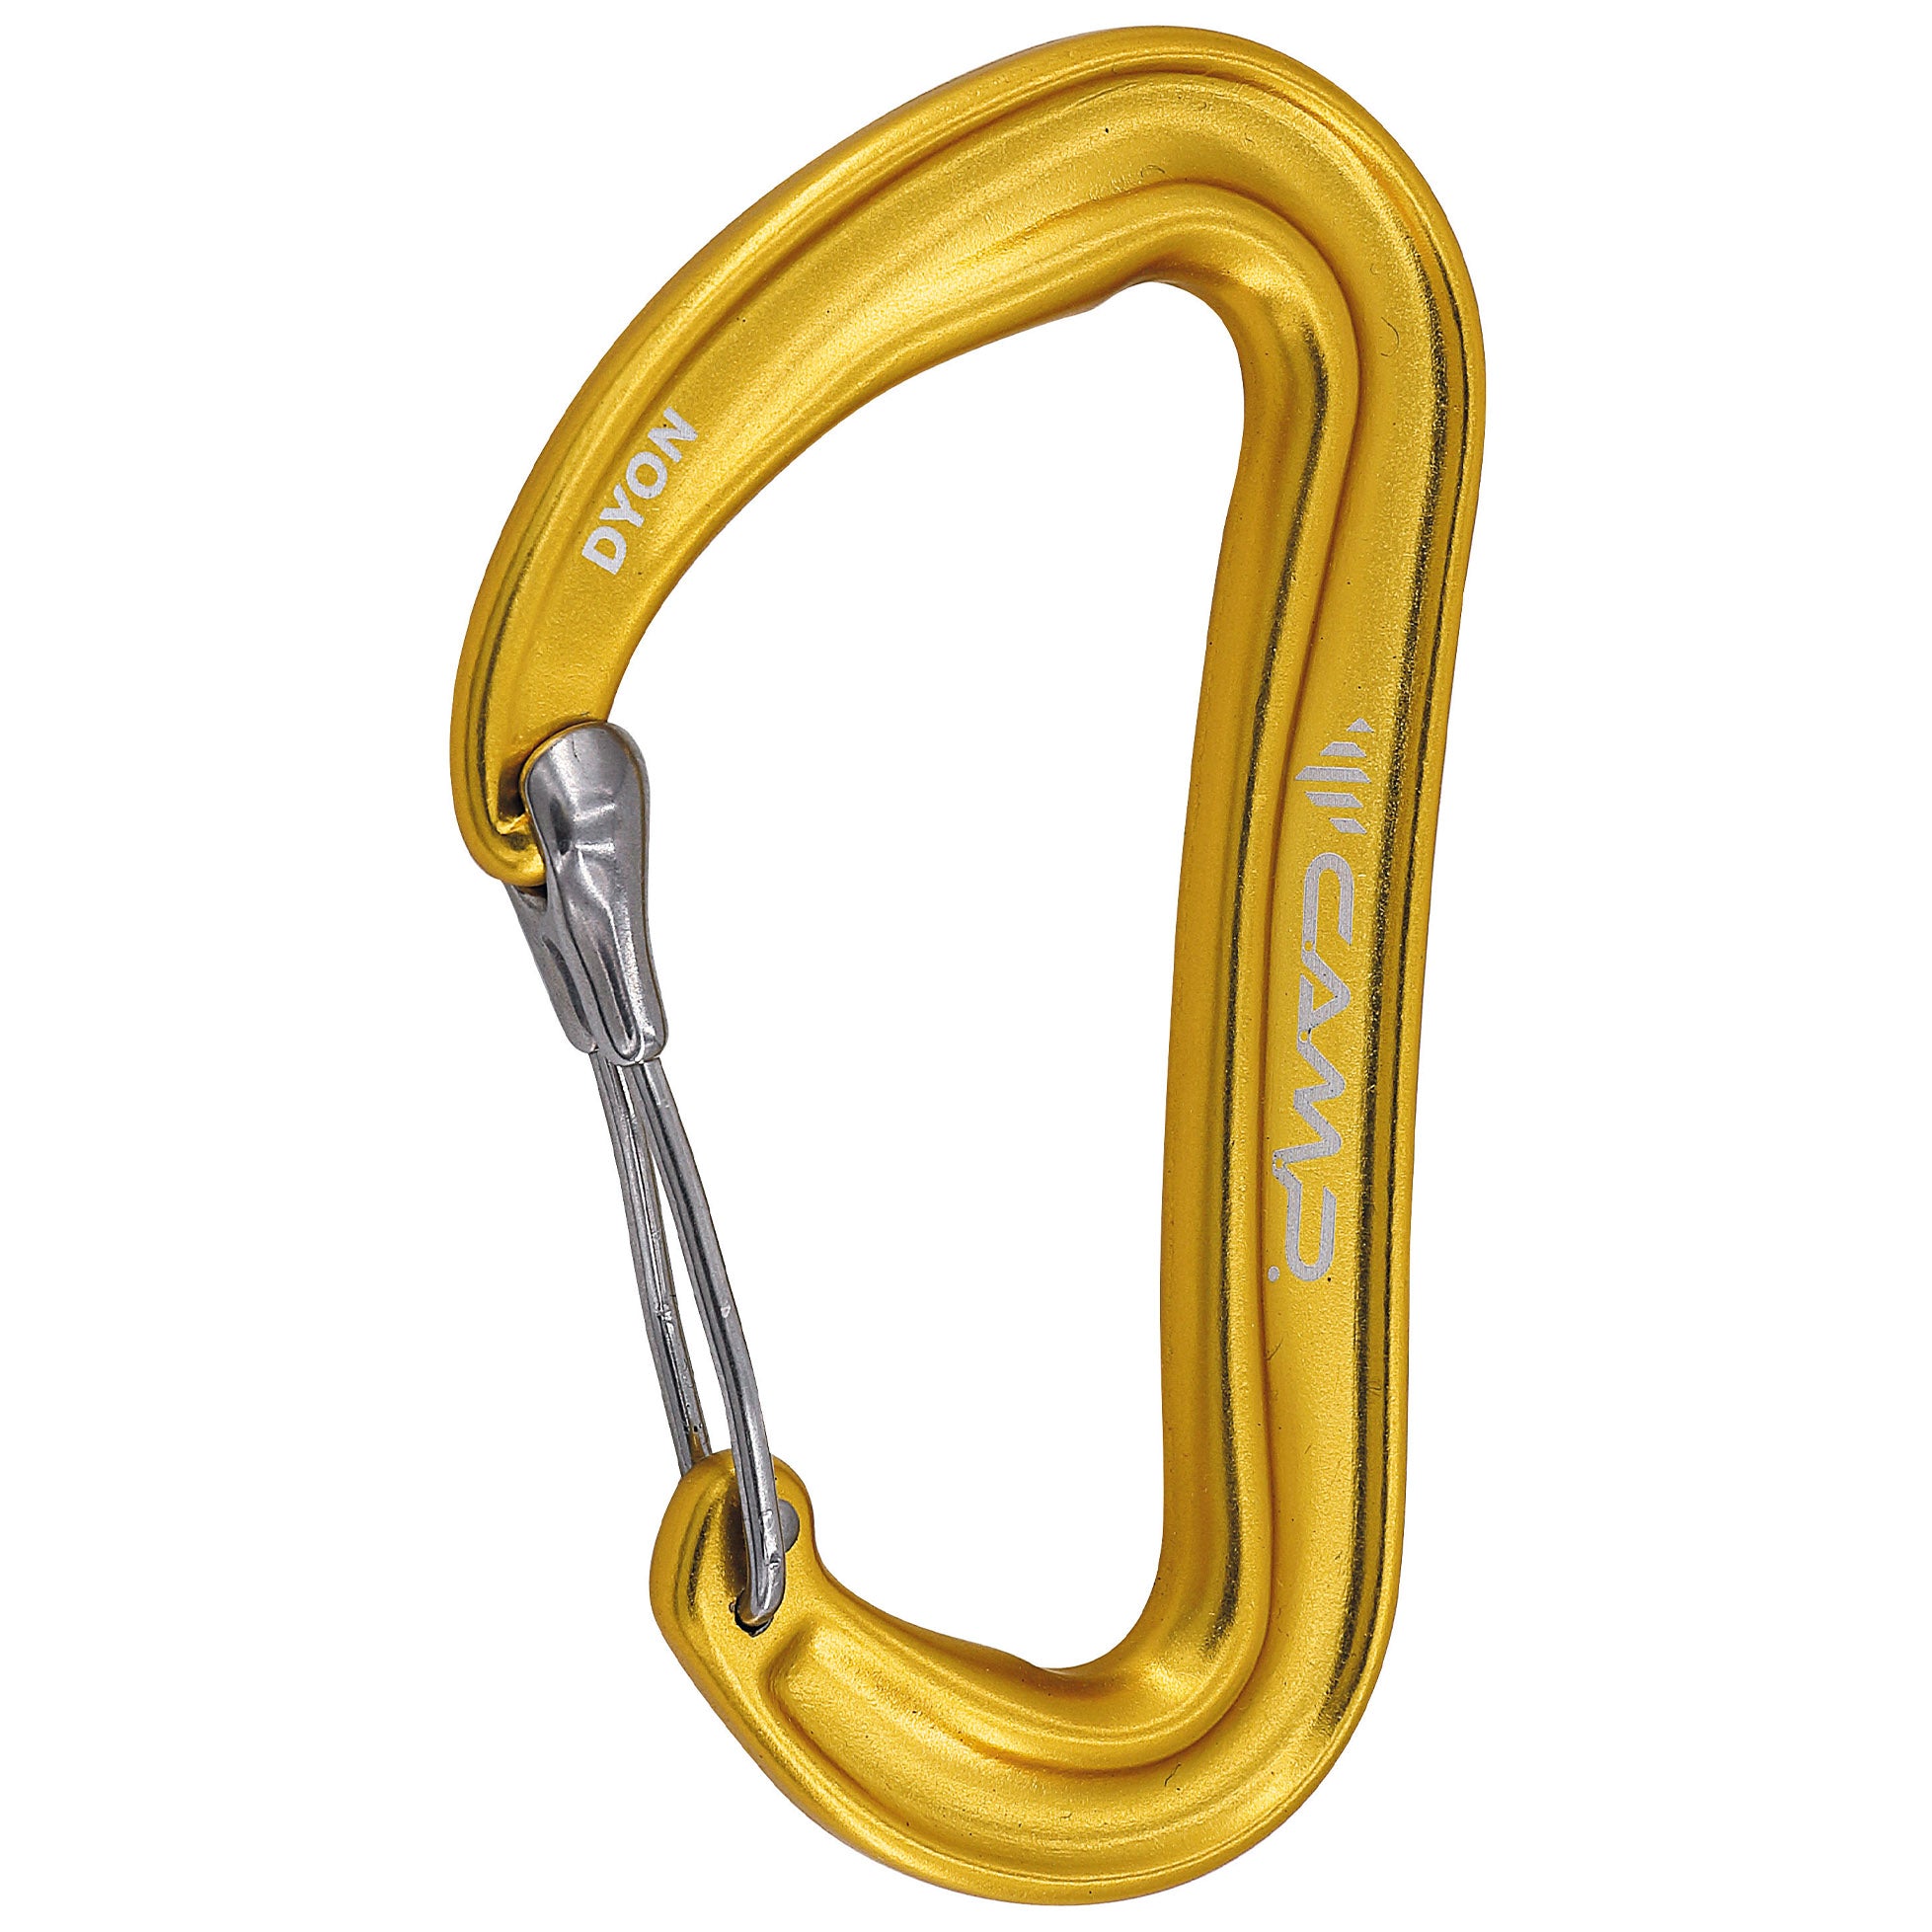
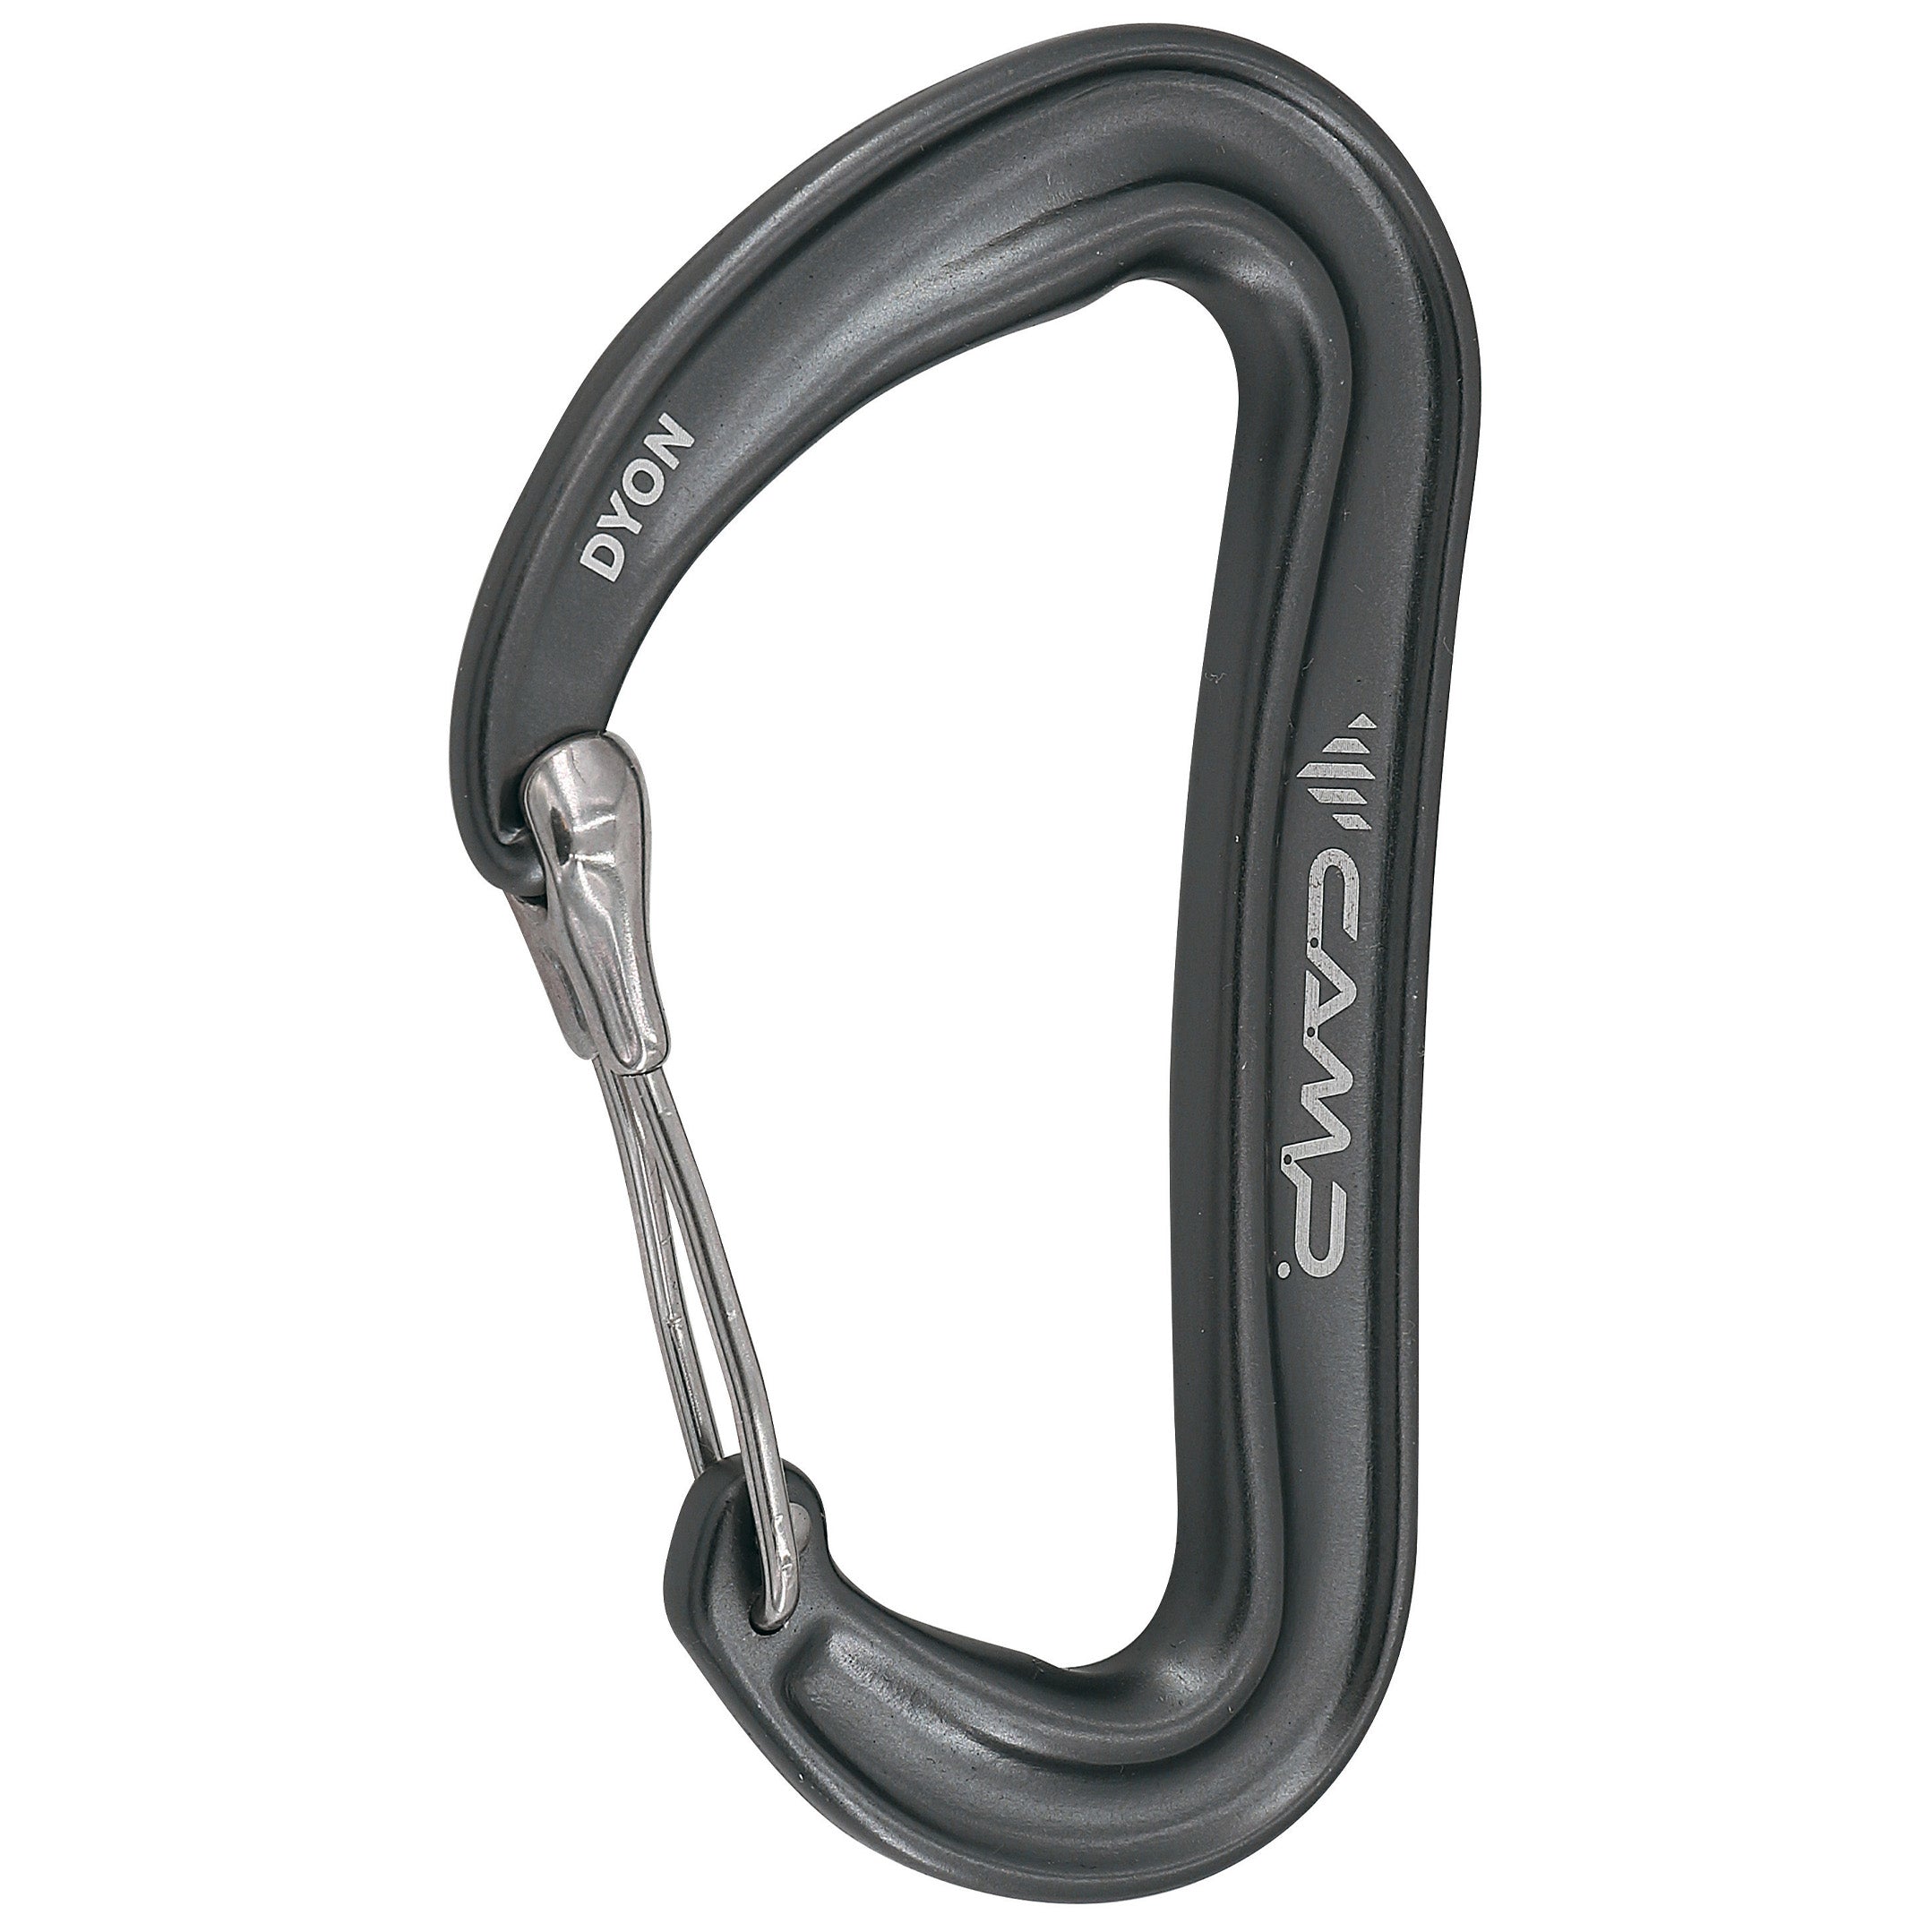
D wire gates for 90% of everything. The narrow nose doesn’t turn into an i-beam for a while so it fits in anything and they are full size in my hand. Some people buy a motorcycle when they get a midlife crisis, I splurged and bought Dyons for my entire big wall rack. They are not cheap so if you want to save money, you could get the Ceres Firefly II, they just don’t have narrow noses. You DON’T want mini or tiny carabiners. If you have big hands, it just isn’t worth the weight savings for how often you are clipping and unclipping things all day. If you use a carabiner like I do for a “fifi” you MUST use a Dyon. Otherwise, you are limited on what you can clip.
You need 1 for every single cam, 1 for every item in your haul bag, 1 on the end of every shoulder length sling, 1 carabiner can hold a set of nuts or heads or hooks, 2 for each rope bag = 50ish?
Pros
- Super skinny nose
- Lightweight for a full size carabiner
- No notch
Cons
- Price (are you noticing a trend??)
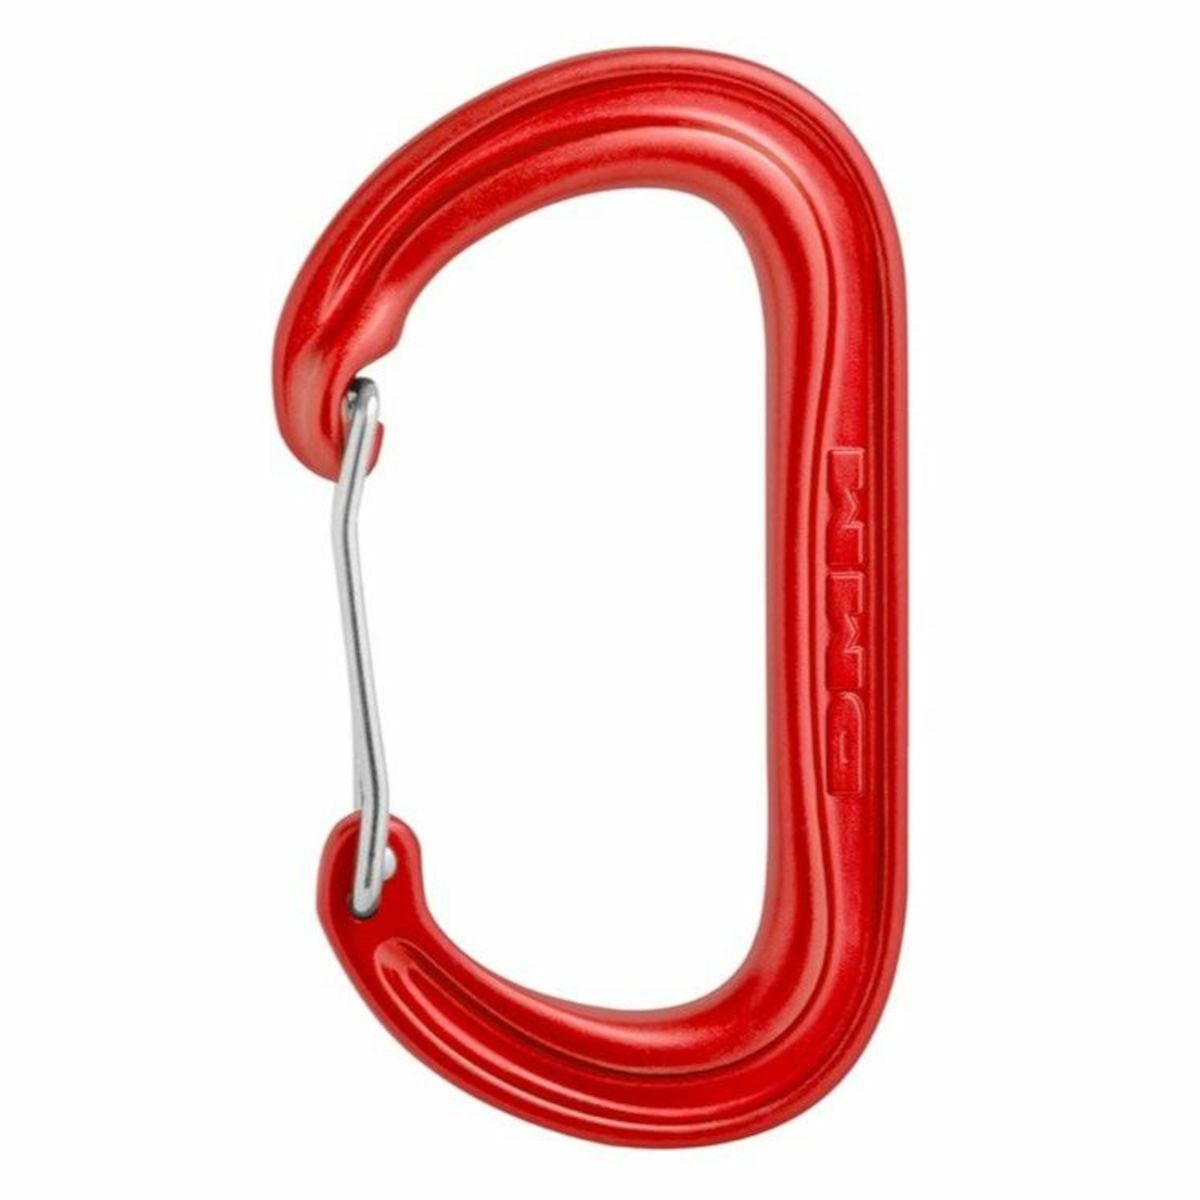
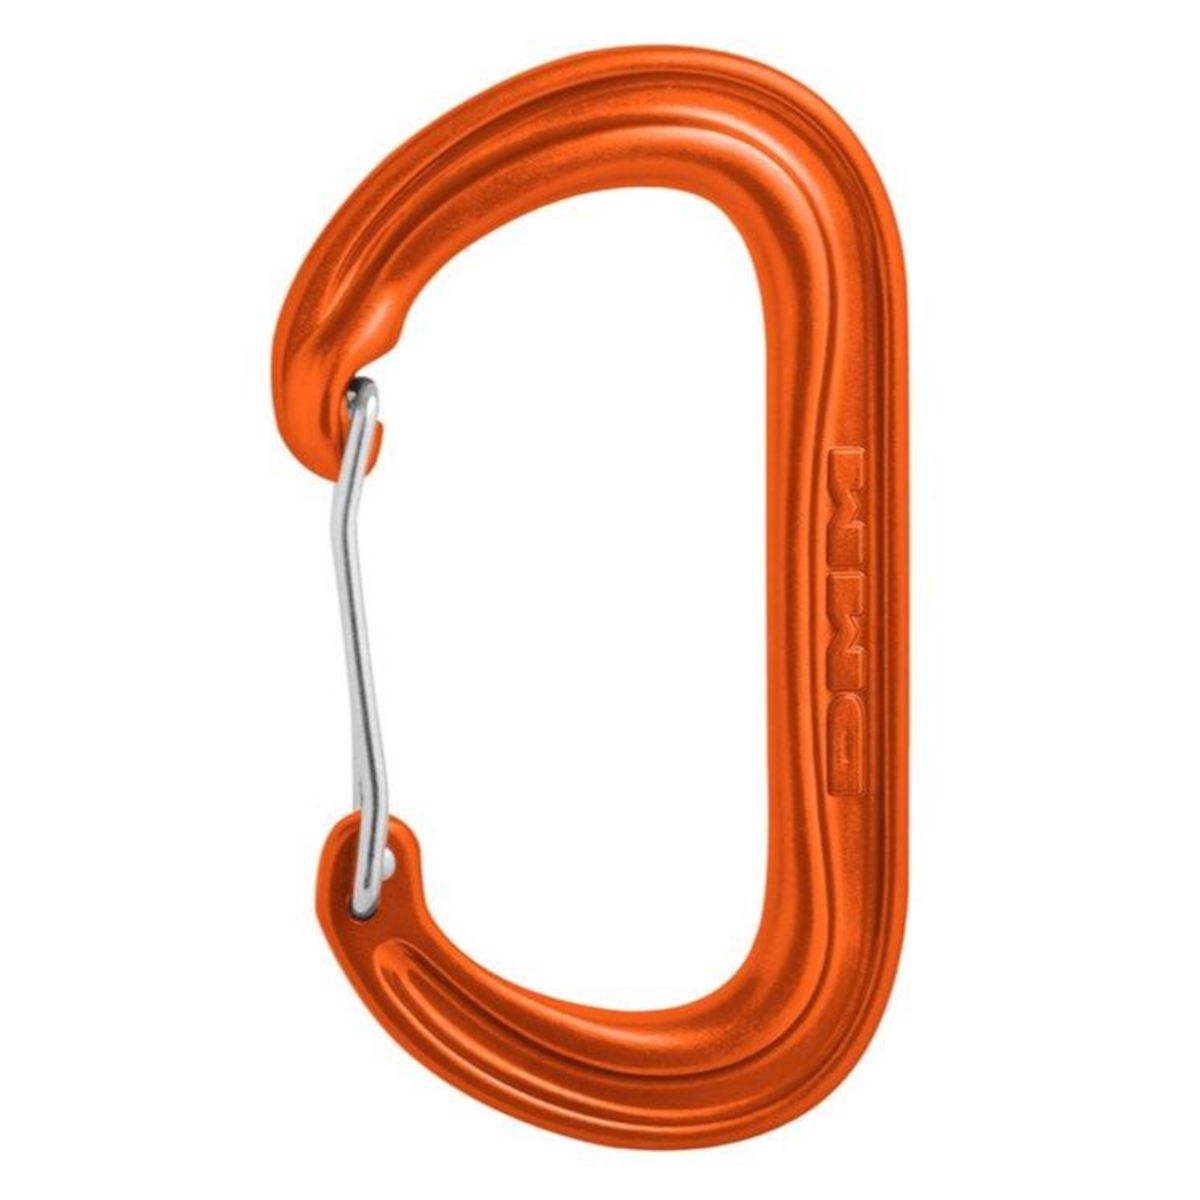
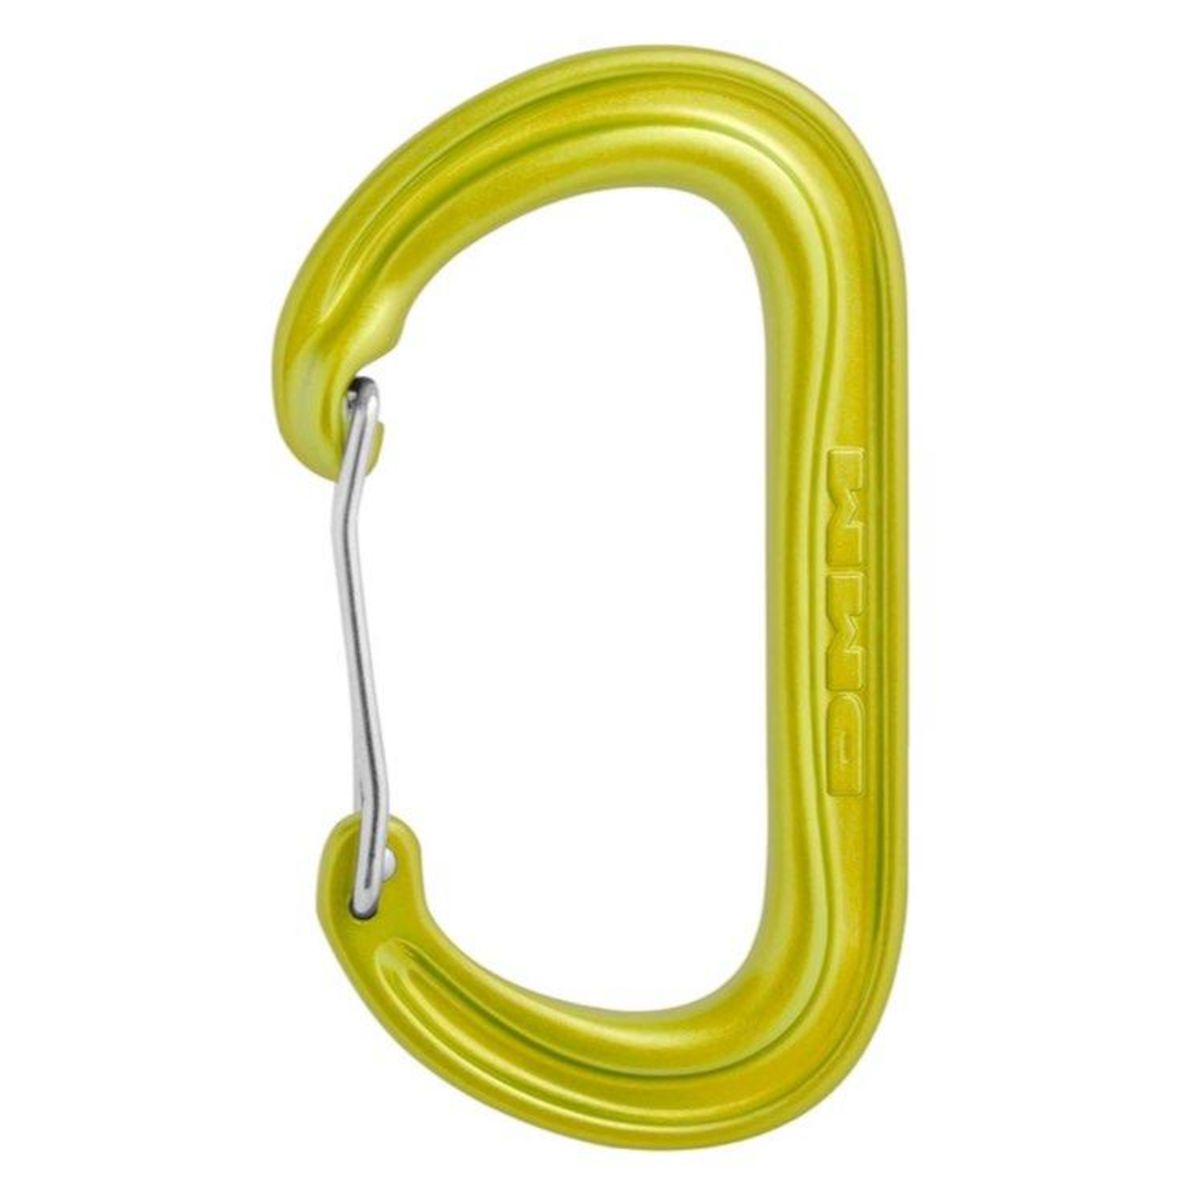
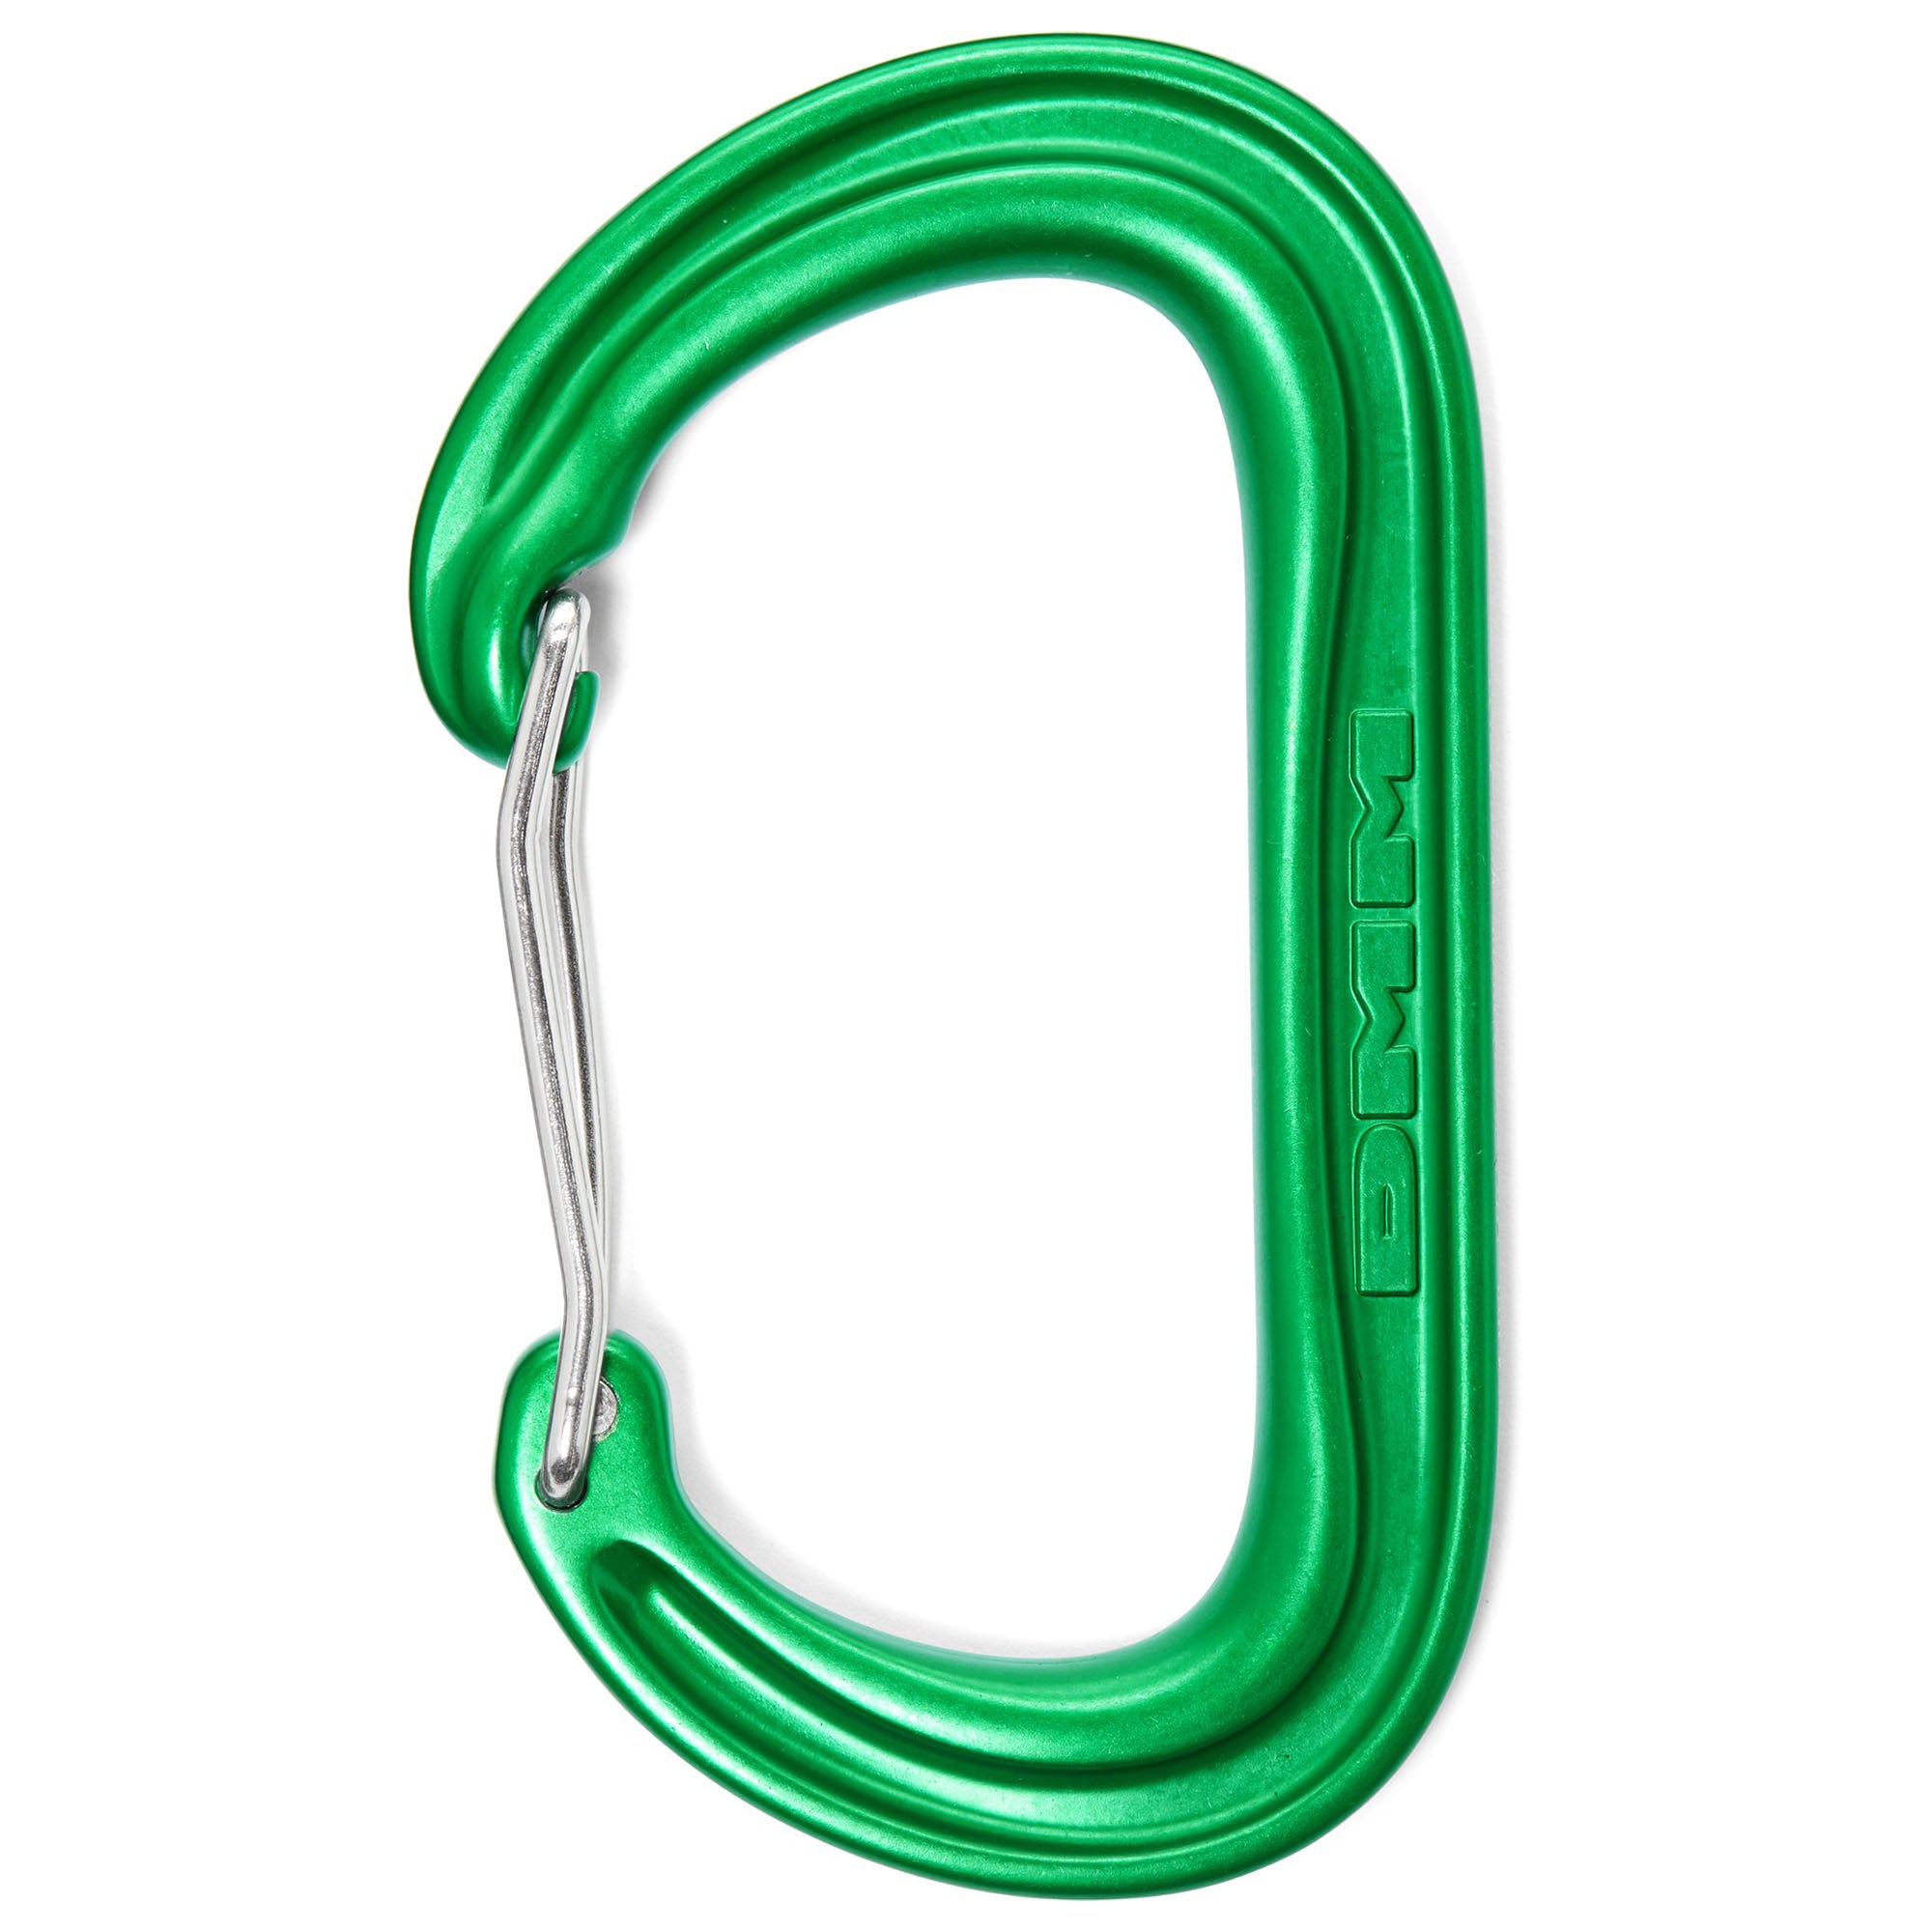
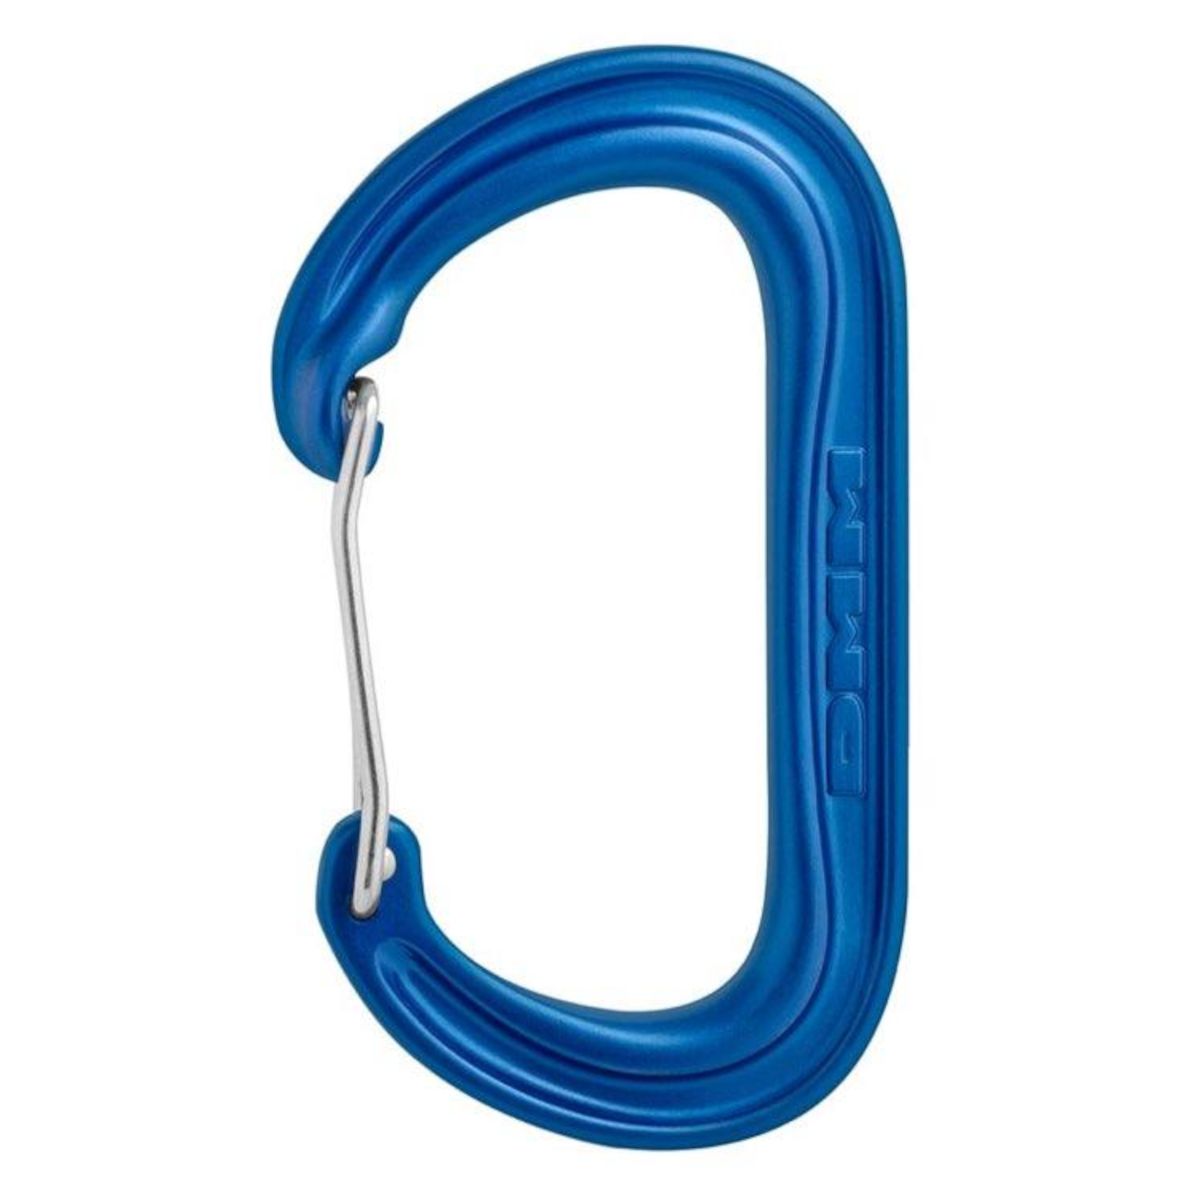
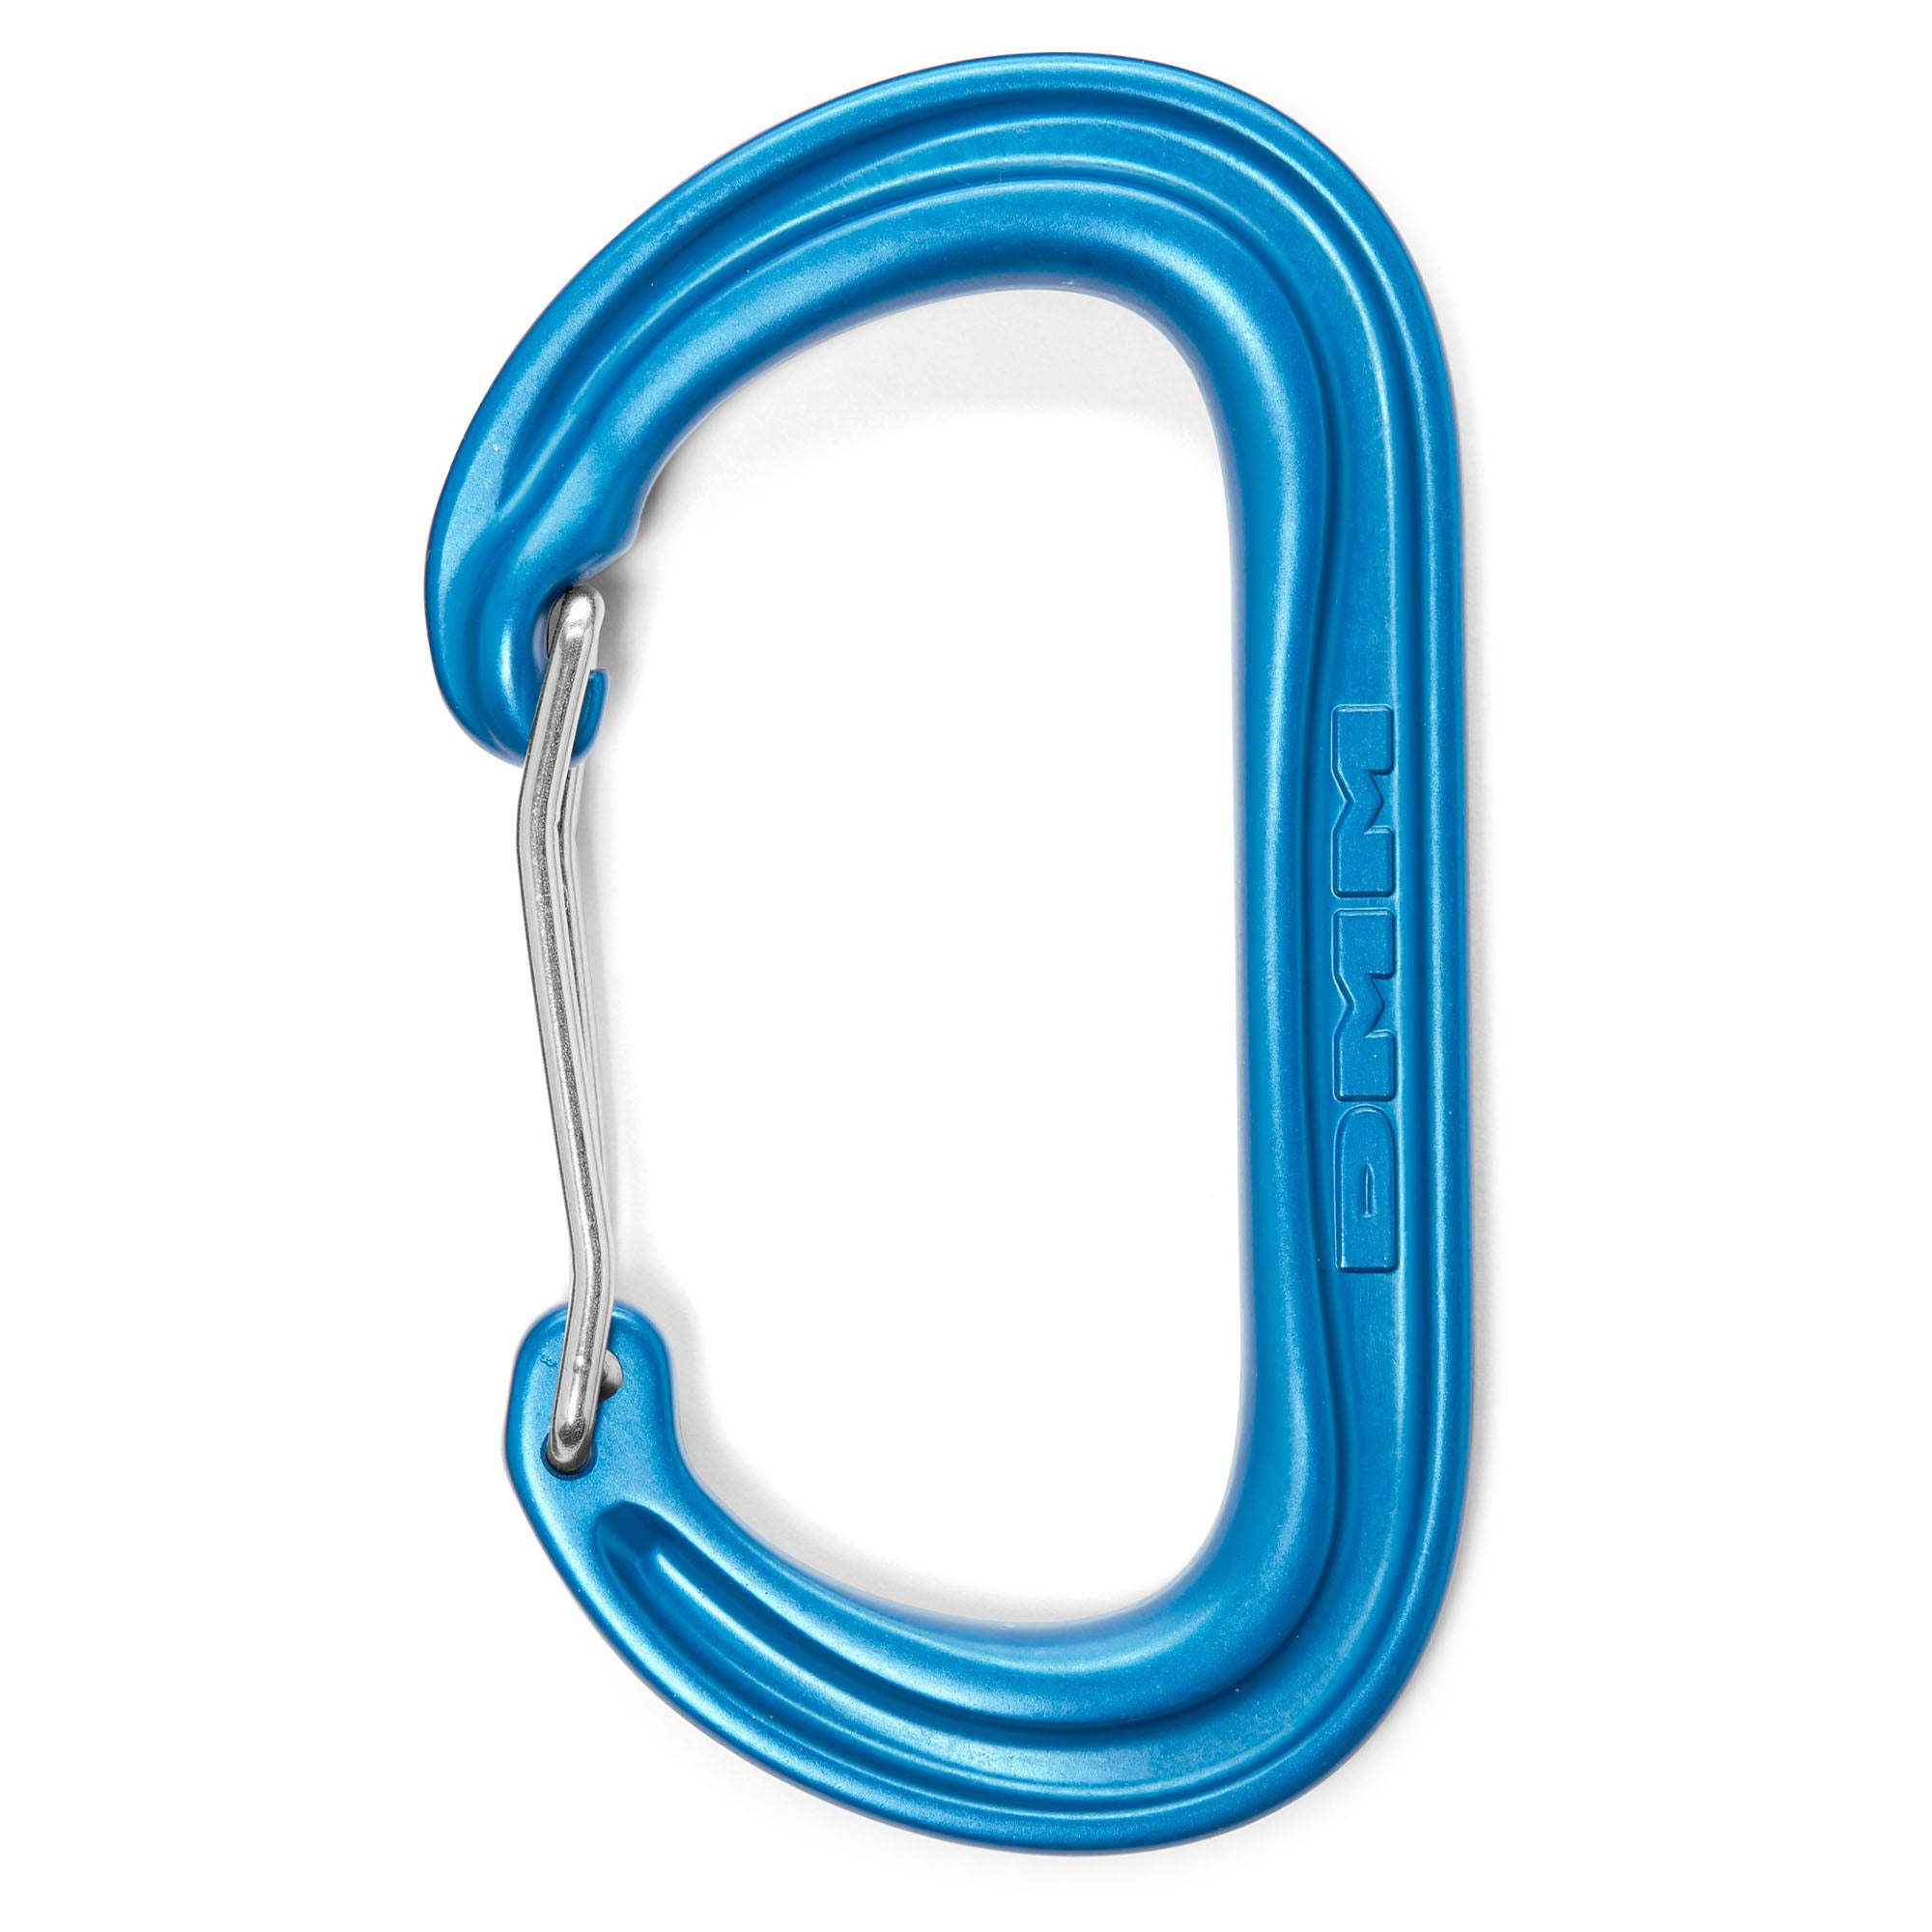
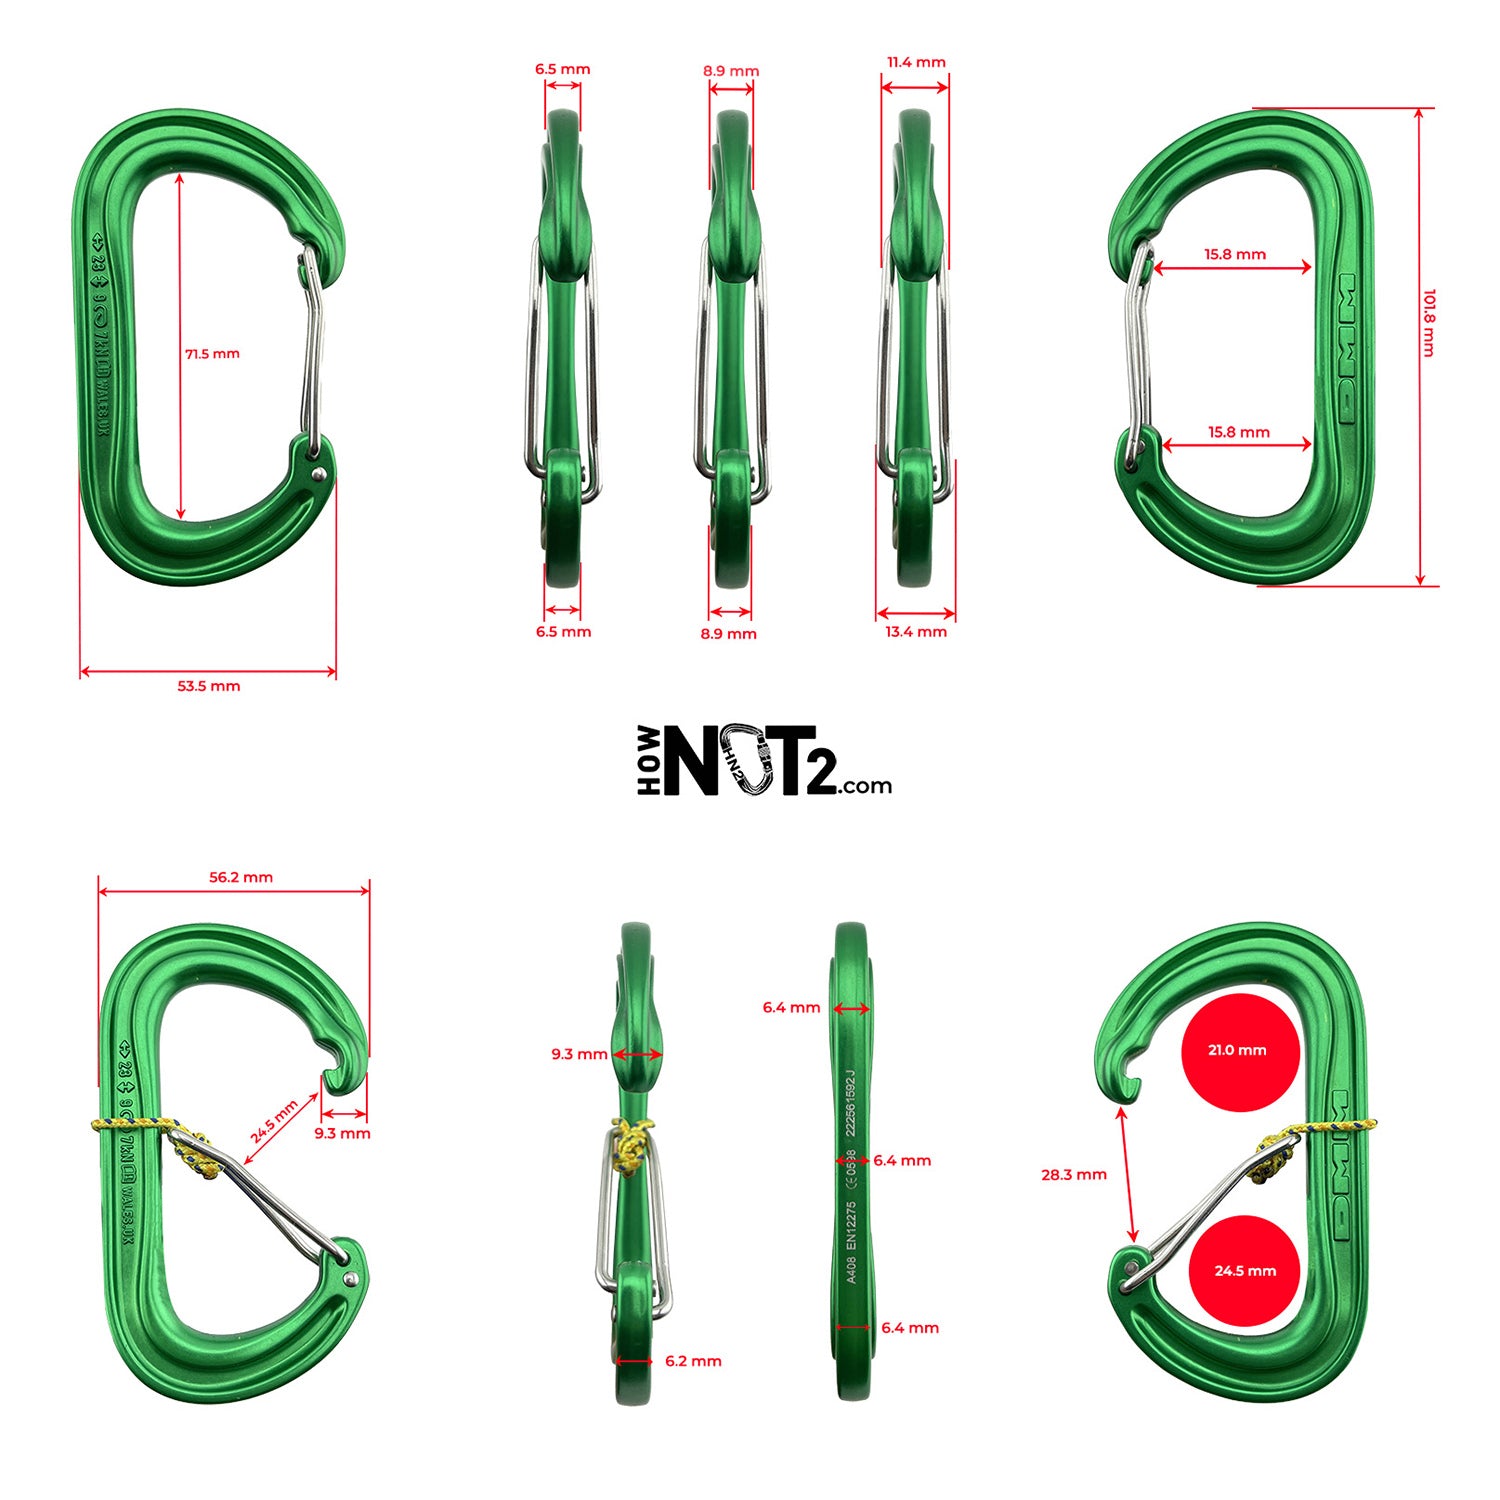
WallDO
Tier benefits:
Tier benefits:
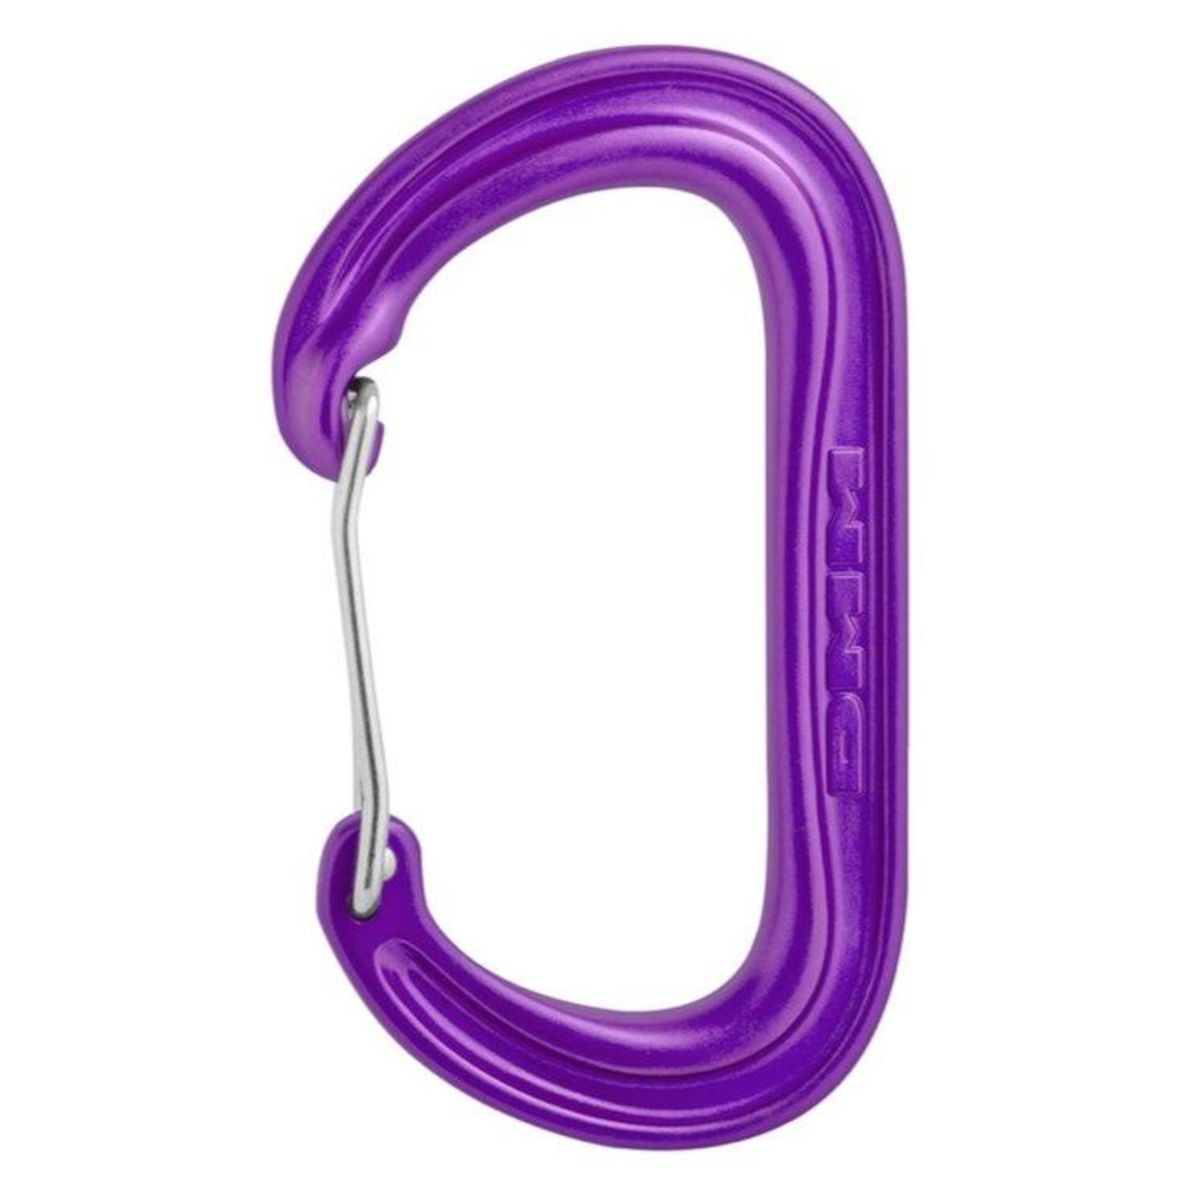
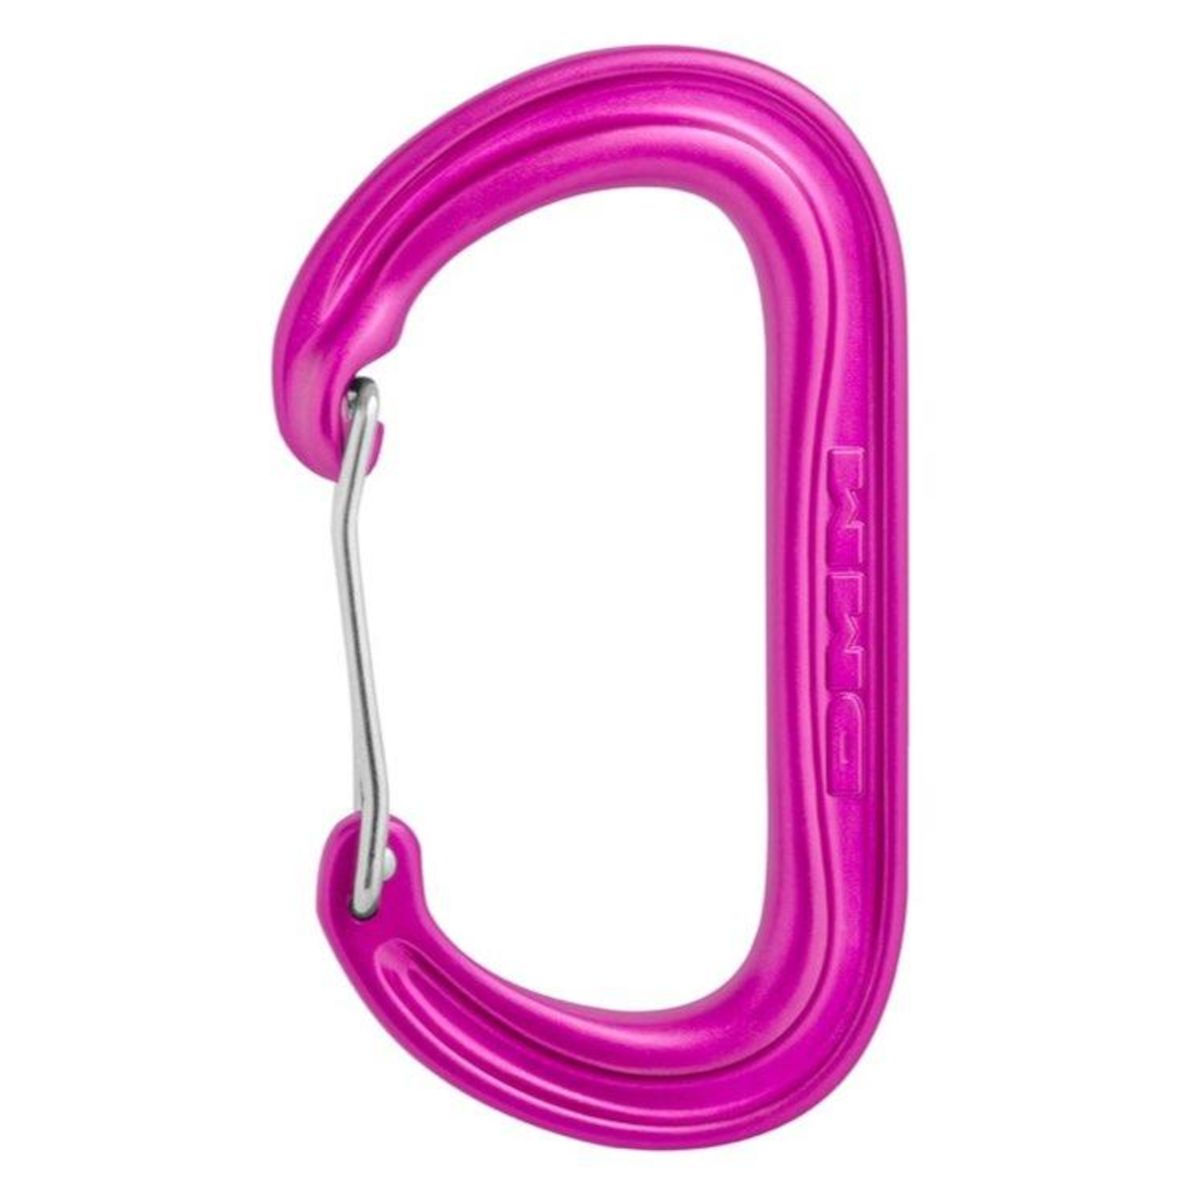
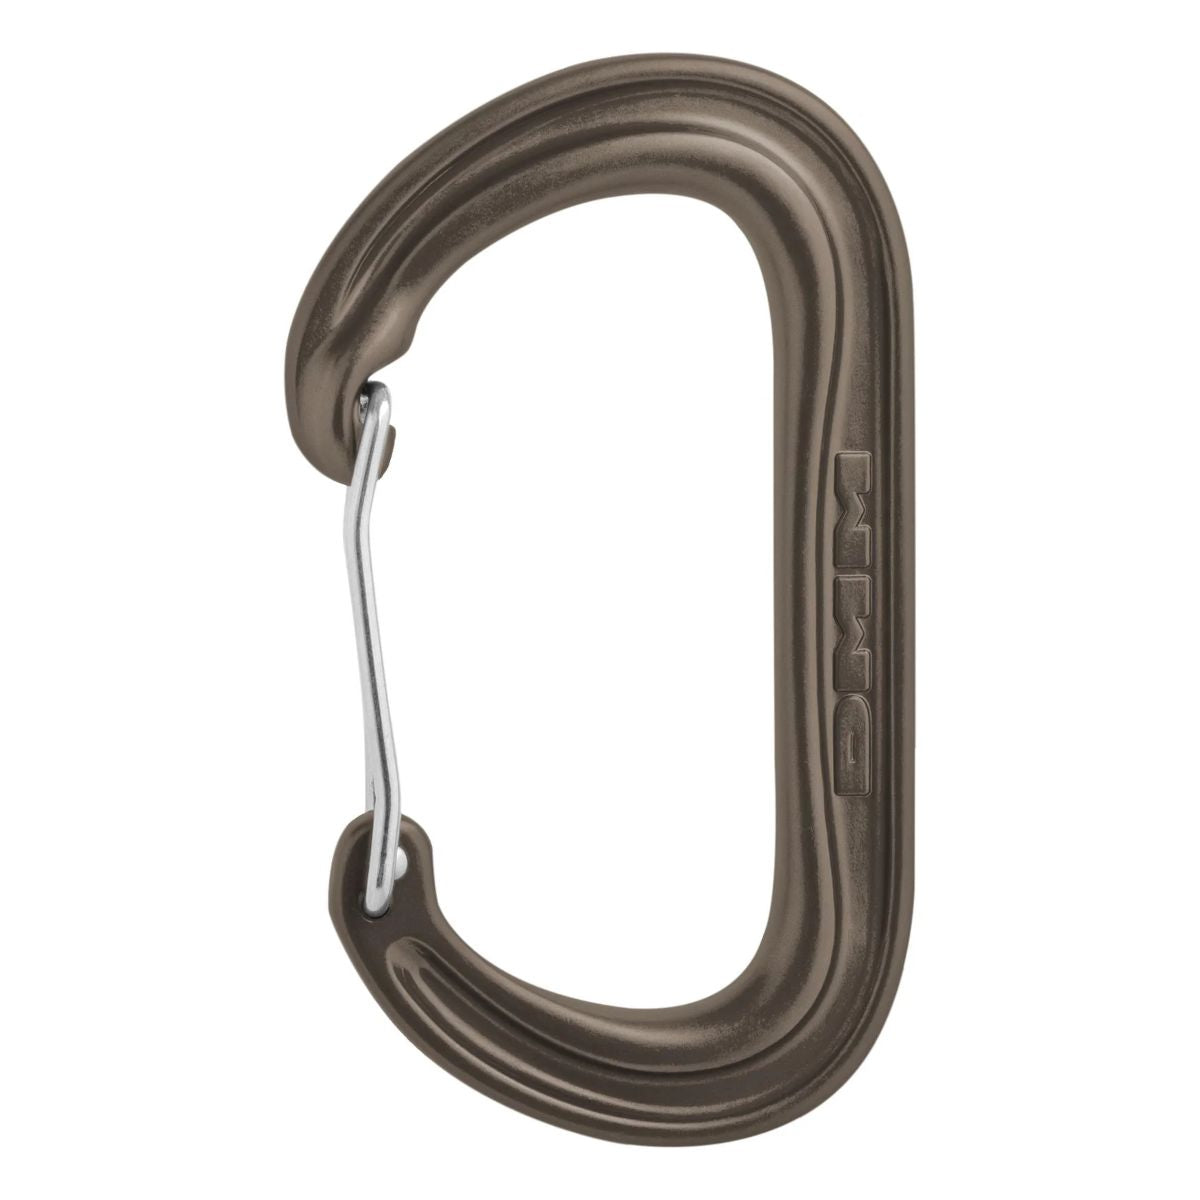
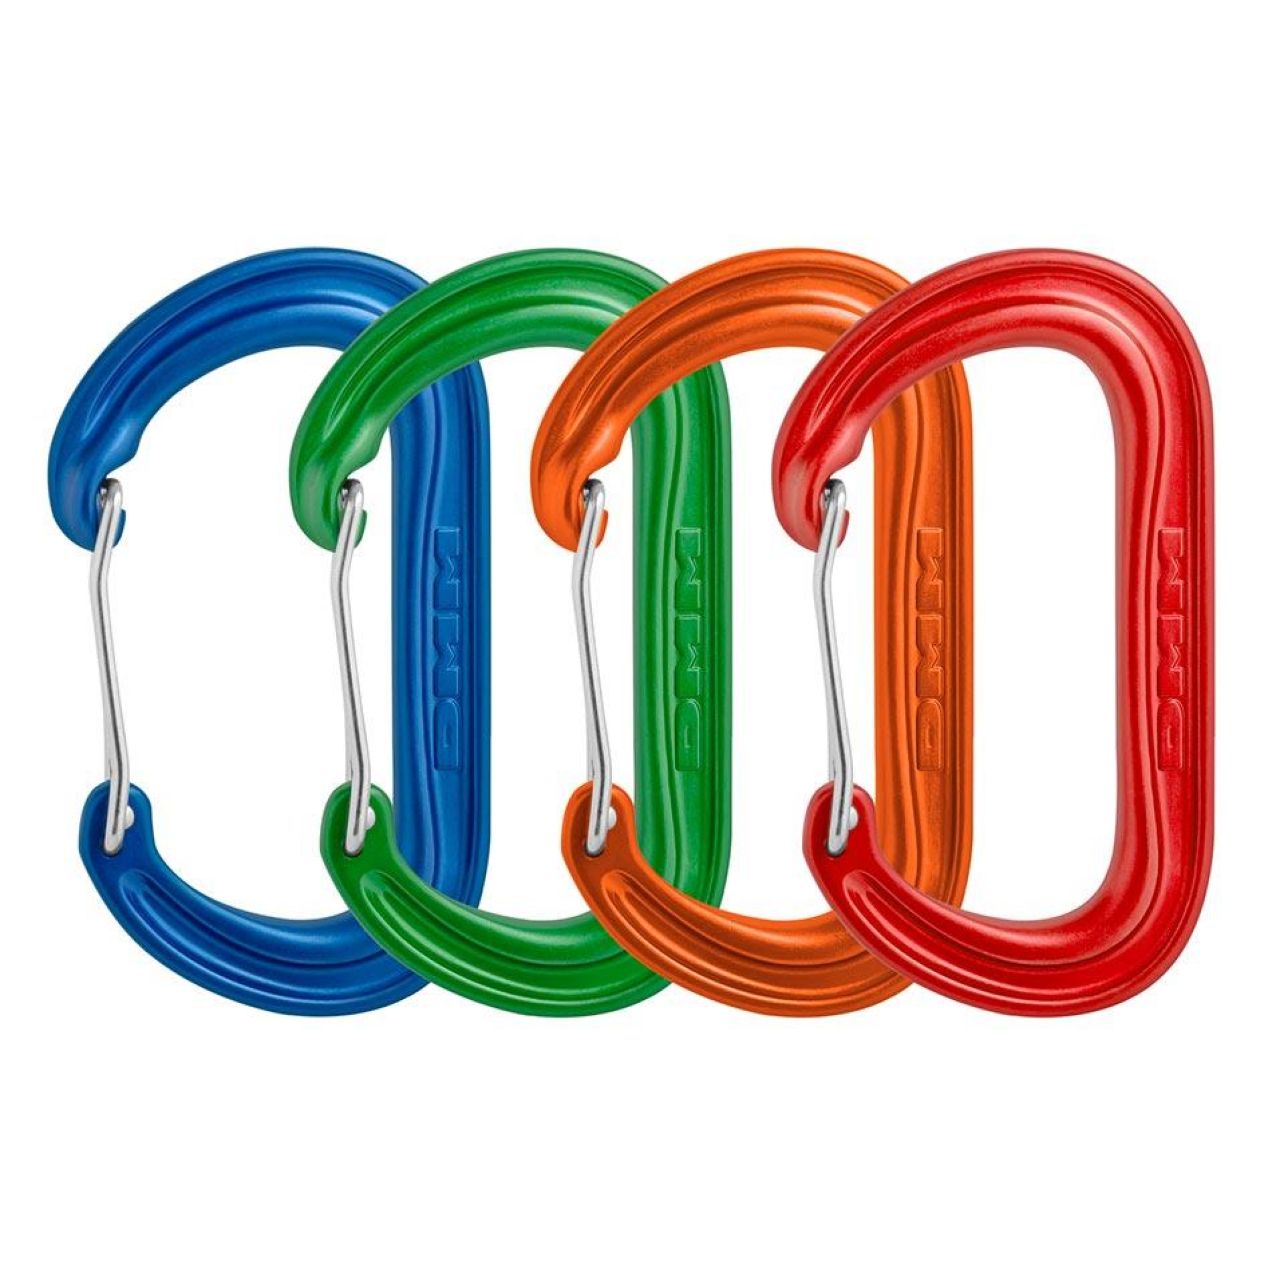
Ovals are awesome for ladders and ascenders with two holes to secure the rope at the top. It is also essential for any pulley with two parallel plates like the mini-traxion but that should be an oval locker. I find that the double length slings, at least the way I rack and stack them, fit nicer on oval wire gates because I clip the bottom carabiner to the top one after twisting. D shape just smashes it all into one corner. You will want to clip any fixed piton you find with an oval carabiner, so its nice to have lots.
You need 2 for every ladder (2x2), 1 per double-hole ascender (2x2), 2 per double length sling (8x2), and 1 locker if you have a micro-traxion = 24ish
Pros
- Lots of colors makes organizing your gear easier
Cons
- Can crossload easier than other shapes
Slings
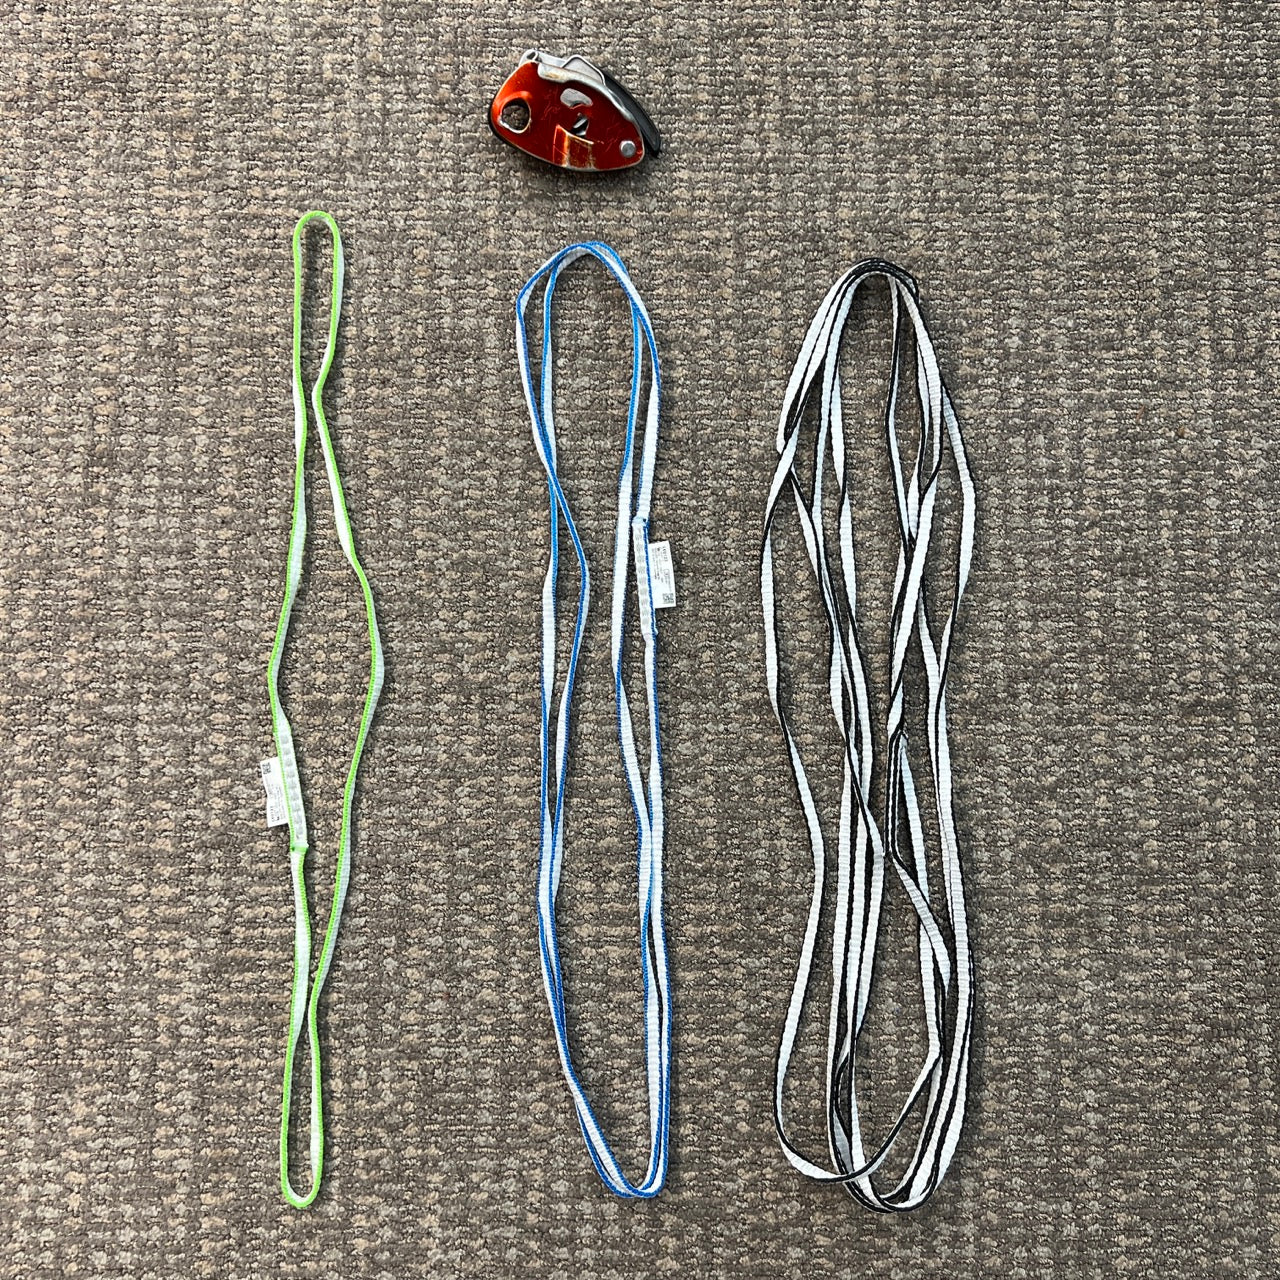
- You need a metric ton of these so Dyneema wins. When people want nylon to help absorb their falls, do they forget the rope that is there to catch them is intended for that? You need a 60cm on almost every piece of pro you leave behind. Sure, quickdraws are nice and all, you will need 6-12 of those and take anything you want, but honestly routes often wander too much and you don’t want the rope drag for the mandatory free moves at the end. What are you going to fall? An extra 30 cm??? It’s not like you are going to hit anything unless there is a ledge below you. If it is super straight up, clip the rope into the cam directly.
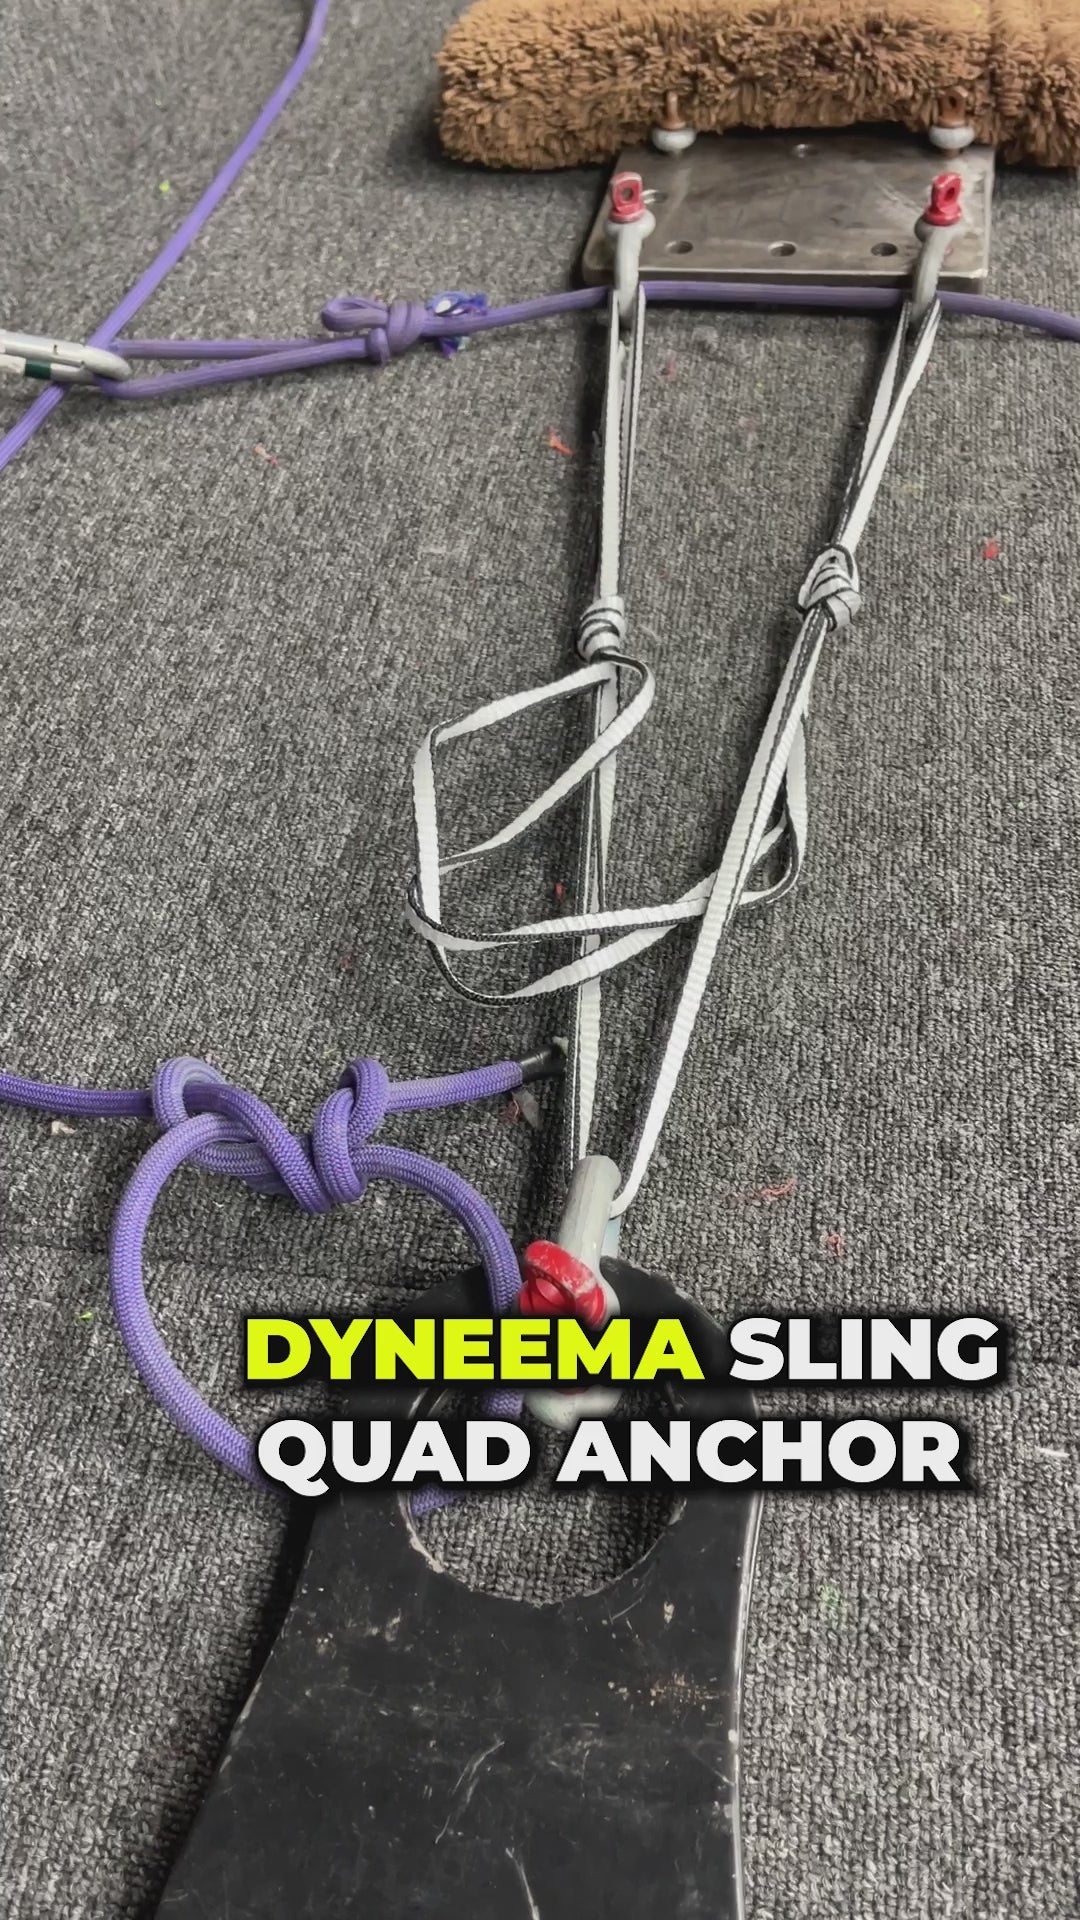
Anyways, you need a handful of 120cm (double length) slings. And the almighty 240cm sling for a quad. But but but you might need to build some elaborate complex anchor so should i take cord??? Not likely and you can just use the metric ton of 60cms to make a sliding x to a sliding x until you make yet another sliding x with your quad. Cascading anchors are a dope trick highliners are contributing to the team. 4 lockersn and a 240cm Dyneema sling on your rear is a compact versatile anchor.
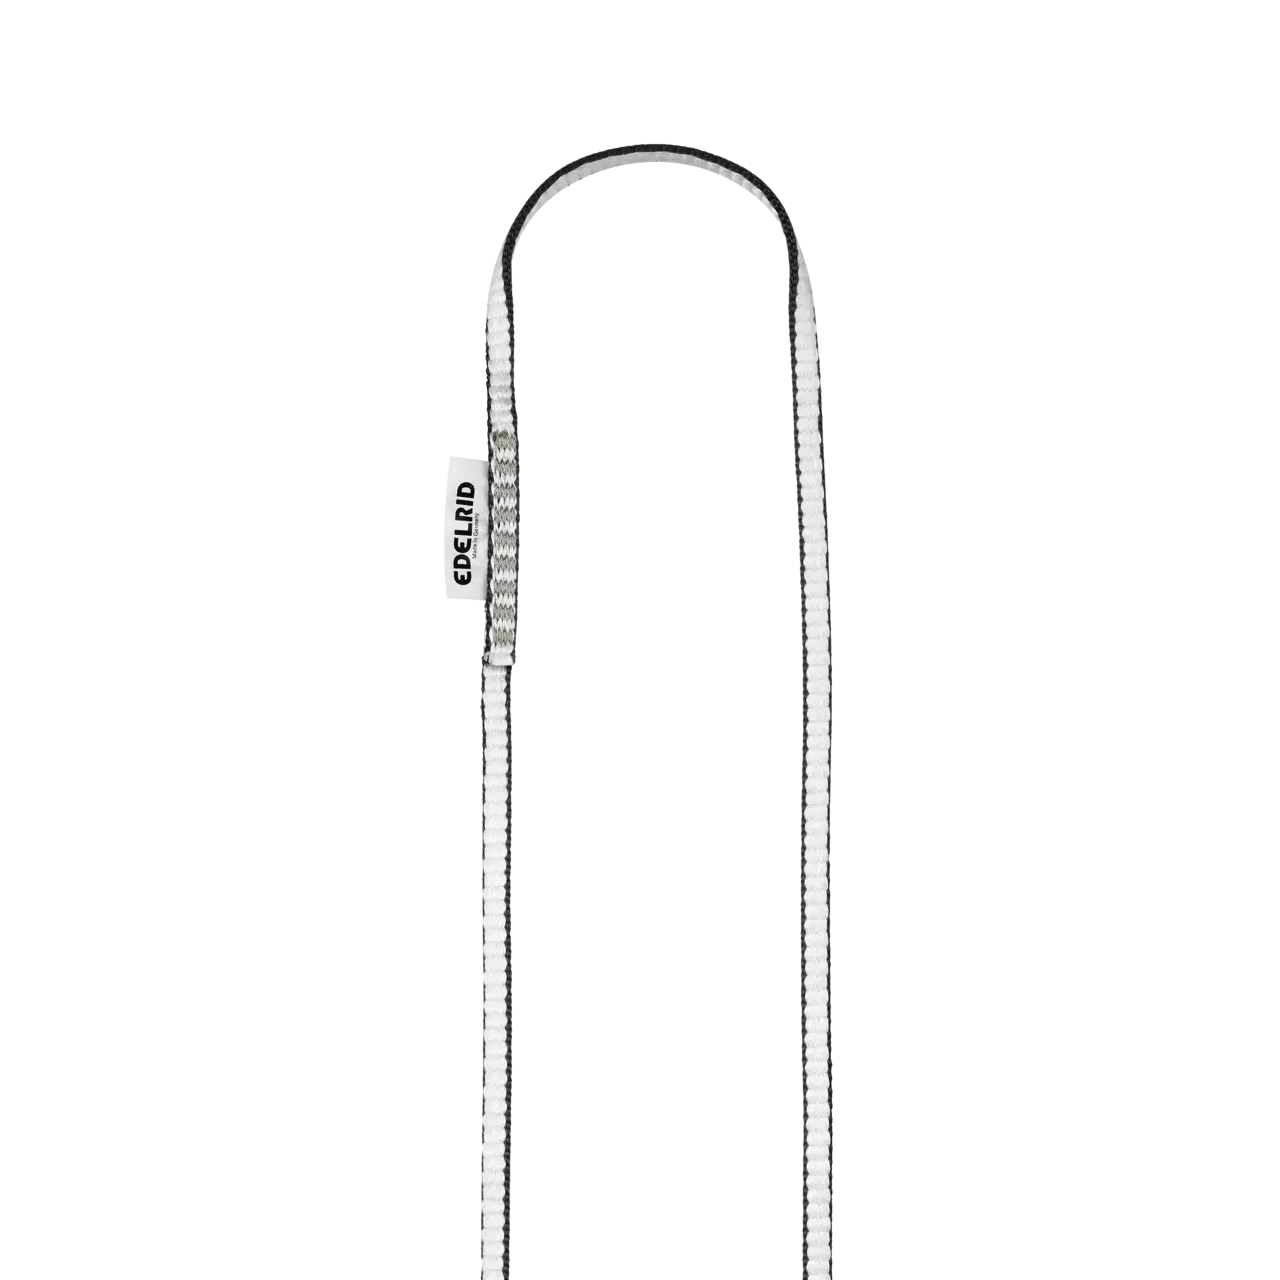
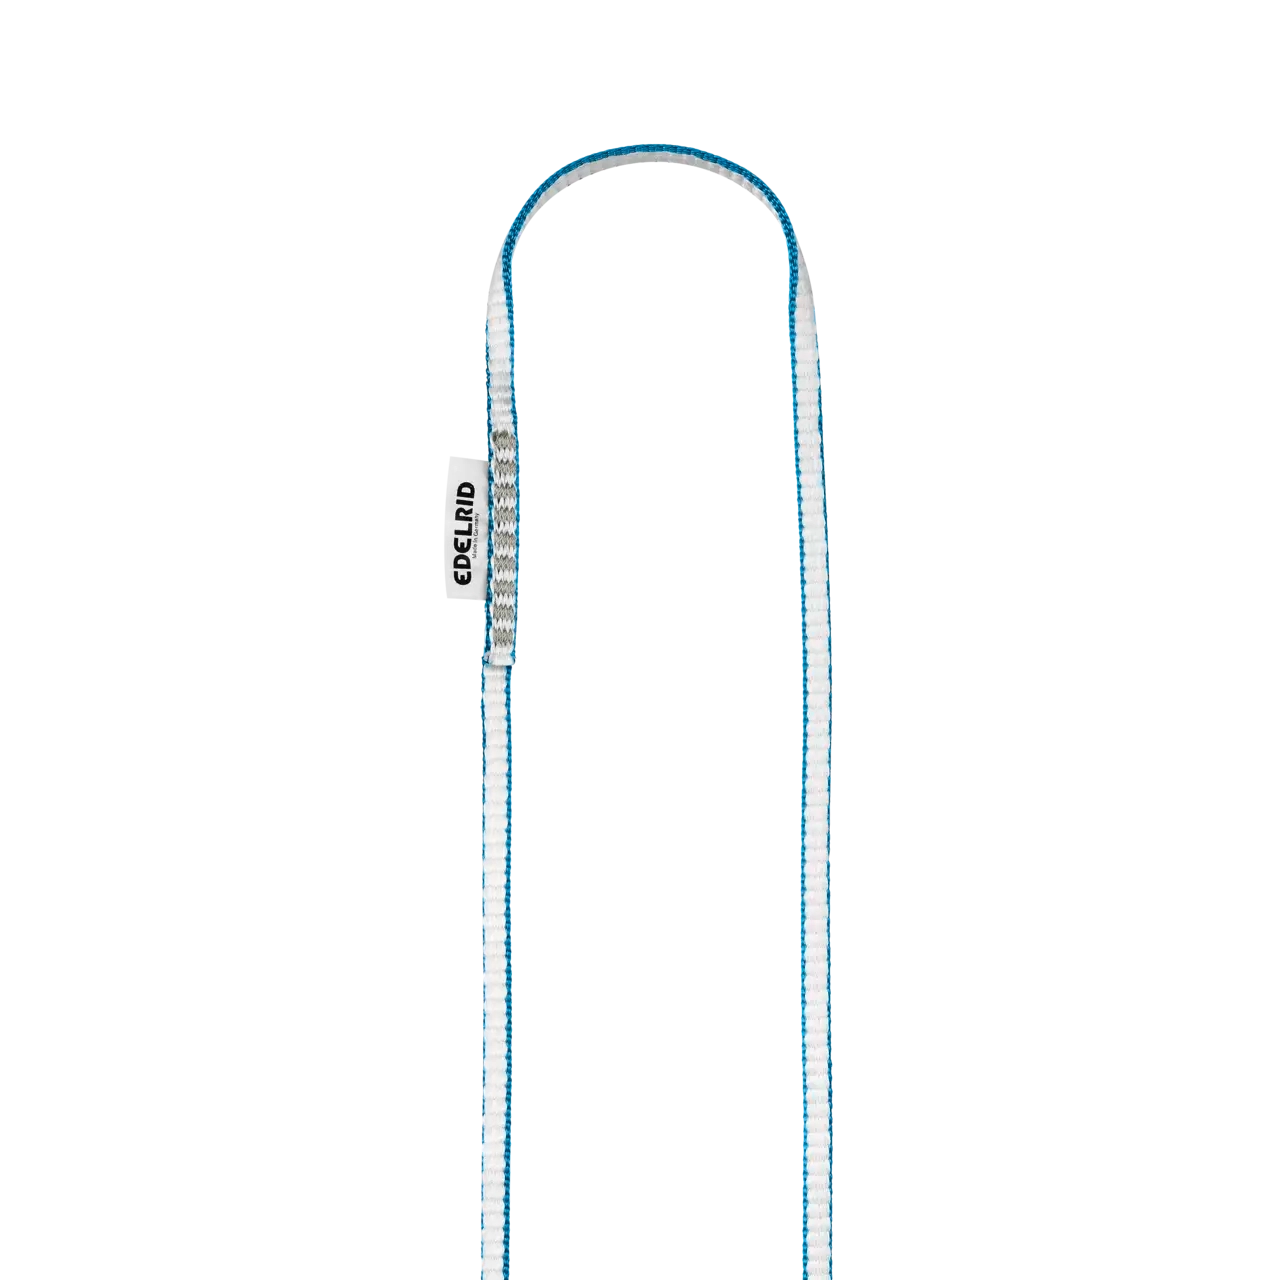
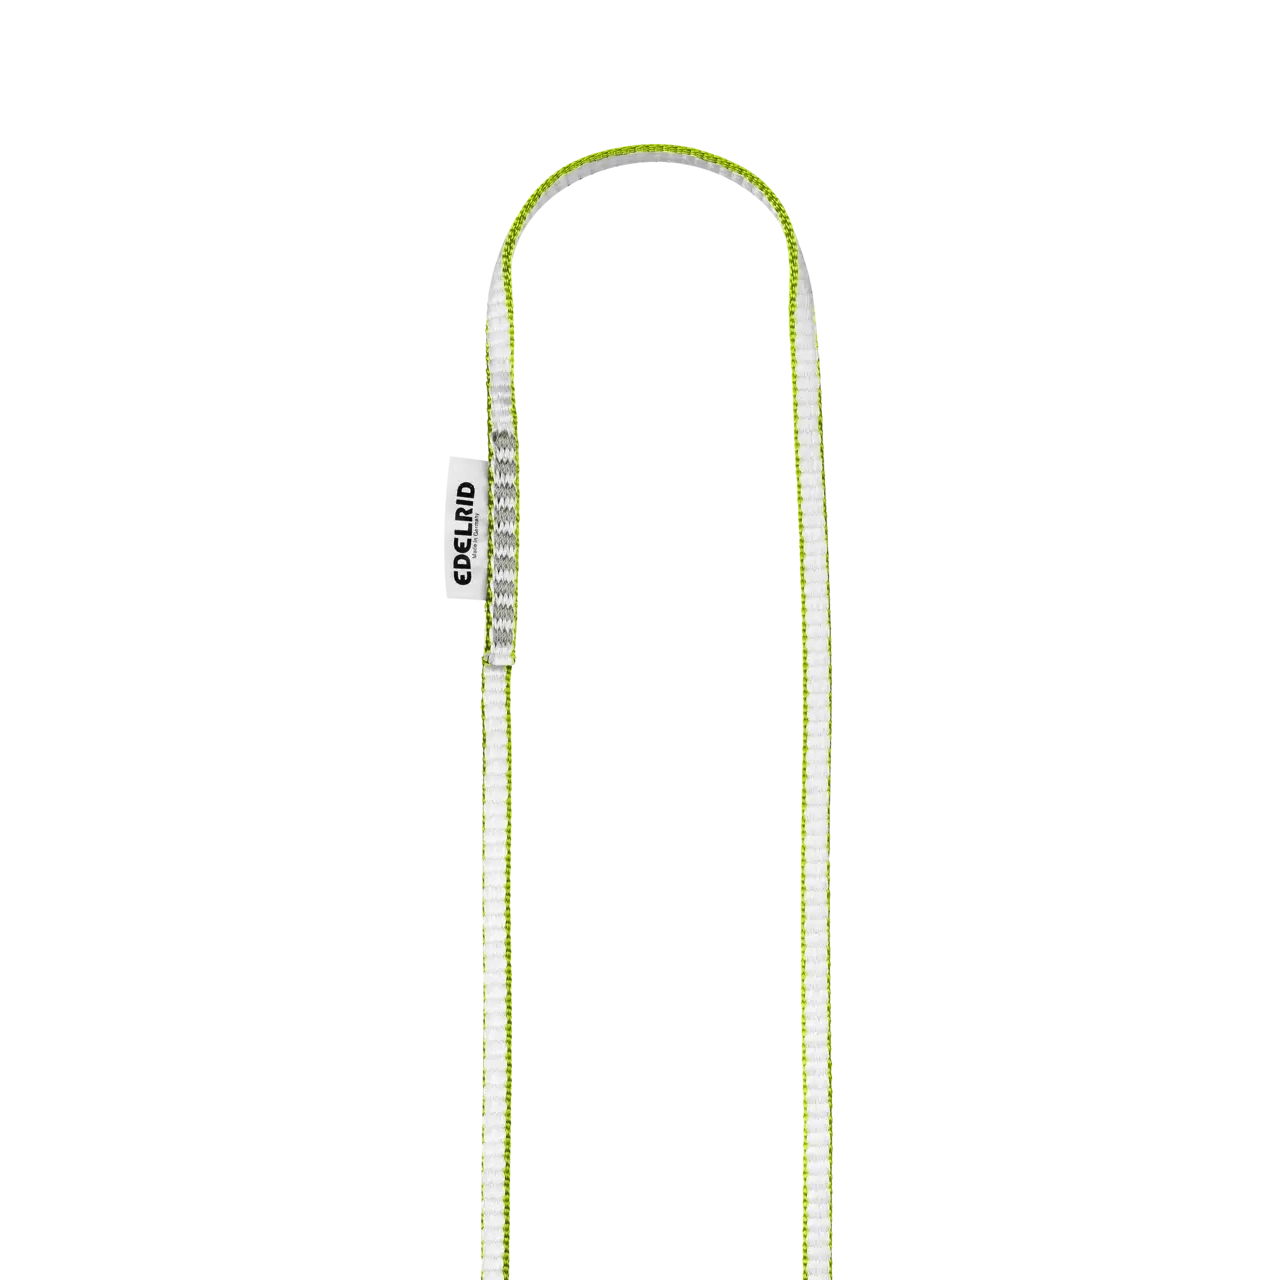
Dyneema Sling - 8mm
Tier benefits:
Tier benefits:
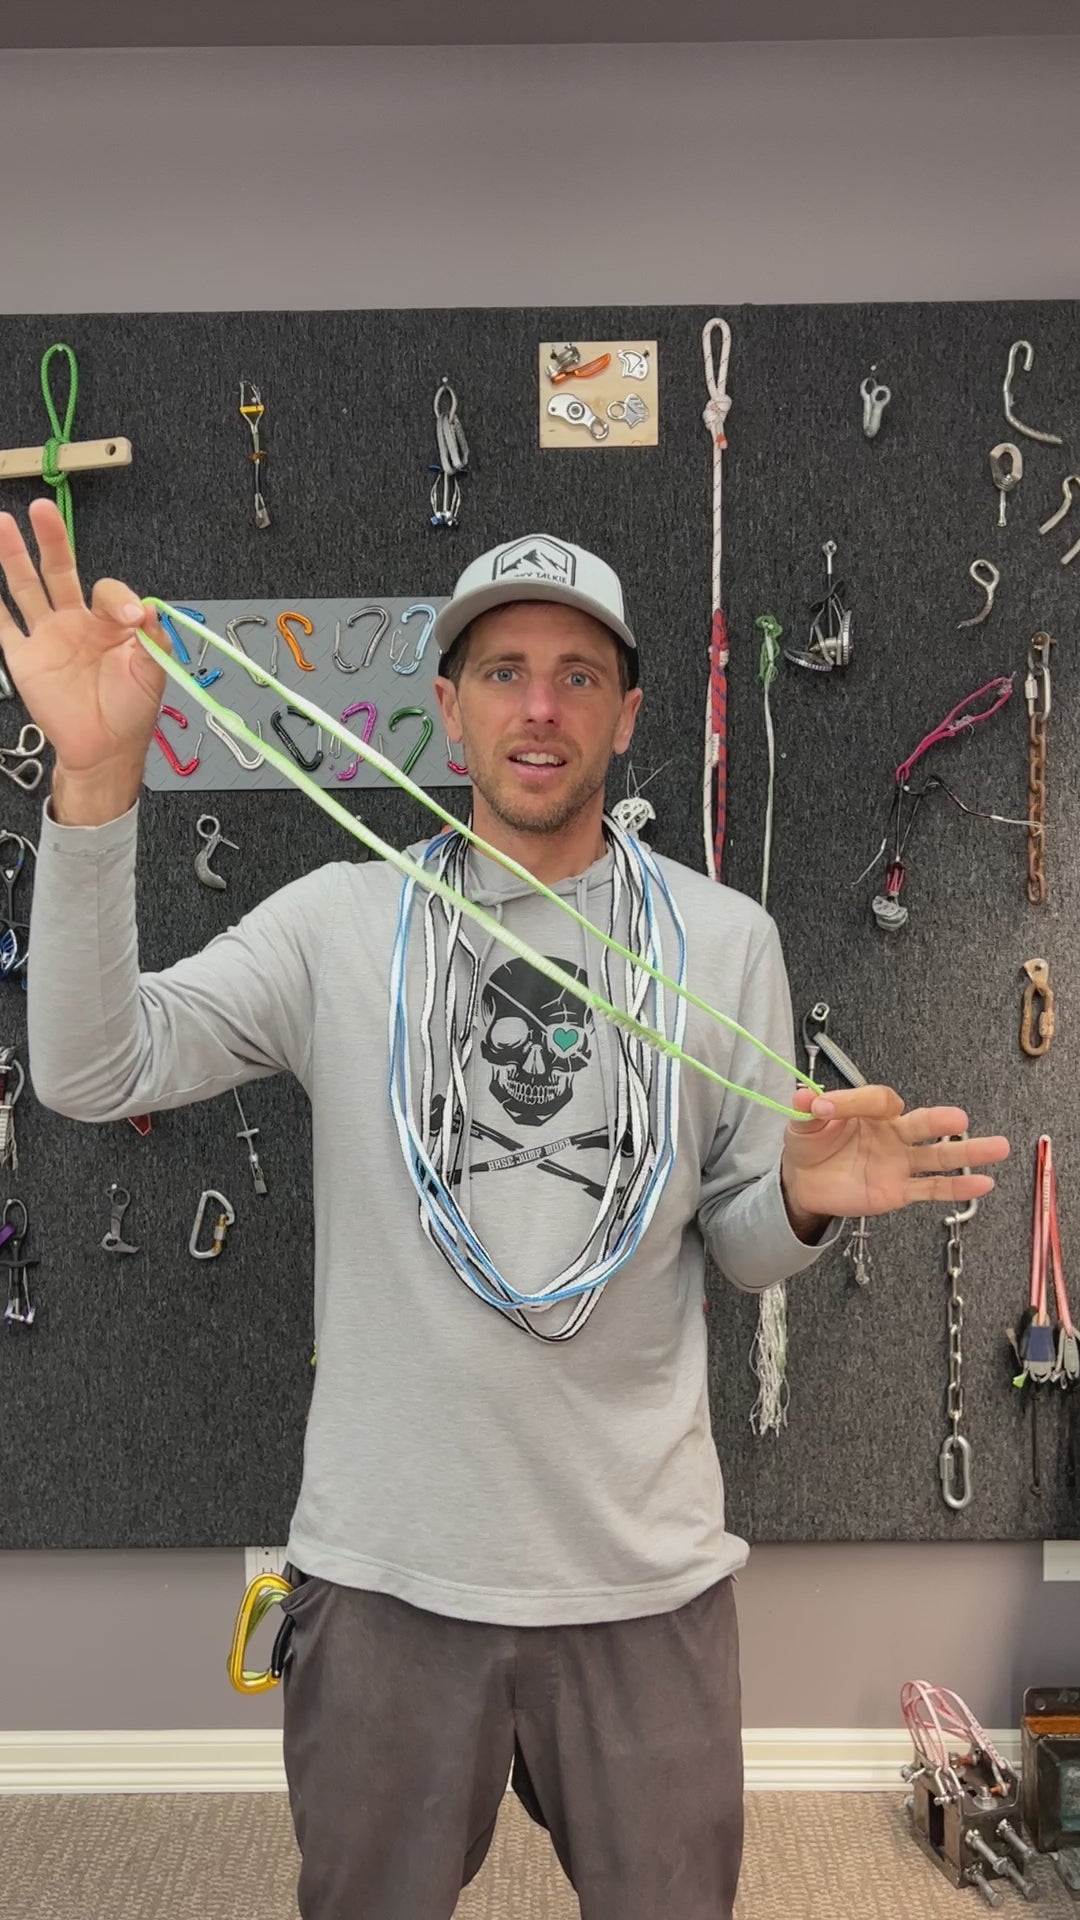
I prefer 8mm slings over 10mm since they are compact and I have a lot of them to manage. I’ll carry about 15 over my shoulders, and 8 double length near the back of my harness and 2 for anchors.
Pros
- Skinny
- Light
Cons
- Less durable
- Expensive
Other Stuff
- Knee Pads - Foam pads with two straps are the lightest. We found them in bulk and sell them at cost to make that a bit more convenient for you.
- Haul bag attachments can be a good ol’ knot and a bottle top (protect your rope!) if you are trying to save money. A micro traxion, if you can stomach scratching up a $140s, is nice when you get the bag stuck because the follower can lift it up right there and get it out of the problem it was in. A swivel can be nice if you don’t use a micro to prevent rats nests in your twisted rope. Just plan ahead how you are going to attach that bag.
- Haul bag docking system - We have some fancy solutions from Skot if you like the barbar pole method. Docking Cord, Alpine Docking Cord, or the Ultimate Zed Cord for docking your cord on Mars! Or you can just buy 30-40 feet of 5mm PES at 5kn strong or 6mm PES at 6.6kn strong. Munter mule over hand that shit and you have a releasable system with a tag to lower your bag into its destiny.
- Cloth grocery bag for a rope bucket to flake your ropes into before the leader takes off for the next pitch.
- A HollowBlock and a Tibloc on a D lock on your rear is a good emergency kit if you want to be “responsible”.
- Rocky Talkie - These are very reliable, long-lasting and durable walkie-talkies. If you have a chest harness, it can be clipped near your shoulder and easy to use, otherwise you can just clip it to the last shoulder-length sling you plan on using. Keep in mind, that it might take 3 days for the battery to get down to 50% but could take 3 hours to lose that last “50%”. We have a thorough video on this plus how to change the privacy channel so you don’t have every other party on el cap on channel “128” and hearing “off belay” when your leader is only half way up the pitch. You DON’T need the 5 Watt radios for a wall. Those are the waterproof, large range radios. Just get the Mountain Radios.

