TRAD CLIMBING GEAR GUIDE
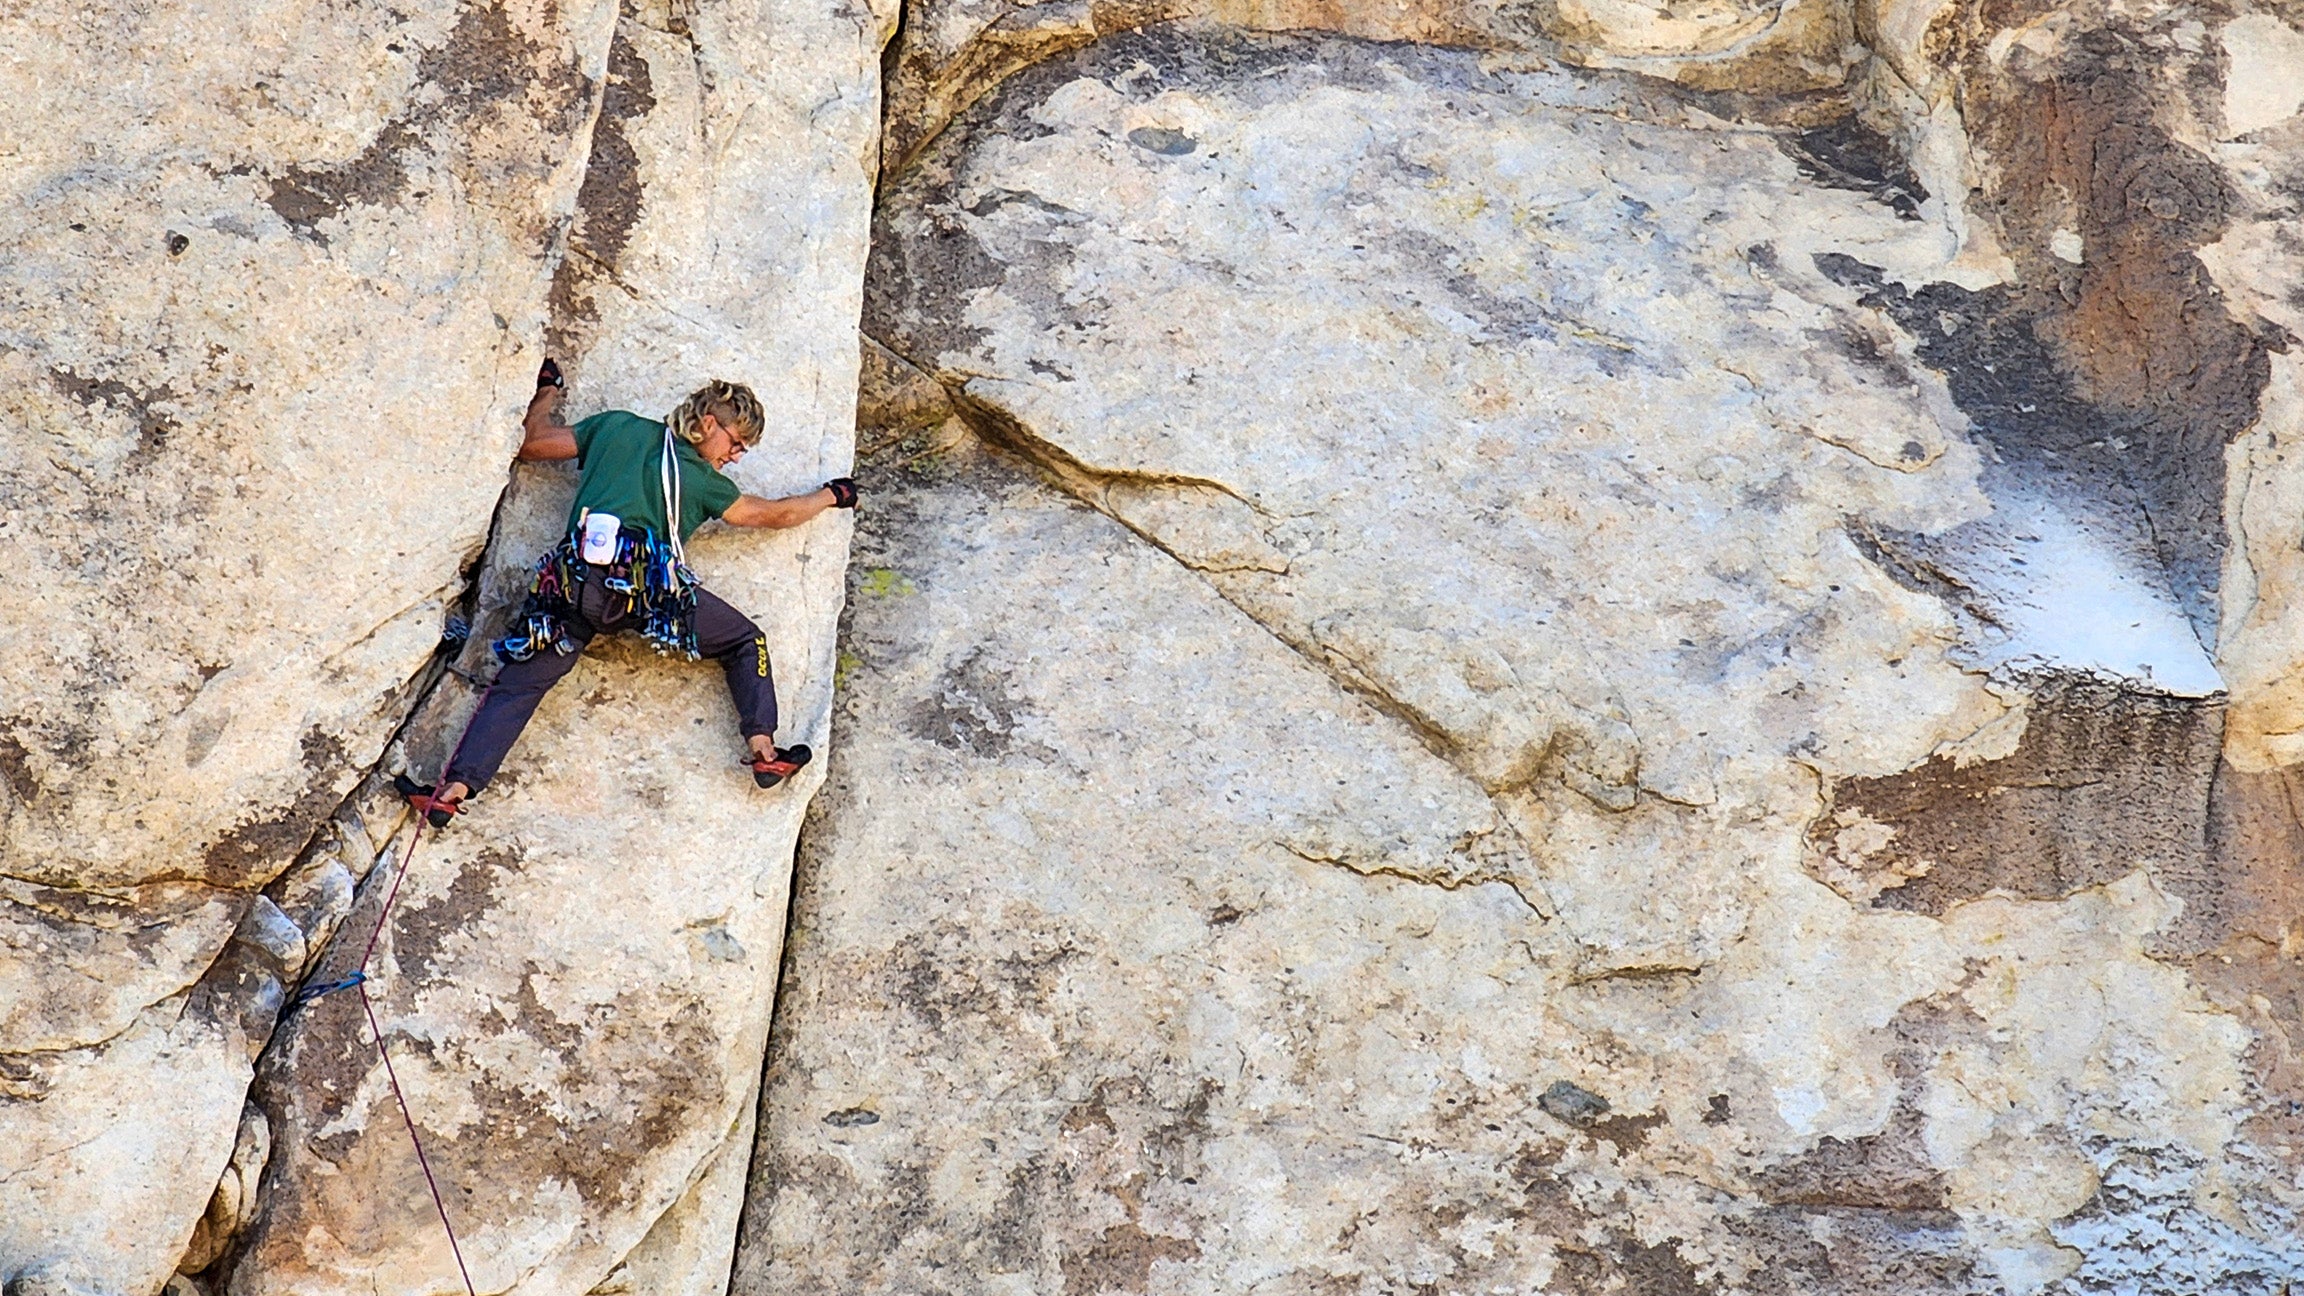
Trad climbing requires a lot of gear, and it can be quite confusing knowing exactly what you need and what you should buy. If you don't want to deep dive into the gear rabbit hole, here is a summary of some of our favorite pieces of gear.
Core Cams
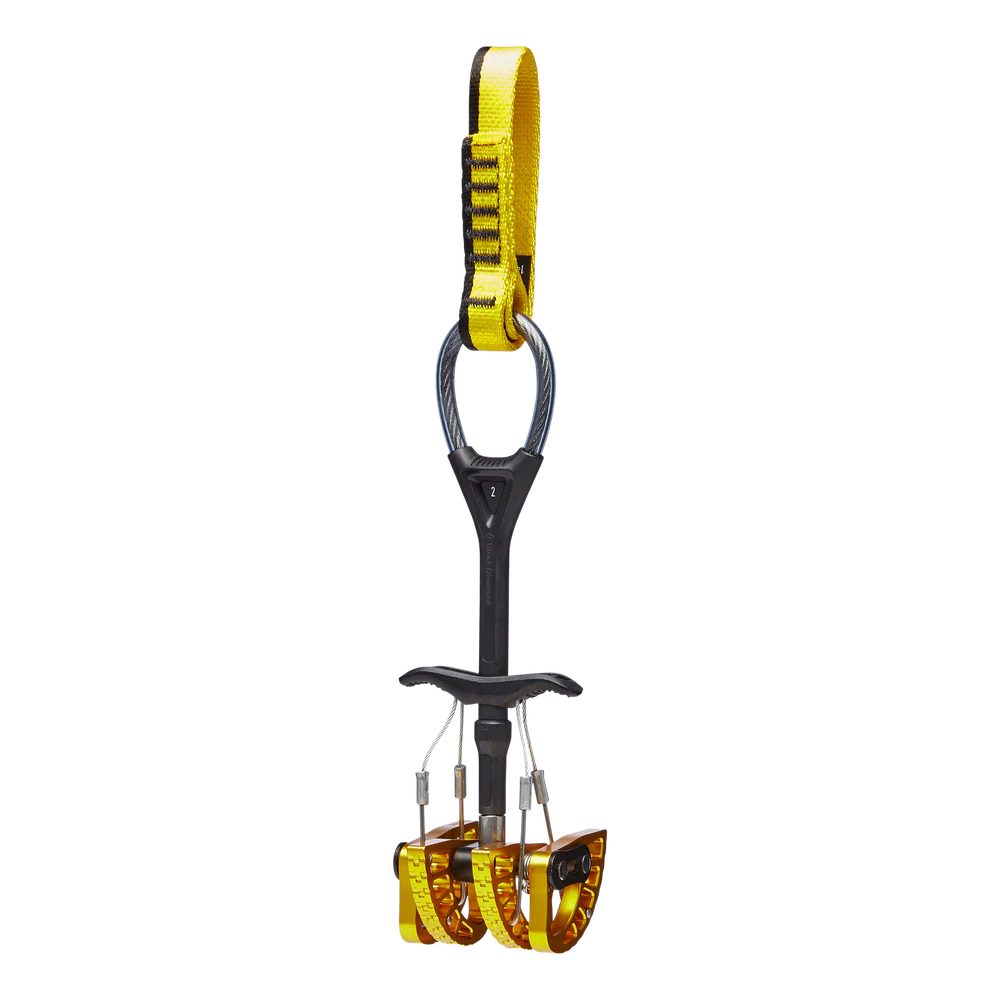
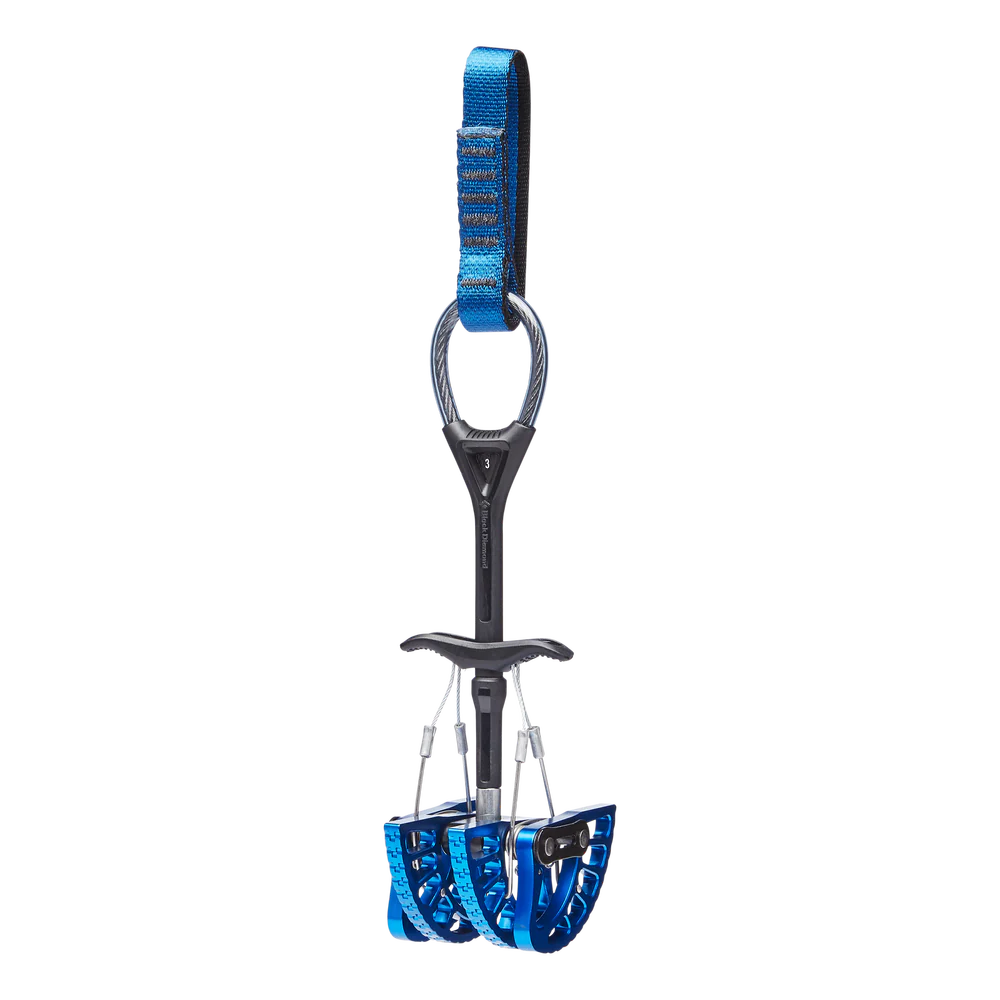
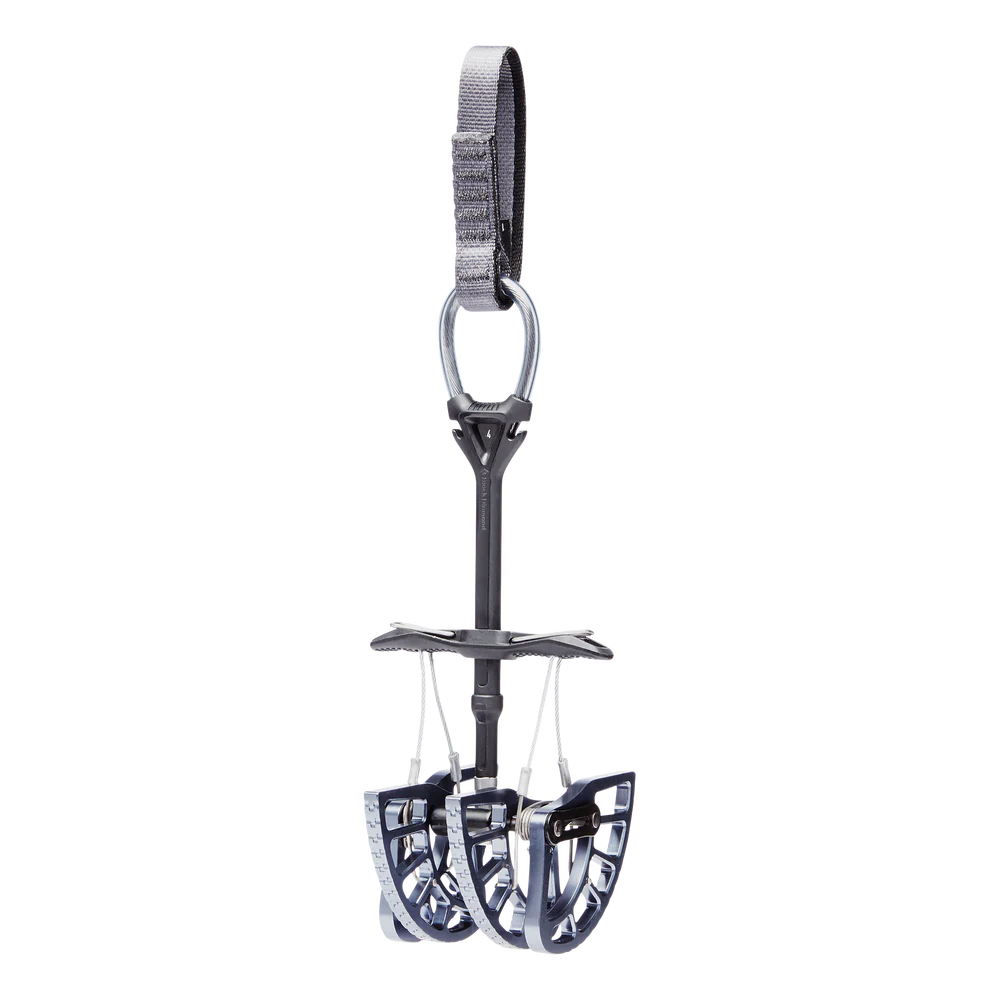
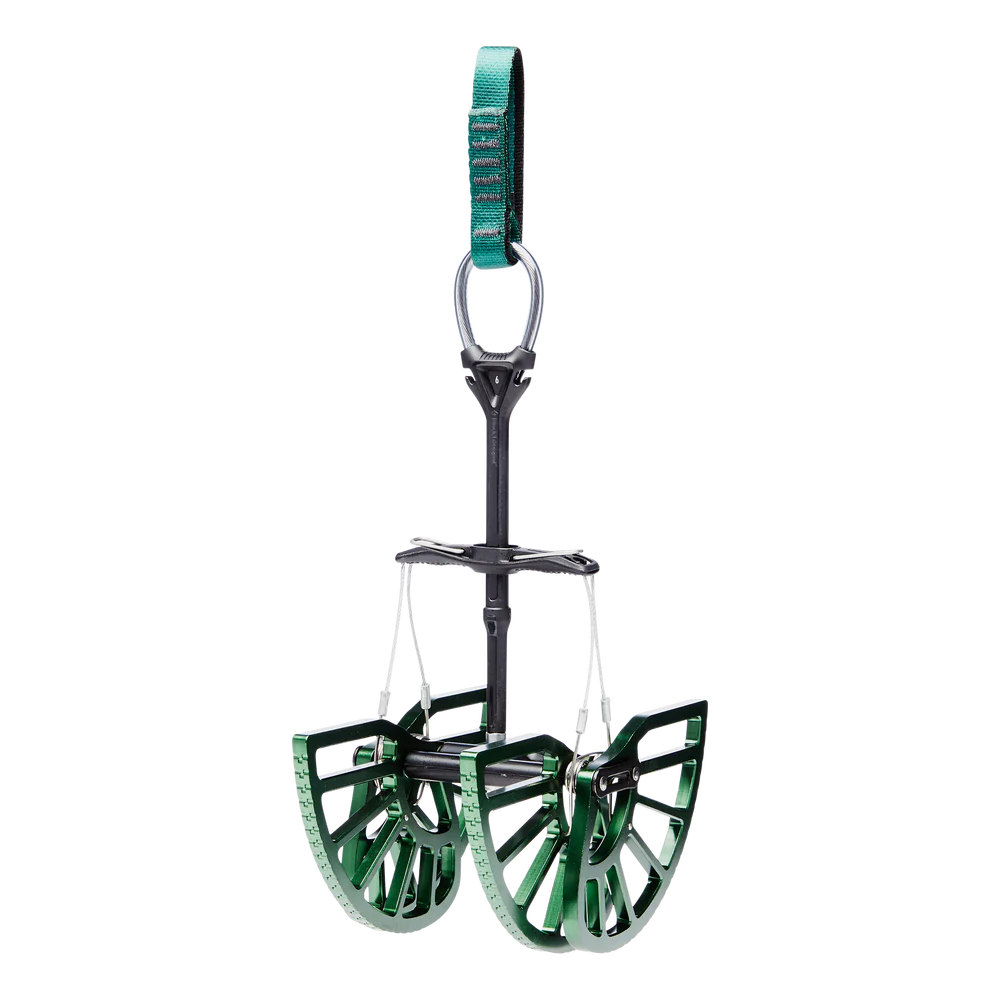
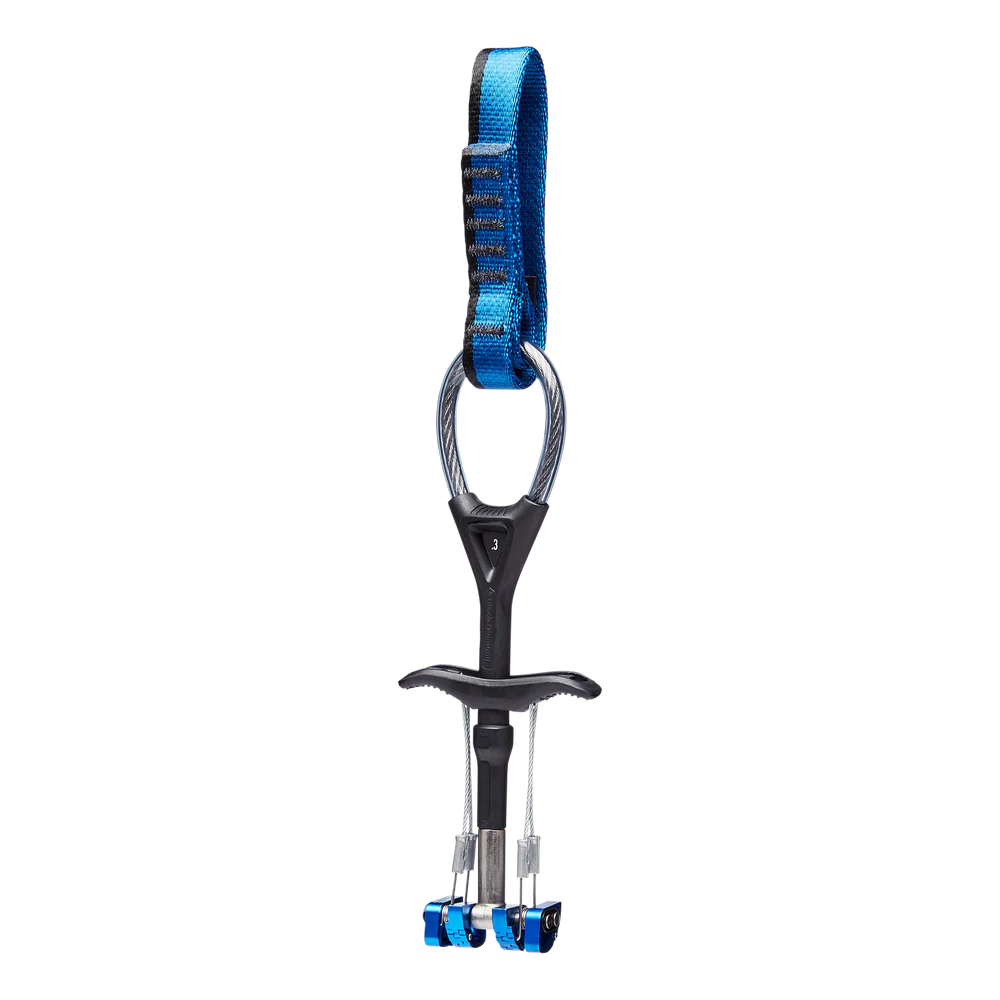
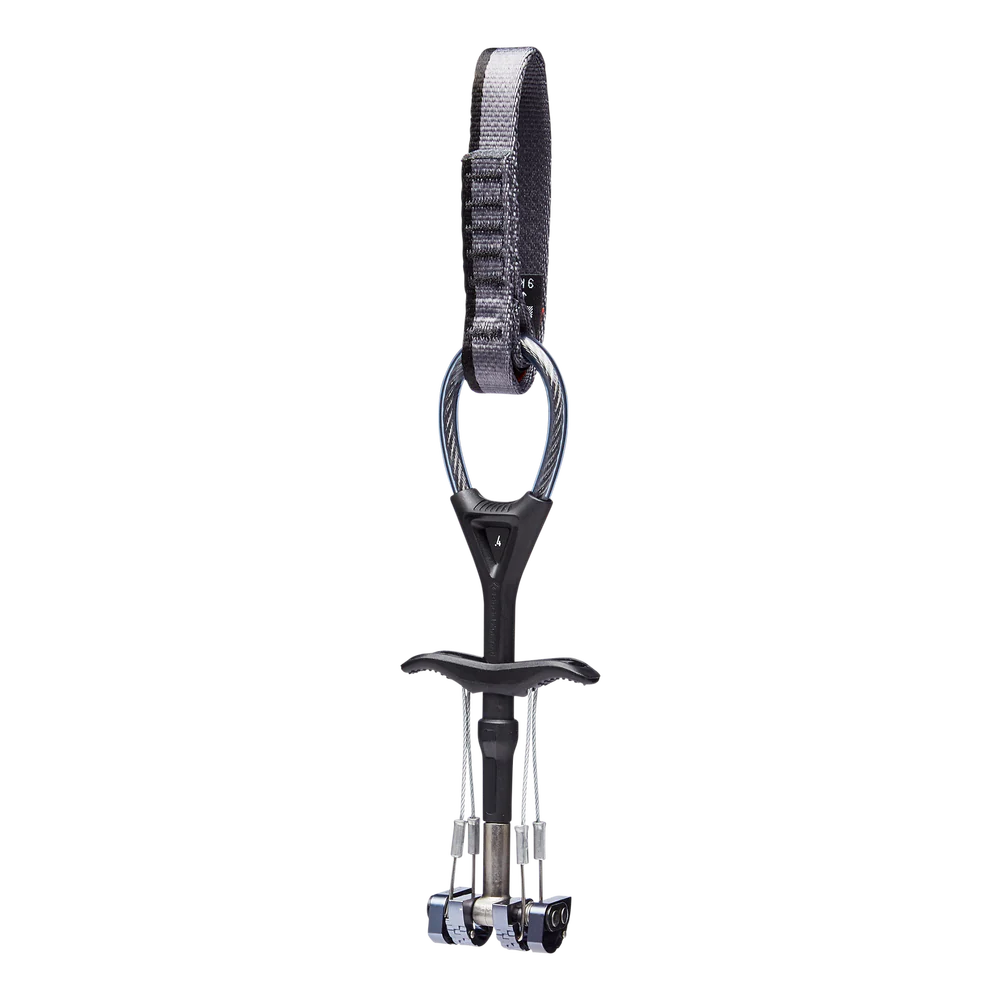
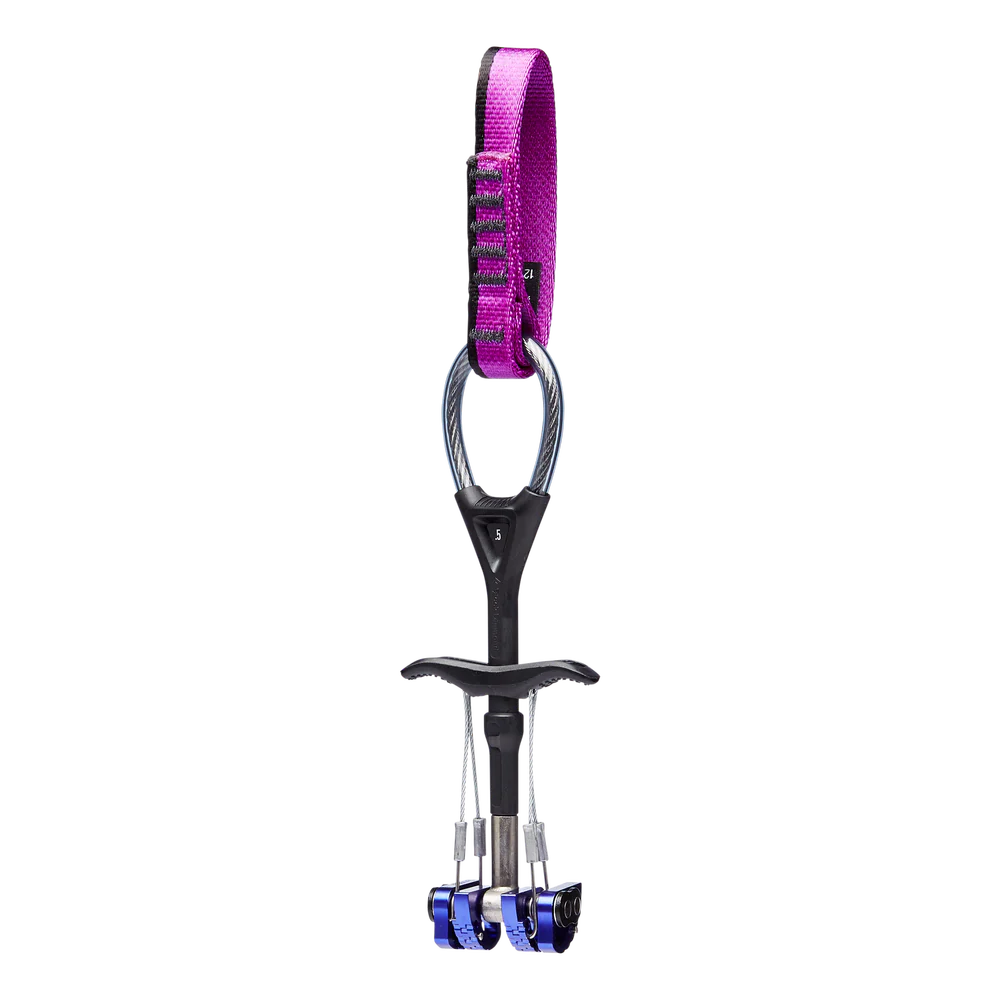
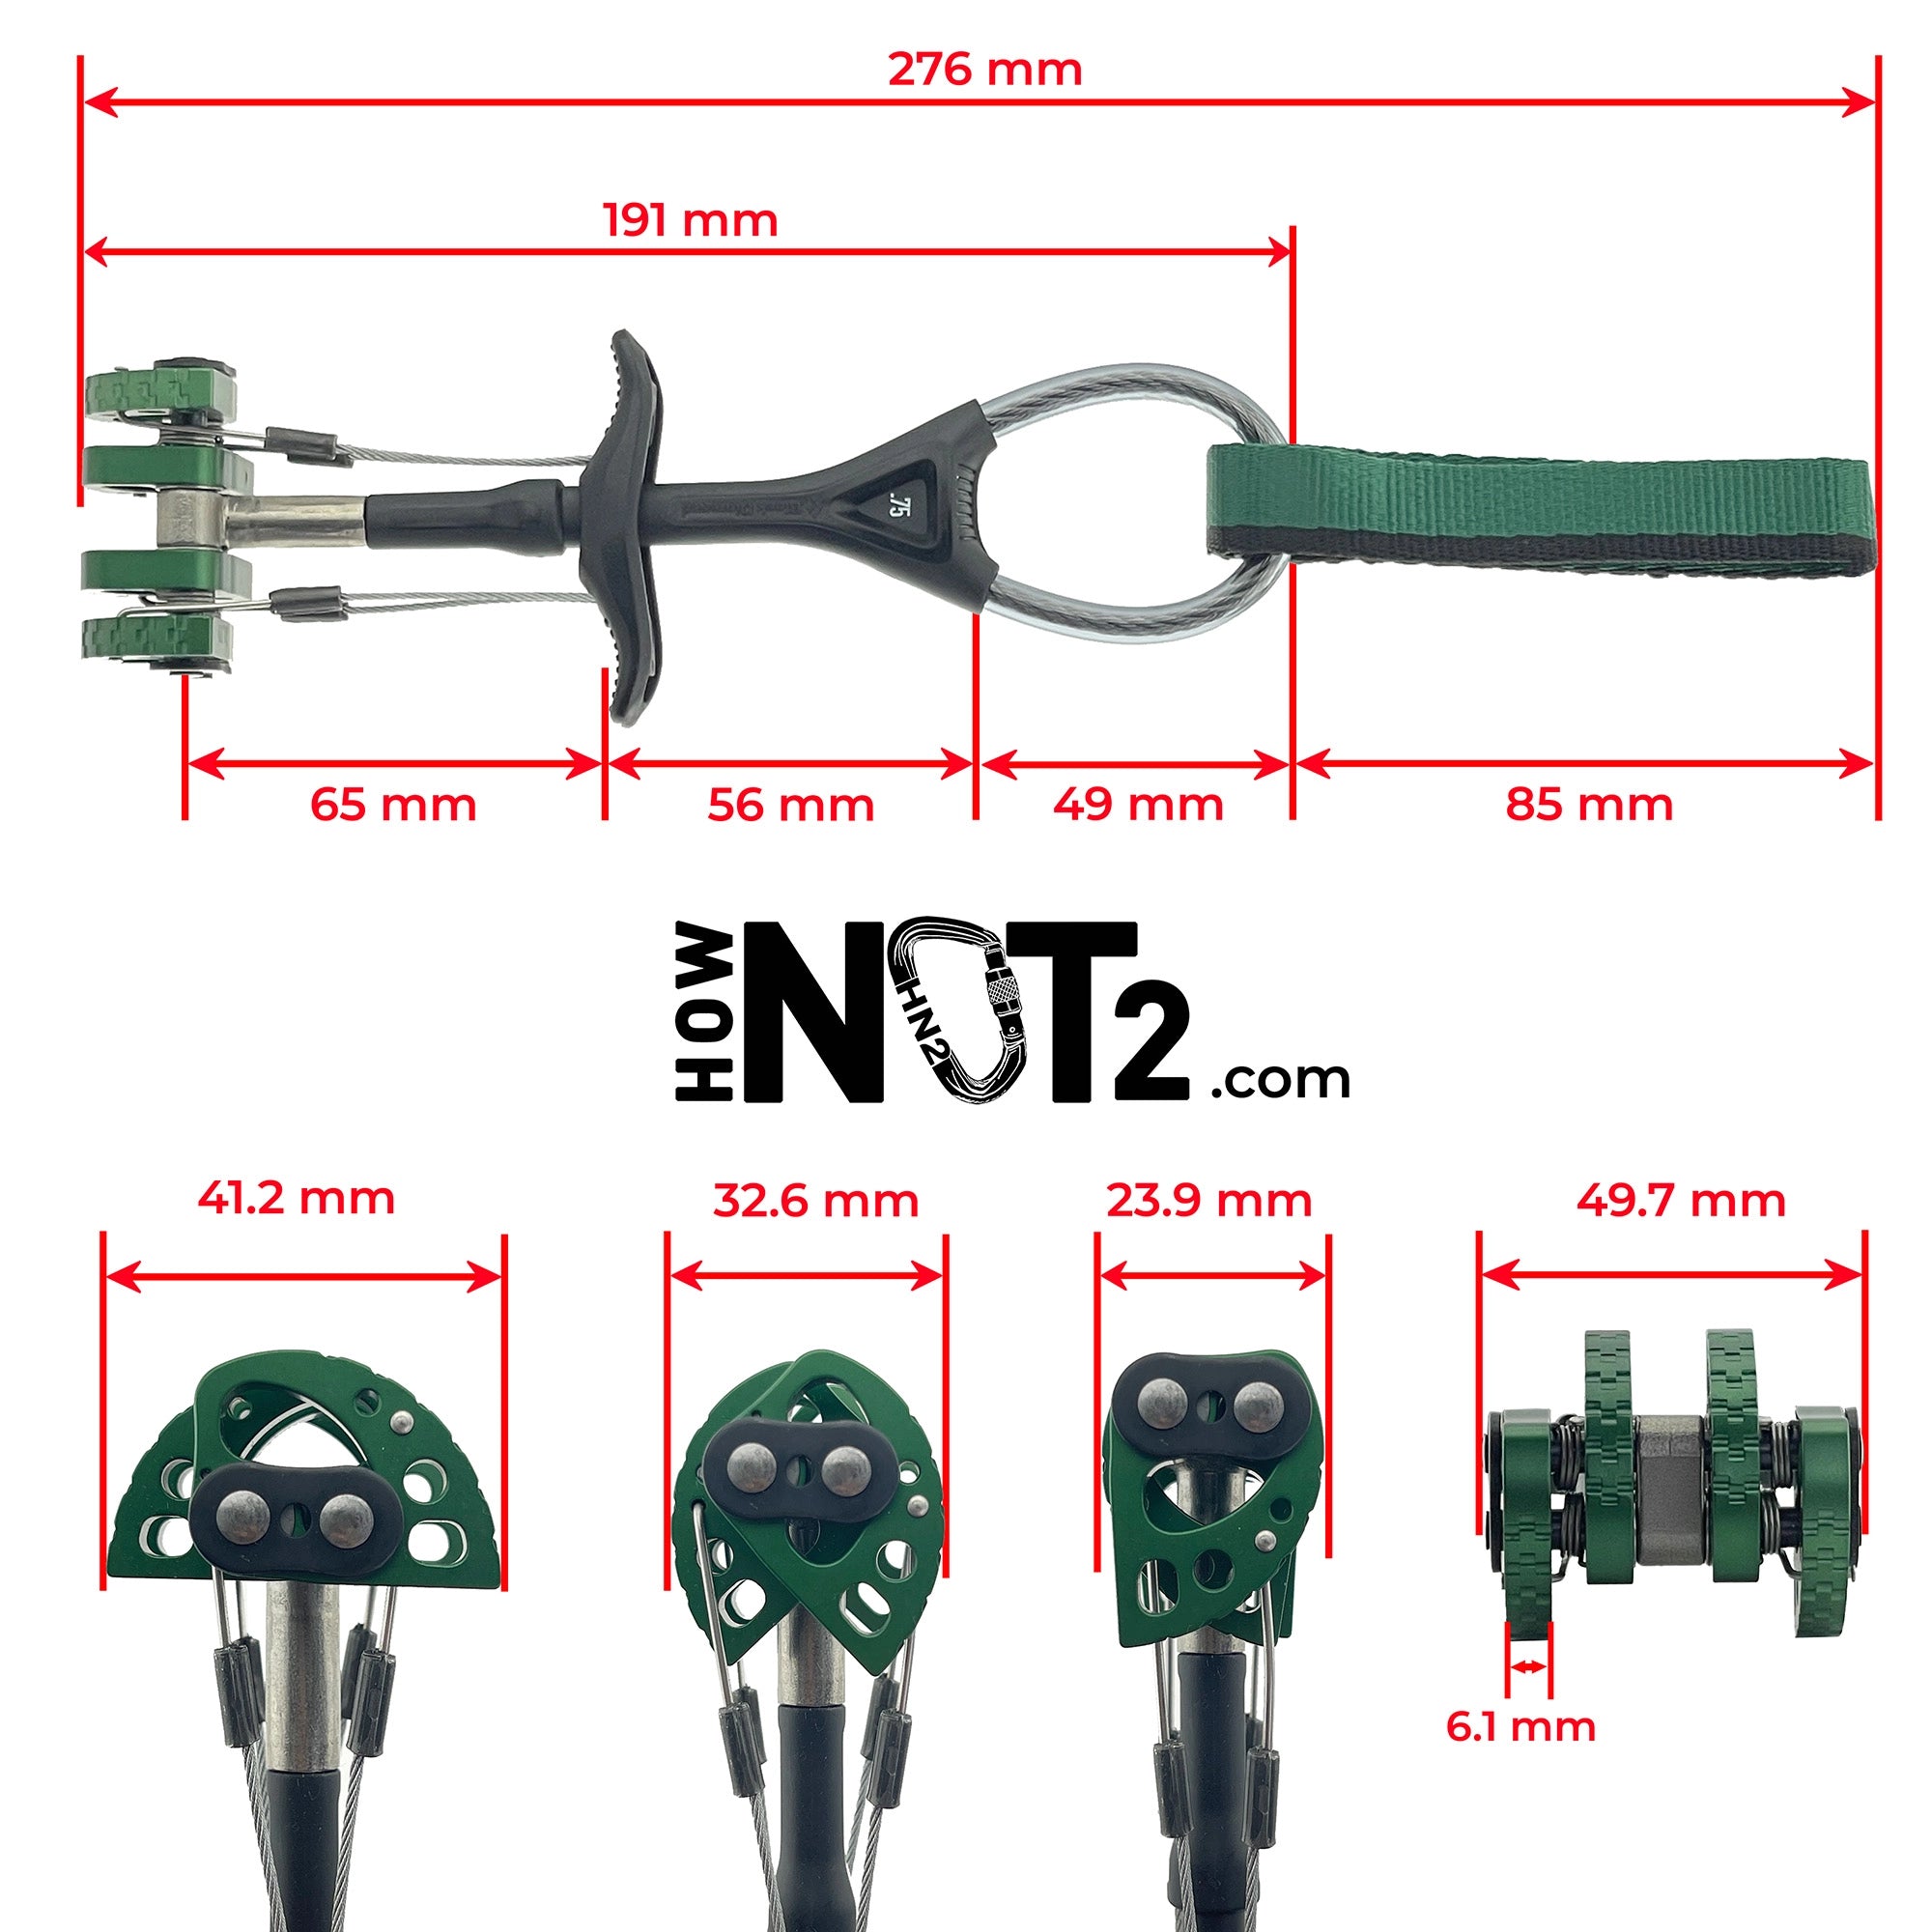
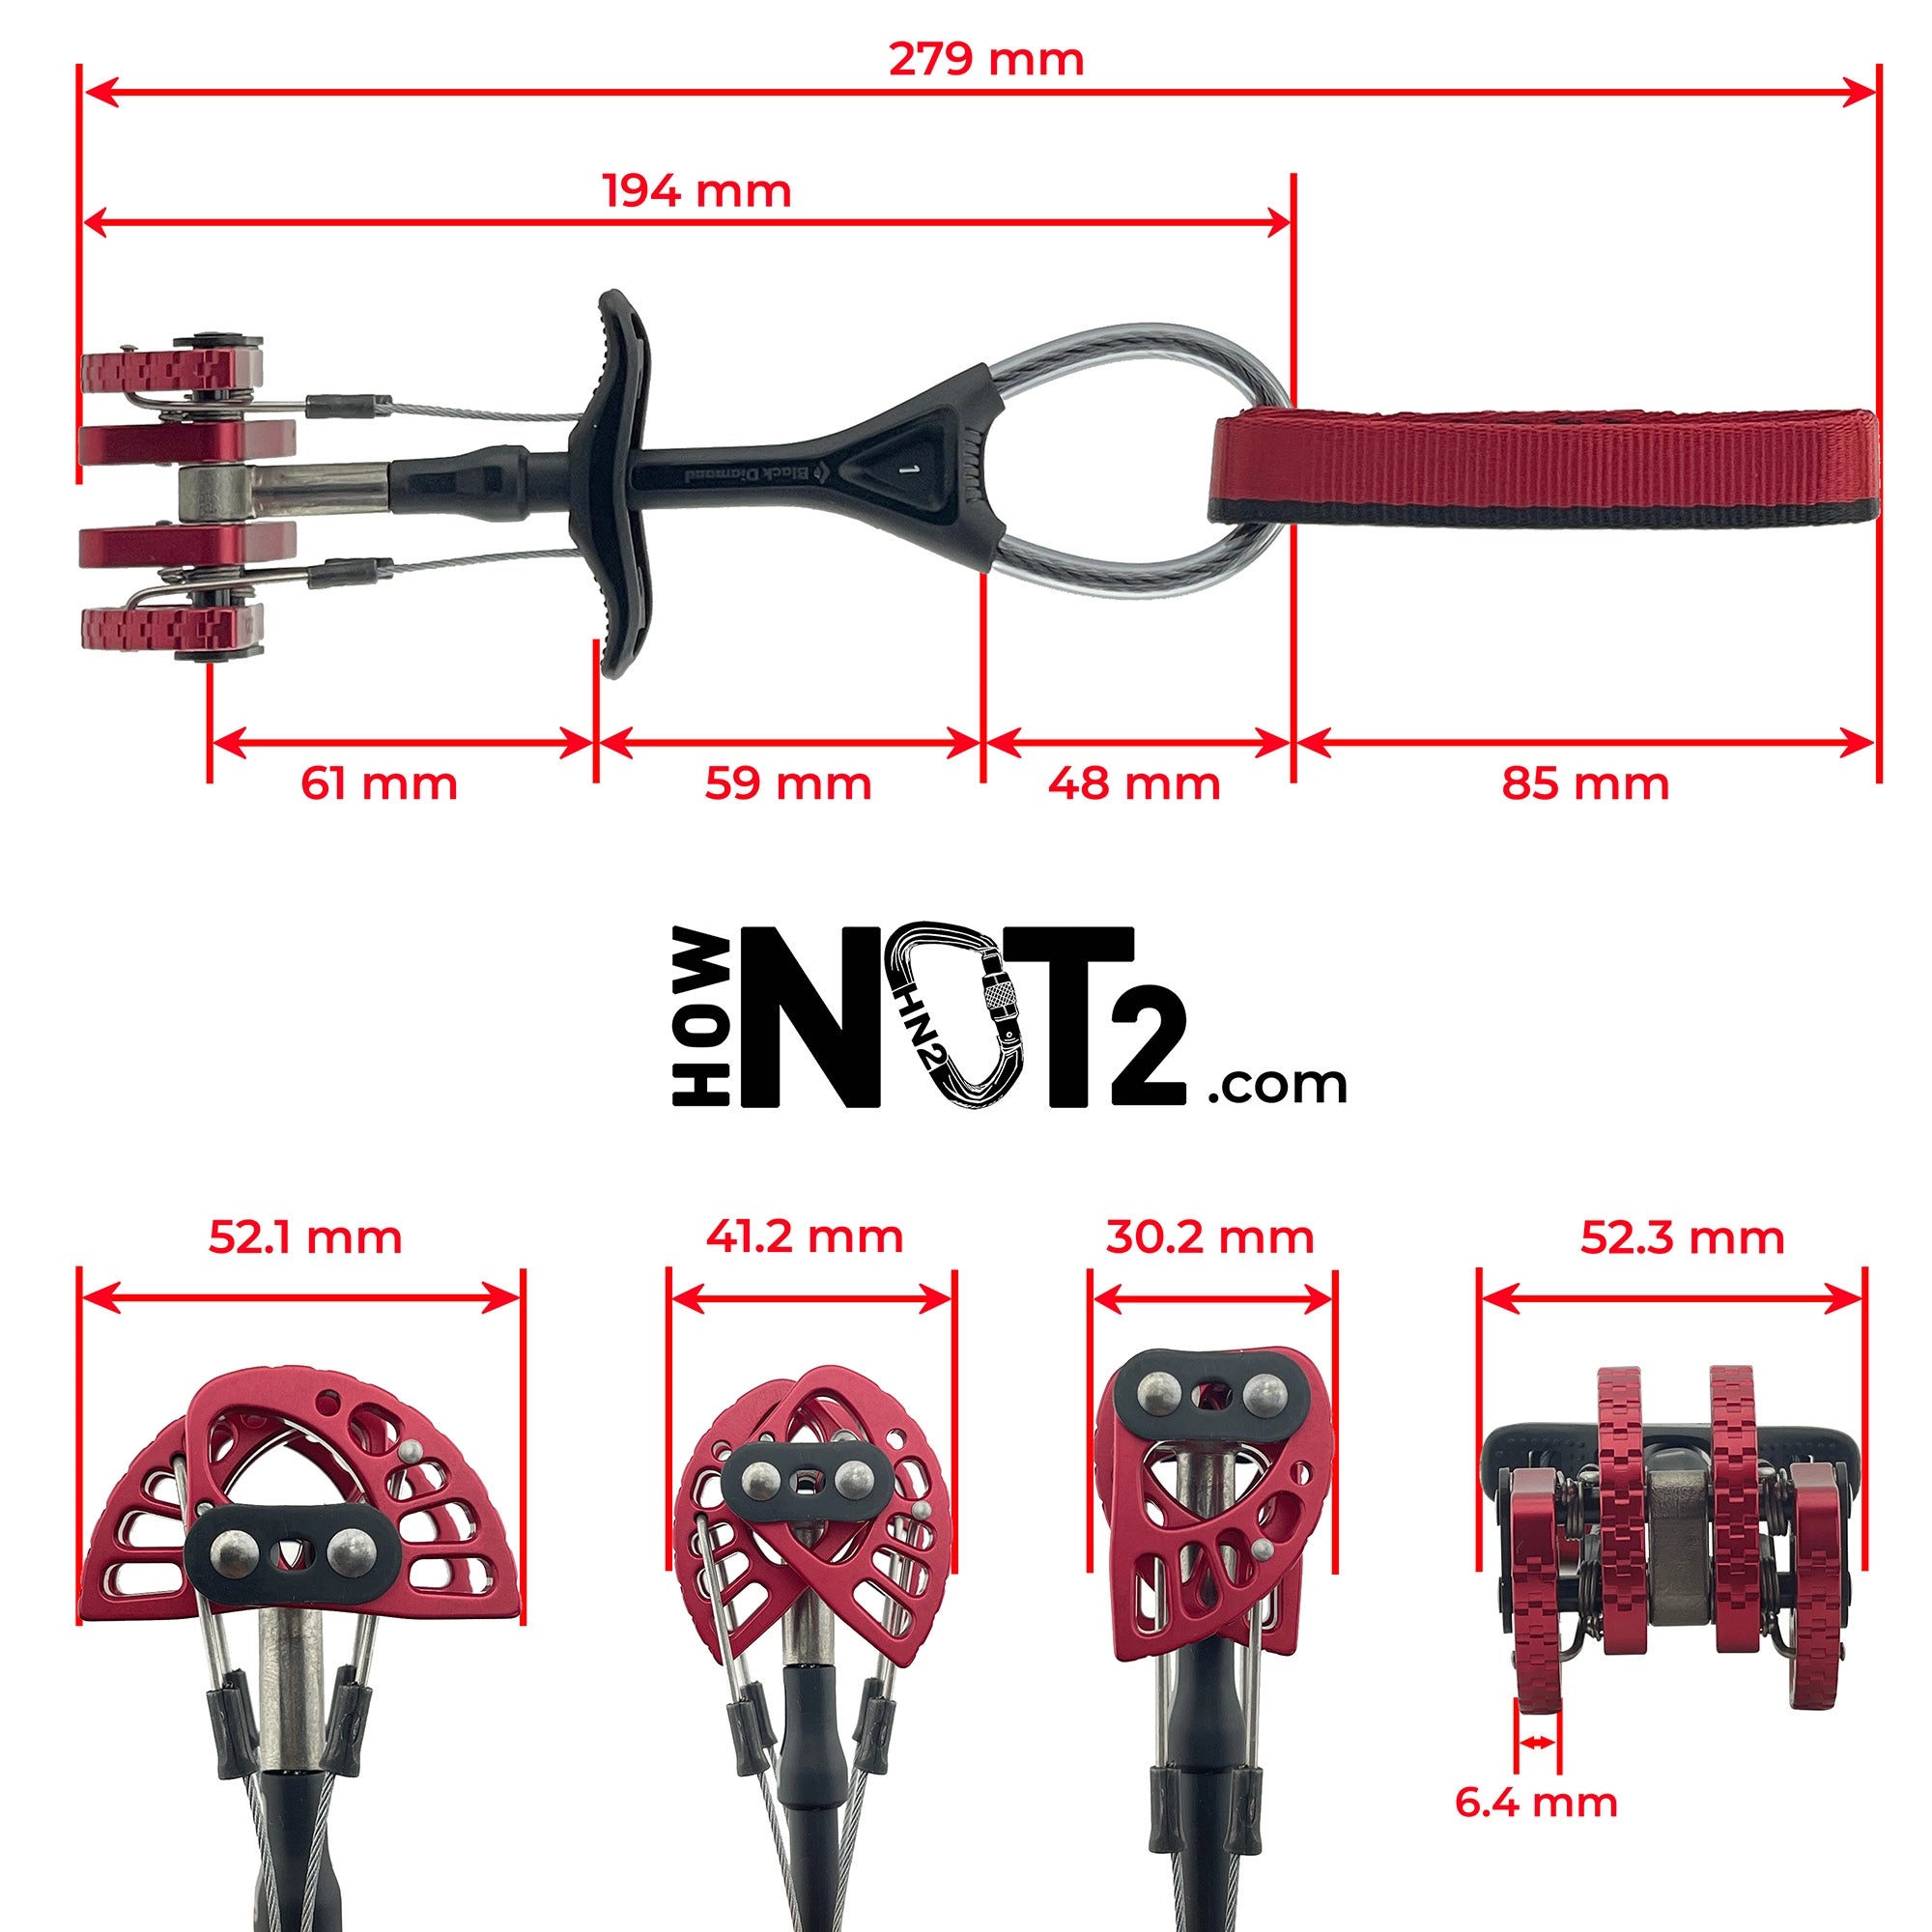
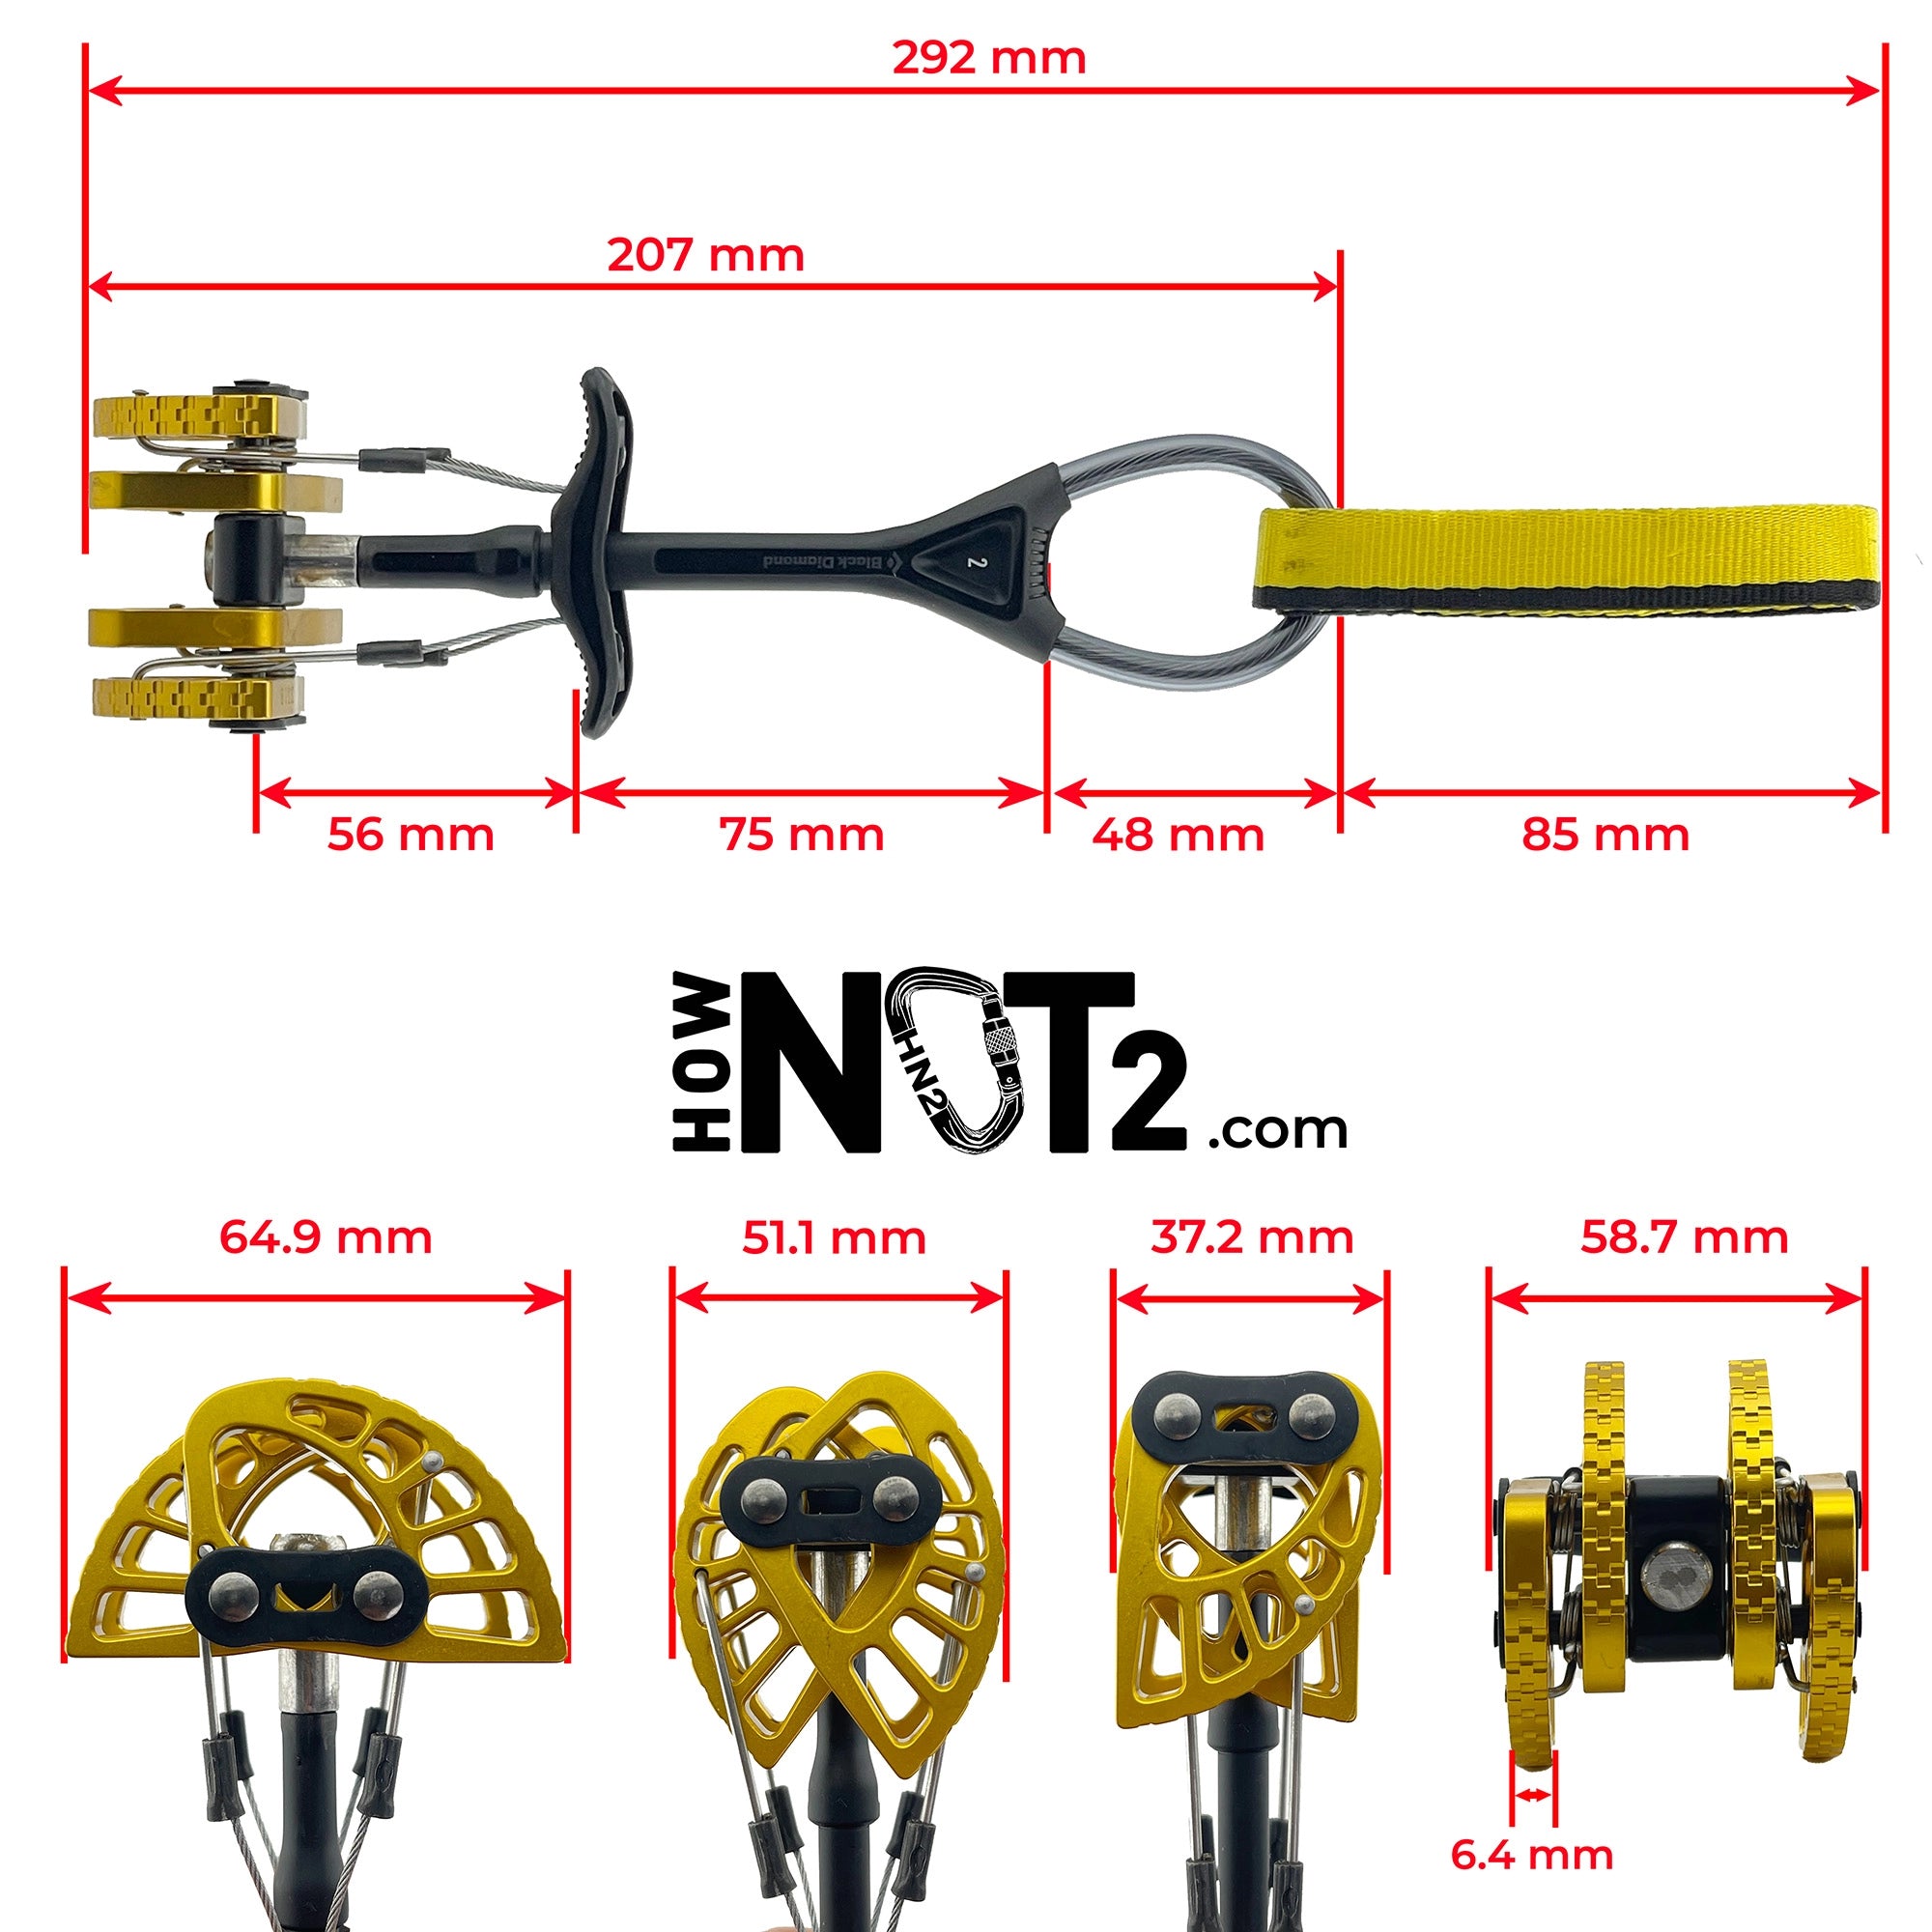
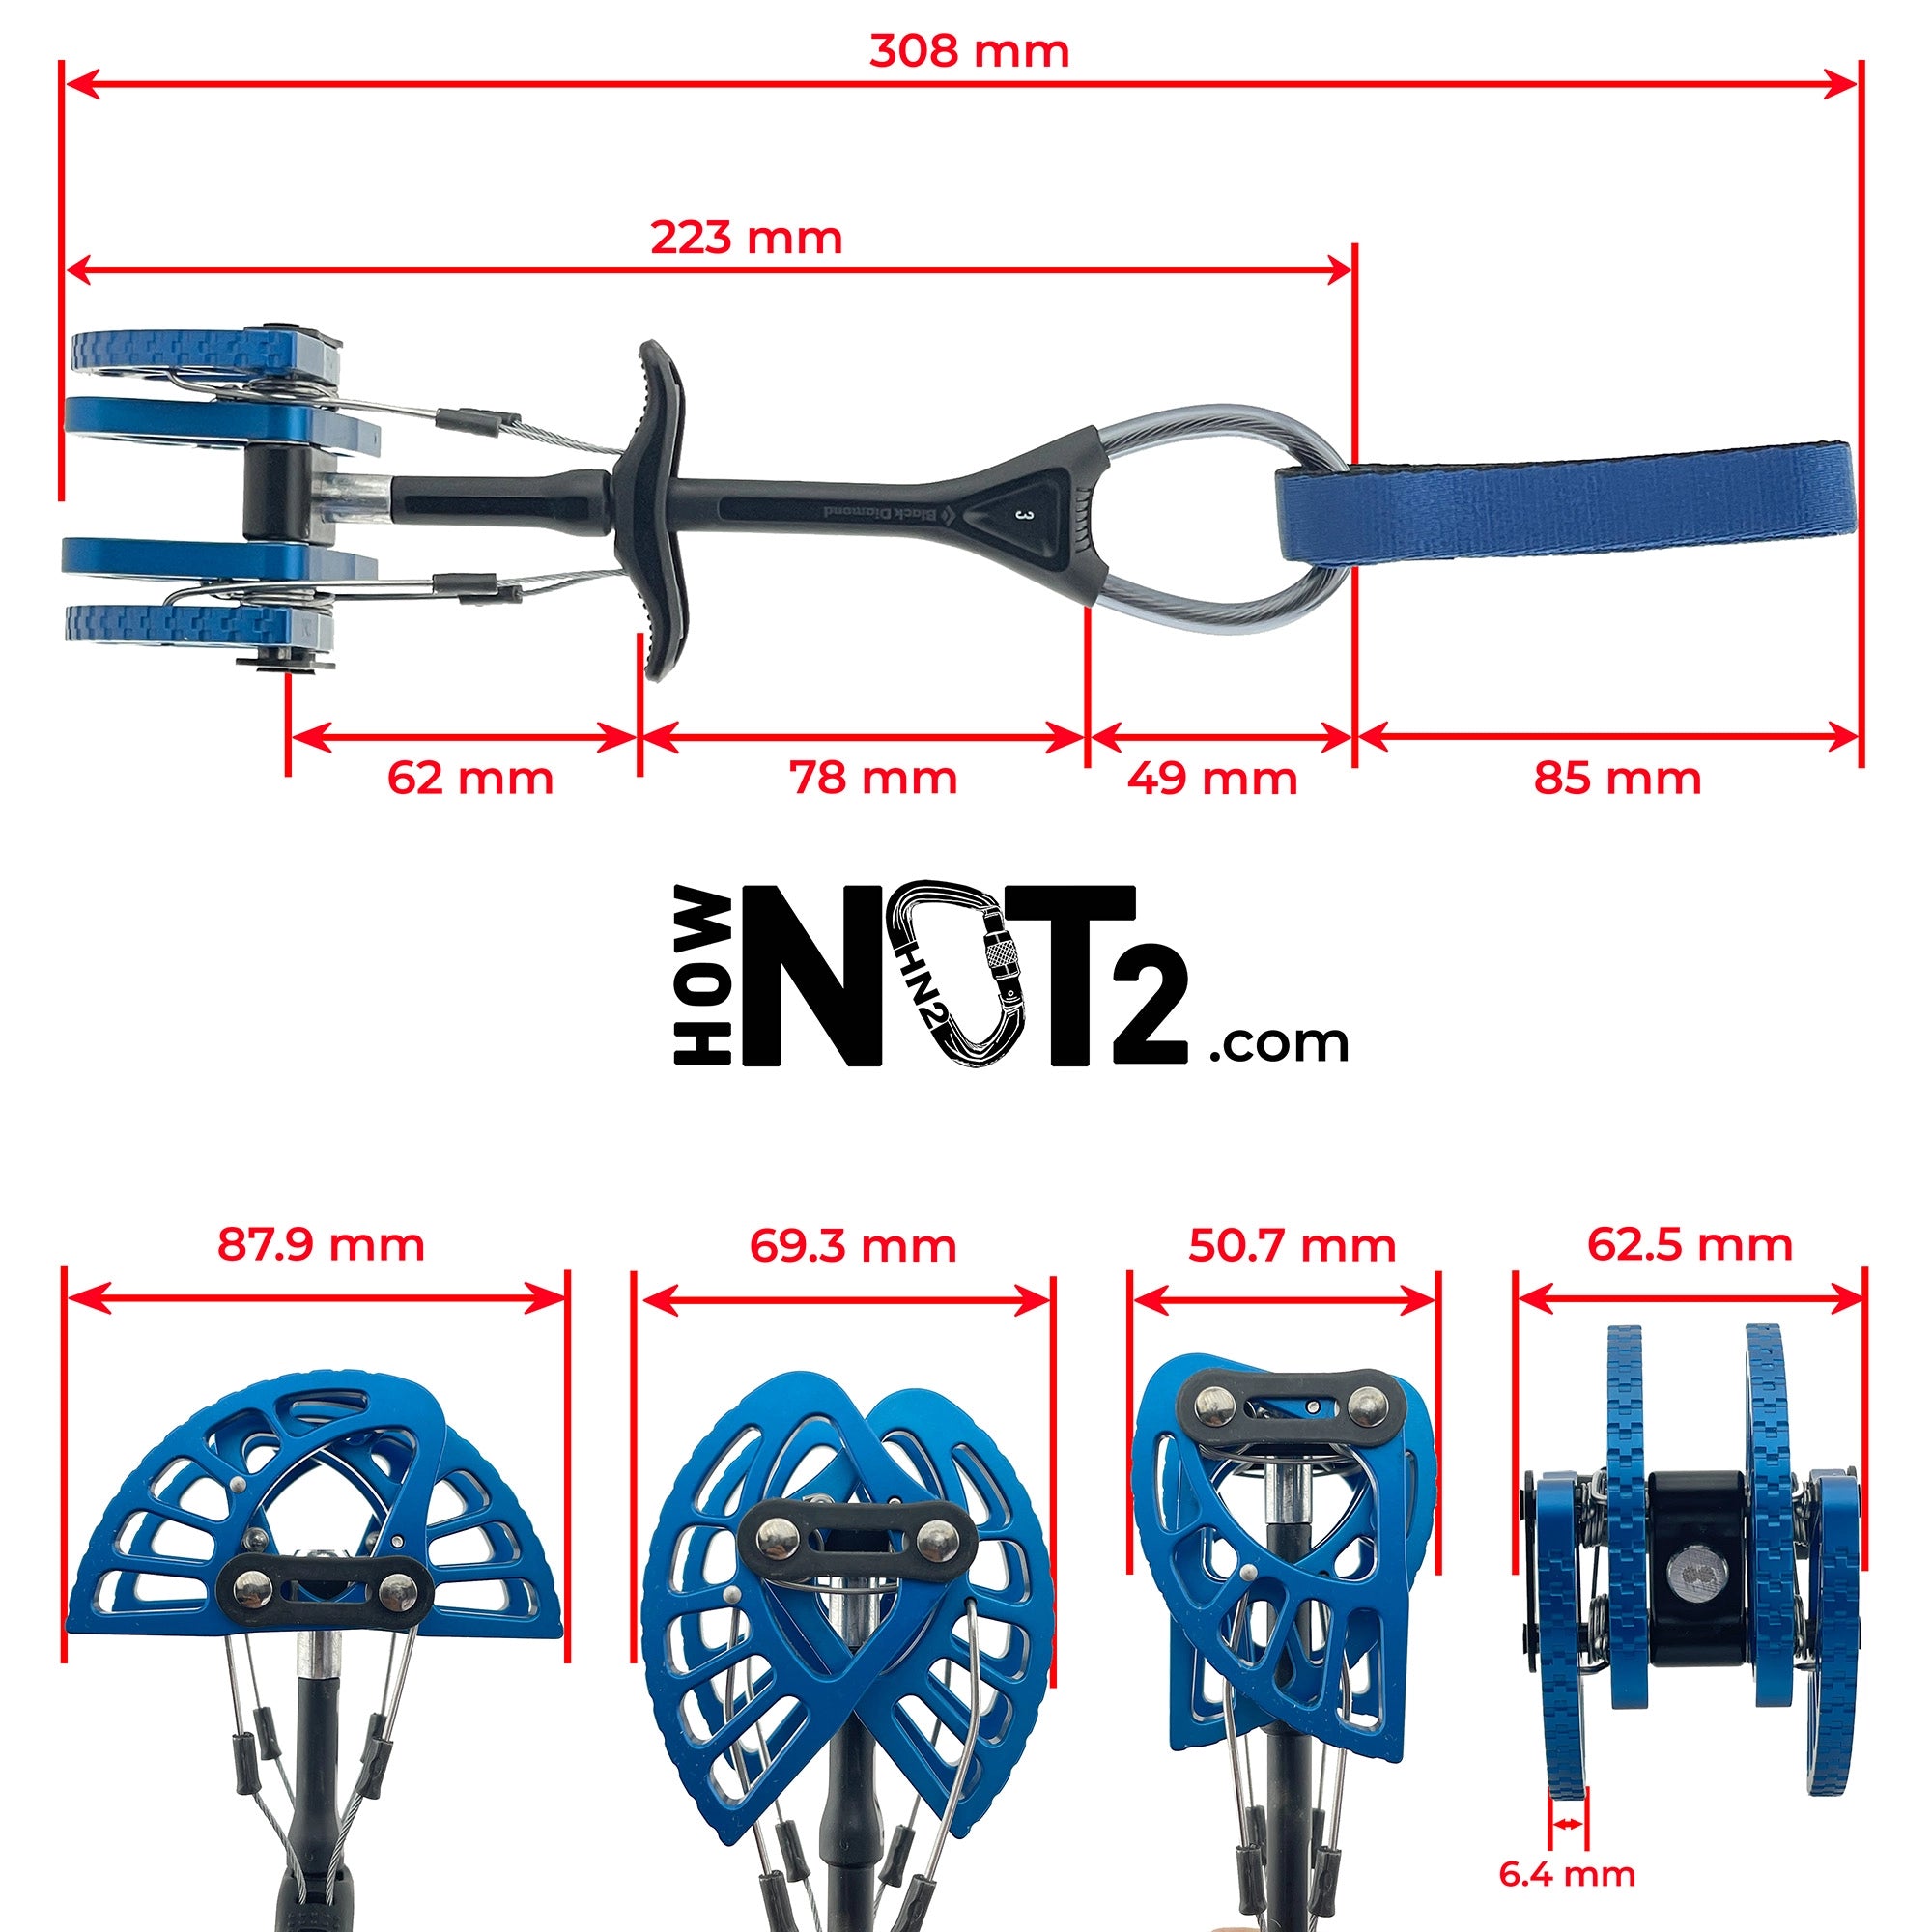
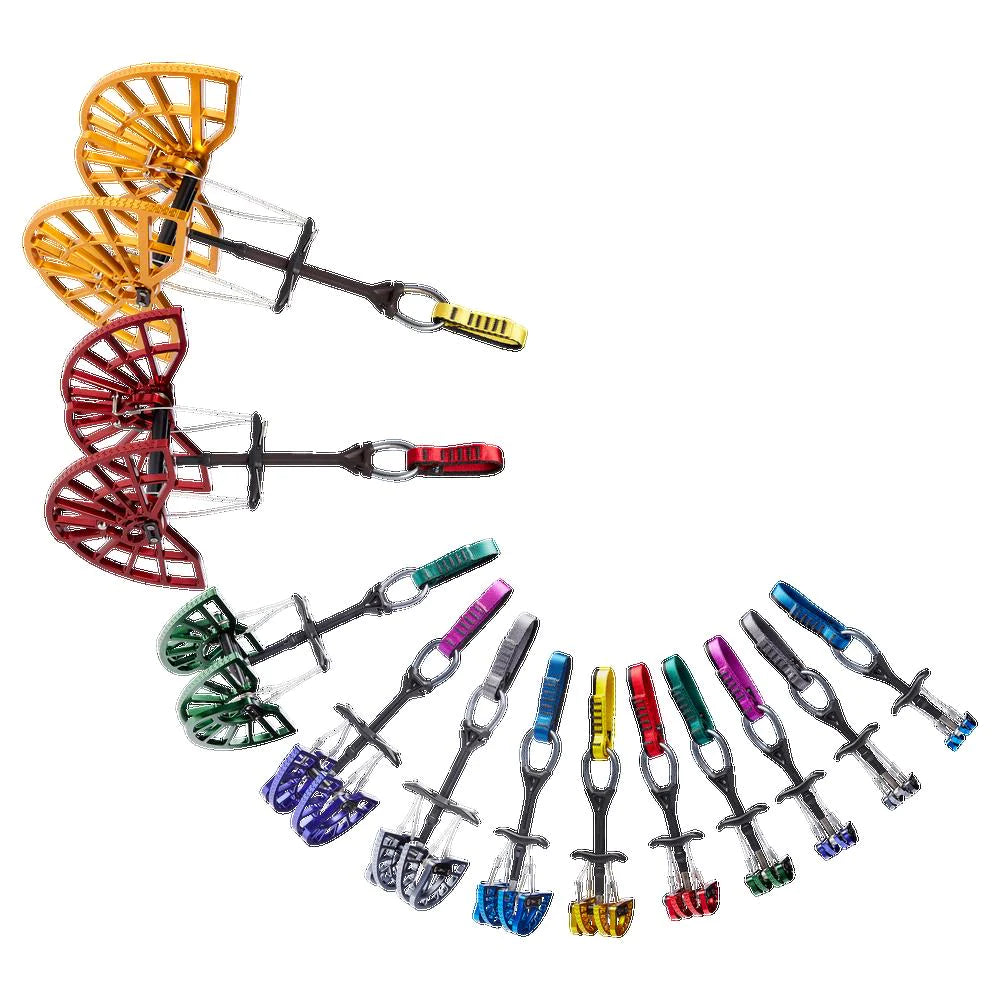
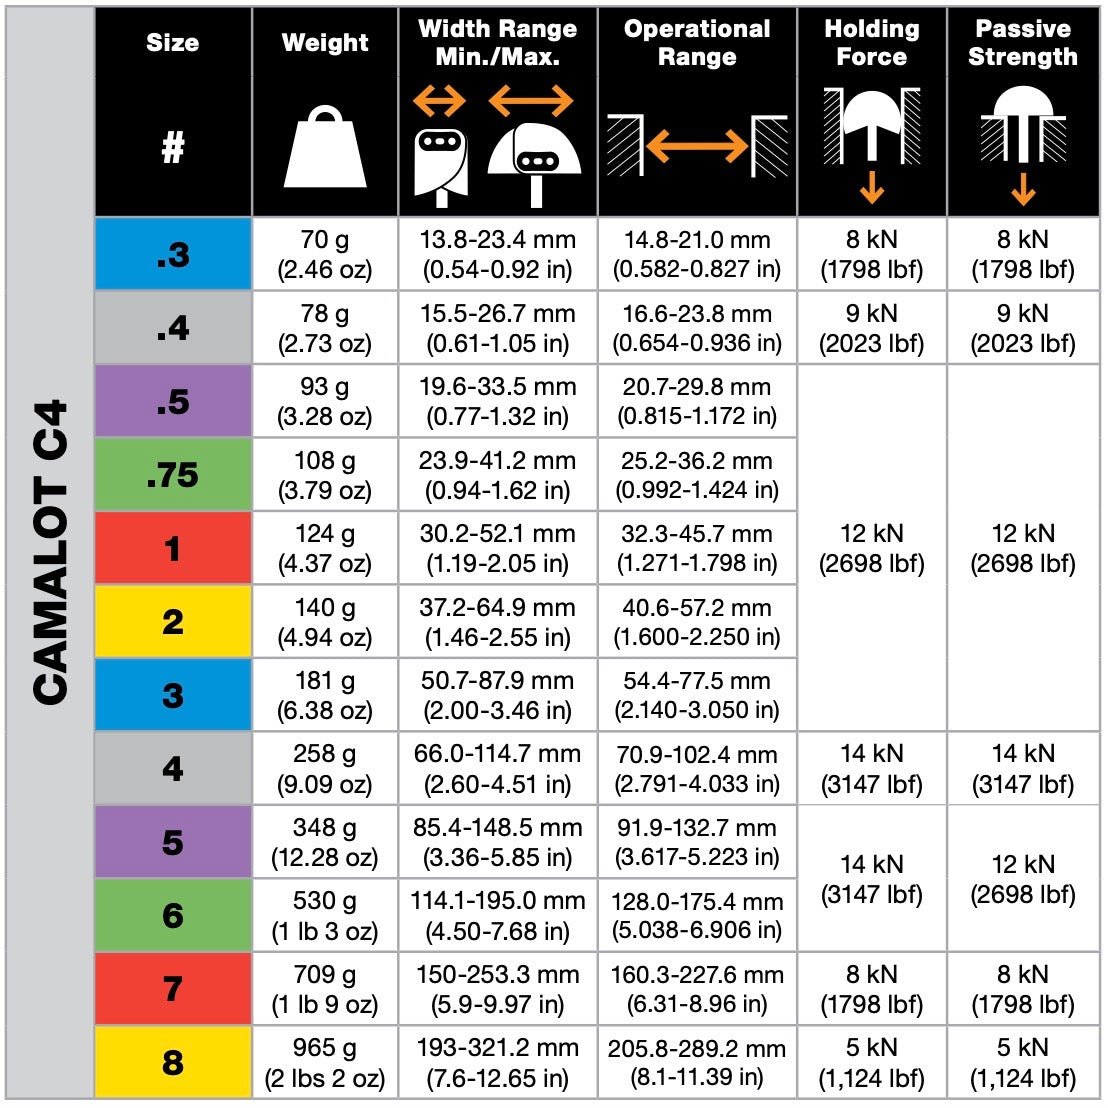
The core of any trad rack are your cams. Cams are quick to place, hold exceptionally well, and are easy to clean. They will hold anywhere from 8-12kN if placed well which is plenty for most lead falls. A common term used to describe a set of cams is ‘a standard rack’. This generally refers to a set of 6 cams ranging from a Black Diamond C4 size 0.4 to #3. While there are bigger and smaller sized cams available, building your rack around this core set of cams is a fantastic way to get started, and will equip you to tackle a wide variety of sizes without spending thousands of dollars. For your first standard rack of cams, we recommend sticking with a dual axle design. This style of cam provides much greater range than the single axle variety, which is extremely valuable in these larger sizes.


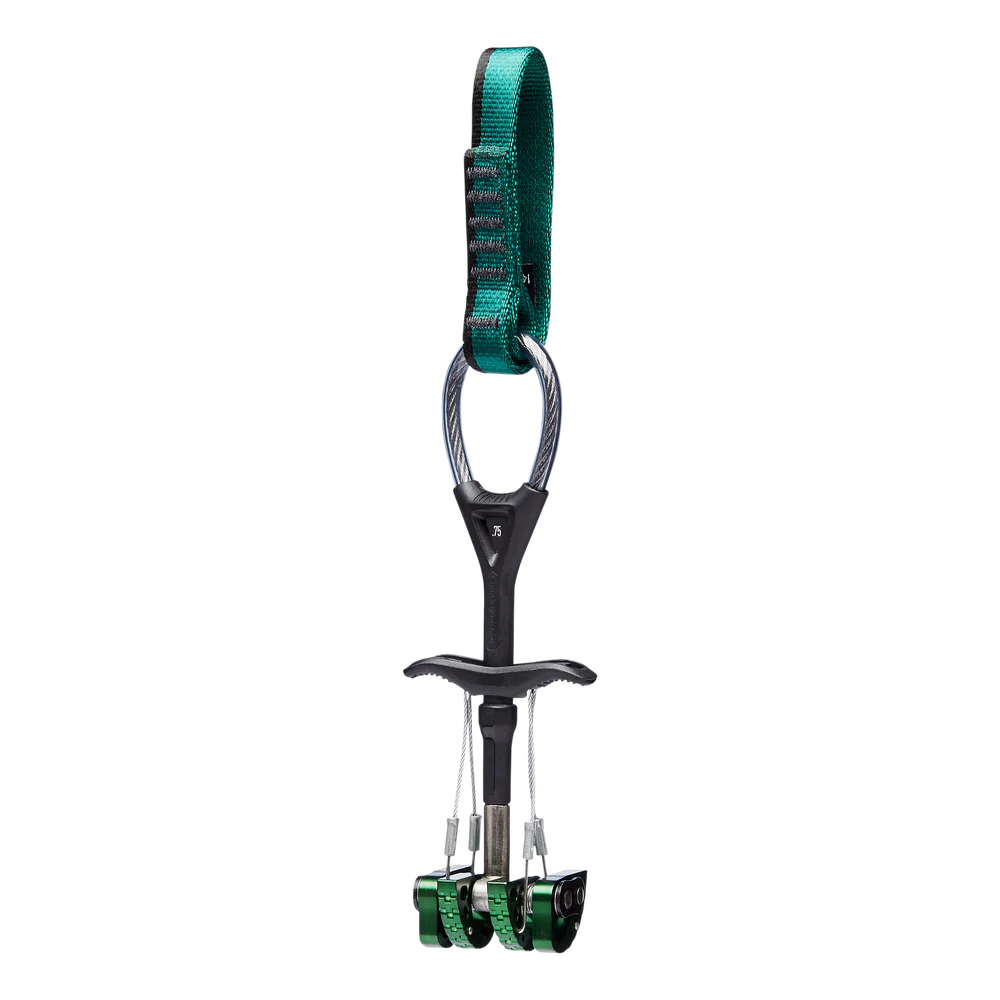
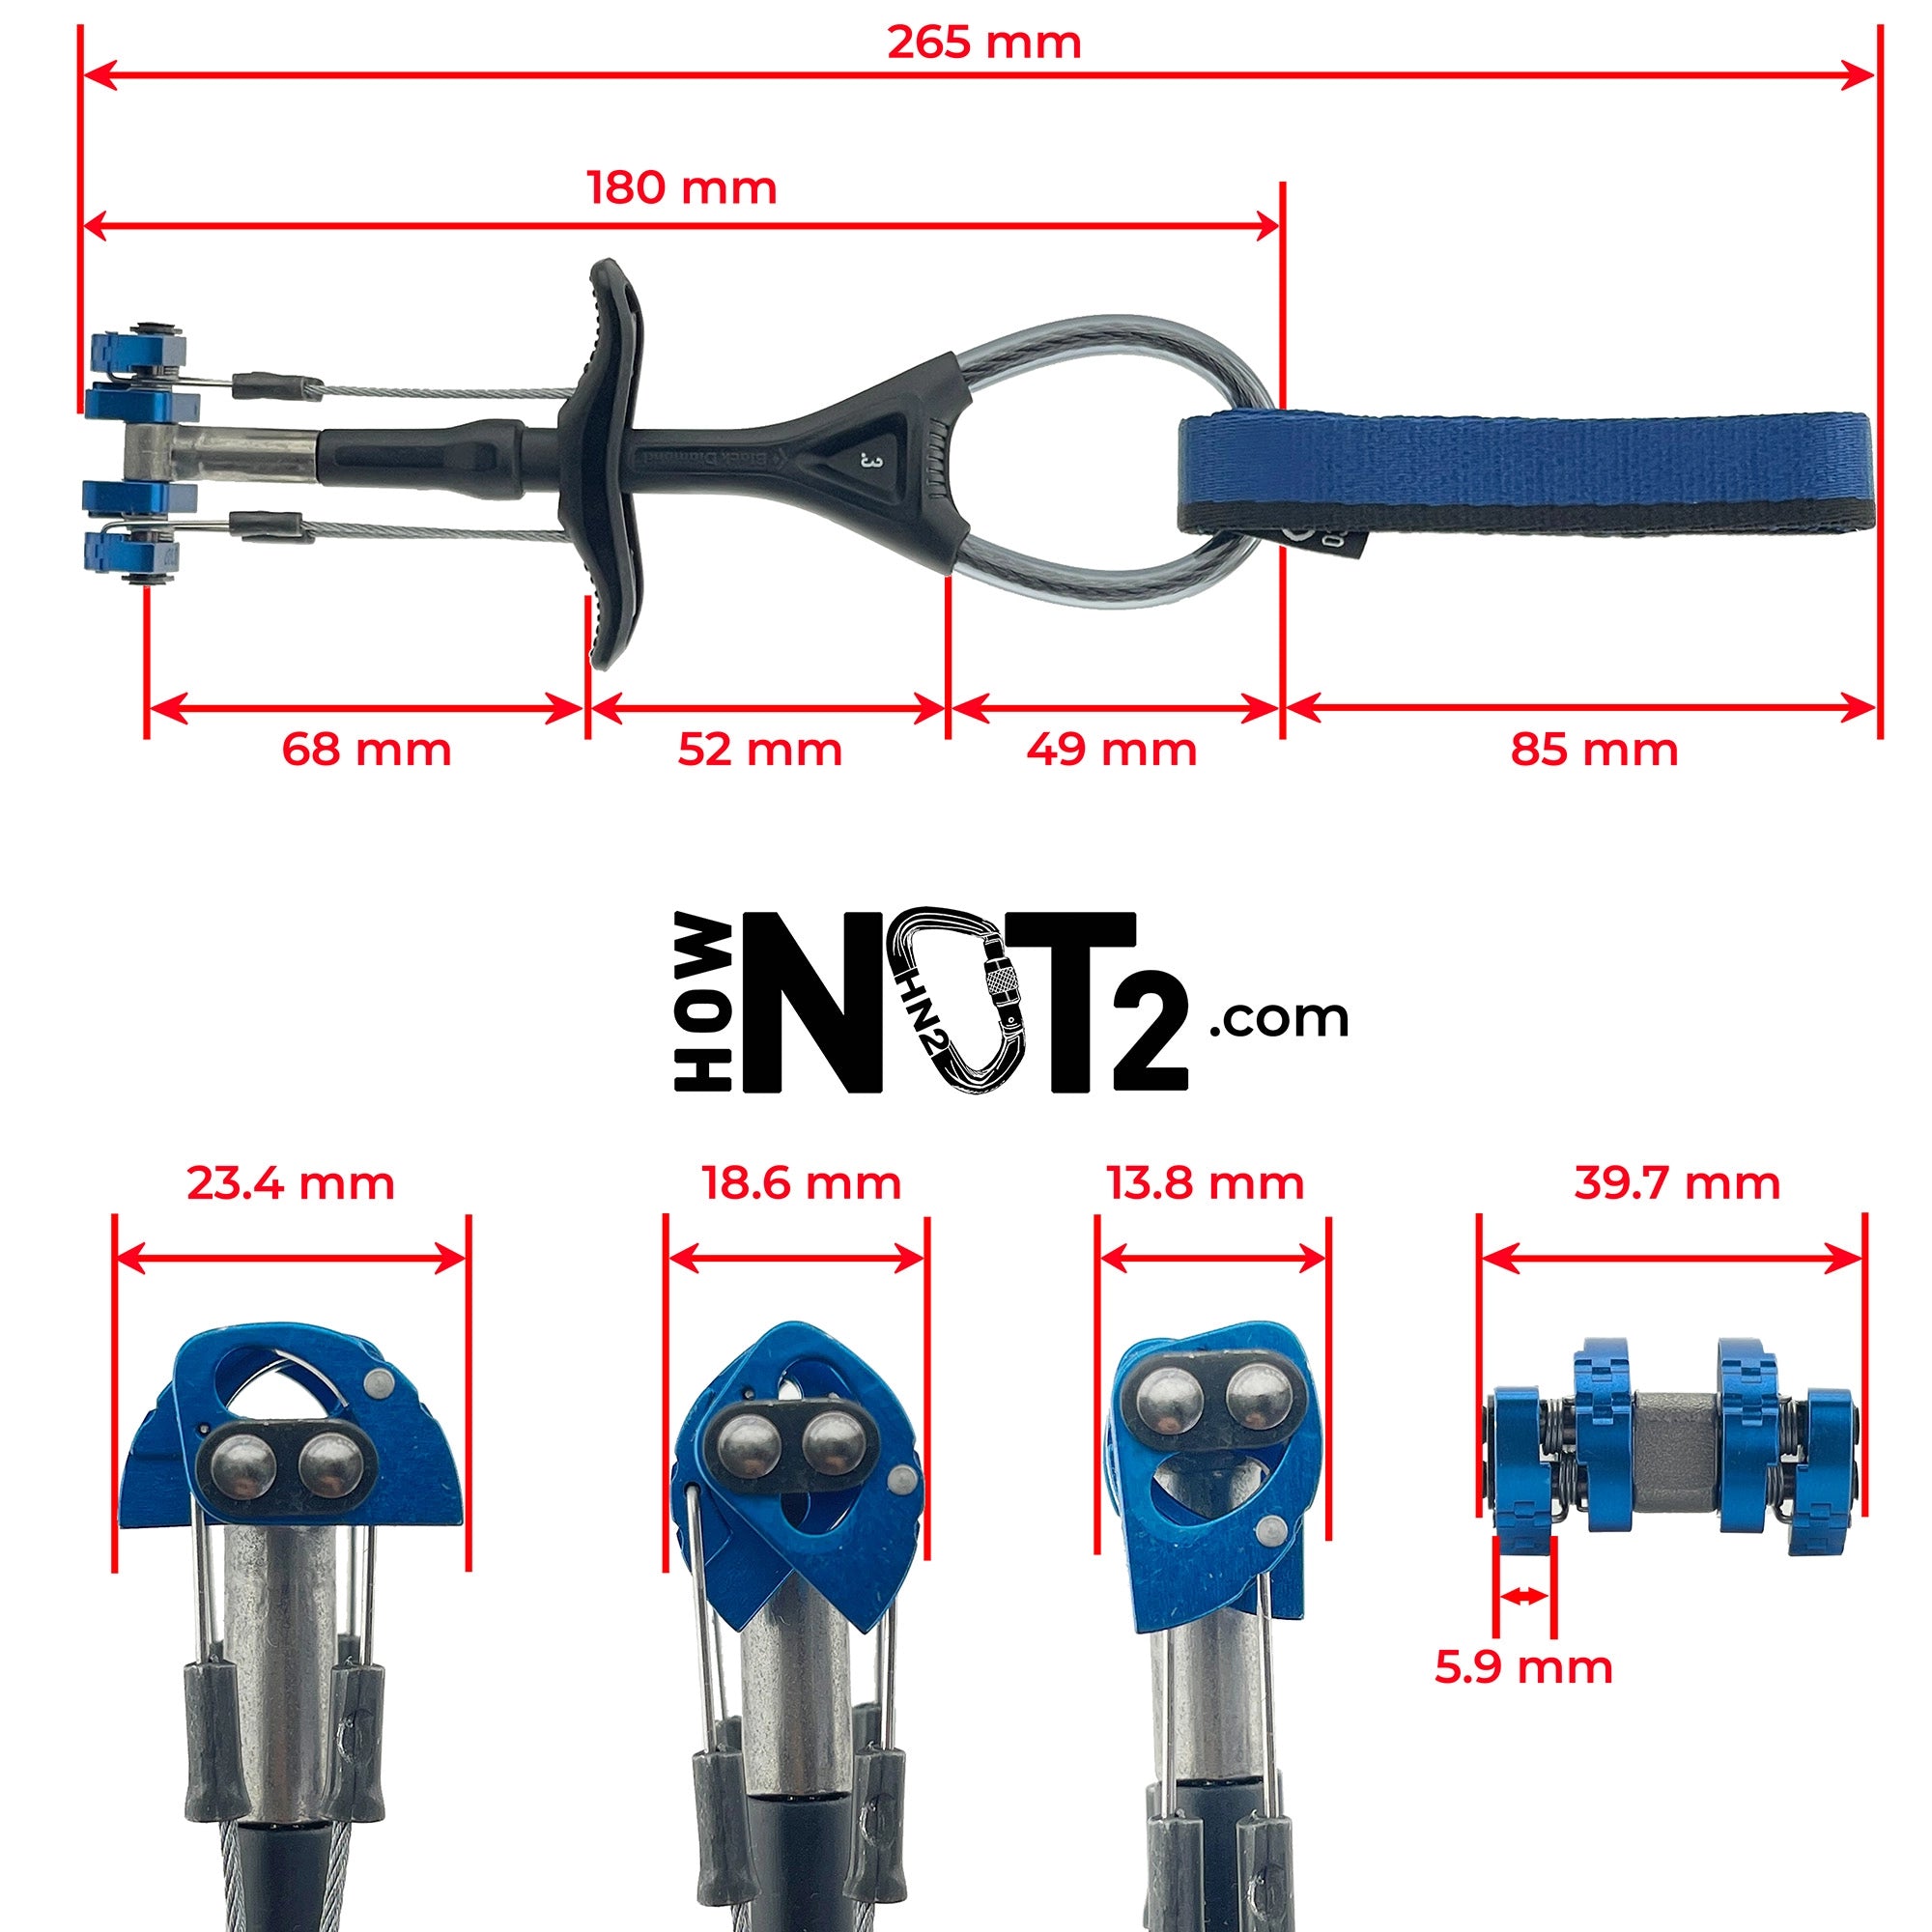
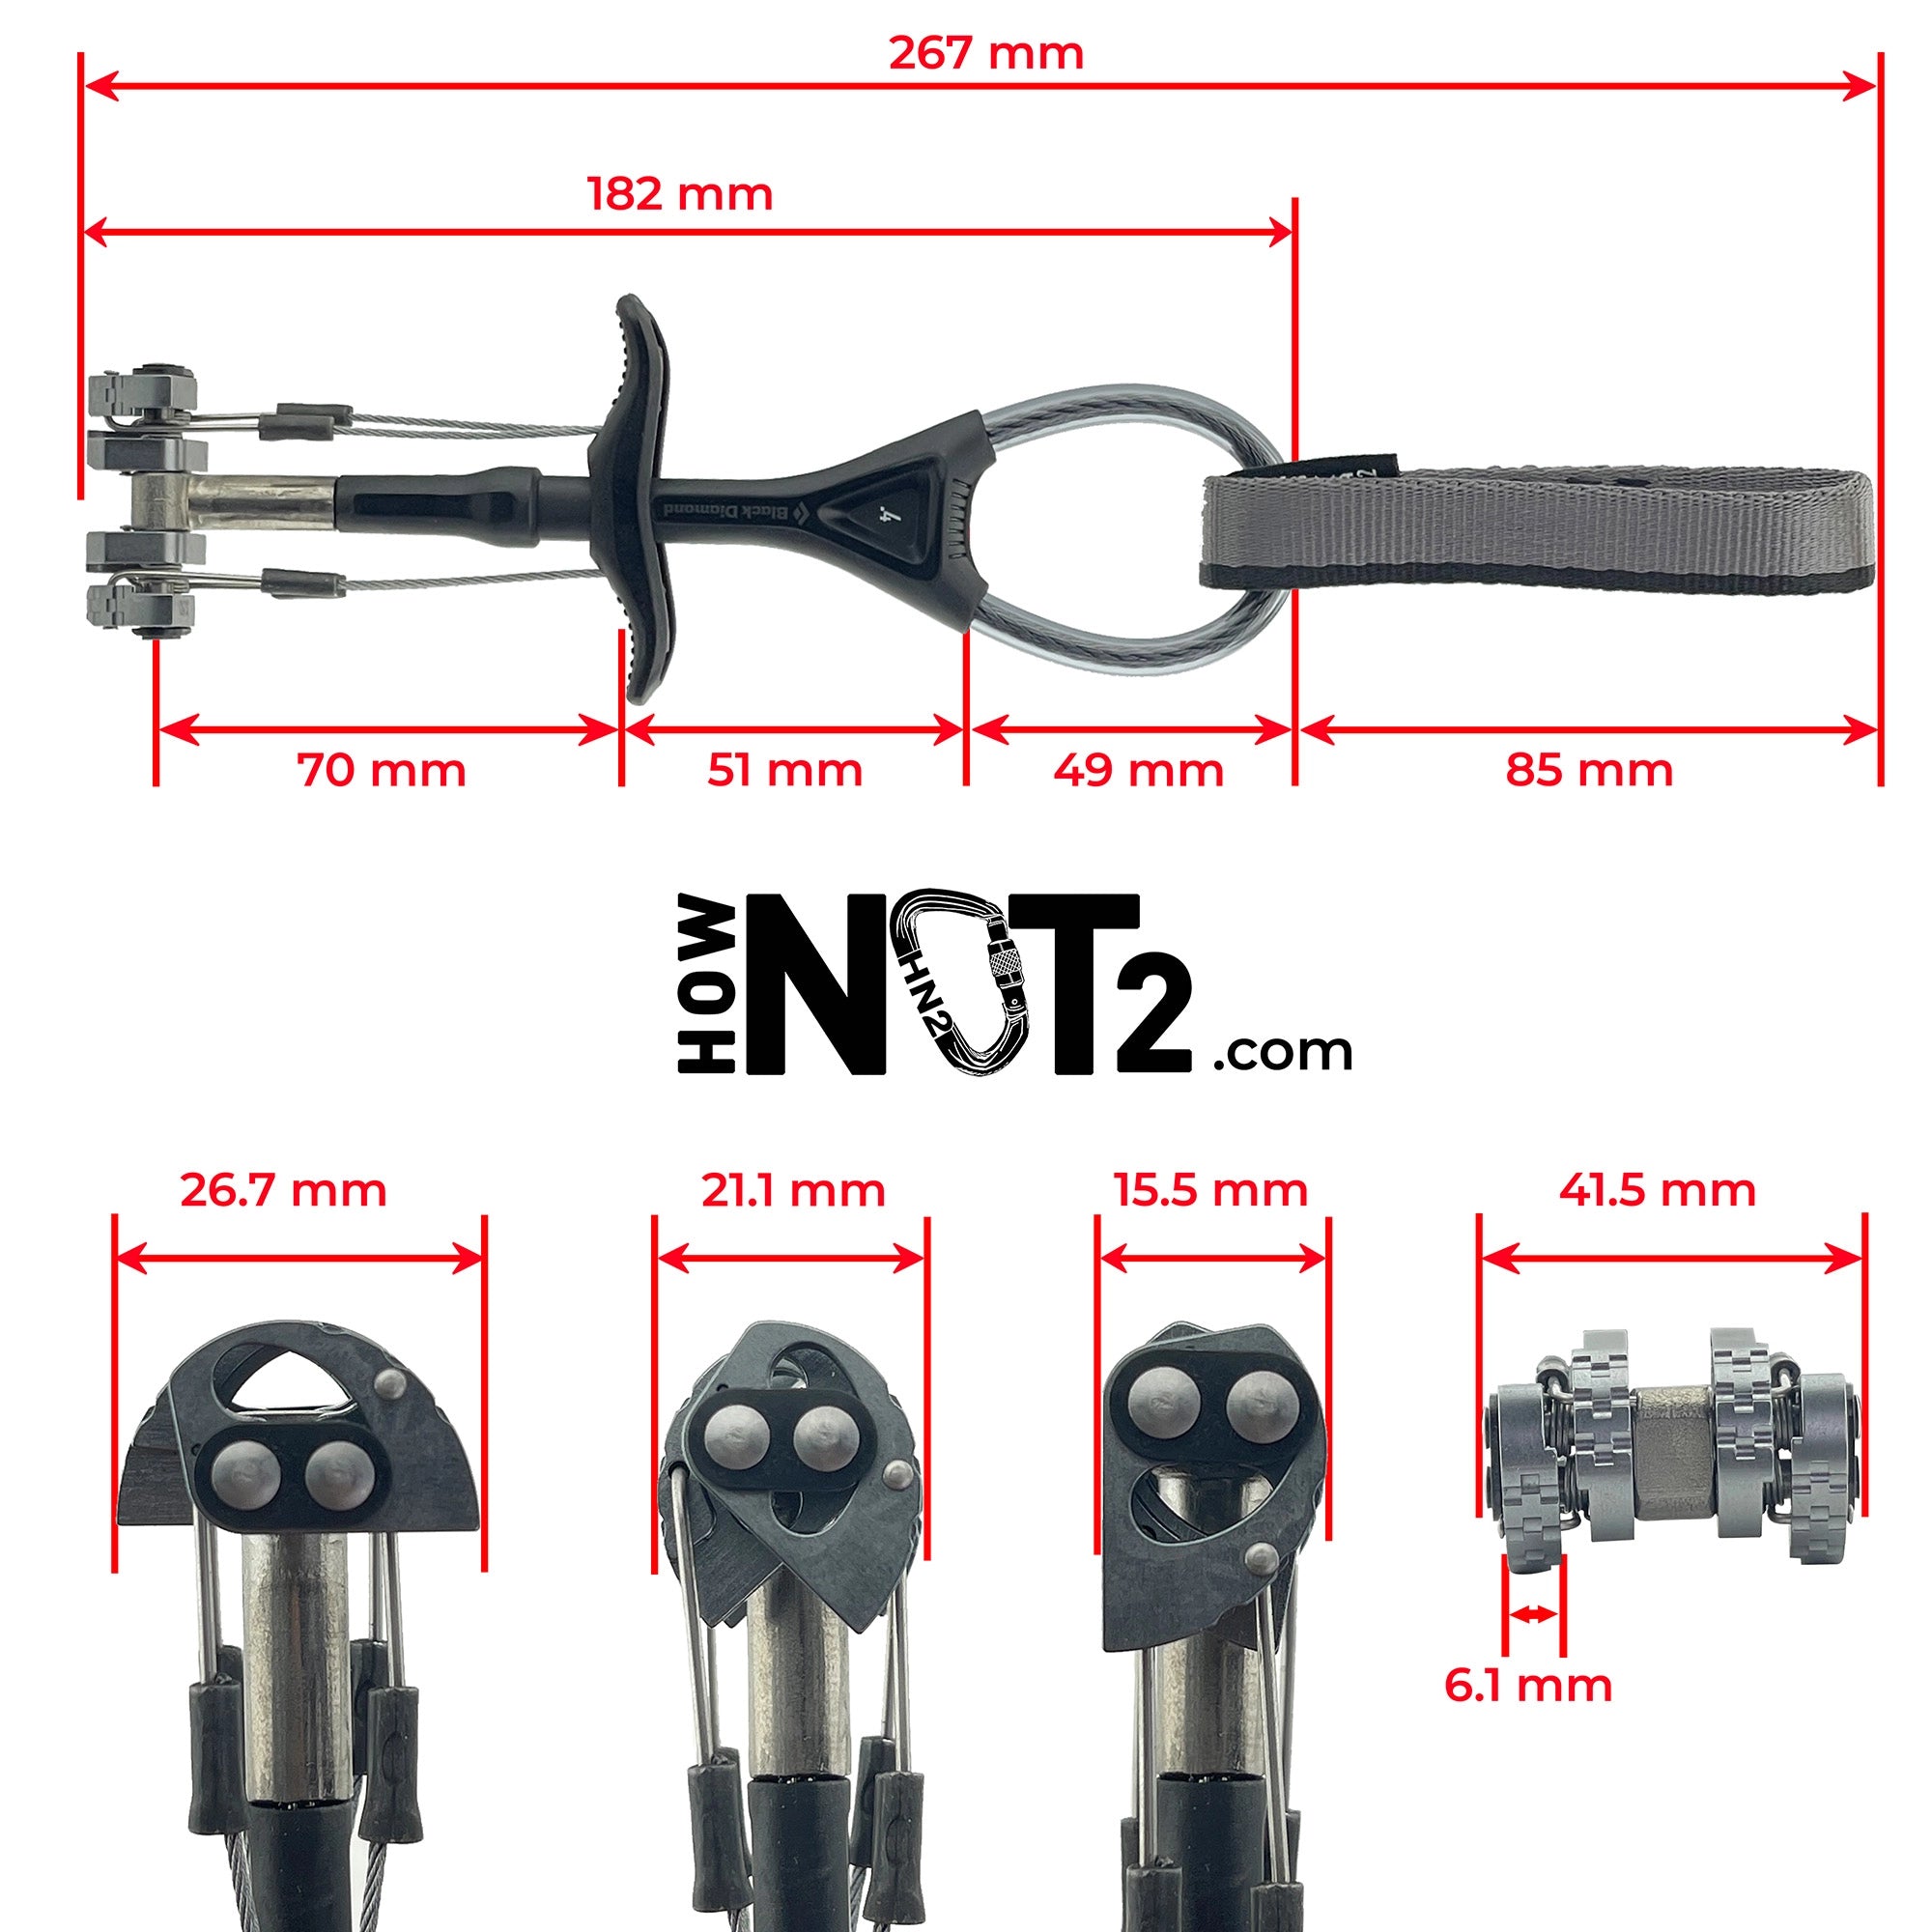
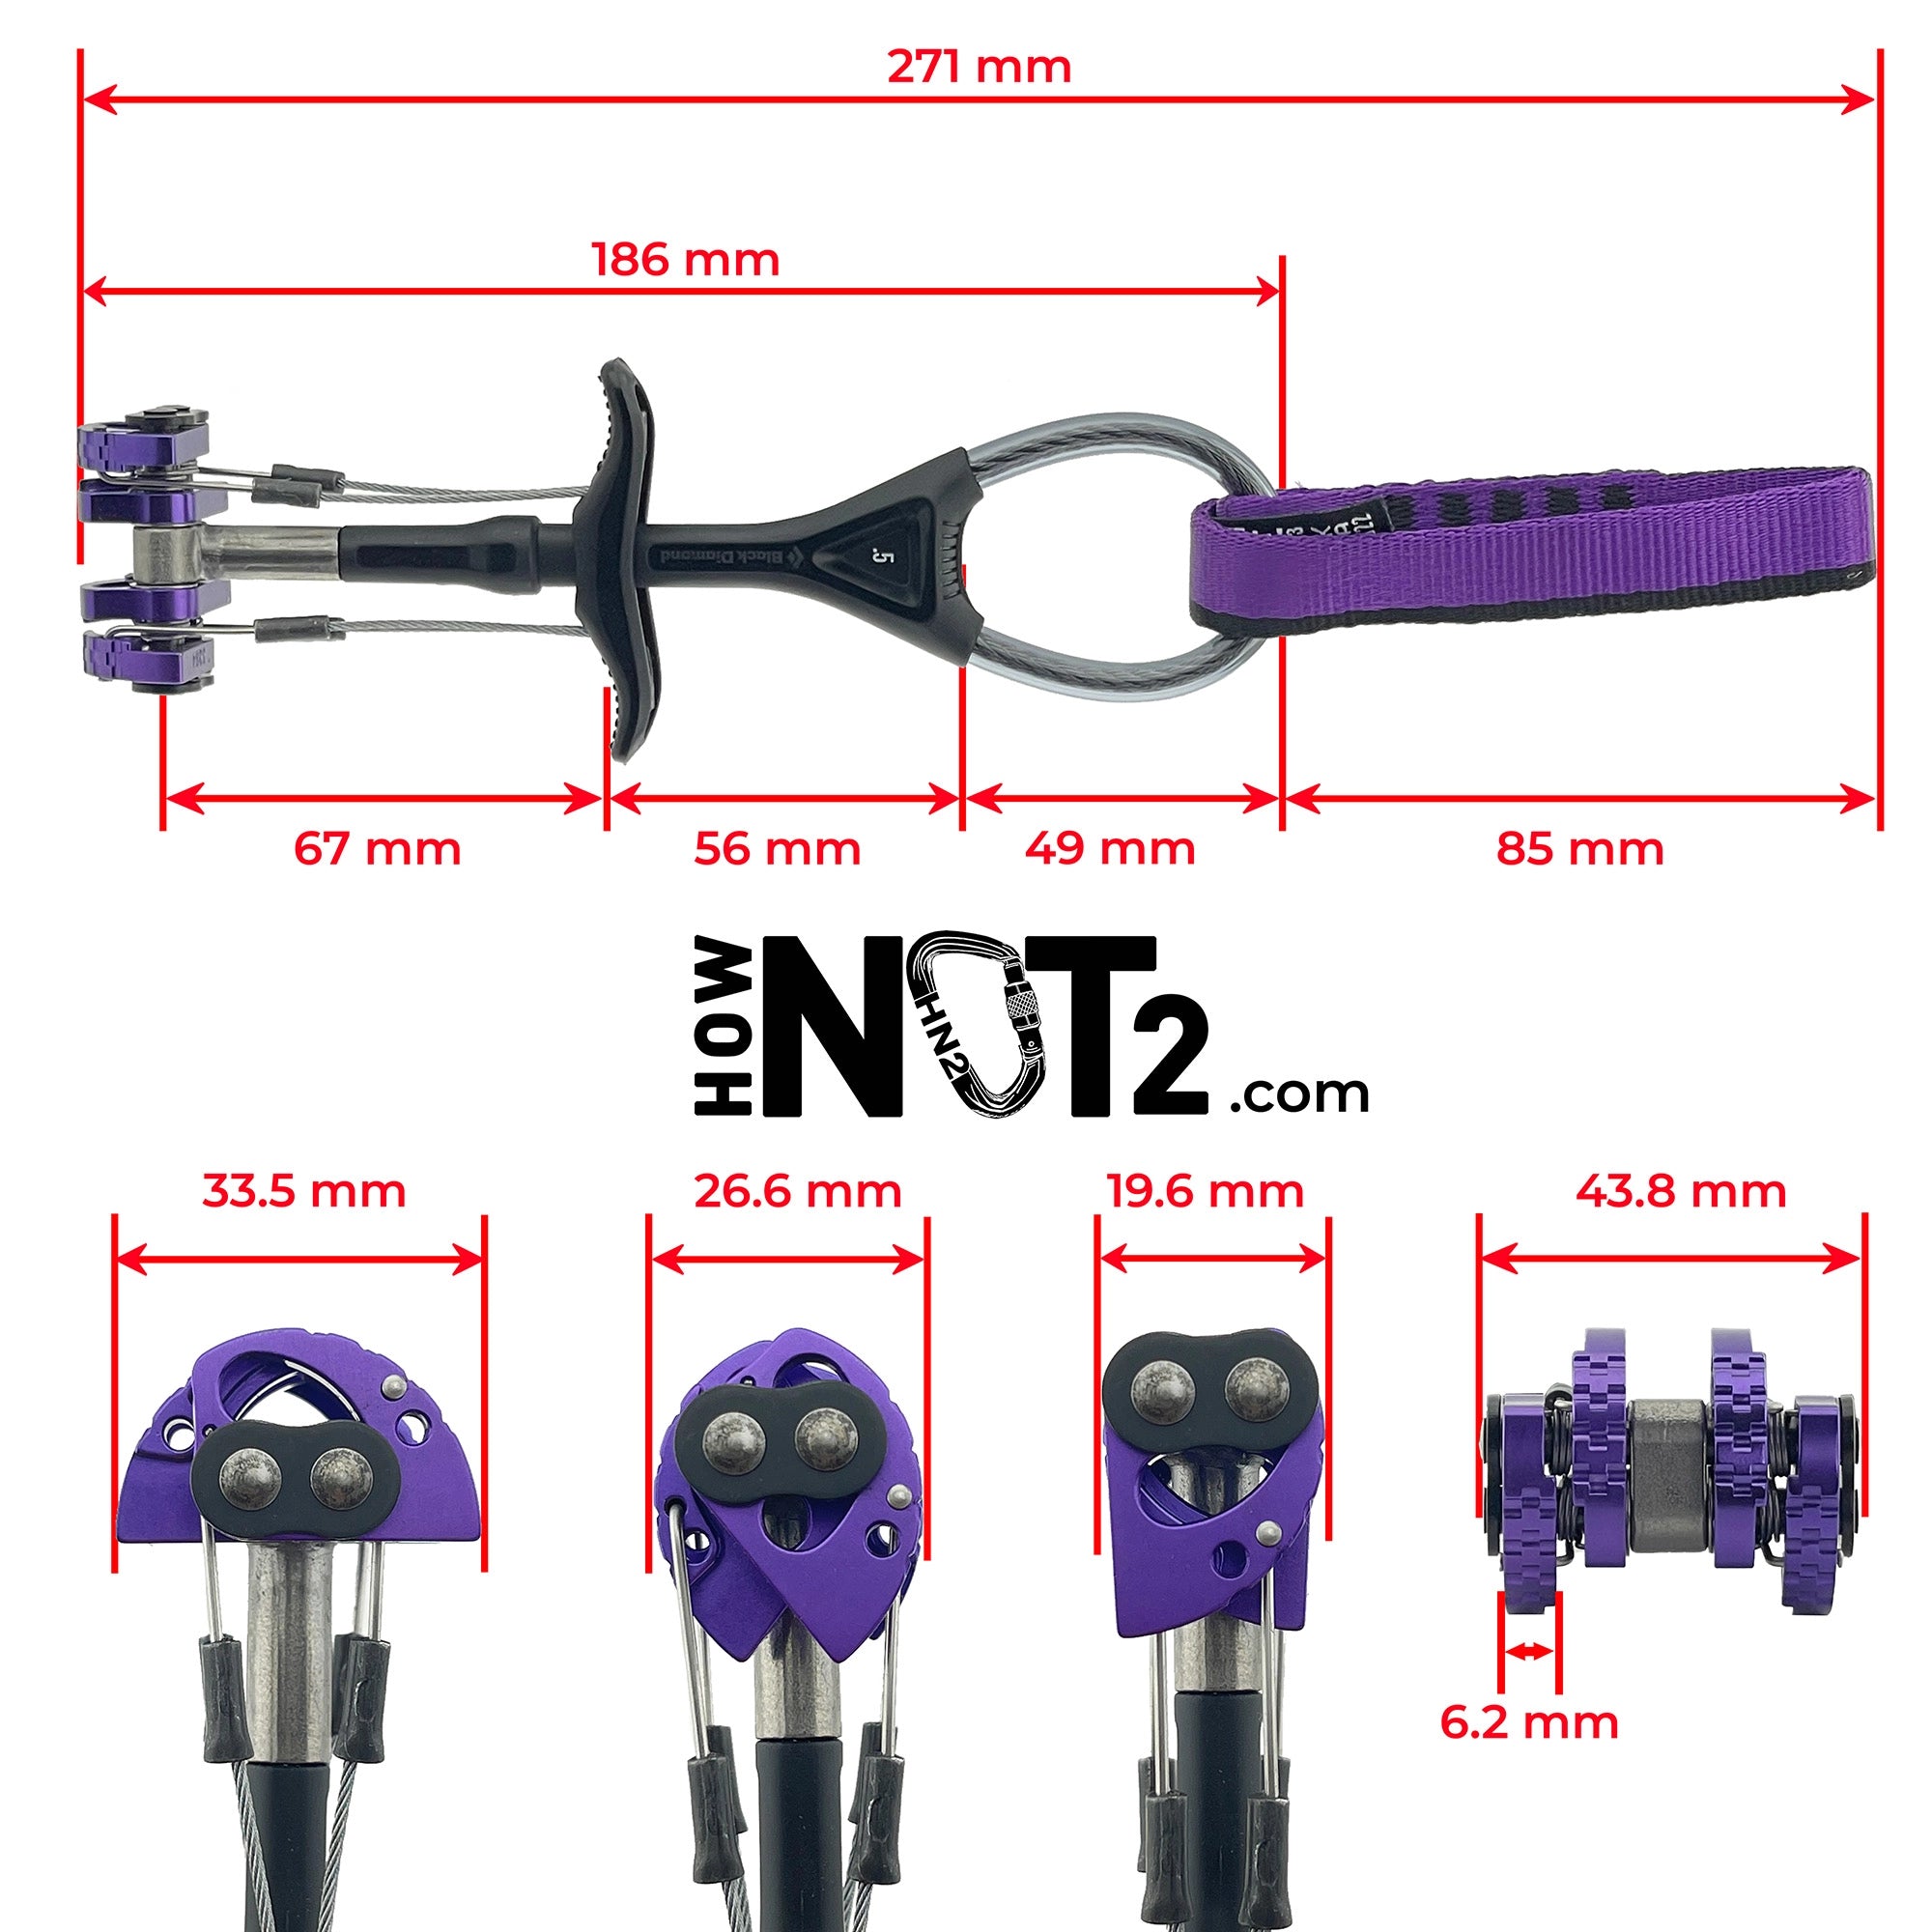
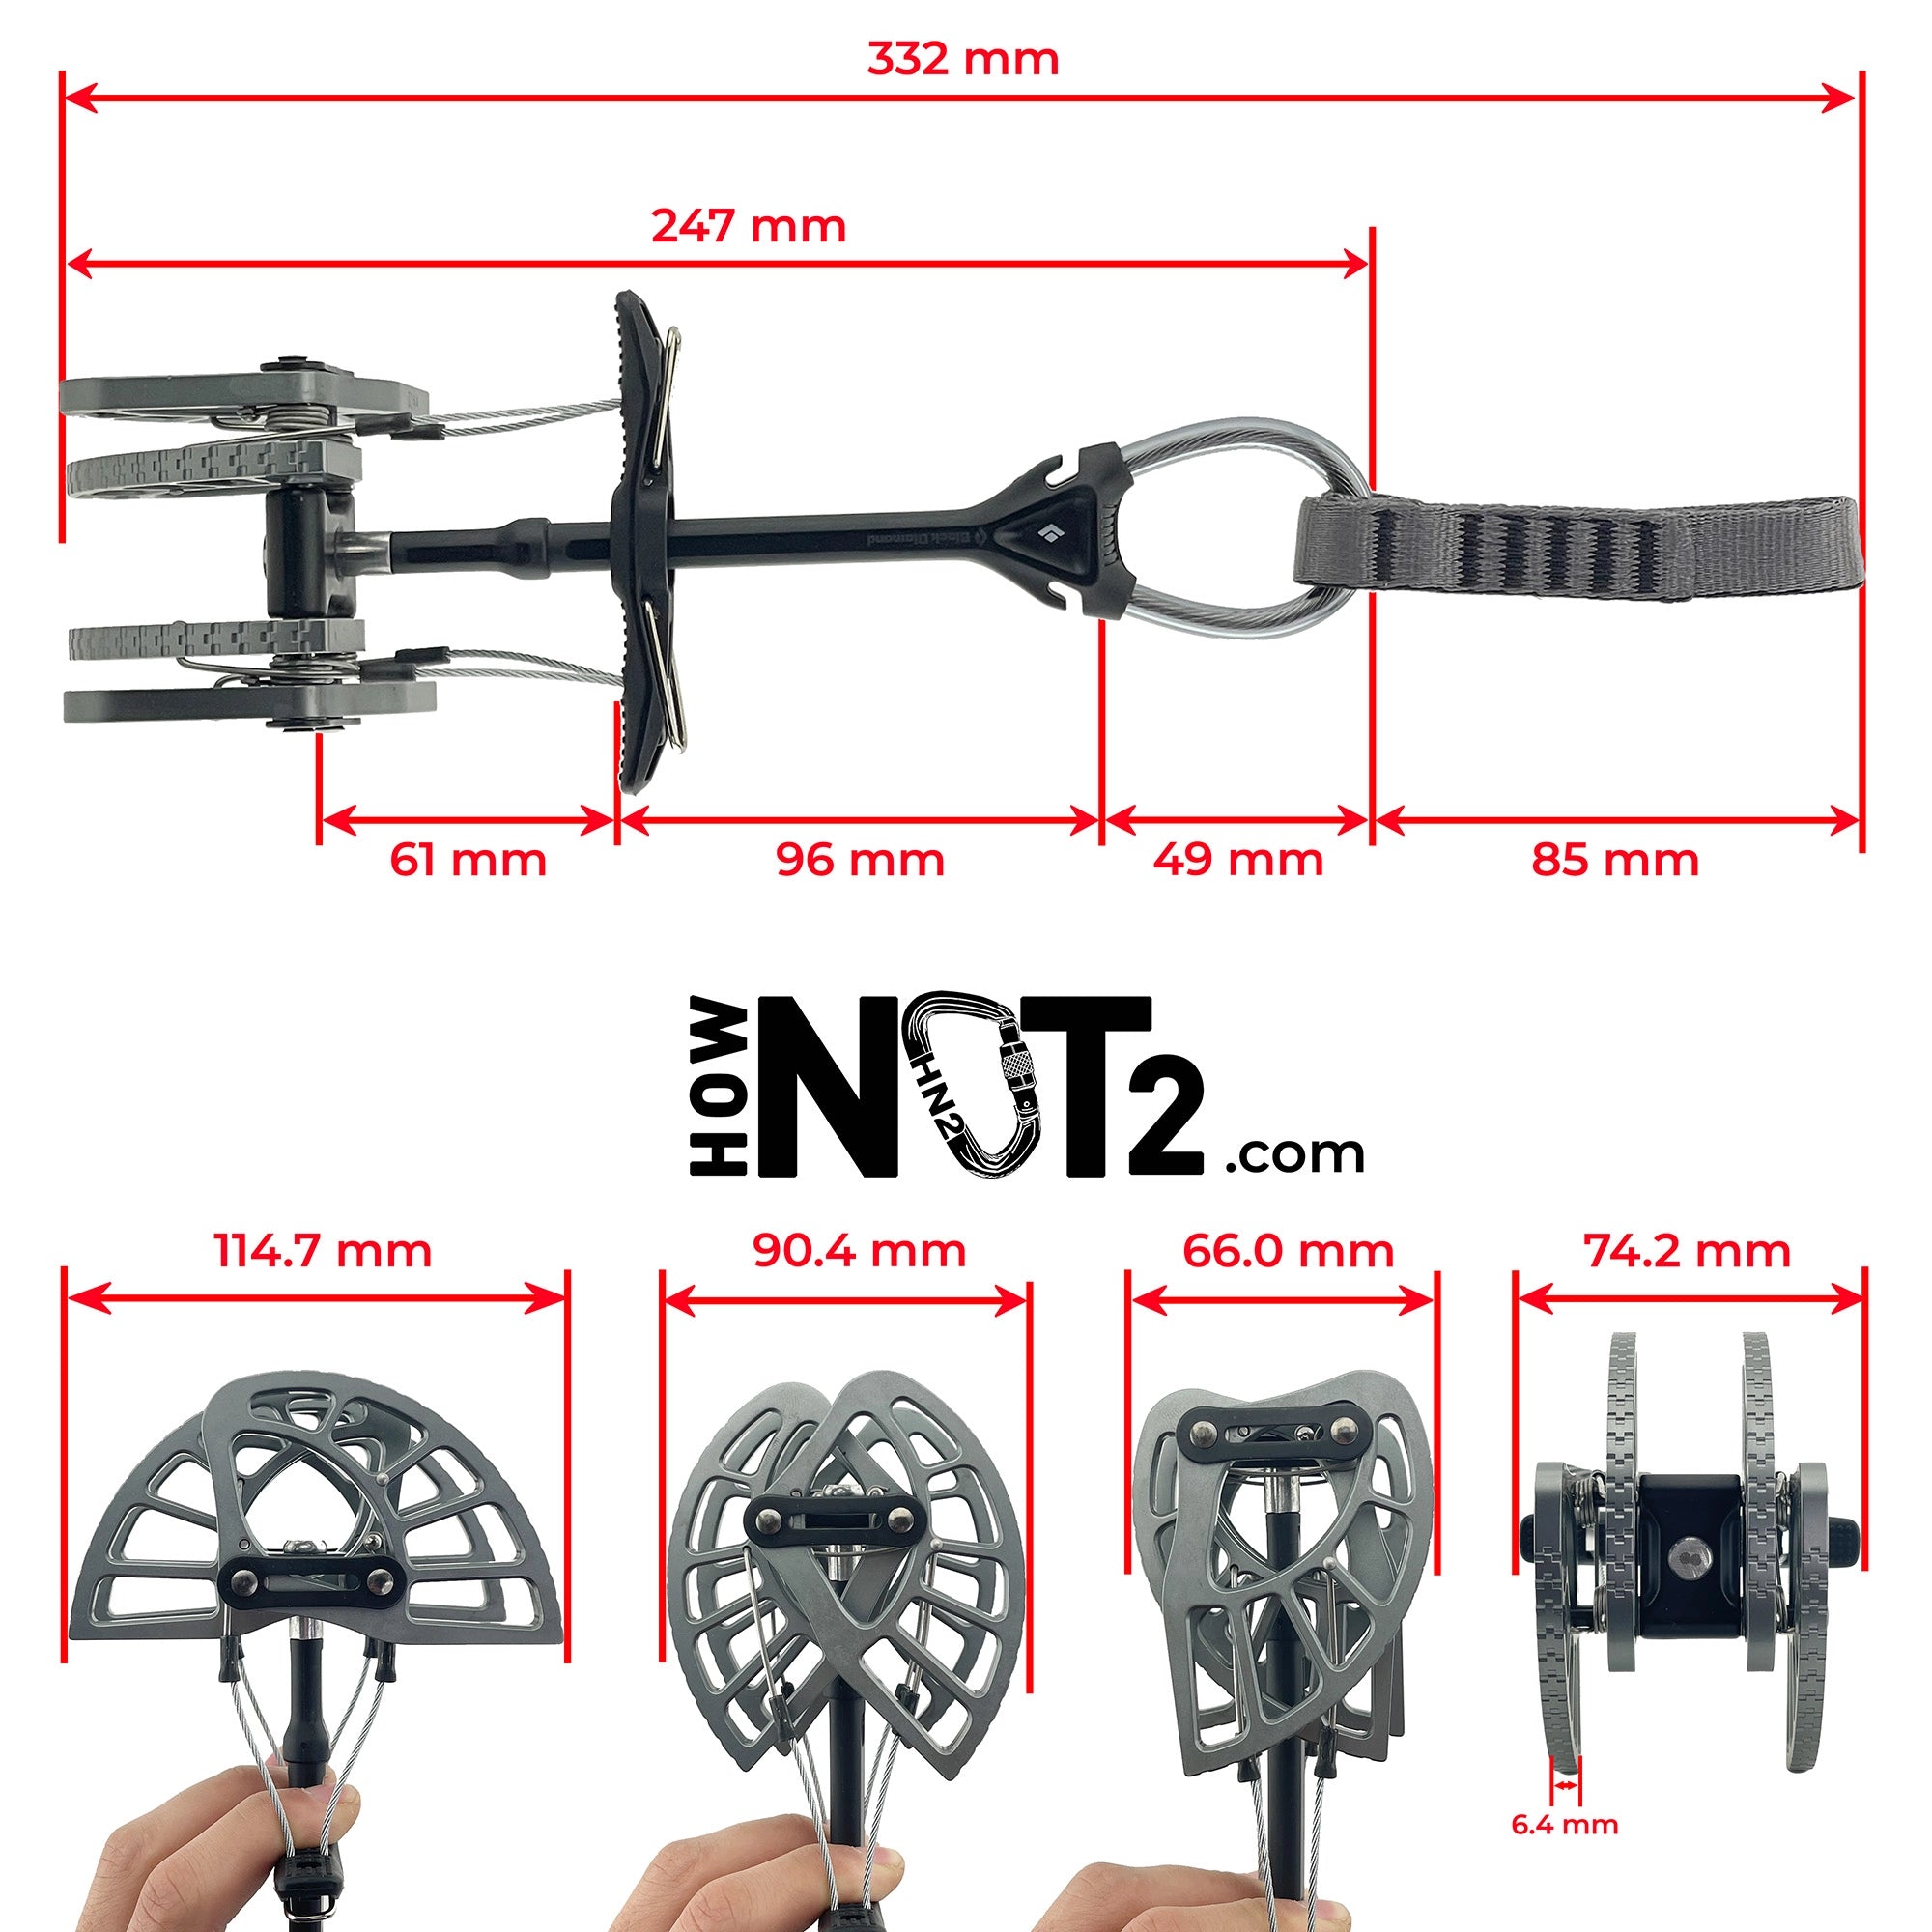
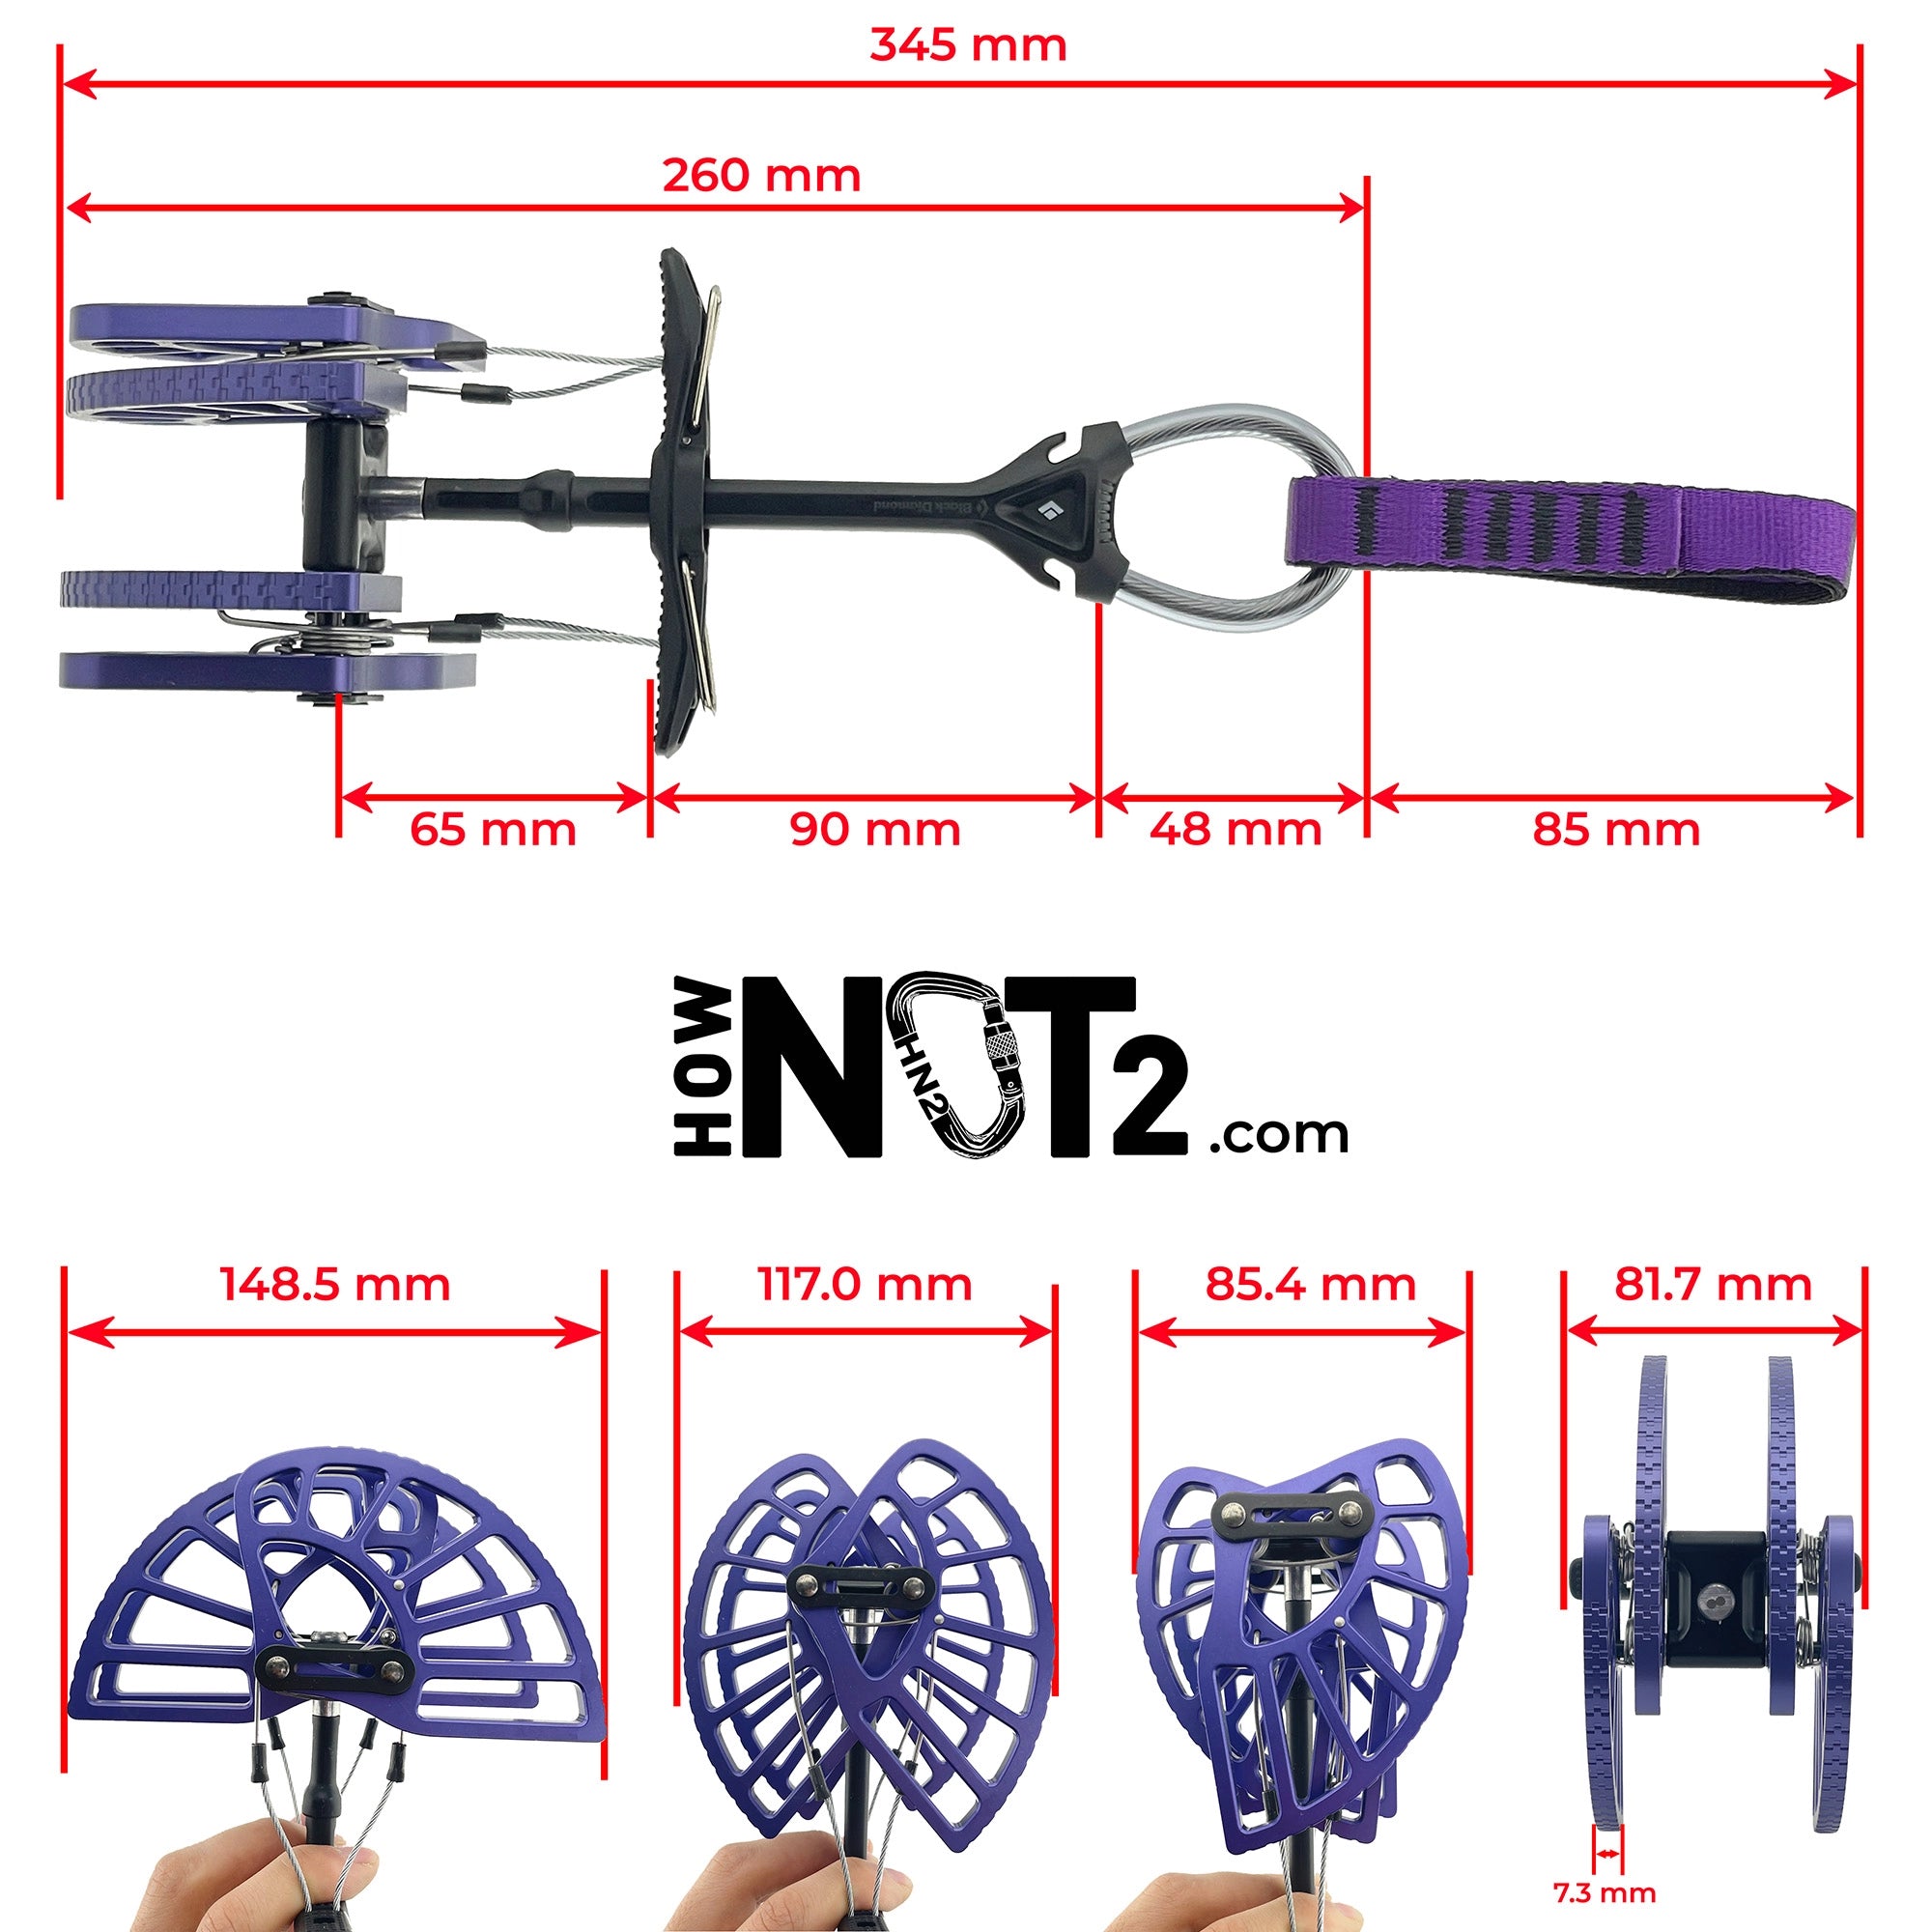
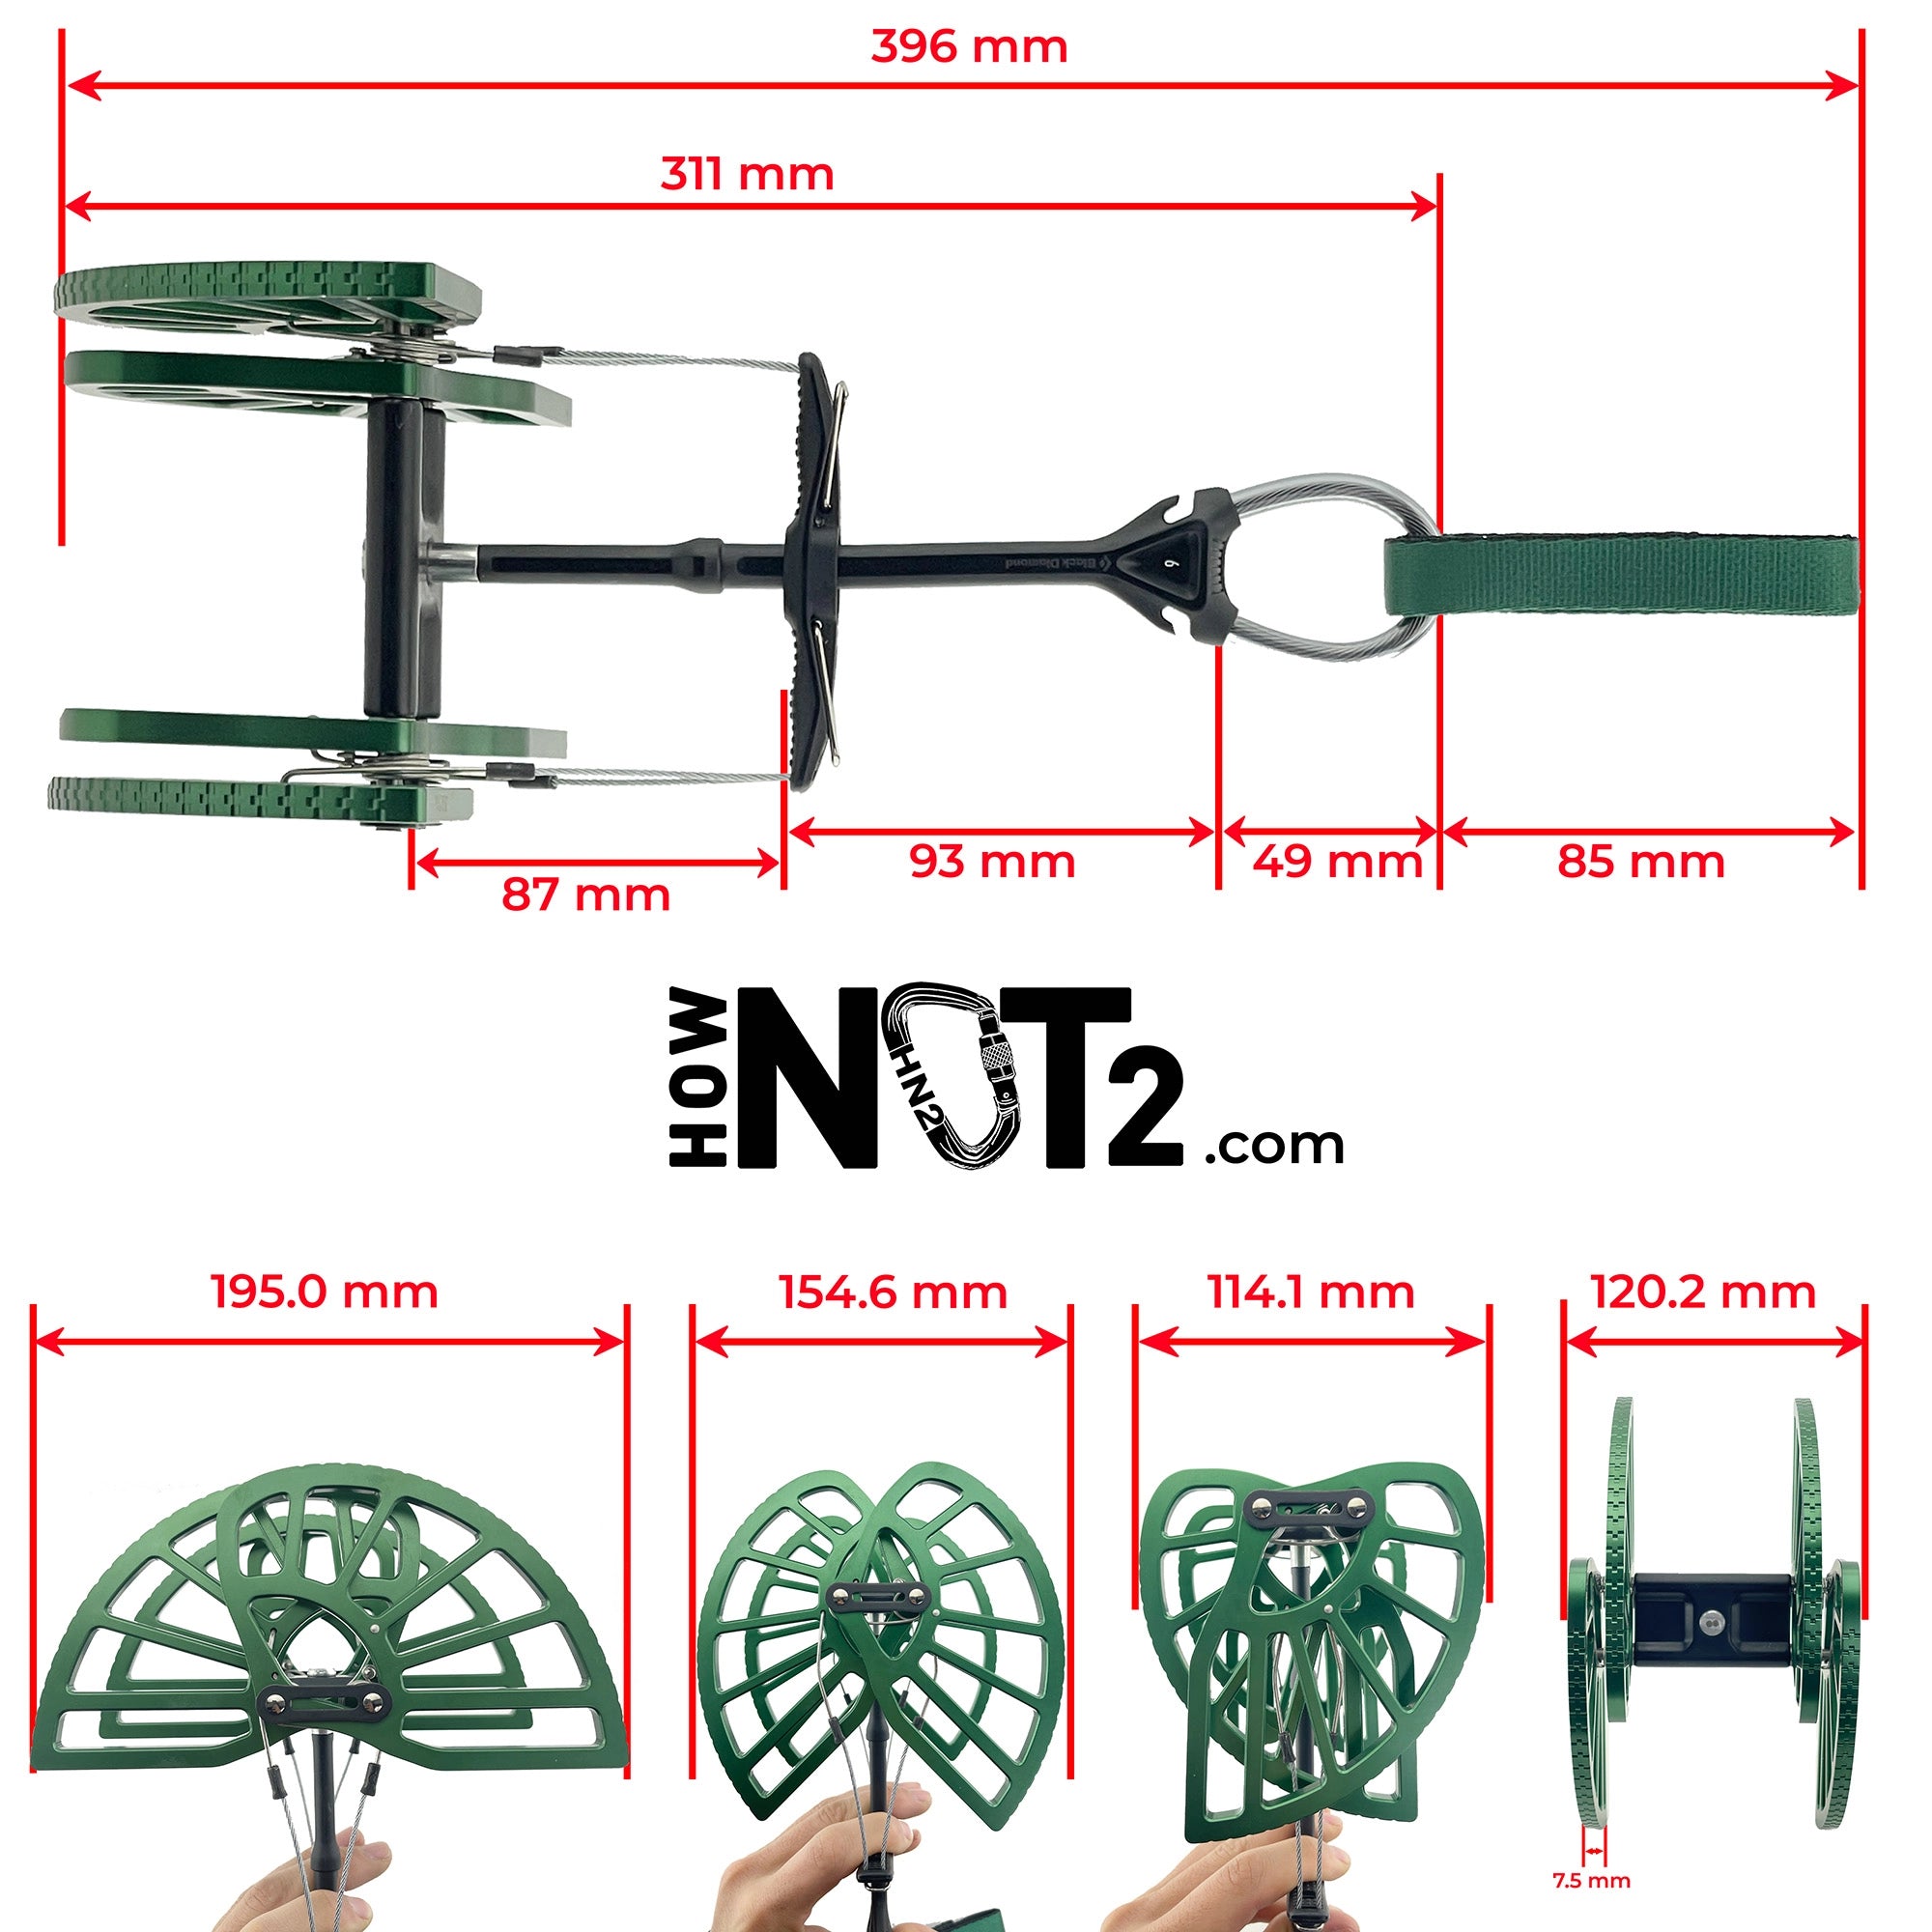
Camalot C4 Cams
Tier benefits:
Tier benefits:
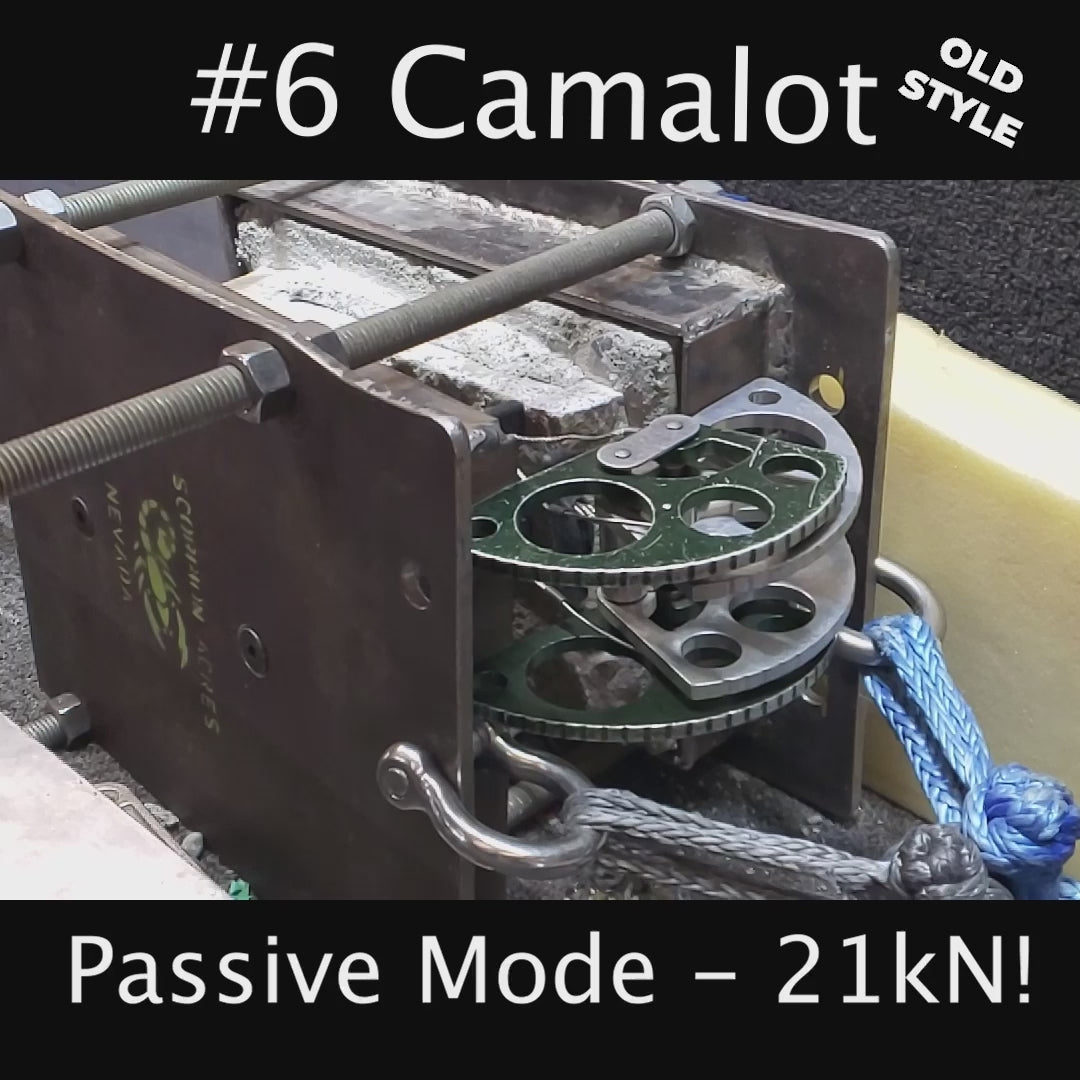
The Black Diamond C4 cams are the industry standard for cam size and color. When these were first released, they were the only dual axle cam available. Now, many other brands also sell a dual axle design, all of which follow the same general color and size range that the C4’s first pioneered. The C4 is exactly what you expect out of a cam and nothing more. They feature anodized lobes, a thumb loop, and a fixed-length nylon sling. These cams are some of our favorites to place due to their exceedingly smooth action.
Pros
- Big range
- Smooth action
Cons
- Fixed length nylon sling
![id=[47485901046075]](http://hownot2.com/cdn/shop/files/19243233-3bfc-4b99-907b-ce6cf1249361_wildcountry.jpg?v=1754608355&width=640)
![id=[47485901078843]](http://hownot2.com/cdn/shop/files/13ecf9e9-6aa4-4f69-88a7-81873f1e86cc_wildcountry.jpg?v=1754608355&width=1200)
![id=[47485901111611]](http://hownot2.com/cdn/shop/files/1fadbf93-eb3f-484f-abe6-13e80b567a05_wildcountry.jpg?v=1754608356&width=1200)
![id=[47485901144379]](http://hownot2.com/cdn/shop/files/81fe57bd-ccea-4088-95c1-76d5bbbc4c54_wildcountry.jpg?v=1754608356&width=1200)
![id=[47485901177147]](http://hownot2.com/cdn/shop/files/6c556955-3b0d-43a2-b256-1ac84335d5f5_wildcountry.jpg?v=1754608356&width=1200)
![id=[47485901209915]](http://hownot2.com/cdn/shop/files/d8957a23-acc7-41f8-90d1-2b4027bd831c_wildcountry.jpg?v=1754608356&width=1200)
![id=[47485901242683]](http://hownot2.com/cdn/shop/files/9260cb4e-8025-4fa8-b3fd-10f19aa49e64_wildcountry.jpg?v=1754608356&width=1200)
![id=[47486105911611]](http://hownot2.com/cdn/shop/files/955f0513-17d8-45c5-85c3-0c18b903f432_wildcountry.webp?v=1754608356&width=1165)
![id=[47486076977467]](http://hownot2.com/cdn/shop/files/11a7339f-2aae-49f8-a55a-c5ac00a561d2_wildcountry.jpg?v=1754608356&width=1200)
![id=[47485901308219]](http://hownot2.com/cdn/shop/files/4127e24c-423f-4dd4-b3c6-5e9b1dafe84e_wildcountry.jpg?v=1754608356&width=1500)
![id=[47485901046075, 4748610591161147485901308219]](http://hownot2.com/cdn/shop/files/0.4_9db05c38-64ac-49ac-a917-716d690d44f5.webp?v=1754608357&width=2000)
![id=[47485901078843, 47486105911611, 47485901308219]](http://hownot2.com/cdn/shop/files/0.5_62c7588b-6de3-42c9-8e26-0d0483178692.webp?v=1754608357&width=2000)
![id=[47485901111611, 47486105911611, 47485901308219]](http://hownot2.com/cdn/shop/files/0.75_1.webp?v=1754608357&width=2000)
![id=[47485901144379, 47486076977467, 47485901308219]](http://hownot2.com/cdn/shop/files/1_2.webp?v=1754608357&width=2000)
![id=[47485901308219, 47485901177147, 47486076977467]](http://hownot2.com/cdn/shop/files/2_2d6f5ecc-a92f-4ad1-8bfb-73f382f58c48.webp?v=1754608357&width=2076)
![id=[47485901209915, 47486076977467, 47485901308219]](http://hownot2.com/cdn/shop/files/3_1.webp?v=1754608357&width=2000)
![id=[47485901242683]](http://hownot2.com/cdn/shop/files/4_1.webp?v=1754608357&width=2000)
![id=[47485901308219, 47486076977467, 47485901242683, 47486105911611, 47485901209915, 47485901177147, 47485901144379, 47485901111611, 47485901046075, 47485901078843]](http://hownot2.com/cdn/shop/files/FriendsChart.jpg?v=1754608357&width=658)
Friend
Tier benefits:
Tier benefits:
Almost identical to C4s in terms of lobe shape, the dual axle and thumb loop equipped Wild Country Friends are $5 cheaper than the C4 and come with an extendable sling. The set of 6 cams saves you about $15 when compared to buying them individually. Head to head against a C4, they have a 10% wider head. That is not a terrible thing for bigger cams, but typically narrow head will fit in more places. We don't recommend replacing a single C4 with one of these if you have a C4 rack already, as the size range is ever so slightly different.
Pros
- Big range
- Extendable sling
Cons
- Wider than C4
![id=[46829966098747]](http://hownot2.com/cdn/shop/files/A7358A-Dragon-Cam-8_1080x_webp.png?v=1756773627&width=1080)
![id=[46829897253179]](http://hownot2.com/cdn/shop/files/A73500A-Dragon-Cam-00_1080x_webp.png?v=1756773627&width=1080)
![id=[46829897285947]](http://hownot2.com/cdn/shop/files/A7350A-Dragon-Cam-0_1080x_webp.png?v=1756773628&width=1080)
![id=[46829897318715]](http://hownot2.com/cdn/shop/files/A7351A-Dragon-Cam-1_1080x_webp.png?v=1756773628&width=1080)
![id=[46829897351483]](http://hownot2.com/cdn/shop/files/A7352A-Dragon-Cam-2_1080x_webp.png?v=1756773628&width=1080)
![id=[46829897384251]](http://hownot2.com/cdn/shop/files/A7353A-Dragon-Cam-3_1080x_webp.png?v=1756773628&width=1080)
![id=[46829897417019]](http://hownot2.com/cdn/shop/files/A7354A-Dragon-Cam-4_1080x_webp.png?v=1756773628&width=1080)
![id=[46829966000443]](http://hownot2.com/cdn/shop/files/A7355A-Dragon-Cam-5_1080x_webp.png?v=1756773628&width=1080)
![id=[46829966033211]](http://hownot2.com/cdn/shop/files/A7356A-Dragon-Cam-6_1080x_webp.png?v=1756773628&width=1080)
![id=[46829966065979]](http://hownot2.com/cdn/shop/files/A7357A-Dragon-Cam-7_1080x_webp.png?v=1756773628&width=1080)
![id=[46829966131515]](http://hownot2.com/cdn/shop/files/A7350-5A-Dragon-Cam-Range-0-5_1080x_webp.png?v=1756773628&width=1080)
![id=[46829966164283]](http://hownot2.com/cdn/shop/files/A73500-1A-Dragon-Cam-Set-00-1_1080x_webp.png?v=1756773628&width=1080)
![id=[46829966197051]](http://hownot2.com/cdn/shop/files/A7352-4A-Dragon-Cam-Range-2-4_1080x_webp.png?v=1756773628&width=1080)
![id=[46829897253179, 46829966164283]](http://hownot2.com/cdn/shop/files/0.3_v2.webp?v=1756773628&width=2000)
![id=[46829966164283, 46829966131515, 46829897285947]](http://hownot2.com/cdn/shop/files/0.4_b1cc1d0a-a0a0-4dad-b32c-99ee272105c2.webp?v=1756773628&width=2000)
![id=[46829966164283, 46829966131515, 46829897318715]](http://hownot2.com/cdn/shop/files/0.5_22552ad6-957f-44ca-8cf1-9420a975c76f.webp?v=1756773628&width=2000)
![id=[46829966197051, 46829966131515, 46829897351483]](http://hownot2.com/cdn/shop/files/0.75_3f5c3270-0bb5-46b5-a076-a6044c870f43.webp?v=1756773629&width=2000)
![id=[46829966197051, 46829966131515, 46829897384251]](http://hownot2.com/cdn/shop/files/3Red.webp?v=1756773629&width=2000)
![id=[46829966197051, 46829966131515, 46829897417019]](http://hownot2.com/cdn/shop/files/2_8e4c041b-8fe5-4aee-a038-8880f86d9a66.webp?v=1756773629&width=2000)
![id=[46829966131515, 46829966000443]](http://hownot2.com/cdn/shop/files/3_7dcd27cb-73c5-457f-8e2f-0ca69e04d3a1.webp?v=1756773629&width=2000)
![id=[46829966033211]](http://hownot2.com/cdn/shop/files/4_af9f1f77-2b54-4825-9483-e87cec198080.webp?v=1756773629&width=2000)
![id=[46829966065979]](http://hownot2.com/cdn/shop/files/5_0b65446d-3303-4f28-8b93-e8444885a05d.webp?v=1756773629&width=2000)
![id=[46829966098747]](http://hownot2.com/cdn/shop/files/6_8e3d0c66-c53f-47d2-84d2-59f72bb0befa.webp?v=1756773629&width=2000)
![id=[46829966164283, 46829966131515, 46829897318715, 46829897285947, 46829897253179]](http://hownot2.com/cdn/shop/files/cam-size-table-2048-vertical-1660057088899_png_312df0b4-e5d9-4eb6-973d-3ea811fd82bd.webp?v=1756773629&width=1280)
![id=[46829966197051, 46829966164283, 46829966131515, 46829966098747, 46829966065979, 46829966033211, 46829966000443, 46829897417019, 46829897384251, 46829897351483, 46829897318715, 46829897285947, 46829897253179]](http://hownot2.com/cdn/shop/files/Screenshot2023-10-31at11.21.53AM.png?v=1756773629&width=1000)
Dragon Cams
Tier benefits:
Tier benefits:
The DMM Dragon cams are a natural evolution of the dual axle cam design of the C4. They come in roughly the same sizes and colors, but feature a shorter, slightly more flexible stem, a longer, extendable Dyneema sling, and sandblasted lobes. DMM opted to remove the thumb loop in order to allow sling extension without loss of strength. At up to 14kN, the DMM dragon cams have the highest strength rating of the cams we carry. In most sizes, this looks like a 2kN gain over the equivalent sized C4. The only downside we can find is the Dragon’s lack of thumb loop, which takes some getting used to.
If you purchase the Dragons individually they have a slightly higher price than C4s. However, the Set 0-5 option saves about $25 compared to a full set of C4s.
Pros
- Long extendable sling
- Sandblasted lobes
- Set reduce overall cost per cam
Cons
- No thumb loop
Small Cams
Some placements require a cam that is smaller and narrower than the larger C4 style cams allow. At and below a C4 0.5 sized crack, we think it is worth specifically choosing a cam with a narrower head as they are generally easier to place in these more marginal, thin, and uneven cracks.
![id=[50055904362811]](http://hownot2.com/cdn/shop/files/Master_Cam_00.webp?v=1755874356&width=2000)
![id=[50055904395579]](http://hownot2.com/cdn/shop/files/Master_Cam_0.webp?v=1755874356&width=2000)
![id=[50055904428347]](http://hownot2.com/cdn/shop/files/Master_Cam_1.webp?v=1771952072&width=2000)
![id=[50055904461115]](http://hownot2.com/cdn/shop/files/Master_Cam_2.webp?v=1771952072&width=2000)
![id=[50055904493883]](http://hownot2.com/cdn/shop/files/Master_Cam_3.webp?v=1771952072&width=2000)
![id=[50055904526651]](http://hownot2.com/cdn/shop/files/Master_Cam_4.webp?v=1771952072&width=2000)
![id=[50055904559419]](http://hownot2.com/cdn/shop/files/Master_Cam_5.webp?v=1771952072&width=2000)
![id=[50055904592187]](http://hownot2.com/cdn/shop/files/Master_Cam_6.webp?v=1771952072&width=2000)
![id=[50055904624955]](http://hownot2.com/cdn/shop/files/Master_Cam_7.webp?v=1771952072&width=2000)
![id=[50055904657723]](http://hownot2.com/cdn/shop/files/Master_Cam_8.webp?v=1771952072&width=2000)
![id=[50928417472827]](http://hownot2.com/cdn/shop/files/master-cam-set-1-4.webp?v=1769020928&width=1280)
![id=[50928417505595]](http://hownot2.com/cdn/shop/files/master-cam-set-5-8.webp?v=1769021317&width=1280)
![id=[47129167462715, 50055904362811]](http://hownot2.com/cdn/shop/files/00_1.webp?v=1769021317&width=2000)
![id=[50055904395579]](http://hownot2.com/cdn/shop/files/0_1_7d677e95-8688-425b-8c2d-656802f0838a.webp?v=1769021317&width=2000)
![id=[50055904428347,50928417472827]](http://hownot2.com/cdn/shop/files/1_2_9b720a2d-5b18-449c-bed1-cabc33d8b5c8.webp?v=1769021317&width=2000)
![id=[50055904461115,50928417472827]](http://hownot2.com/cdn/shop/files/2_1_7270768f-8273-43ba-99cf-f08f90e0ad32.webp?v=1769021317&width=2000)
![id=[50055904493883,50928417472827]](http://hownot2.com/cdn/shop/files/3_1_385a9dbd-f882-459c-aedd-c8185c6938db.webp?v=1769021317&width=2000)
![id=[50055904526651, 50928417472827]](http://hownot2.com/cdn/shop/files/4_1_061f7f86-2a33-402d-b737-66137ed723c2.webp?v=1769021317&width=2000)
![id=[50055904559419,50928417505595]](http://hownot2.com/cdn/shop/files/5_712da9de-a571-4e50-a842-ee0b7b794a17.webp?v=1769021317&width=2000)
![id=[50055904592187,50928417505595]](http://hownot2.com/cdn/shop/files/6_b8d28b8e-38df-4a58-bf3c-55f39e06a95d.webp?v=1769021317&width=2000)
![id=[50928417505595, 50055904624955]](http://hownot2.com/cdn/shop/files/7_8122c68e-70f1-4833-93aa-3f3cf7c345cf.webp?v=1769021317&width=2000)
![id=[50055904657723,50928417505595]](http://hownot2.com/cdn/shop/files/8_aa703646-7df7-41d4-8a01-faa93d60a073.webp?v=1769021317&width=2000)
![id=[47129167462715, 47130225148219, 50055904362811, 50055904395579, 50055904428347, 50055904461115, 50055904493883, 50055904526651, 50055904559419, 50055904592187, 50055904624955, 50055904657723, 50928417472827, 50928417505595]](http://hownot2.com/cdn/shop/files/MasterCamChart.png?v=1769021317&width=1280)
![id=[47129167462715, 47130225148219]](http://hownot2.com/cdn/shop/files/ul-mater-cam-placed-8s.jpg?v=1769021317&width=825)
![id=[50055904657723, 50055904624955, 50055904592187, 50055904559419, 50055904526651, 50055904493883, 50055904461115, 50055904428347, 50055904395579, 50055904362811]](http://hownot2.com/cdn/shop/files/Mastr_Cam_Family_photo.webp?v=1769021317&width=2000)
Ultralight Master Cams
Tier benefits:
Tier benefits:
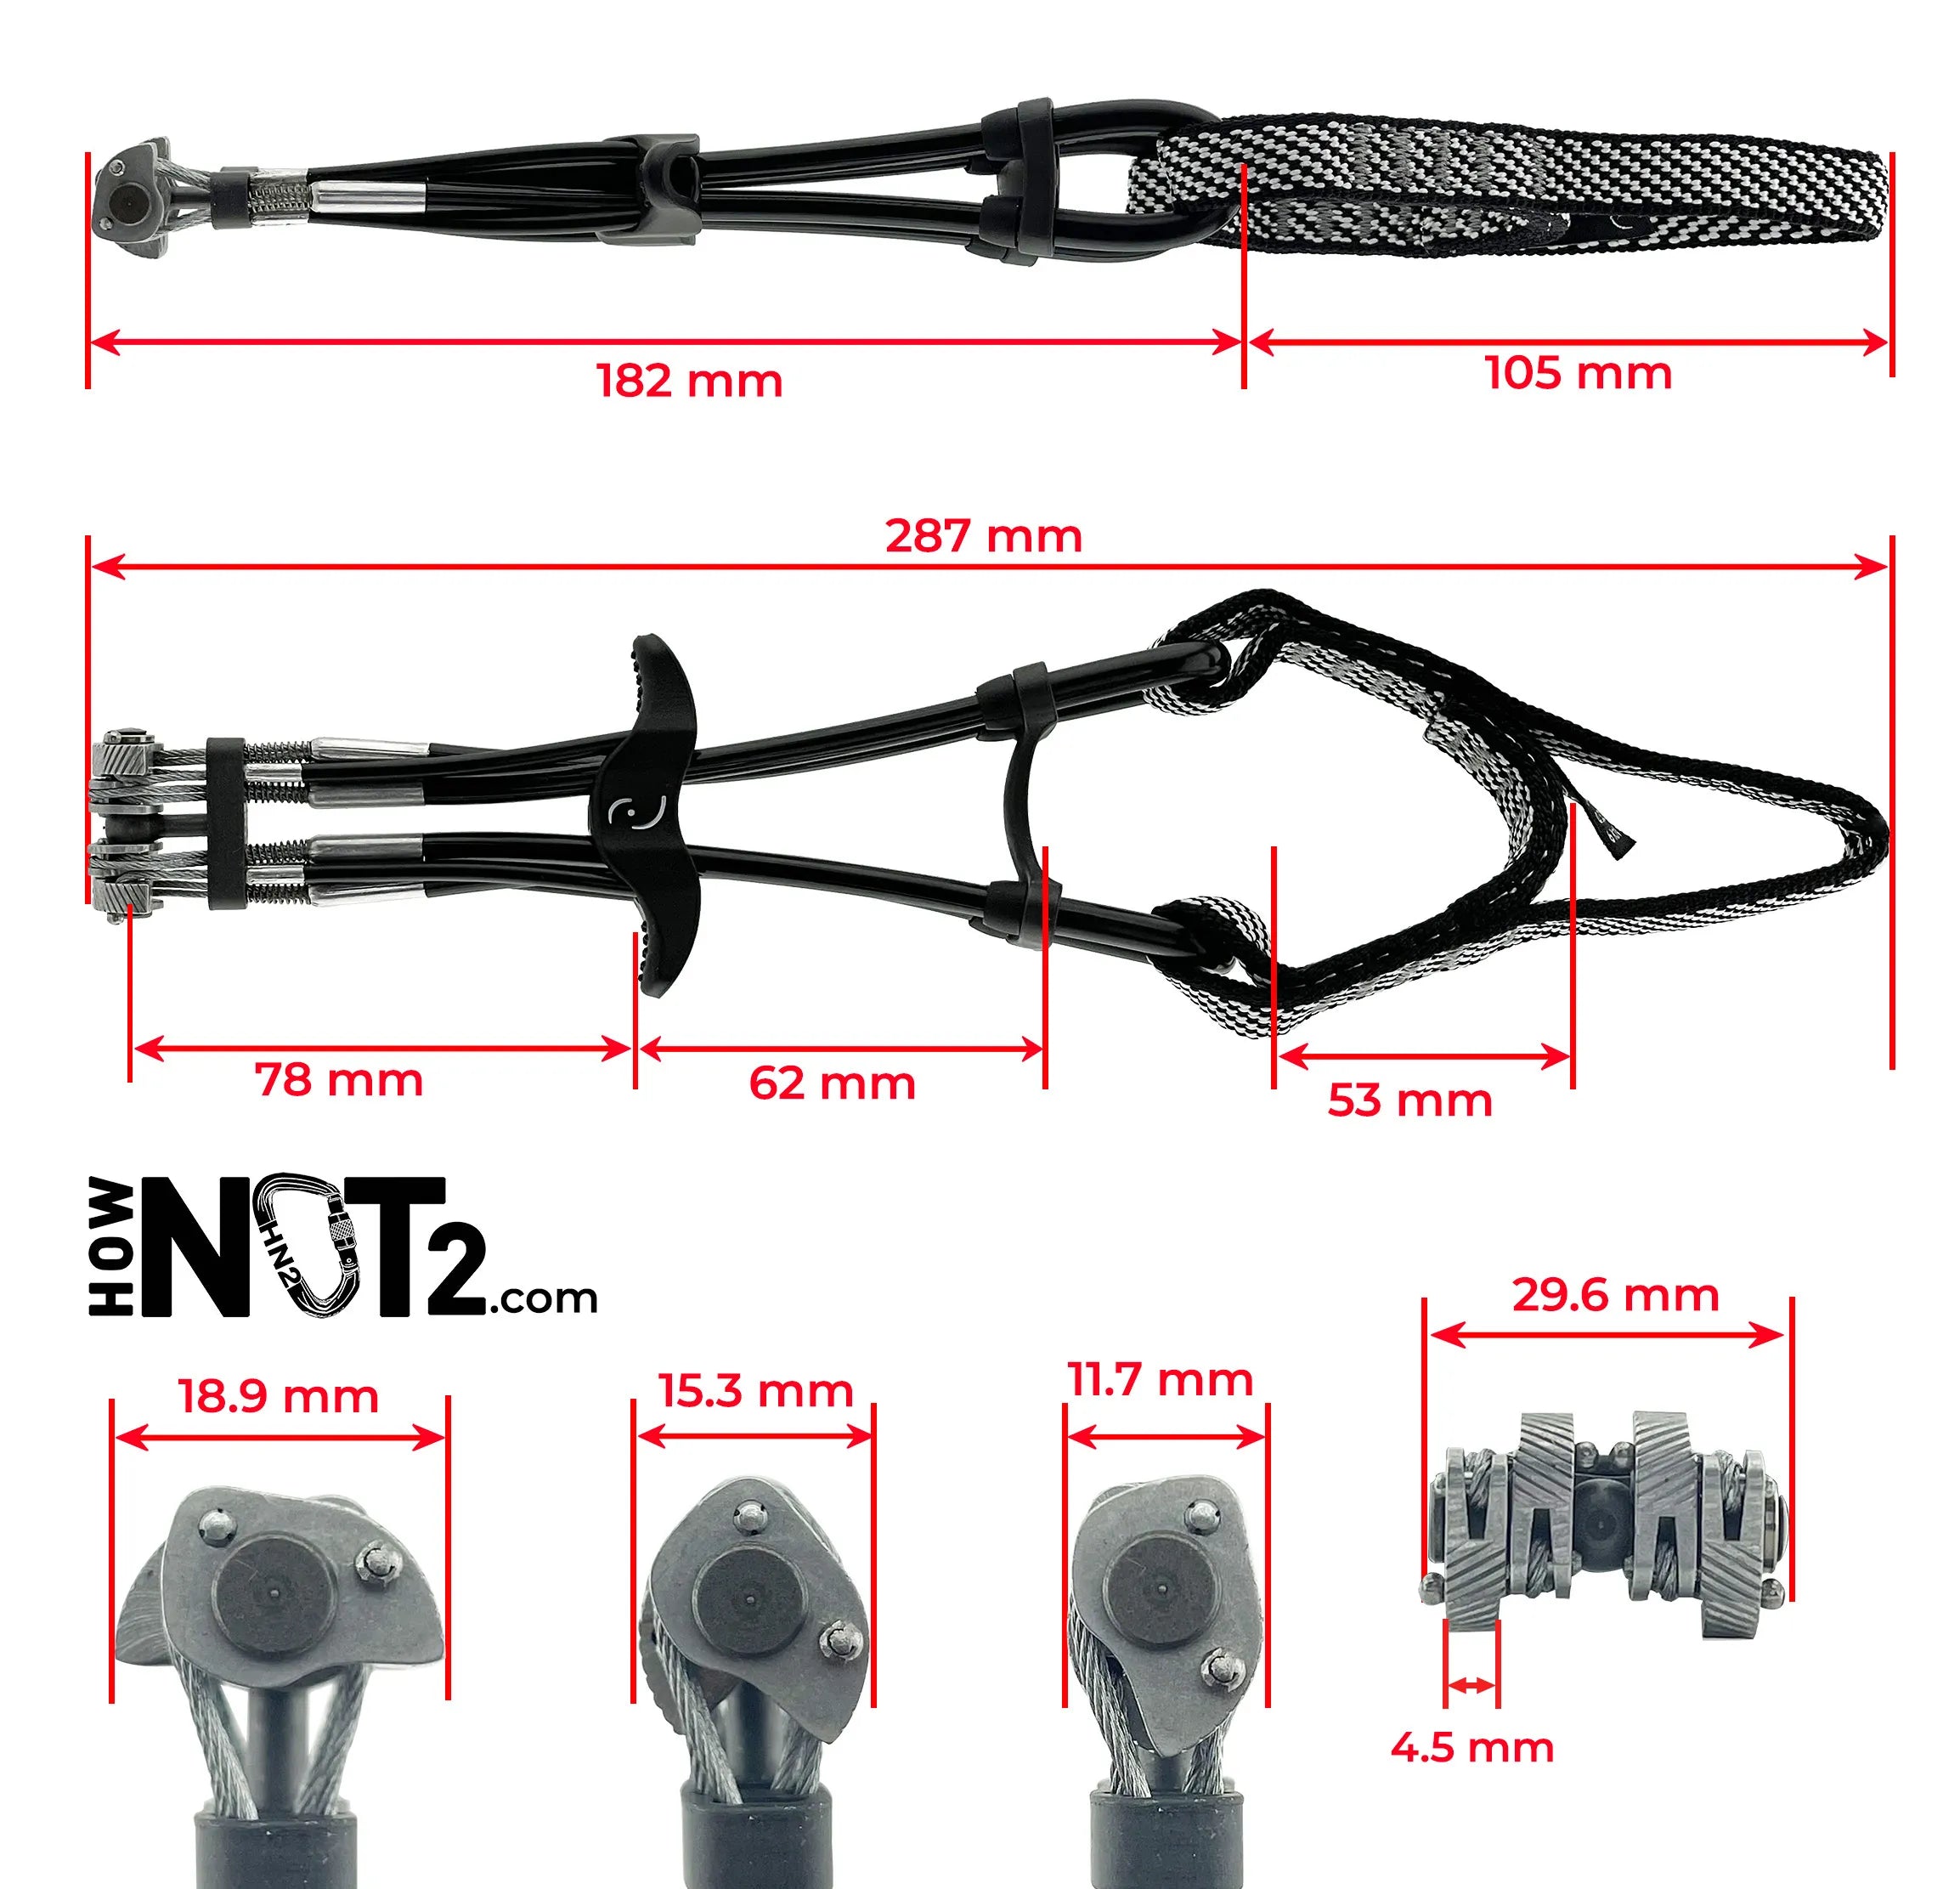
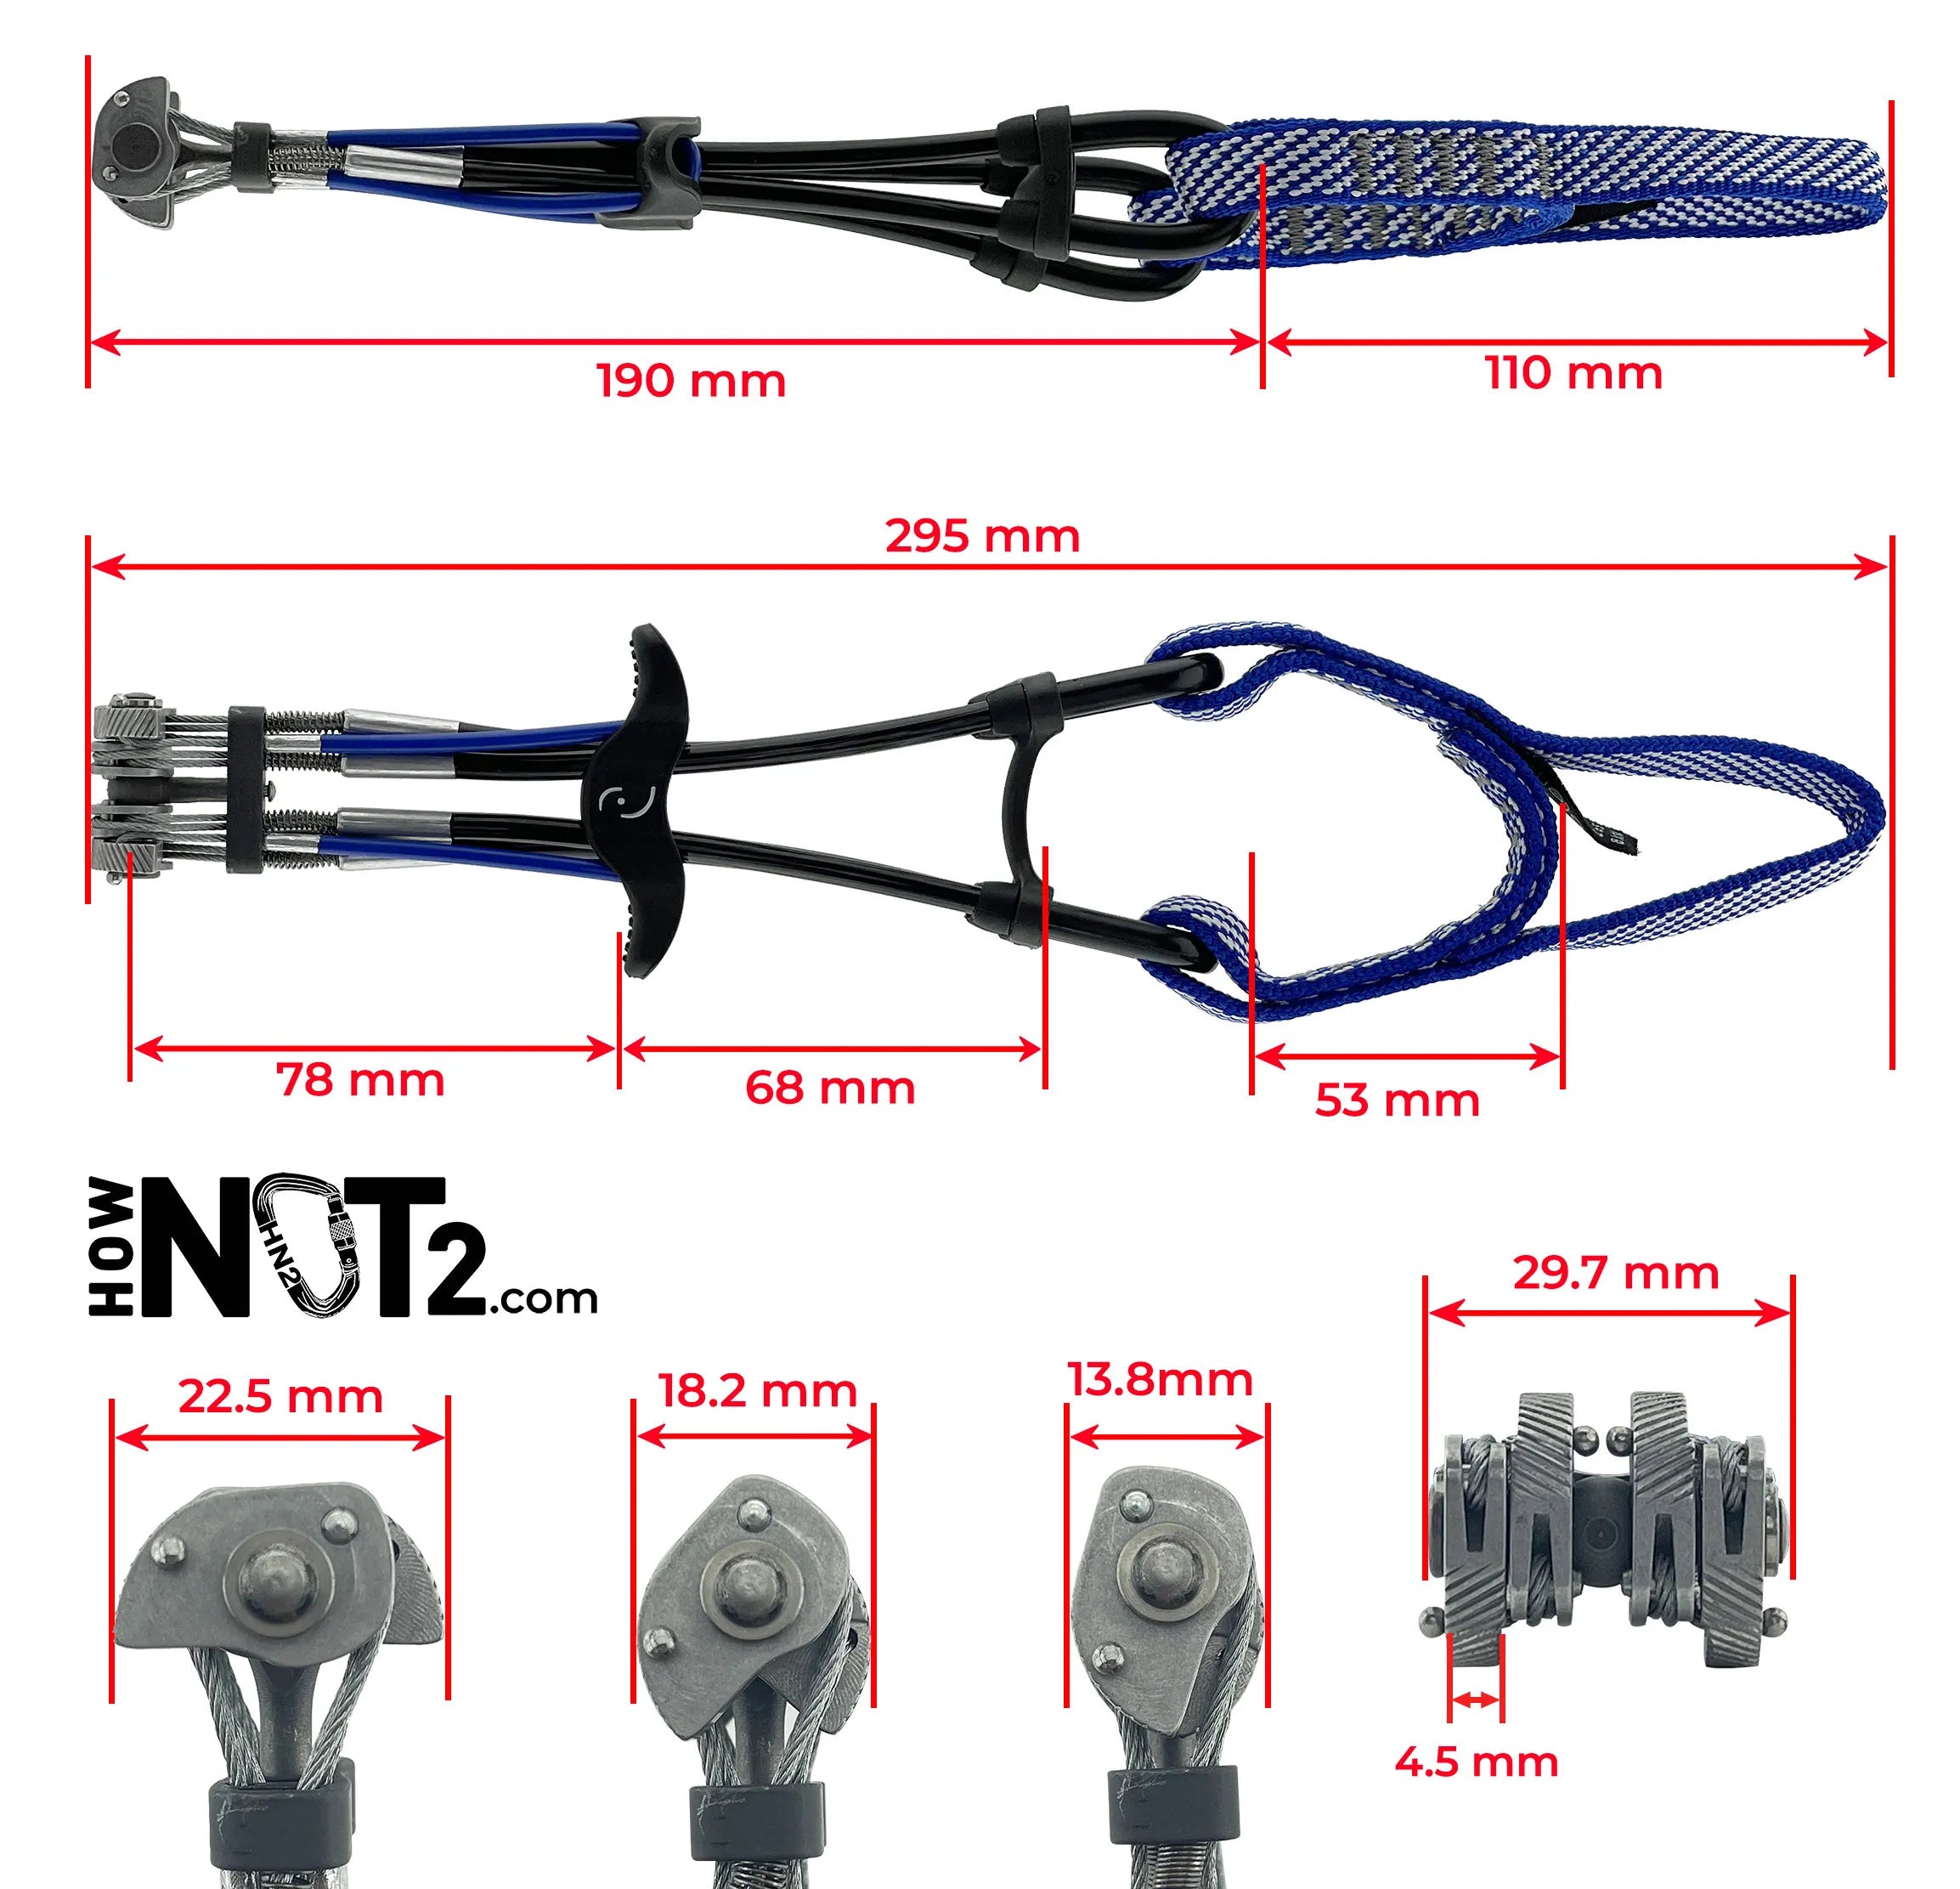
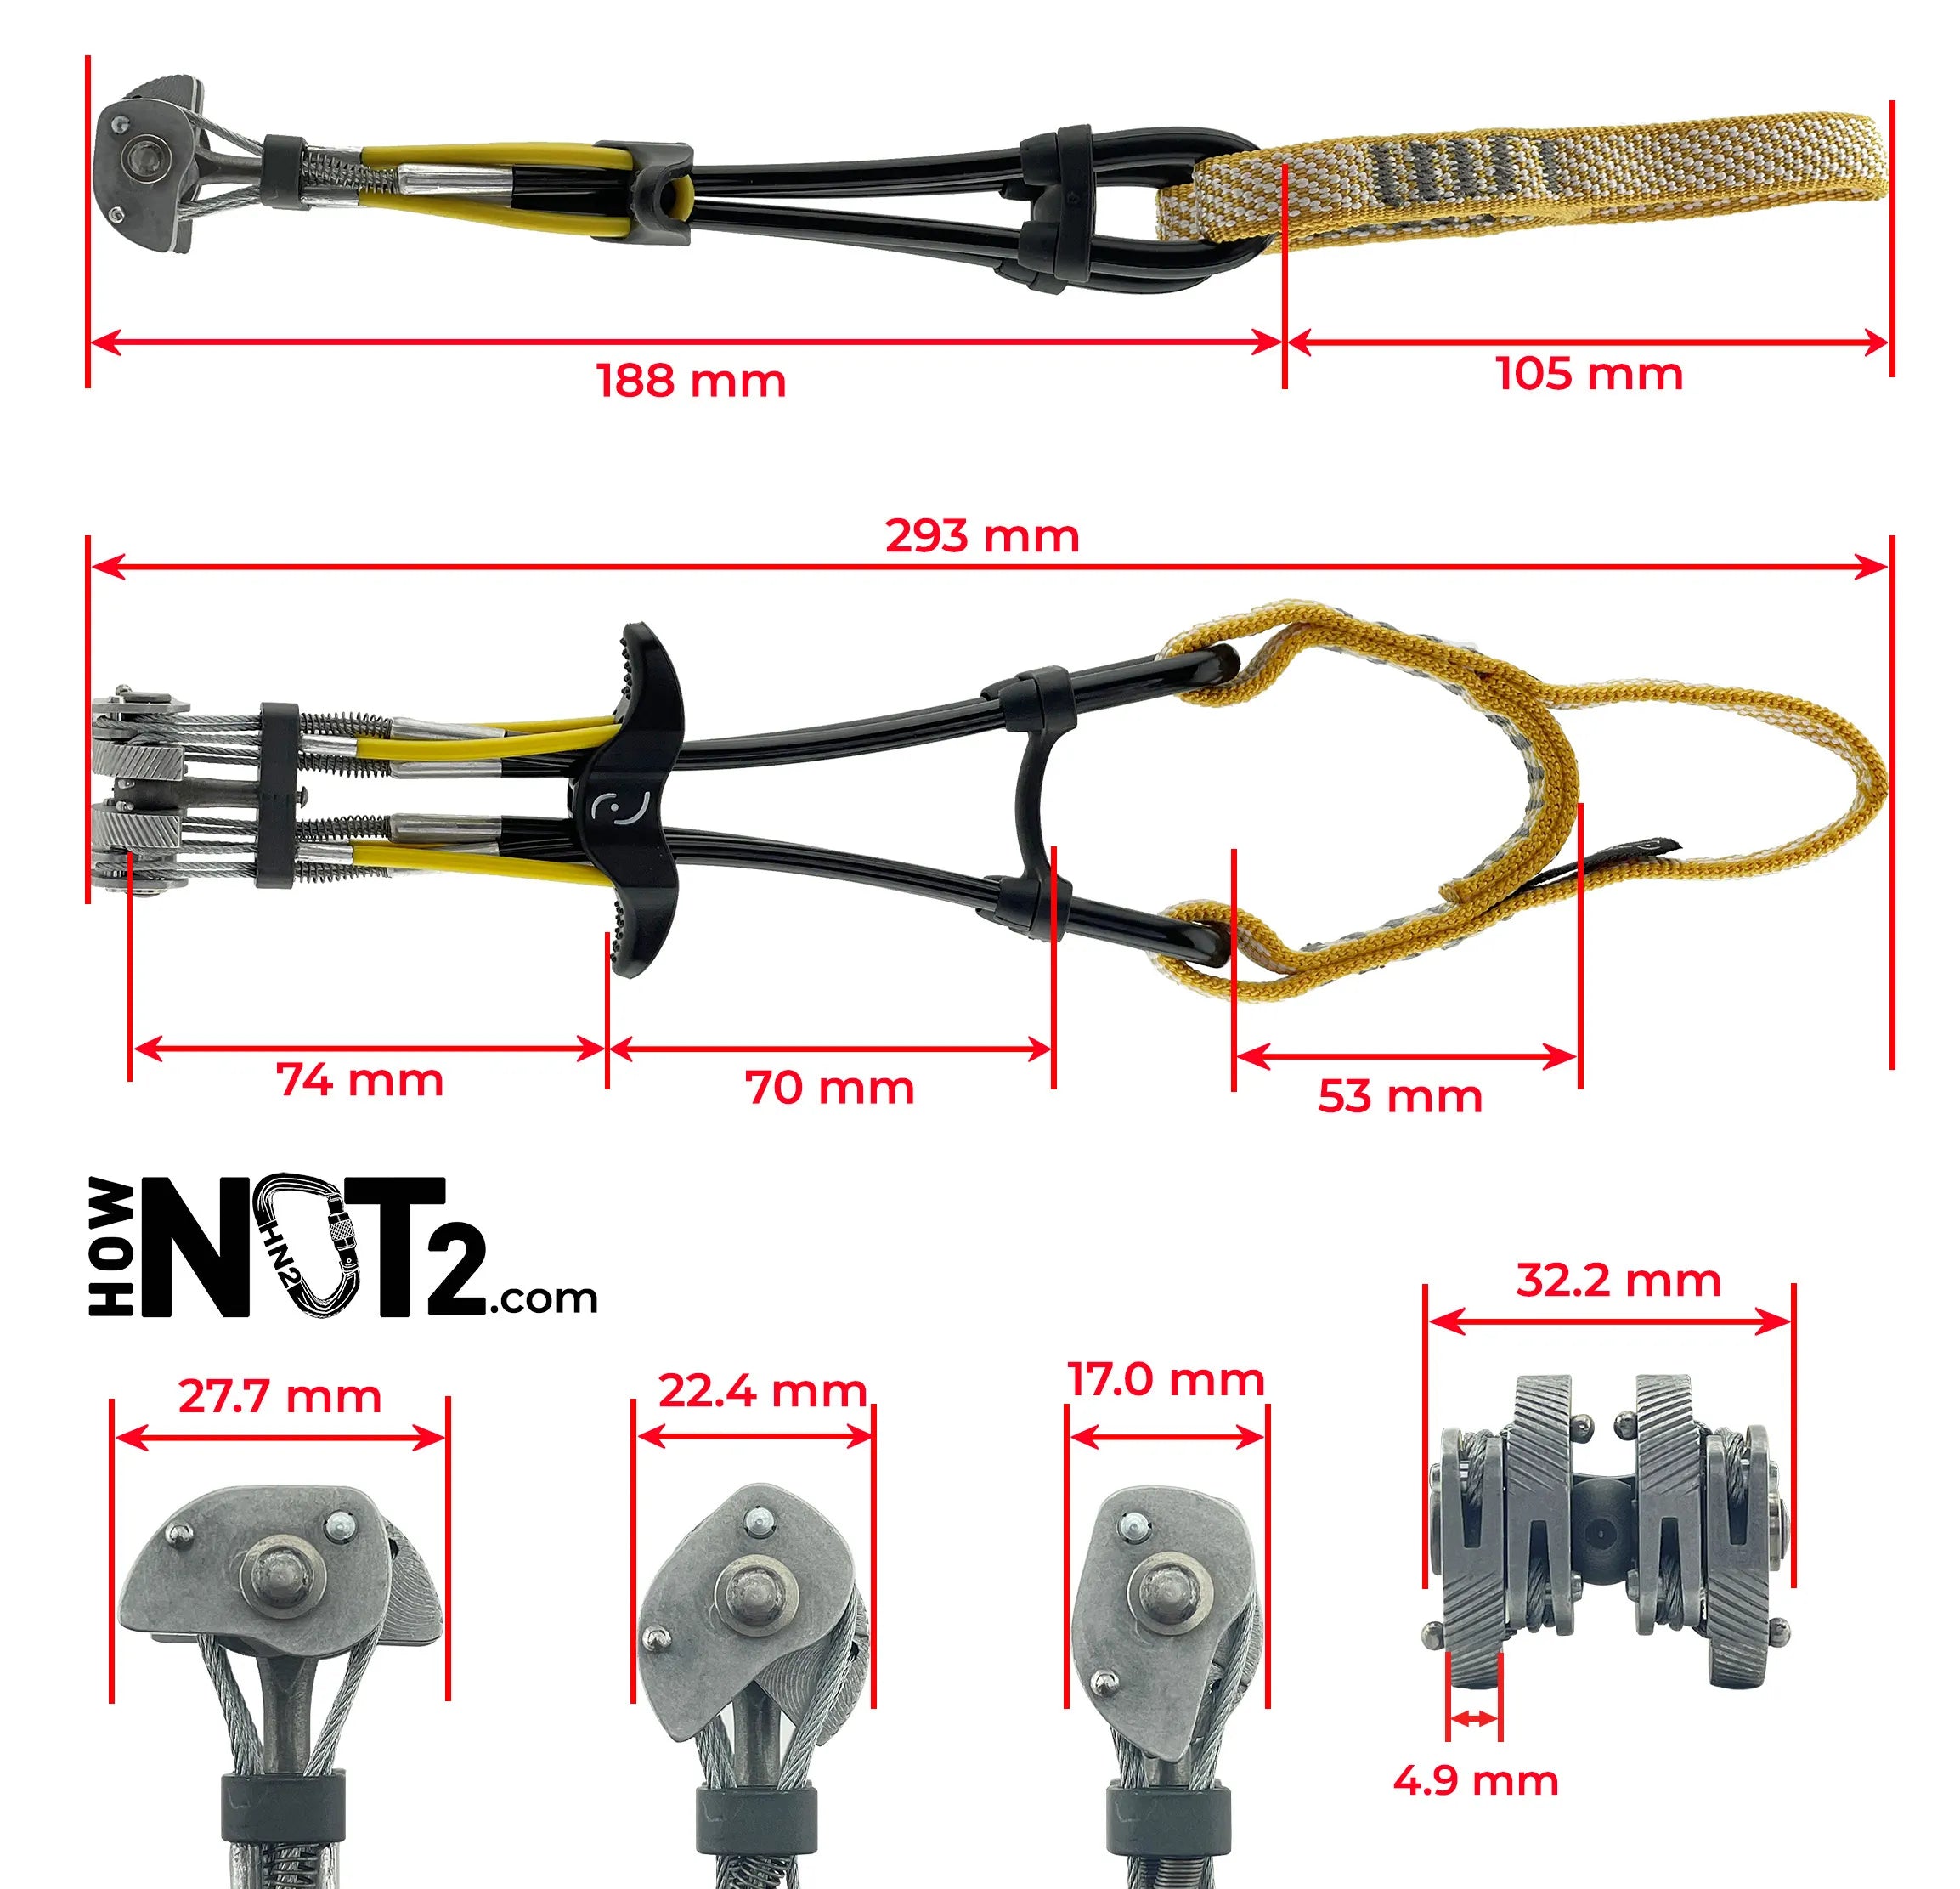
The Metolius Ultralight Master Cam is one of the least expensive cams available. While its larger sizes lose out to C4 style cams in range and ease of placement, the small sizes fit right in among the other ‘small and narrow’ cams. The cam’s lack of thumb loop can take getting used to, but it also reduces the overall weight of the cam quite a bit. The trigger design makes the cam less flexible in one direction than the other, which might make them walk more in some placements. If you are on a budget and looking for a super good enough small cam, the Ultralight Master Cam is a fantastic choice.
Pros
- Inexpensive
- Light
Cons
- Less flexible
- No thumb loop


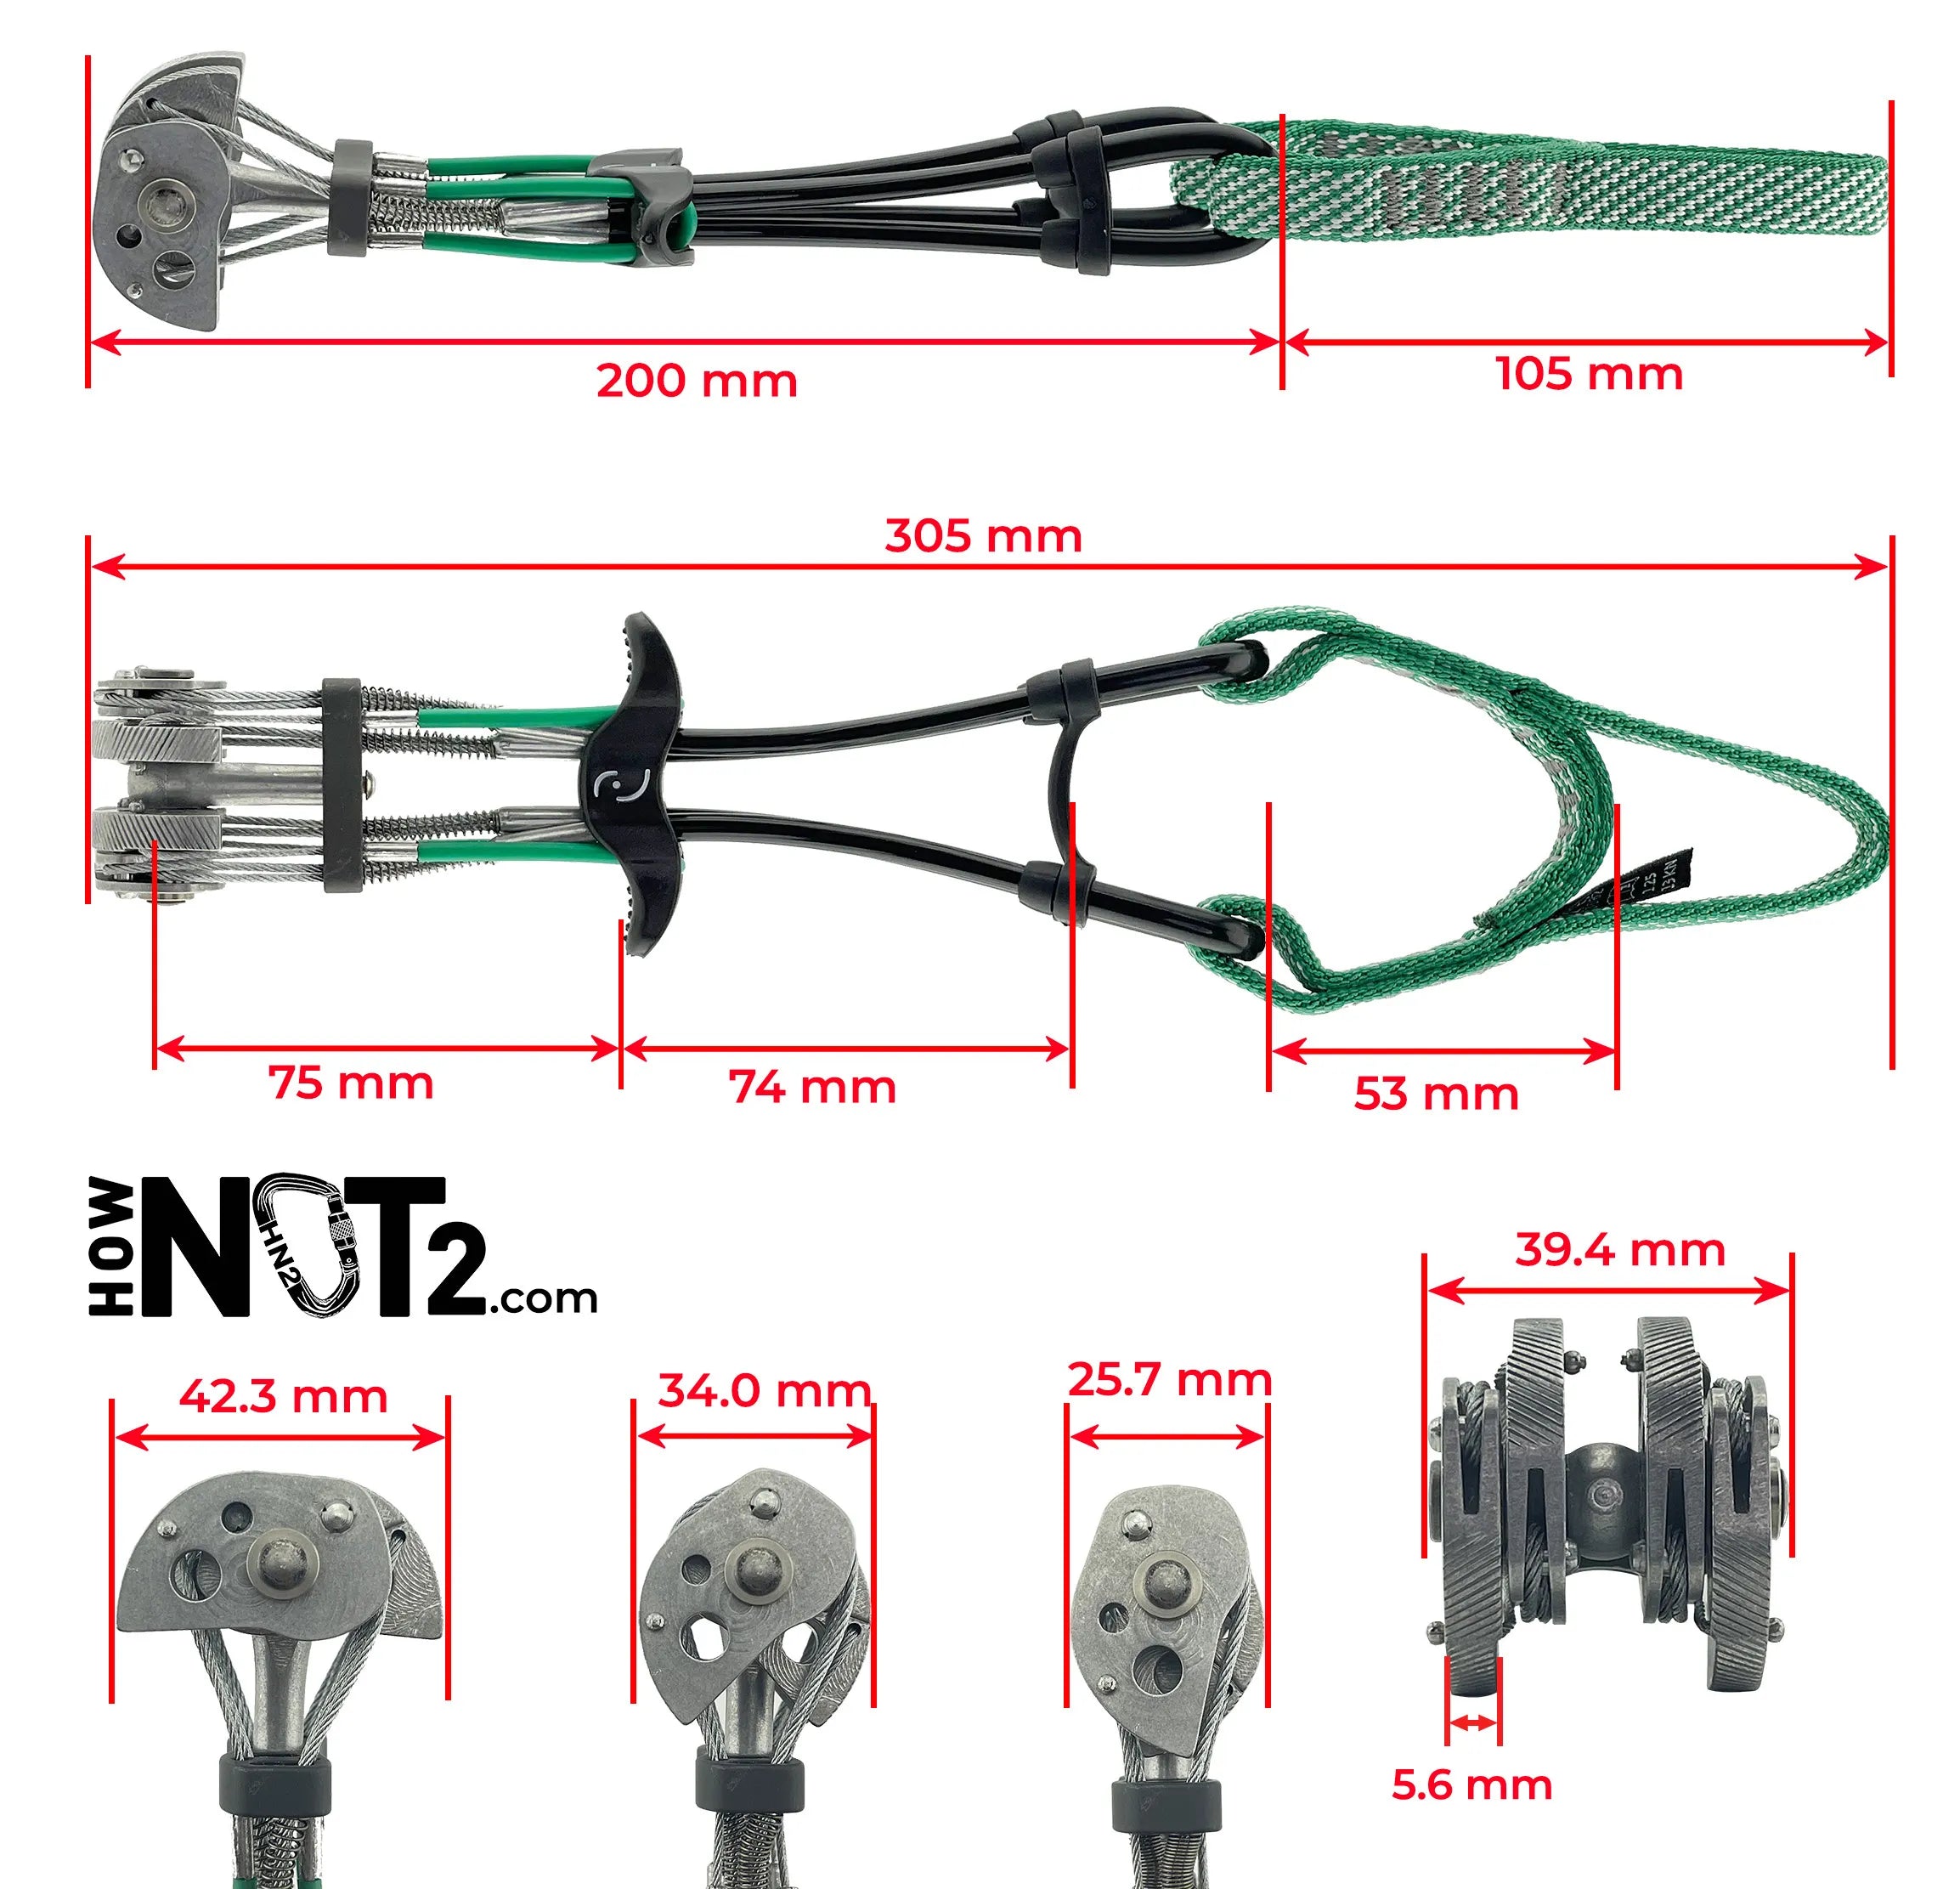
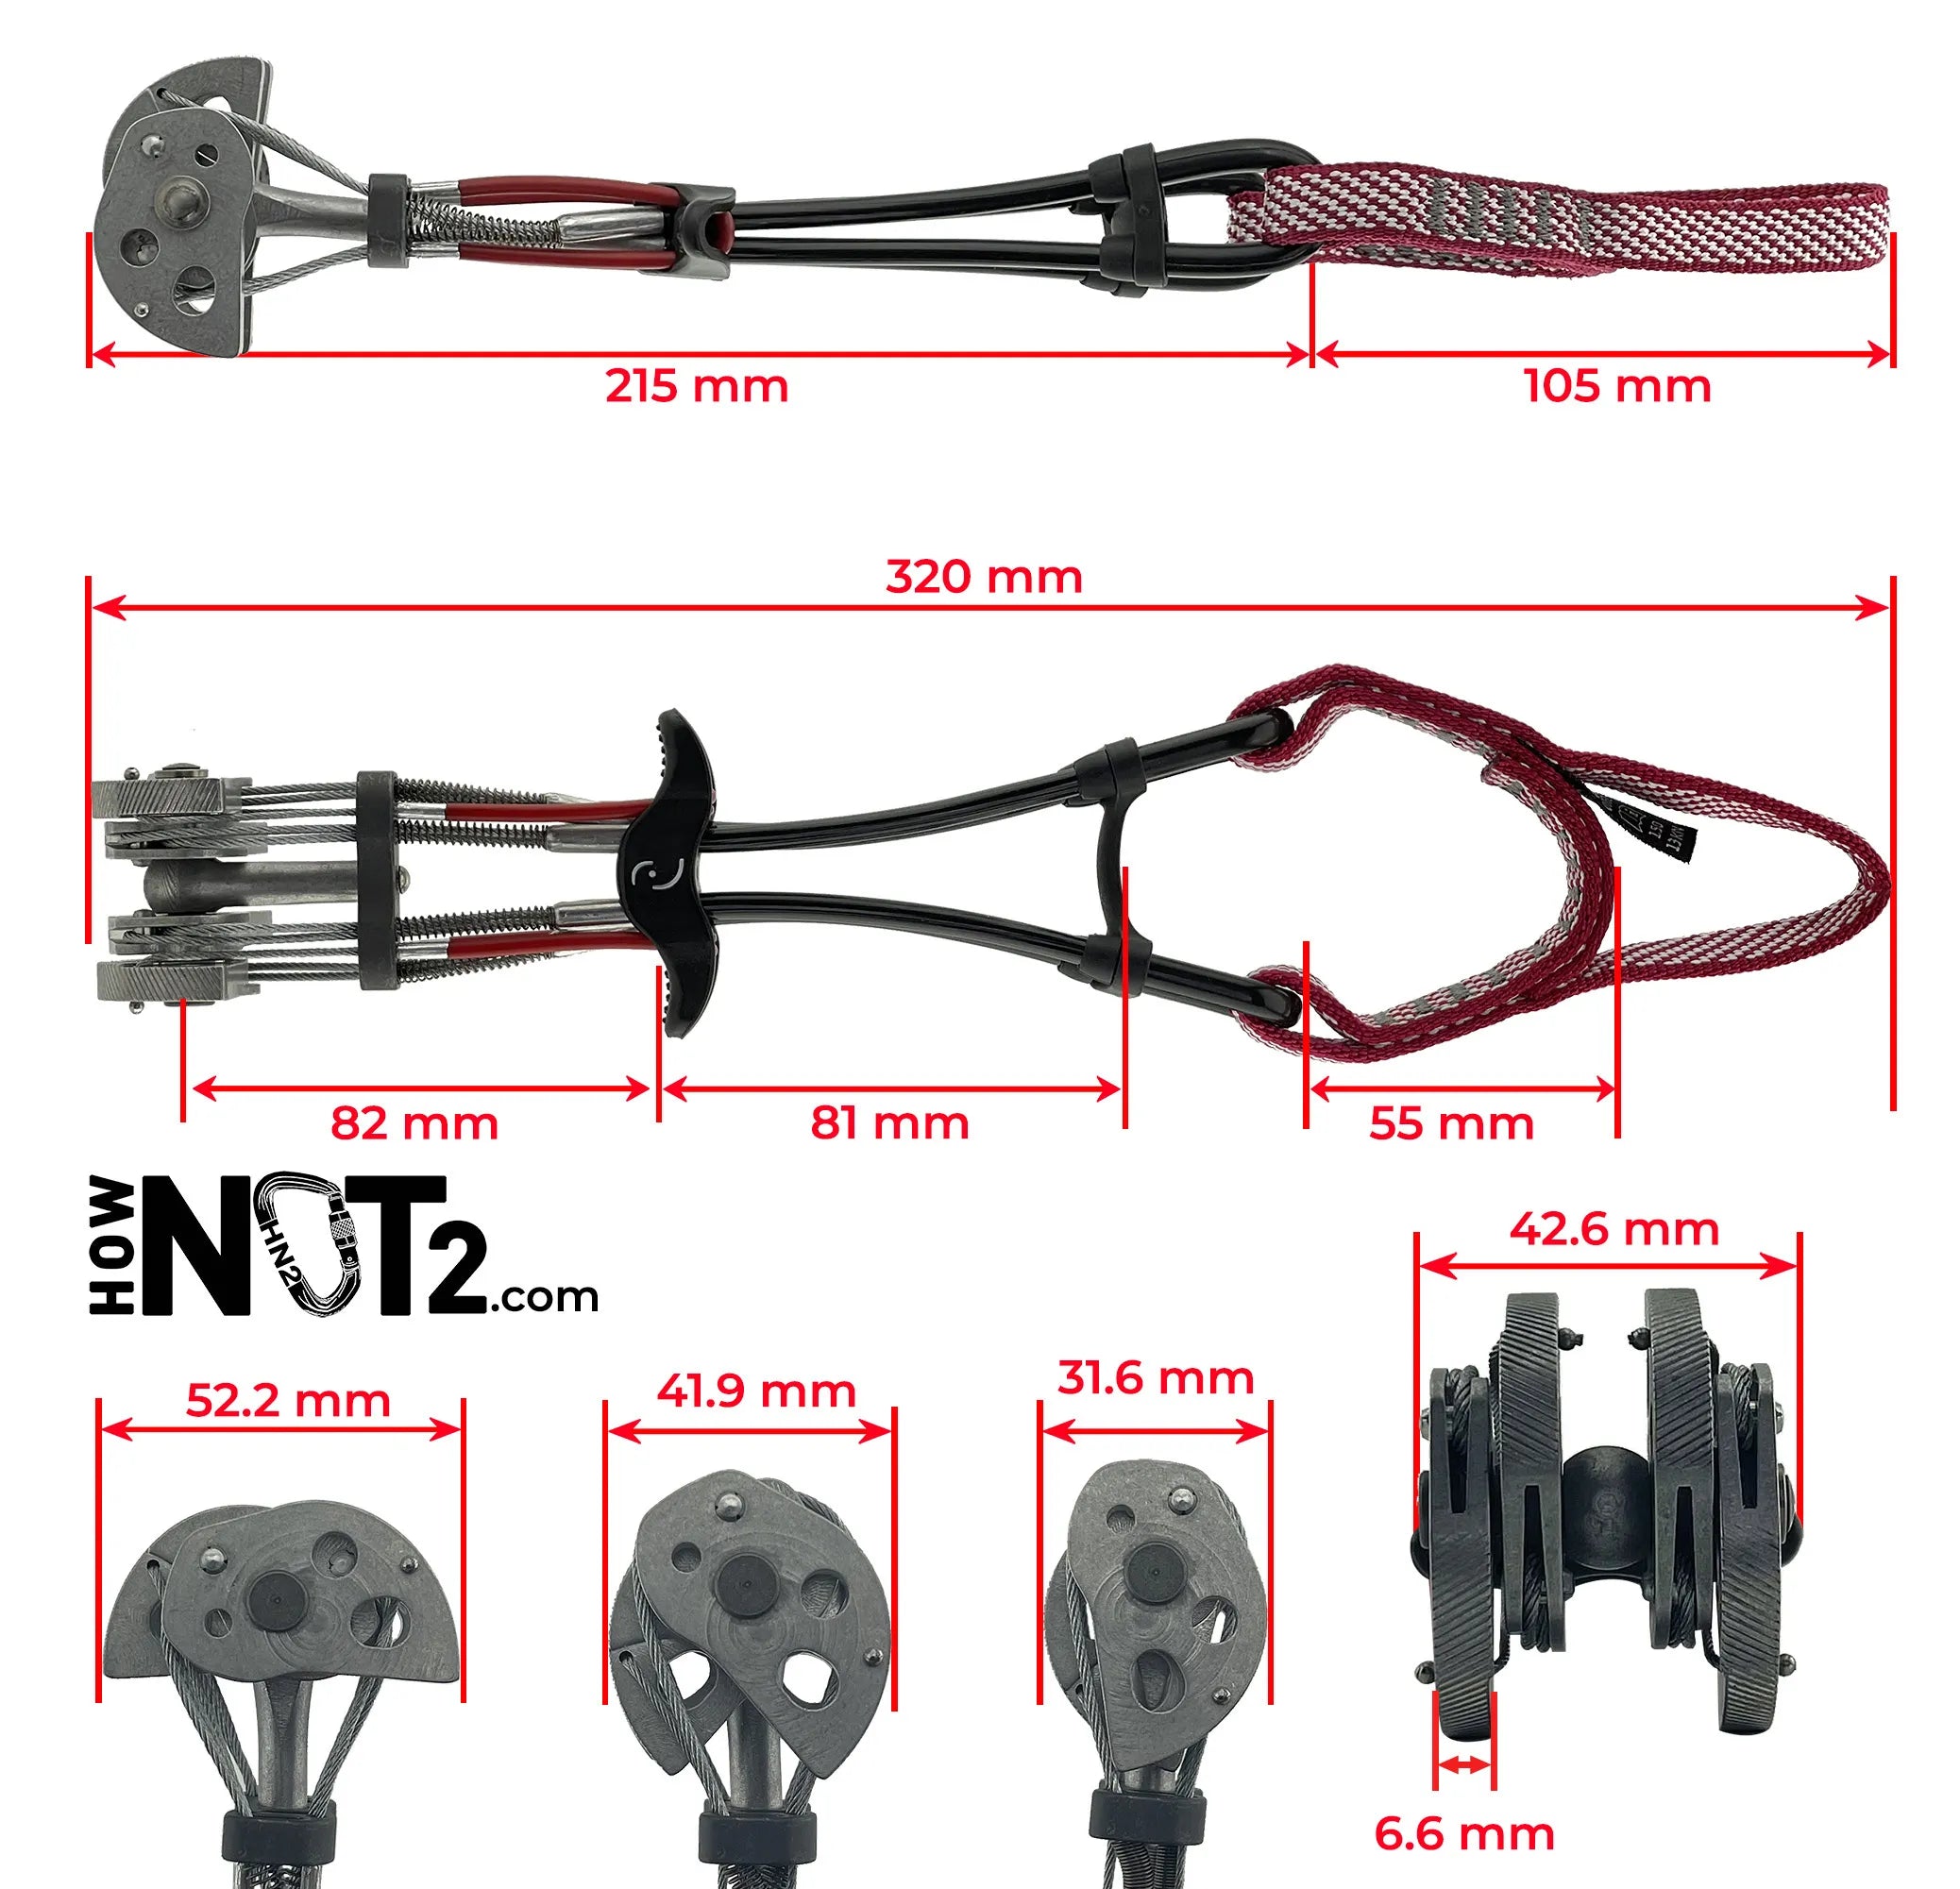
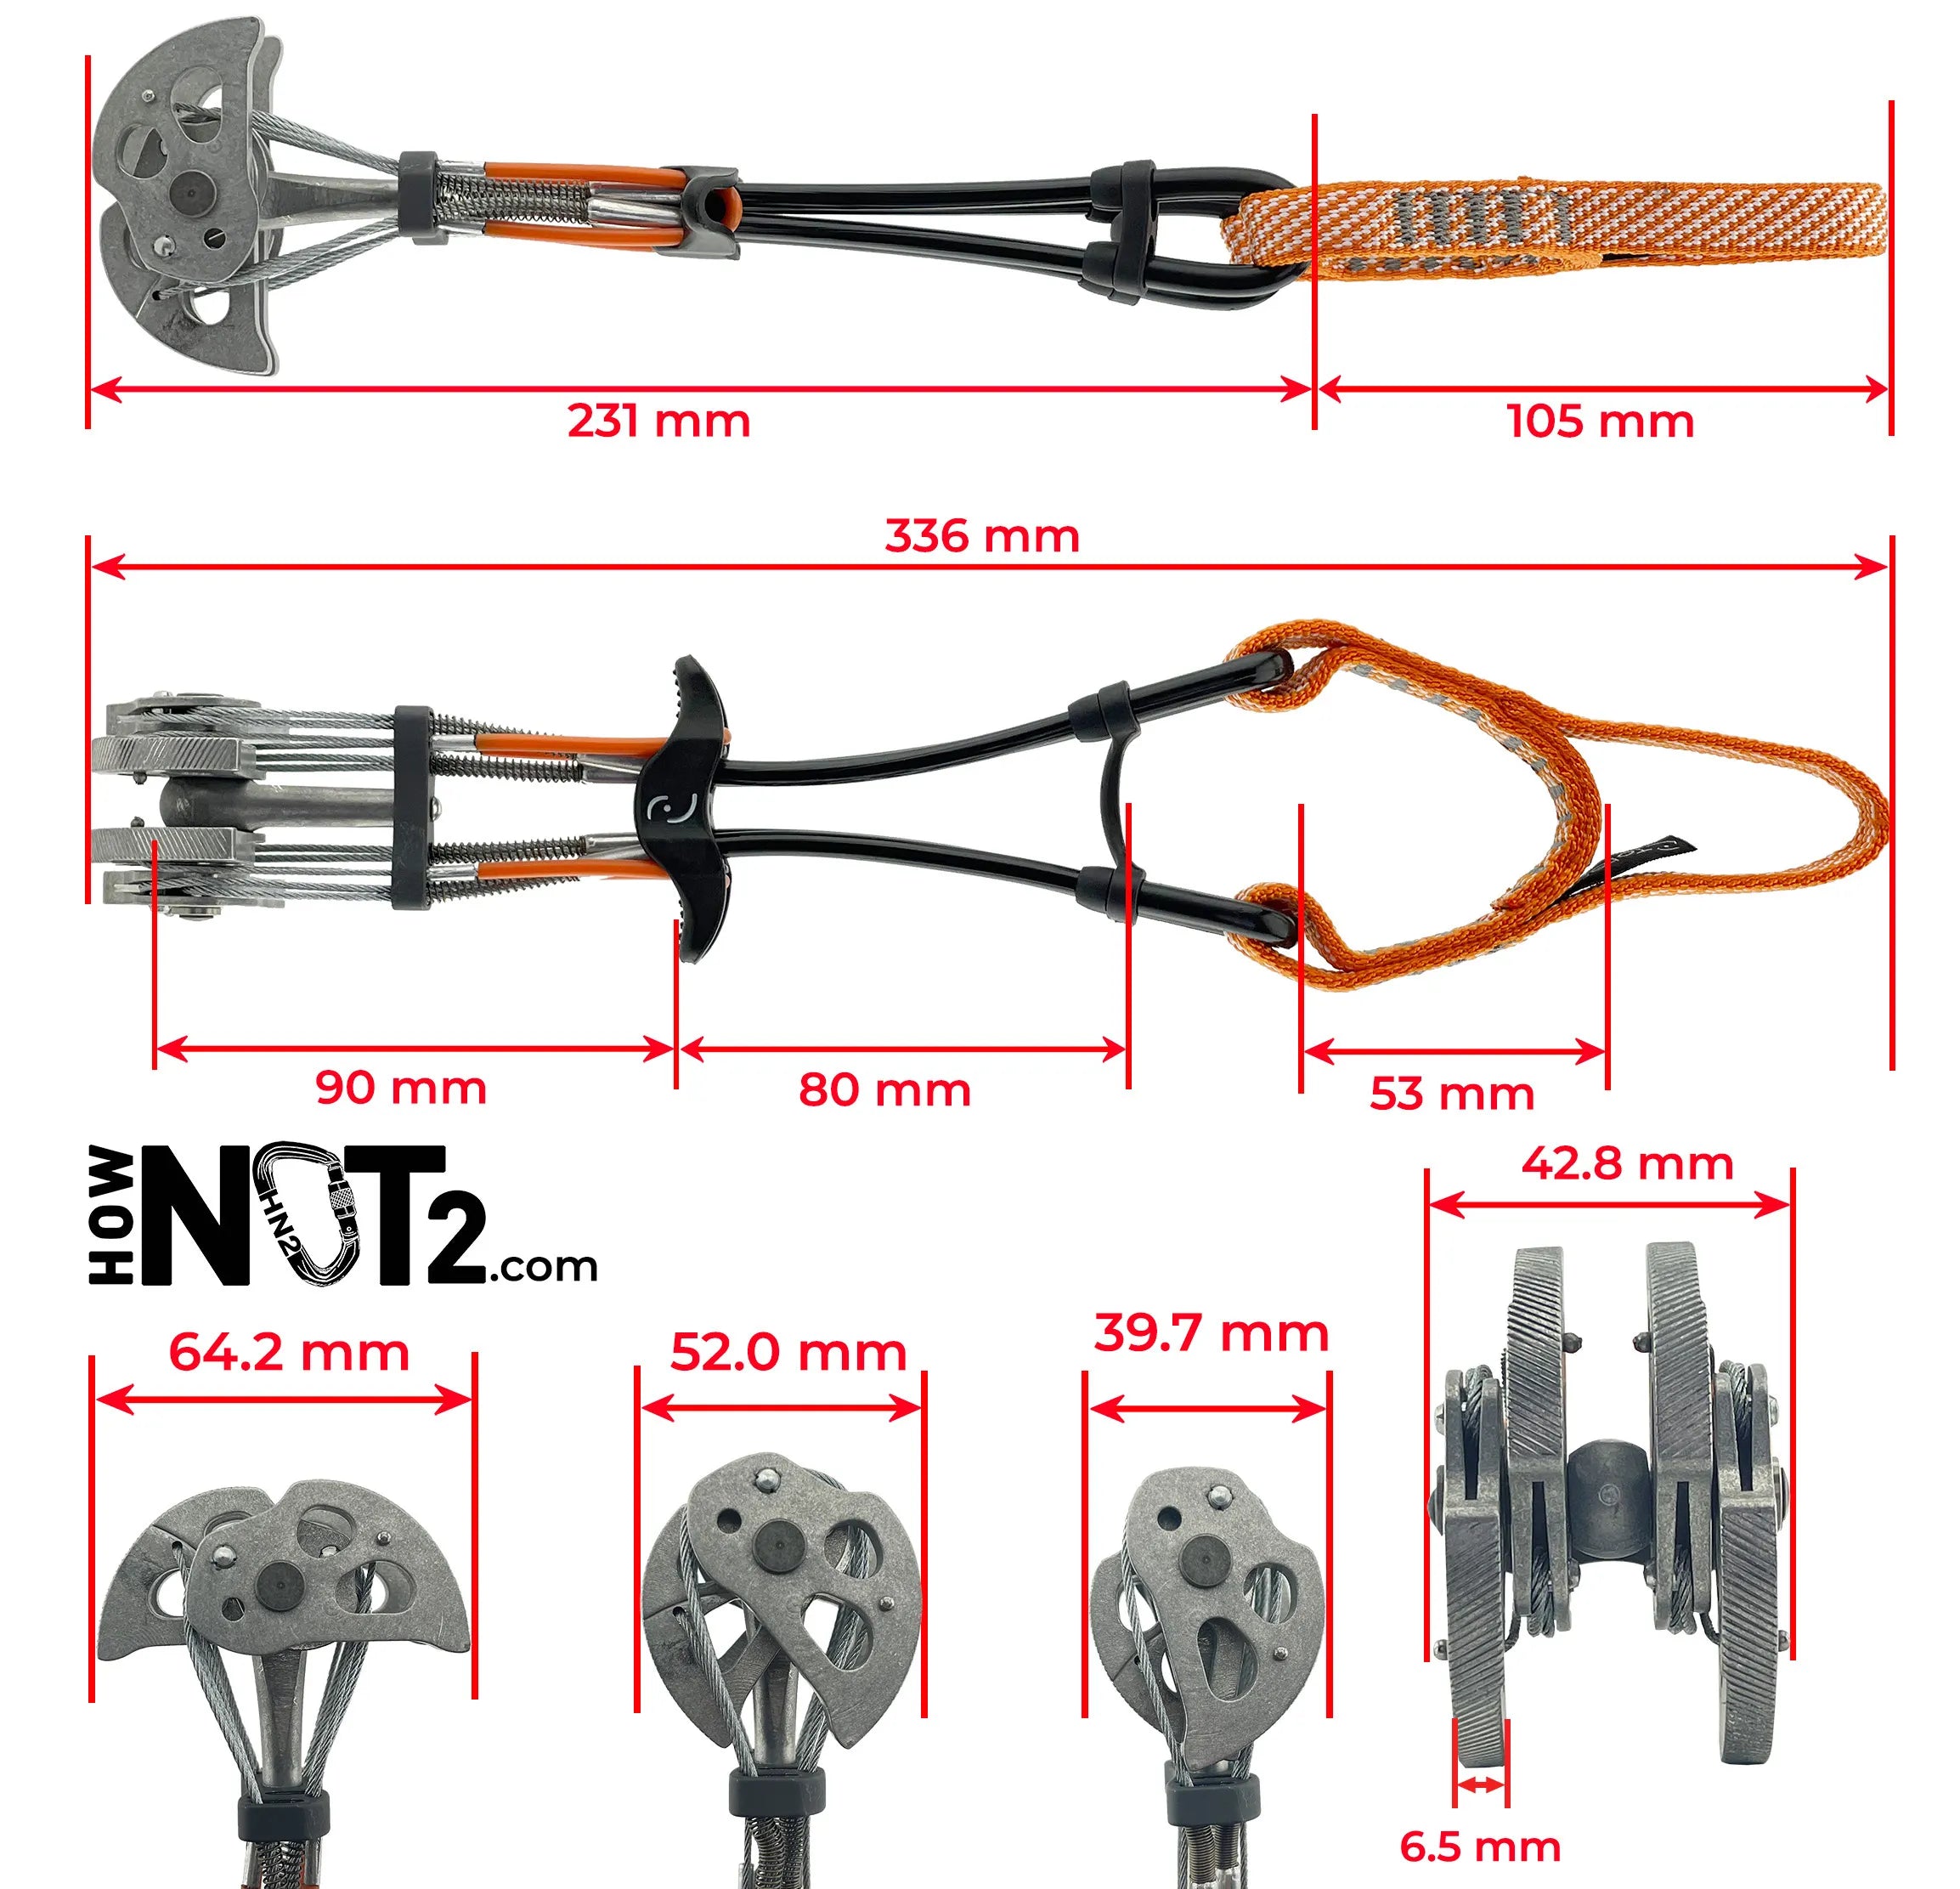
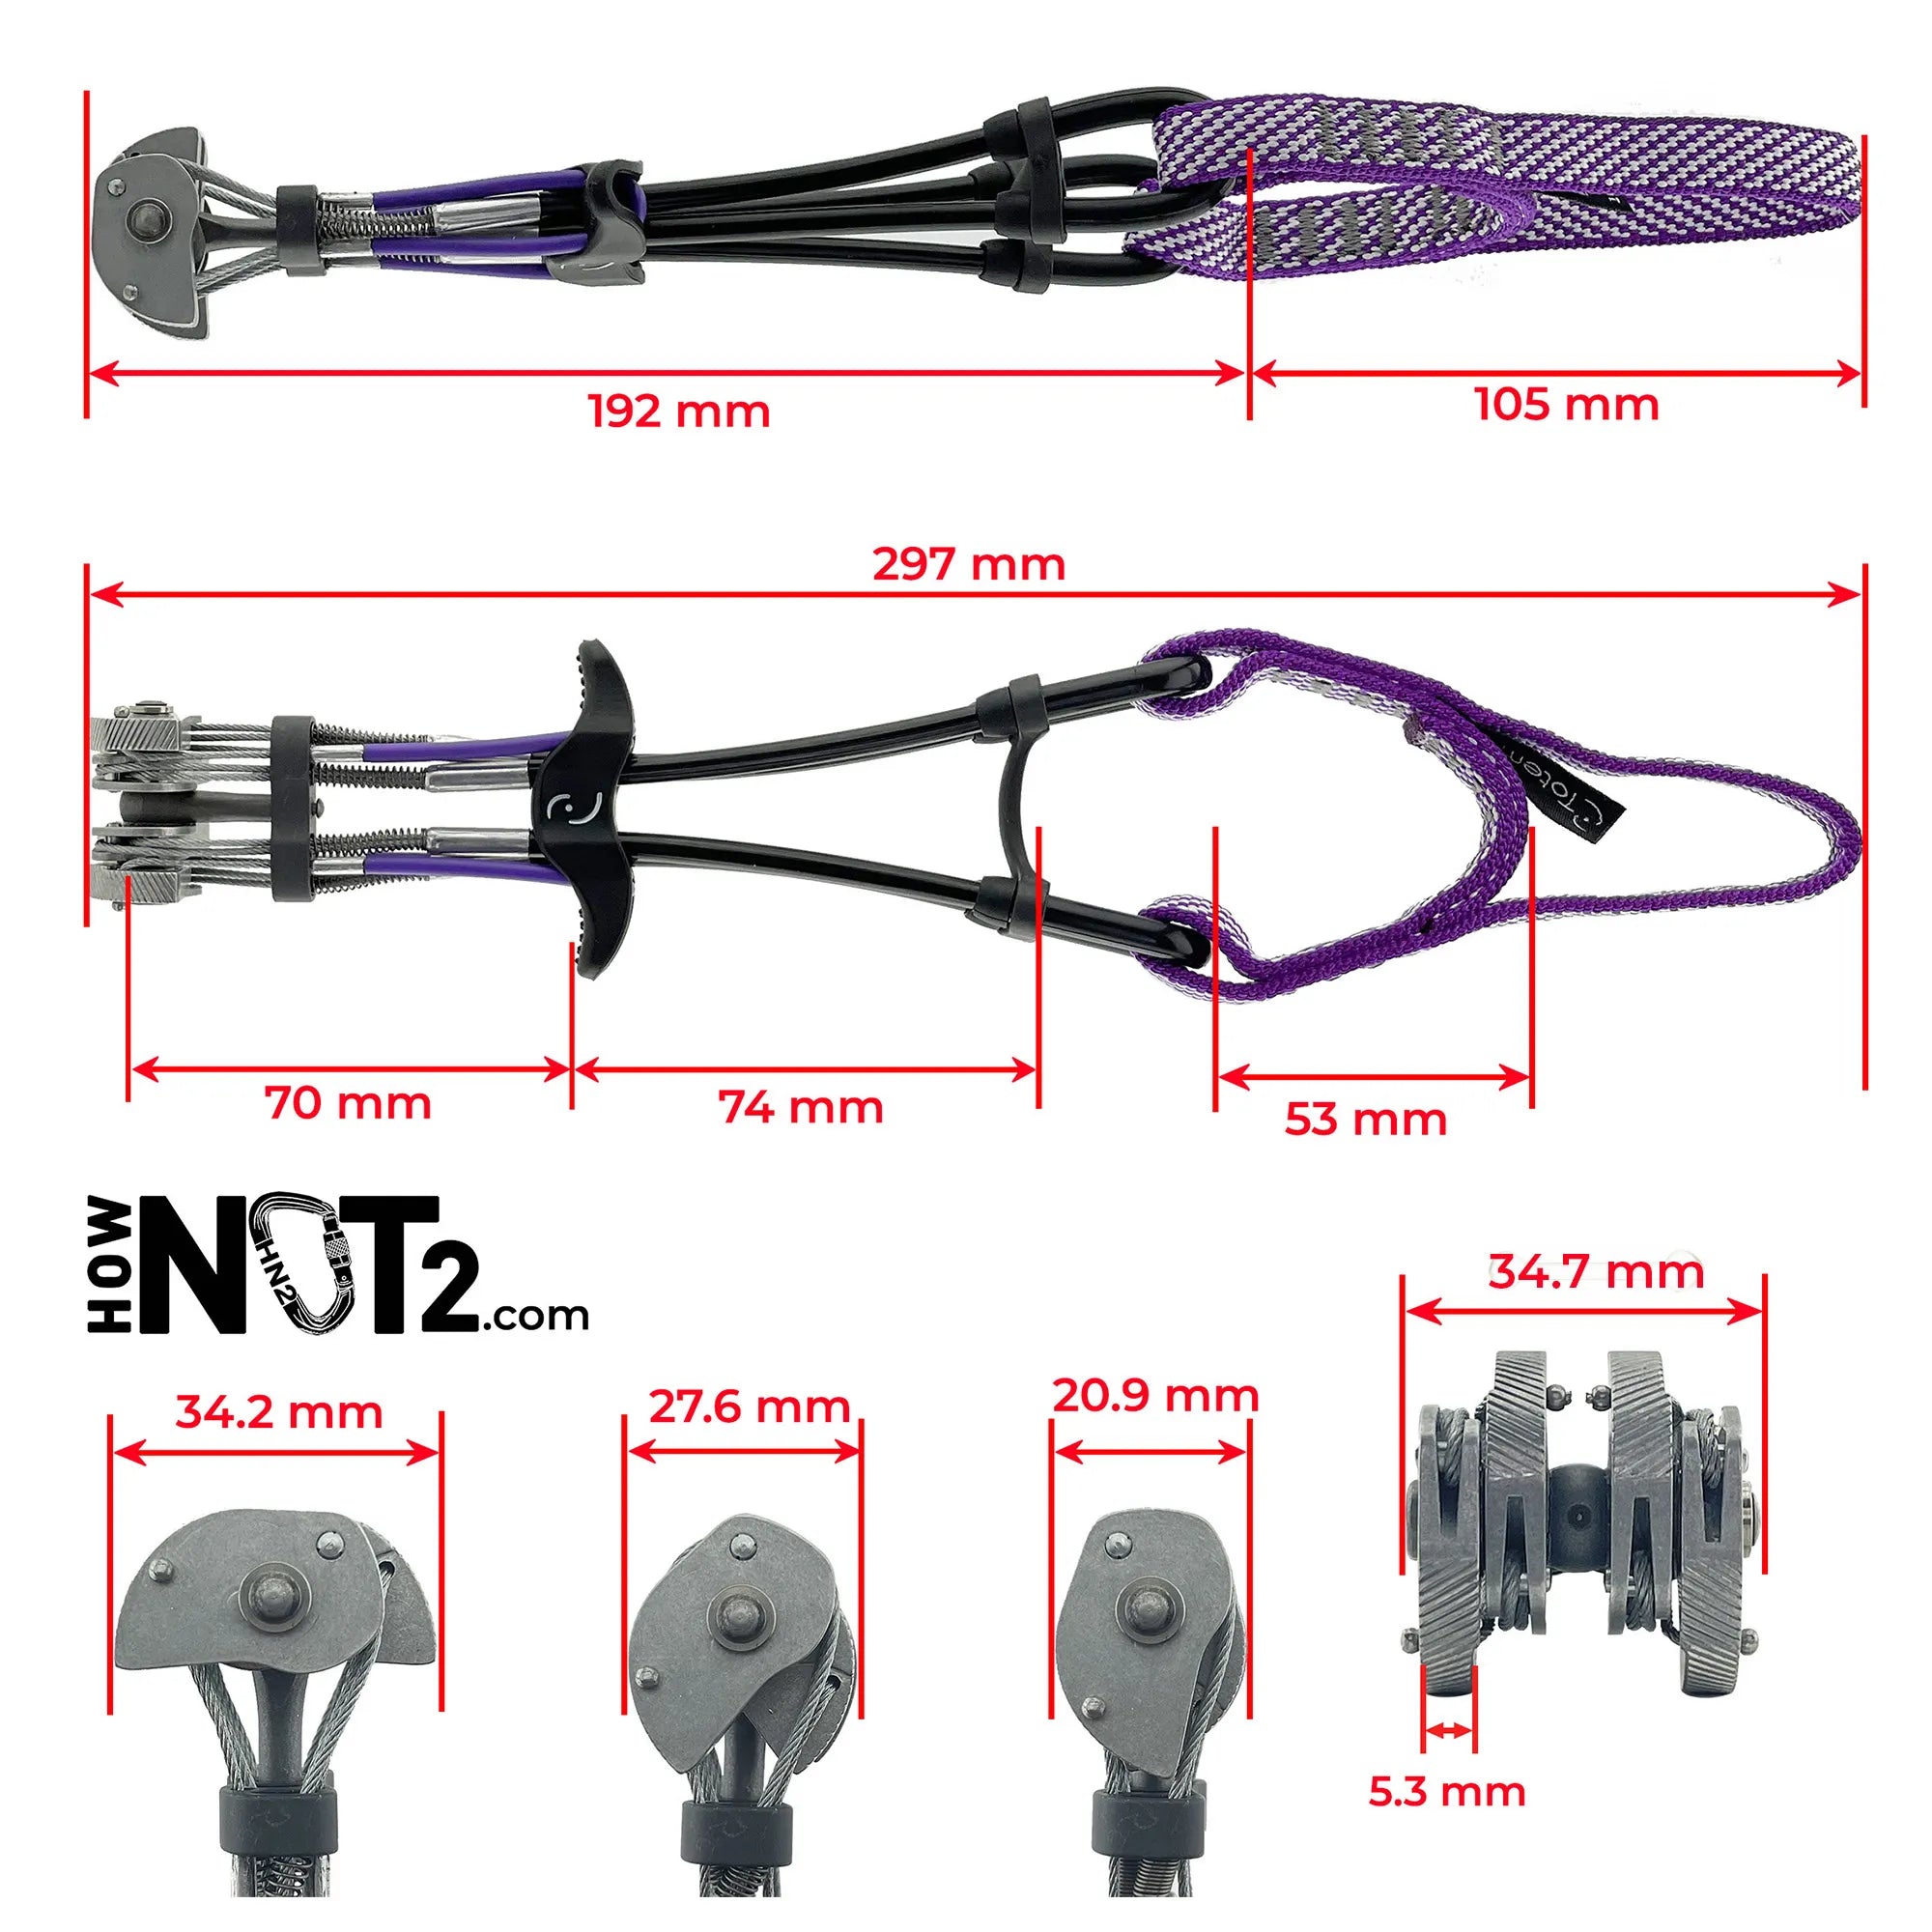
Totem Cams
Tier benefits:
Tier benefits:
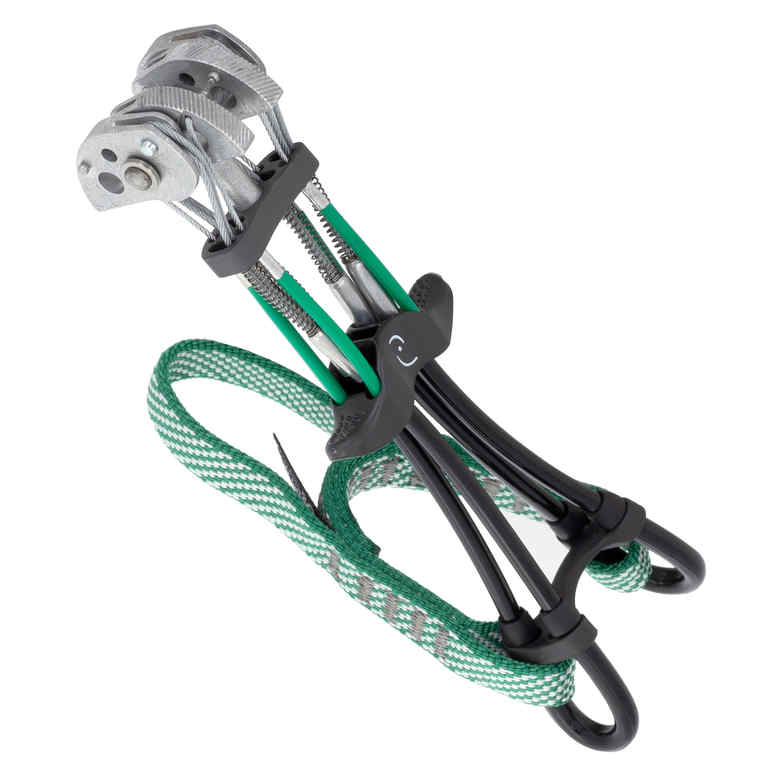
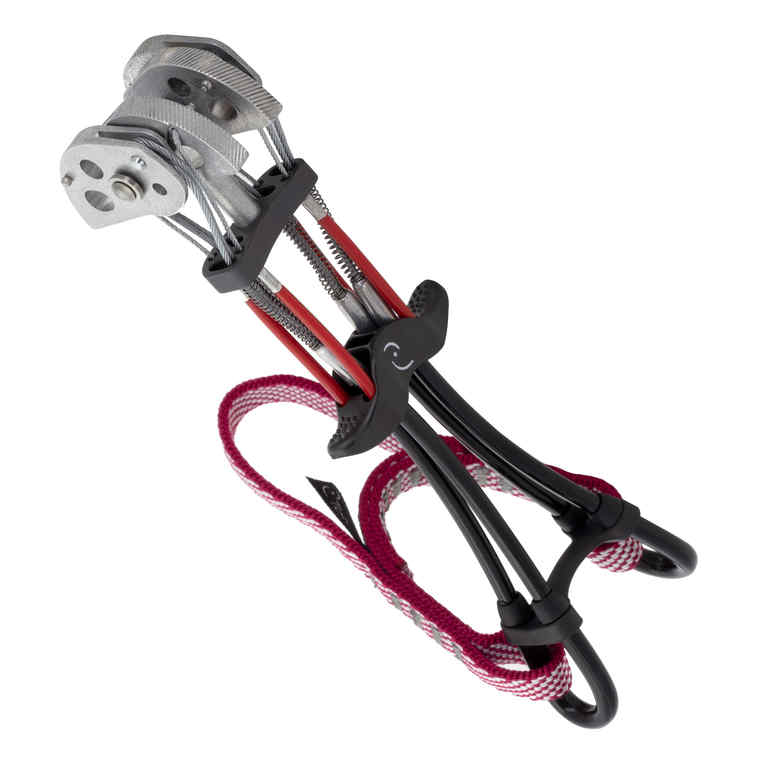
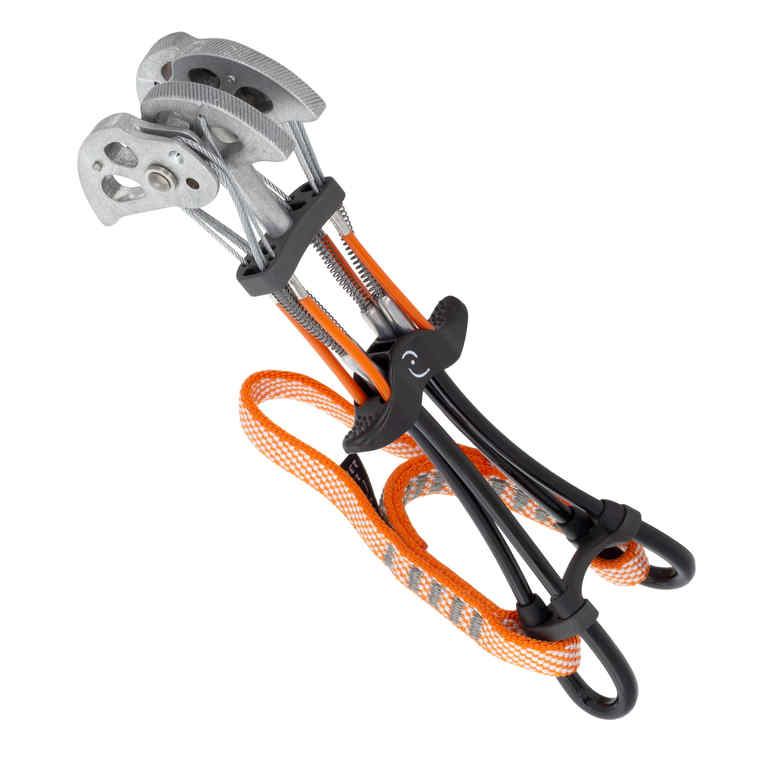
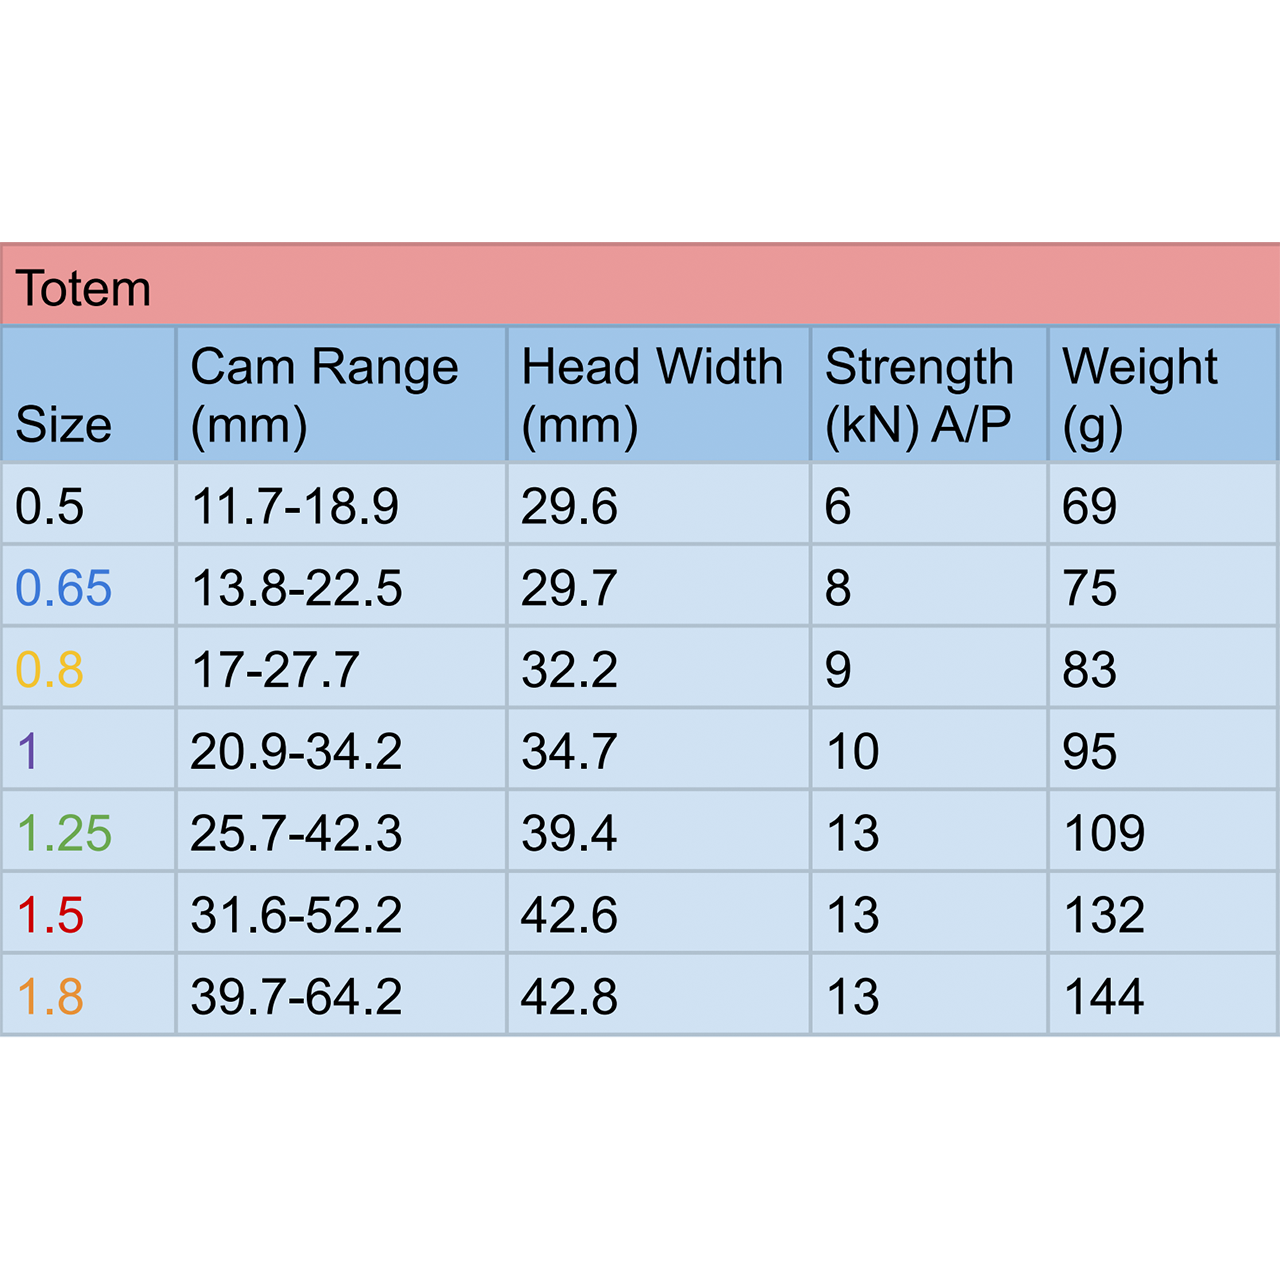
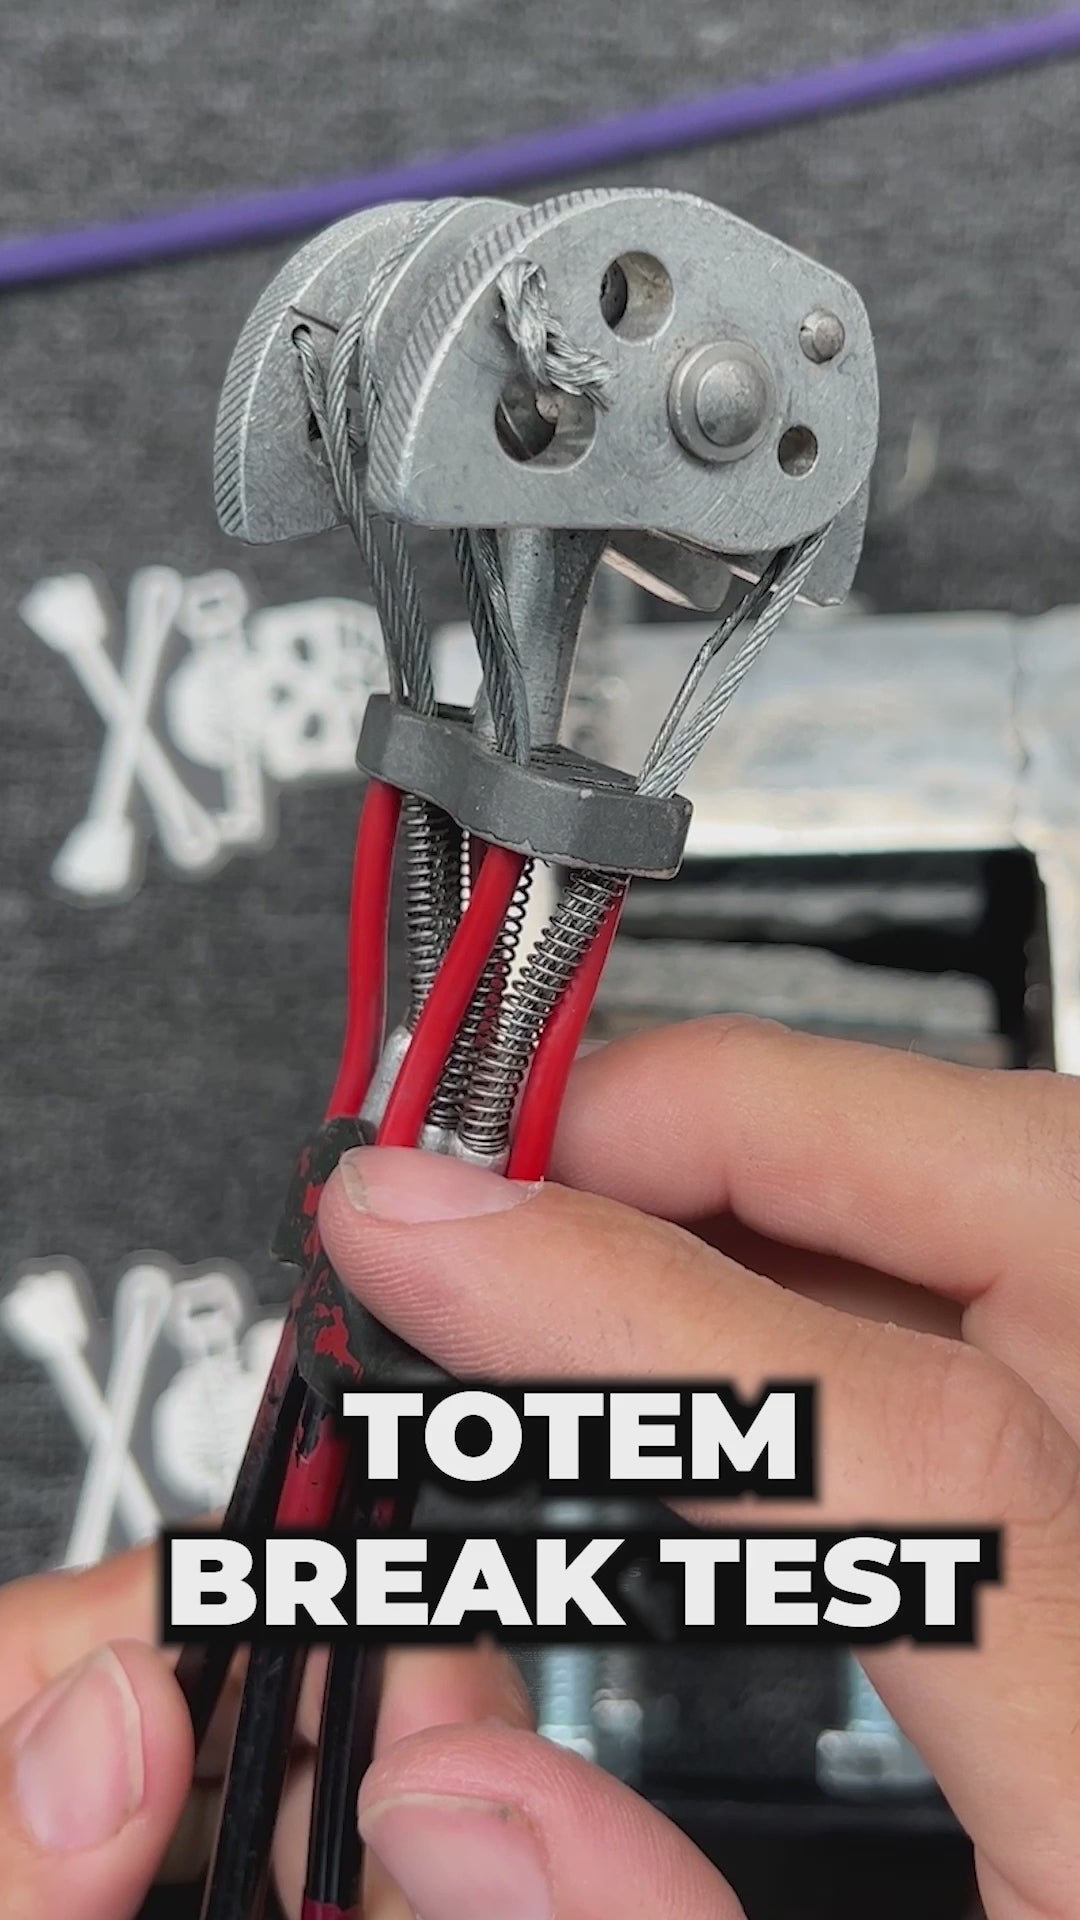
Totem cams function very differently to most other cams. While most cams have a single stem, Totems use an evolved U-Stem design that isolates each set of cam lobes. This means that the lobes on a totem don’t all need to be cammed the same amount to hold well, making them bomber in flared placements where a traditional cam would not hold at all. The Totem’s versatility, when paired with their narrow head width and flexible stem, make them the kings of finger pods and flares. These cams run in sizes from tips to hands, but we think the best are the black, blue, and yellow (0.50, 0.65, 0.80) sizes. The lobe shape gives them almost the same range as a double axle cam. Totems are not cheap, running at $95, but they are by far, our most popular ITEM, not just cam. Careful using someone's totems, you can't go back once you try them.
Pros
- Super versatile
- Multiple points to clip
Cons
- Expensive
- "Heavier" than other options
Nuts
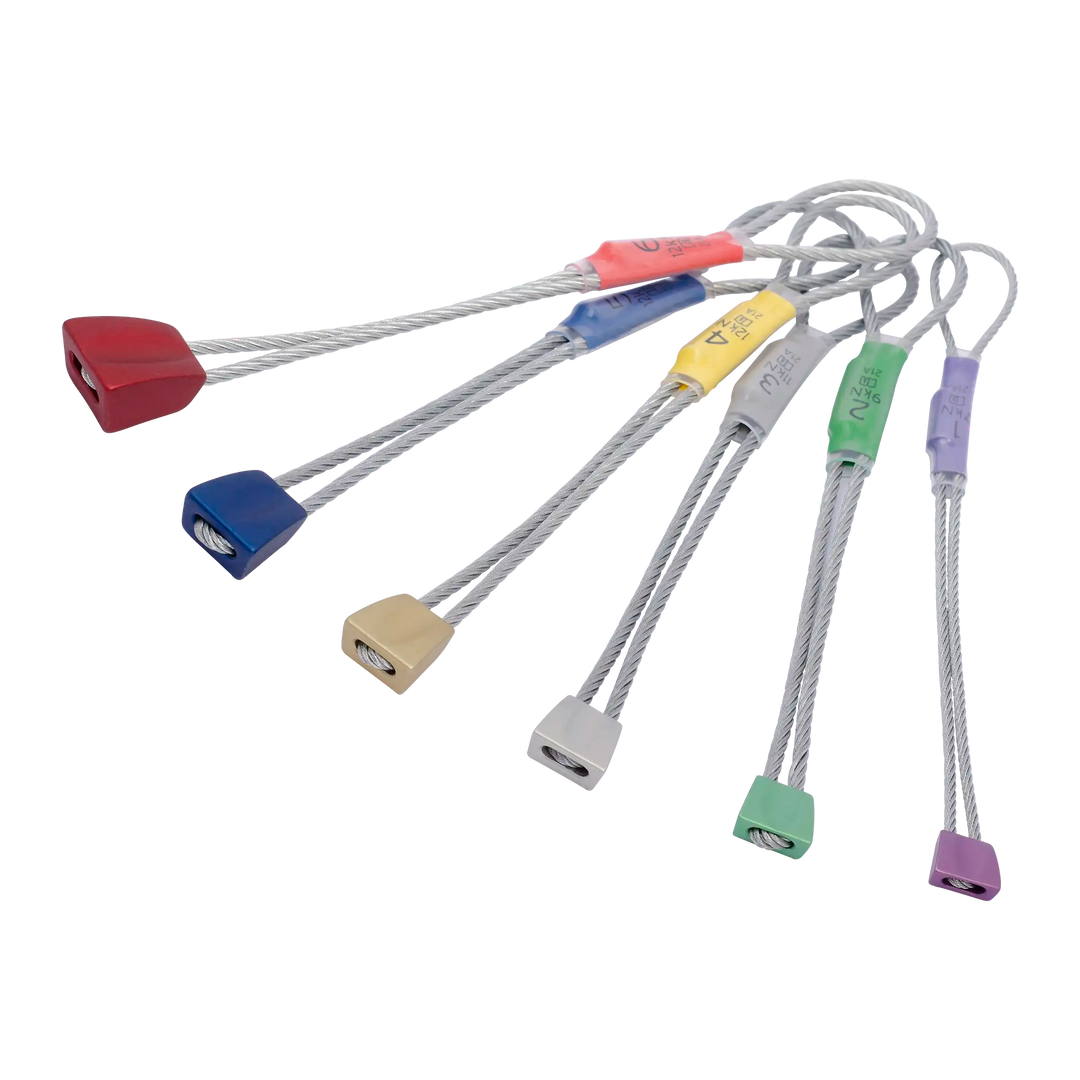
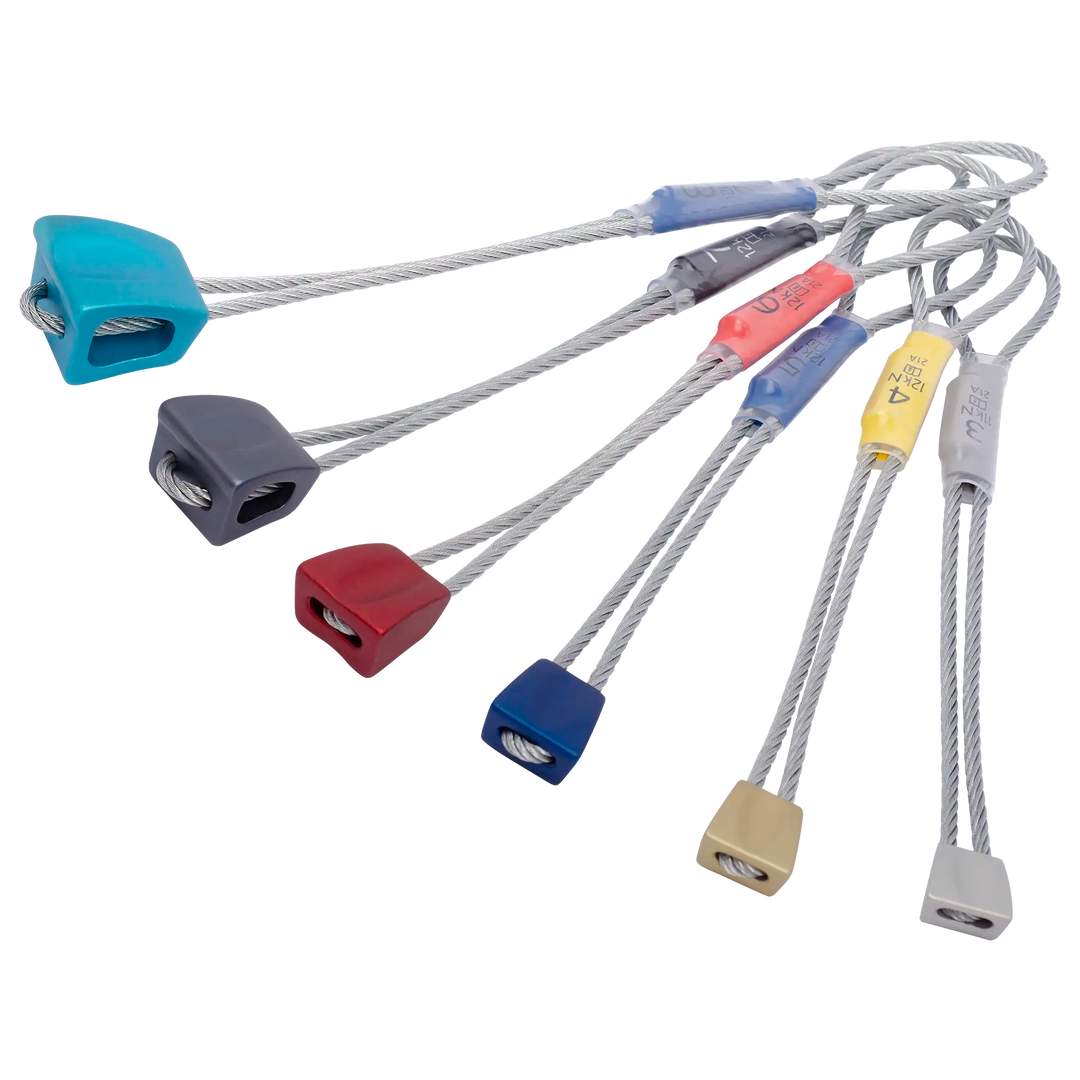
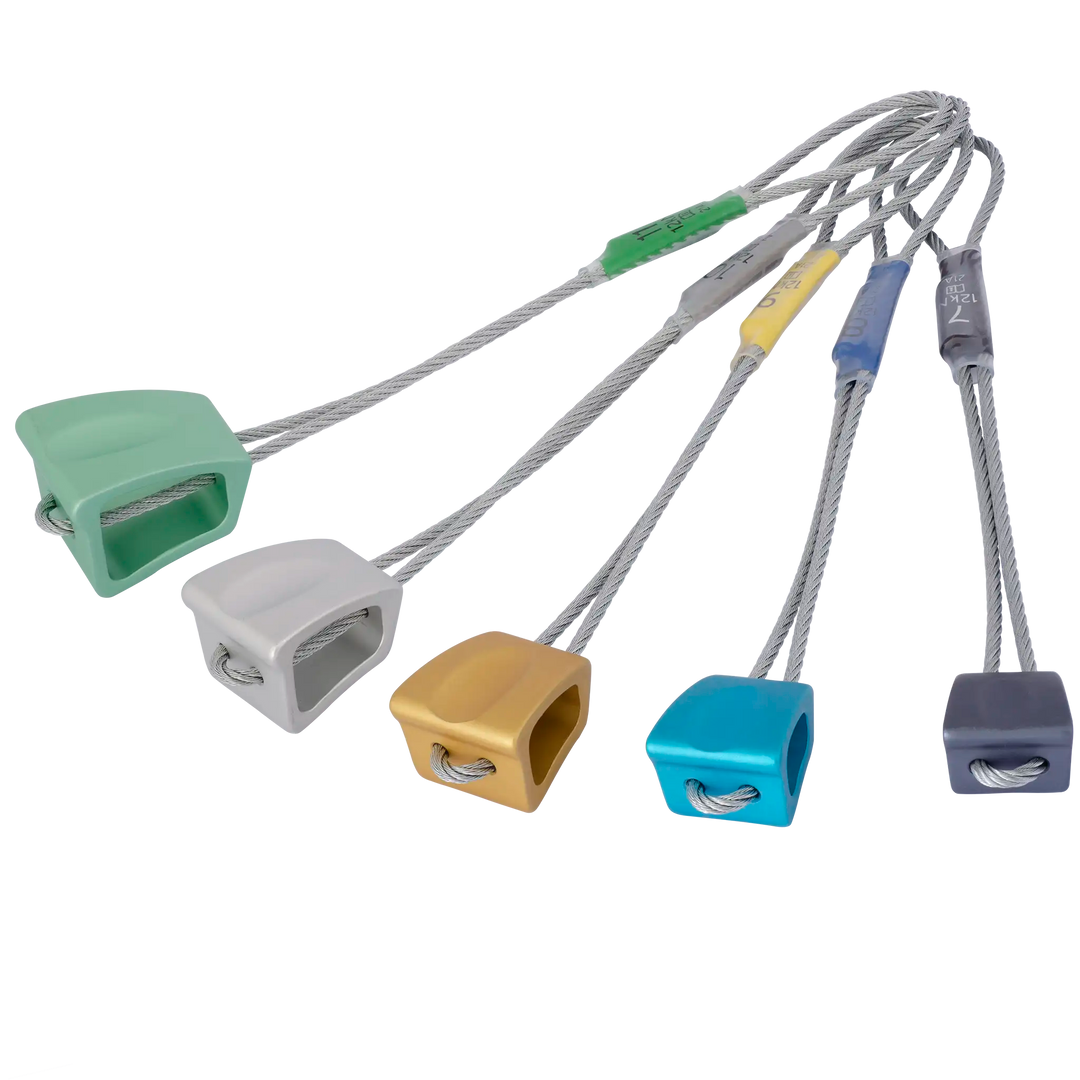
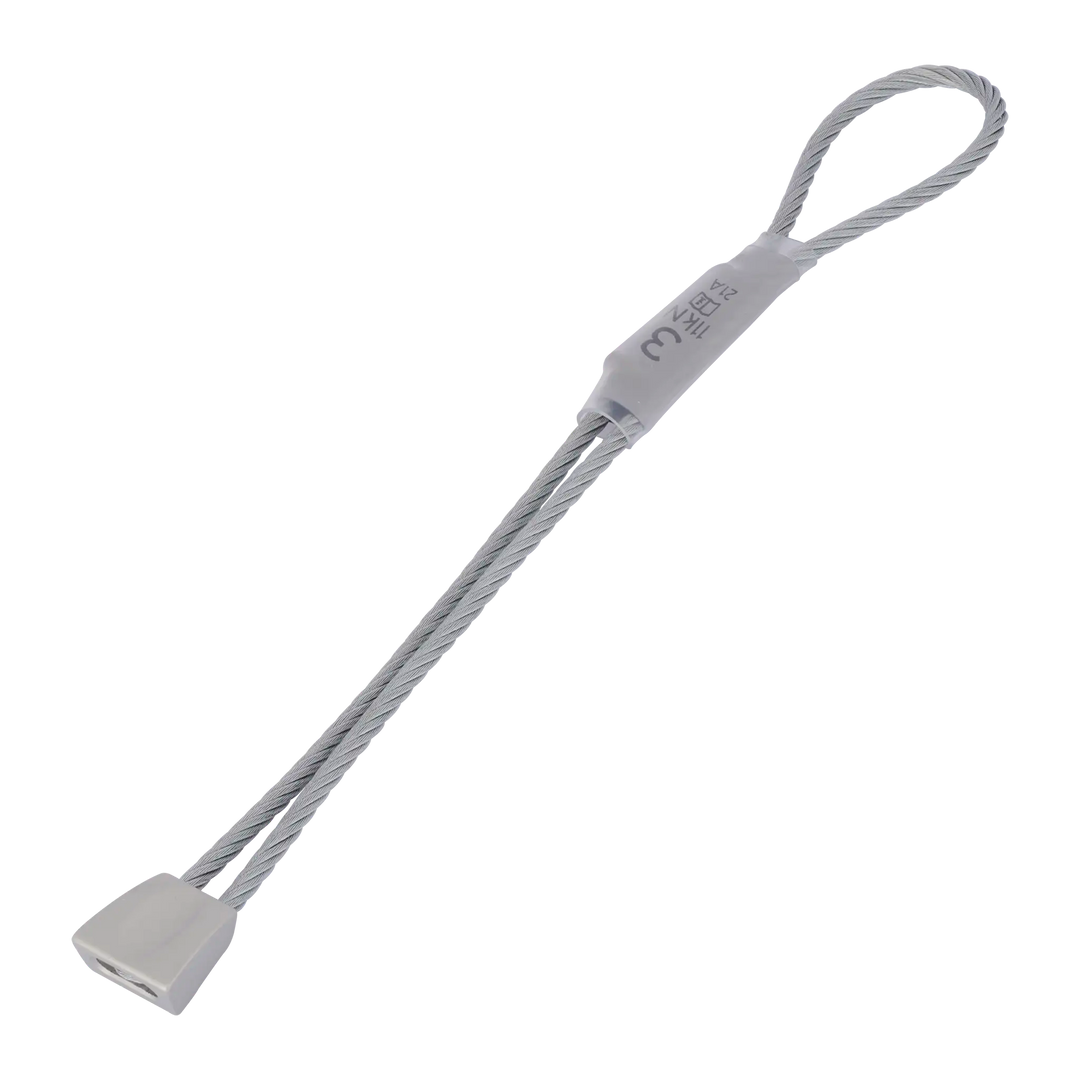
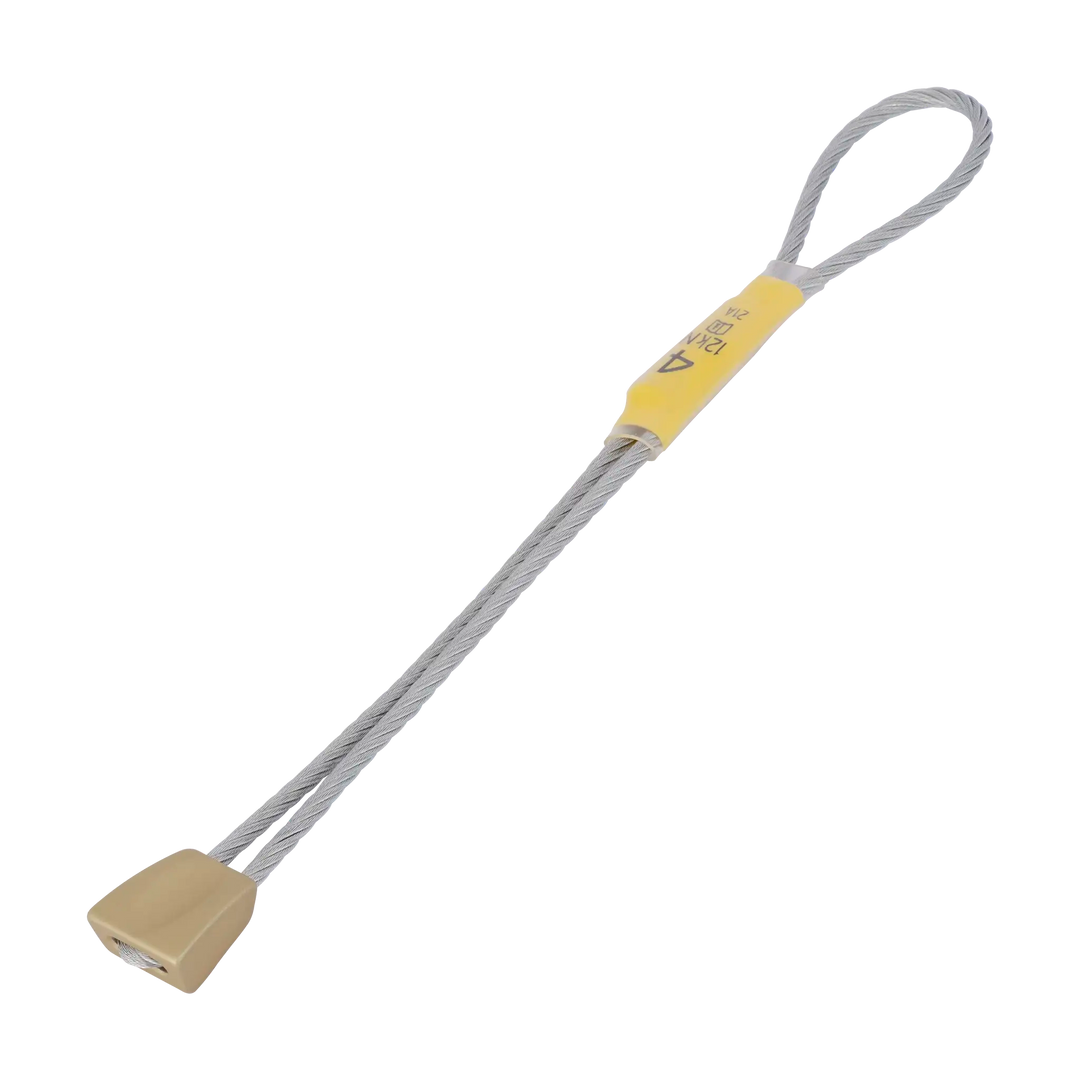
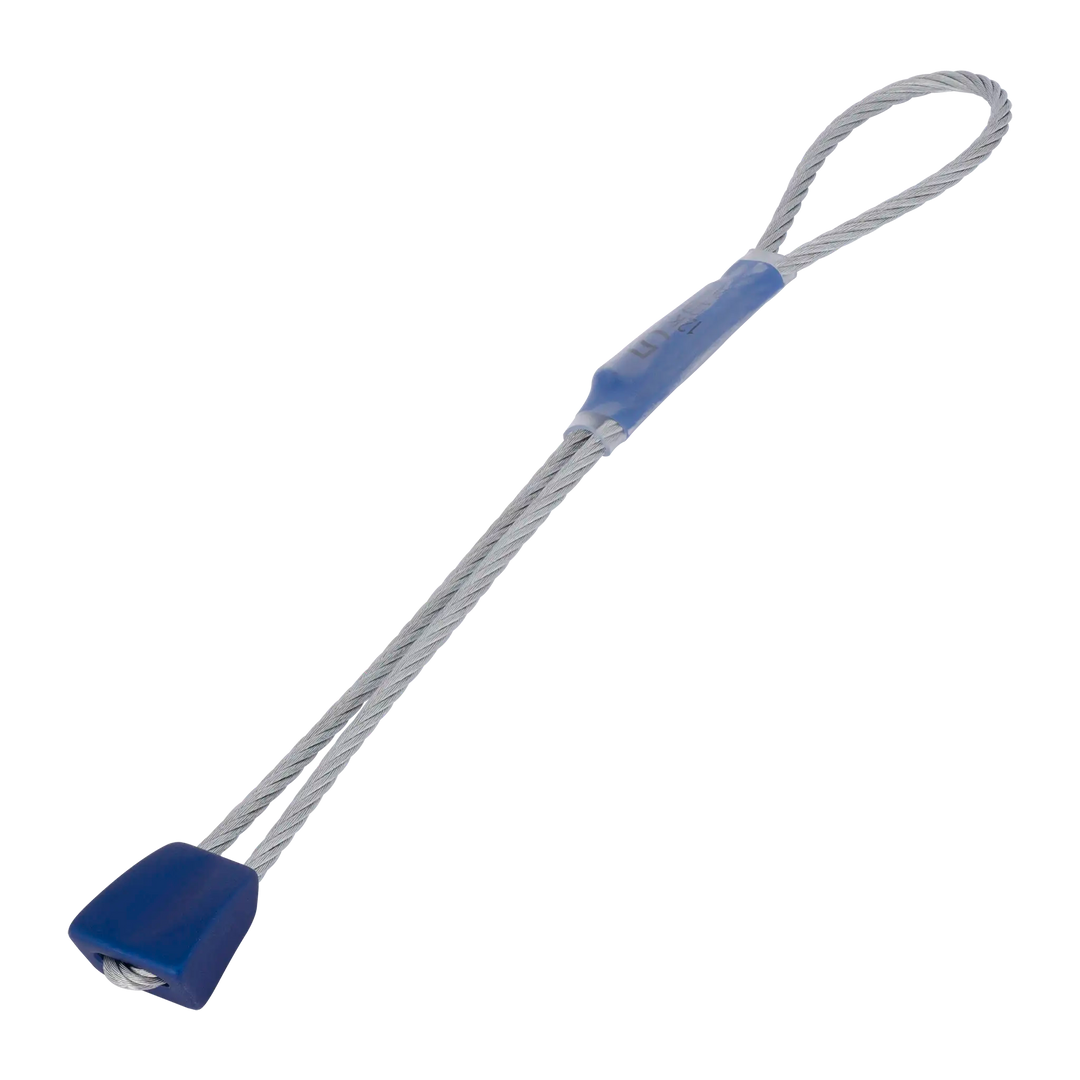
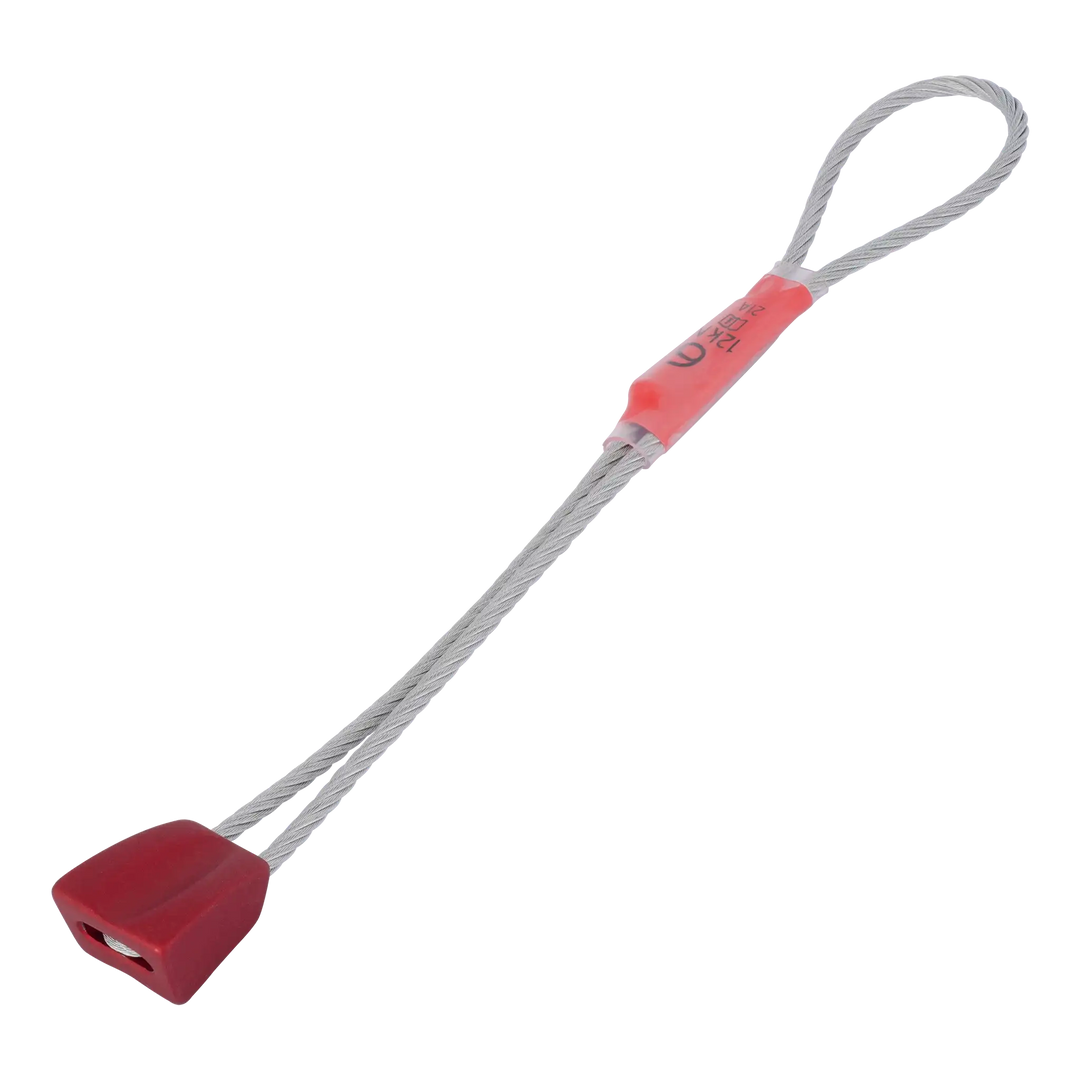
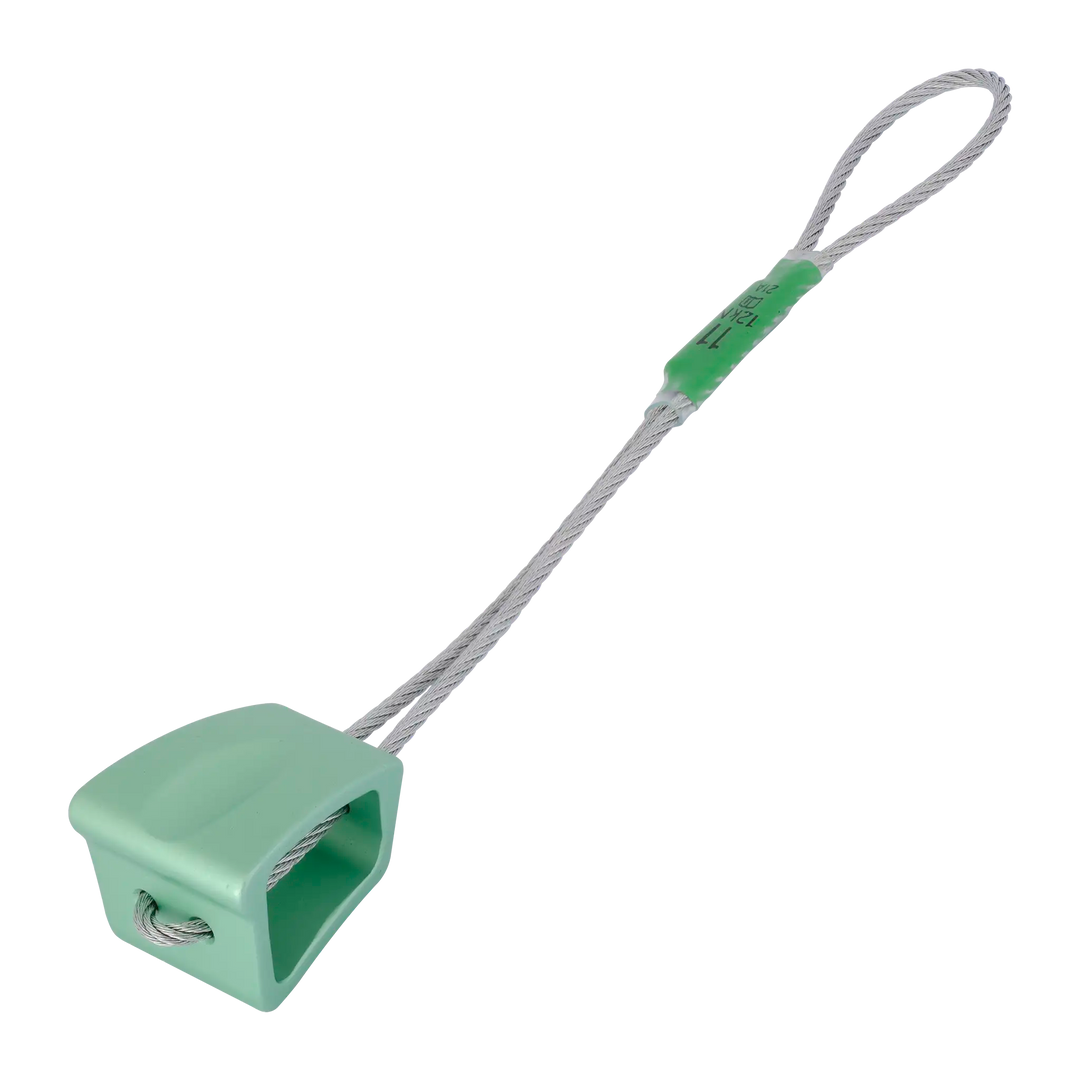
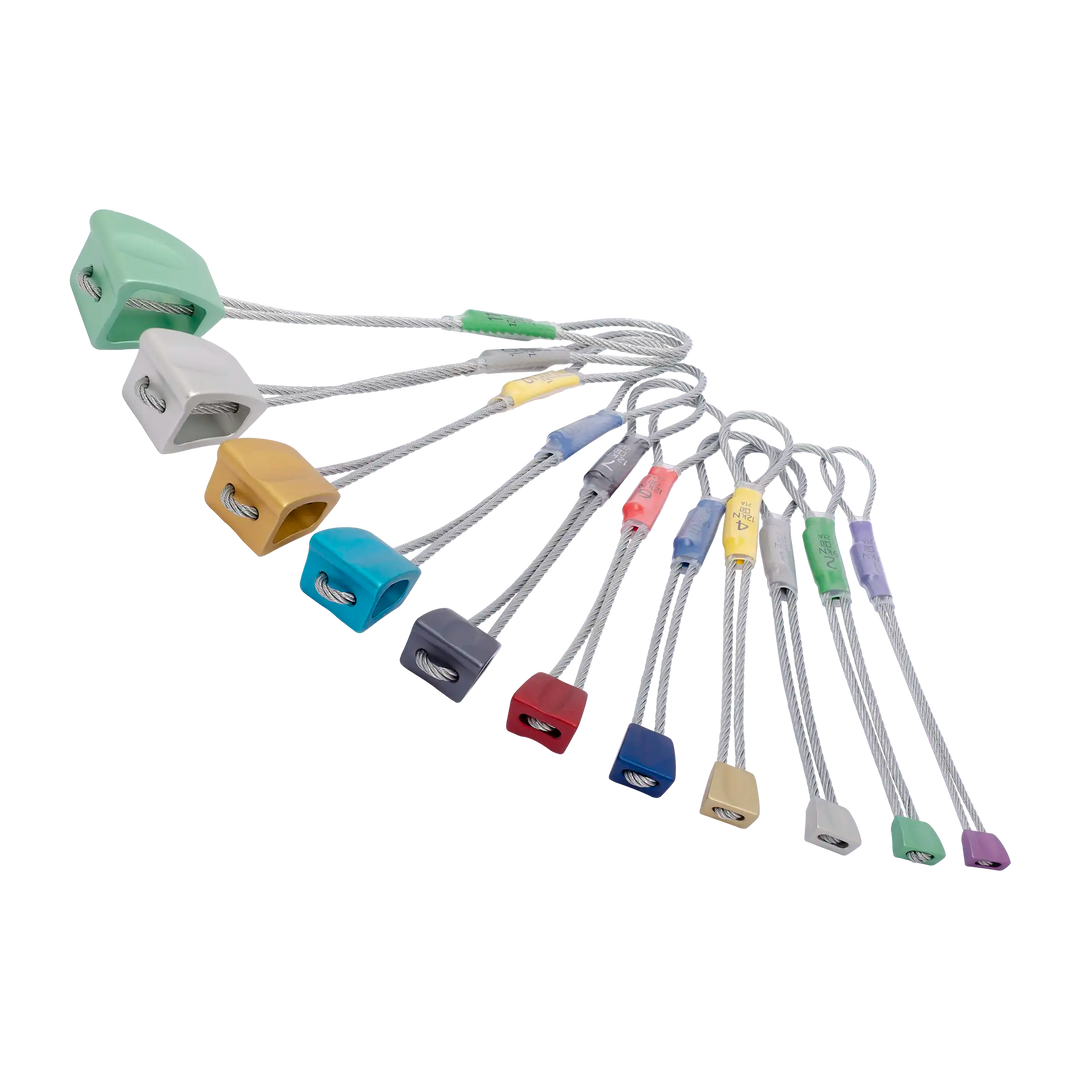
Nuts, stoppers, chocks, whatever you want to call them: these wedge shaped passive protection devices are what started the clean climbing revolution of the 1970’s. At the time, many nuts were constructed at home out of any chunk of metal you could find and slung with a loop of cord. Now, many different climbing brands offer a set of nuts with steel cables that fit cracks all the way from a laser-cut seam to a full on hand crack. While cams are often easier to place and clean, nuts are much cheaper and will vastly increase your total possible gear placements. Having more gear is never a bad thing, especially if you are a newer trad leader, so carrying a set of nuts is super important.

Wallnuts
Tier benefits:
Tier benefits:
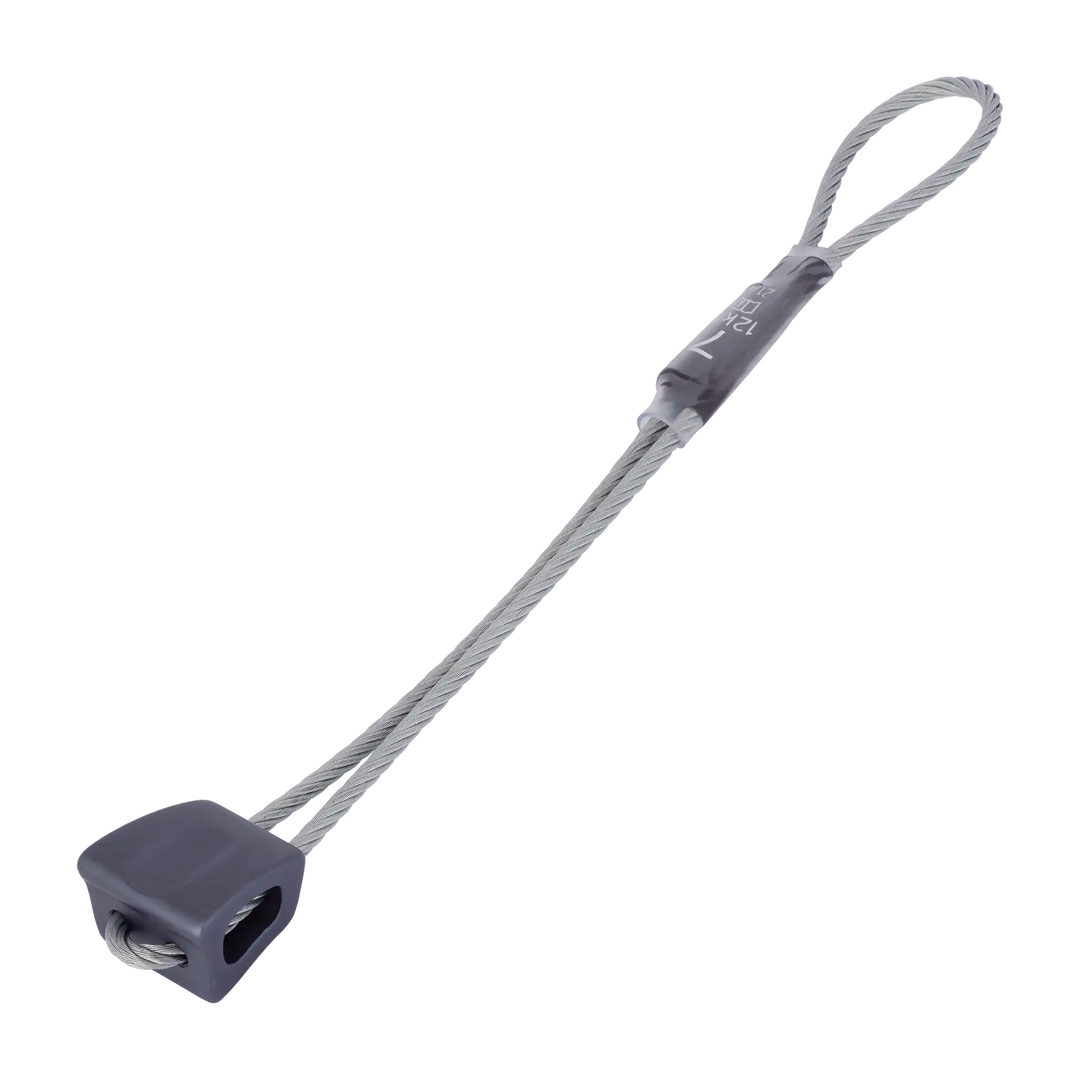
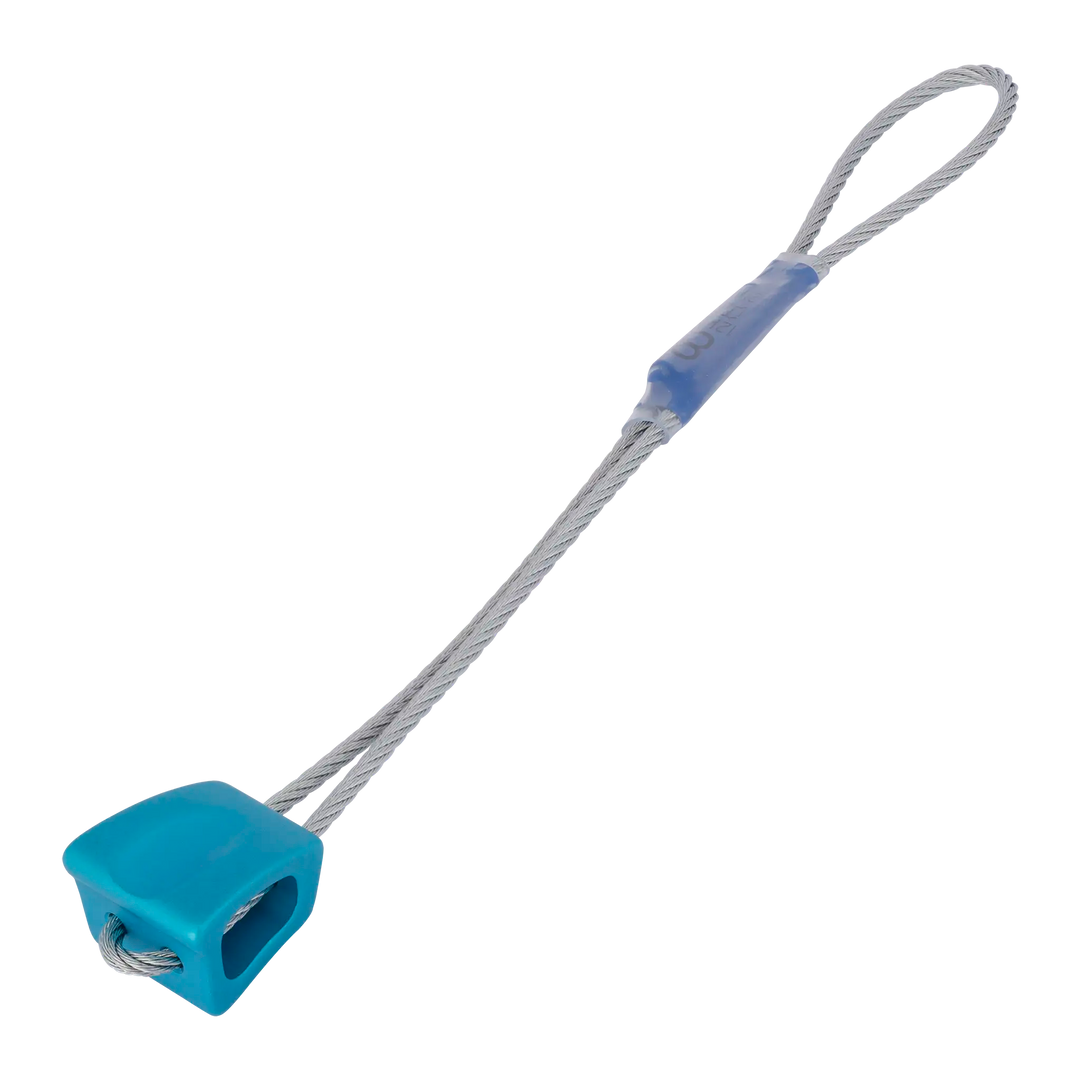
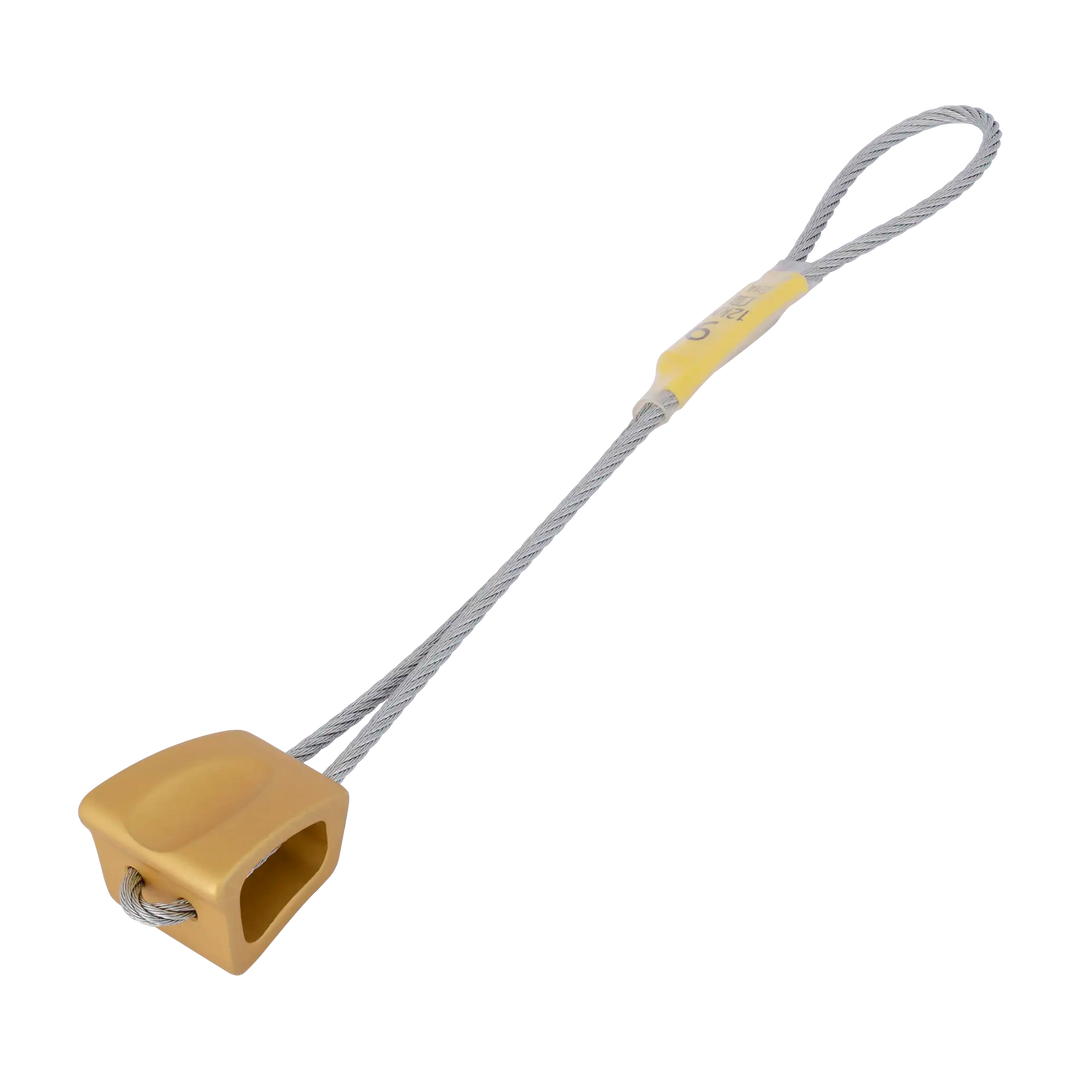
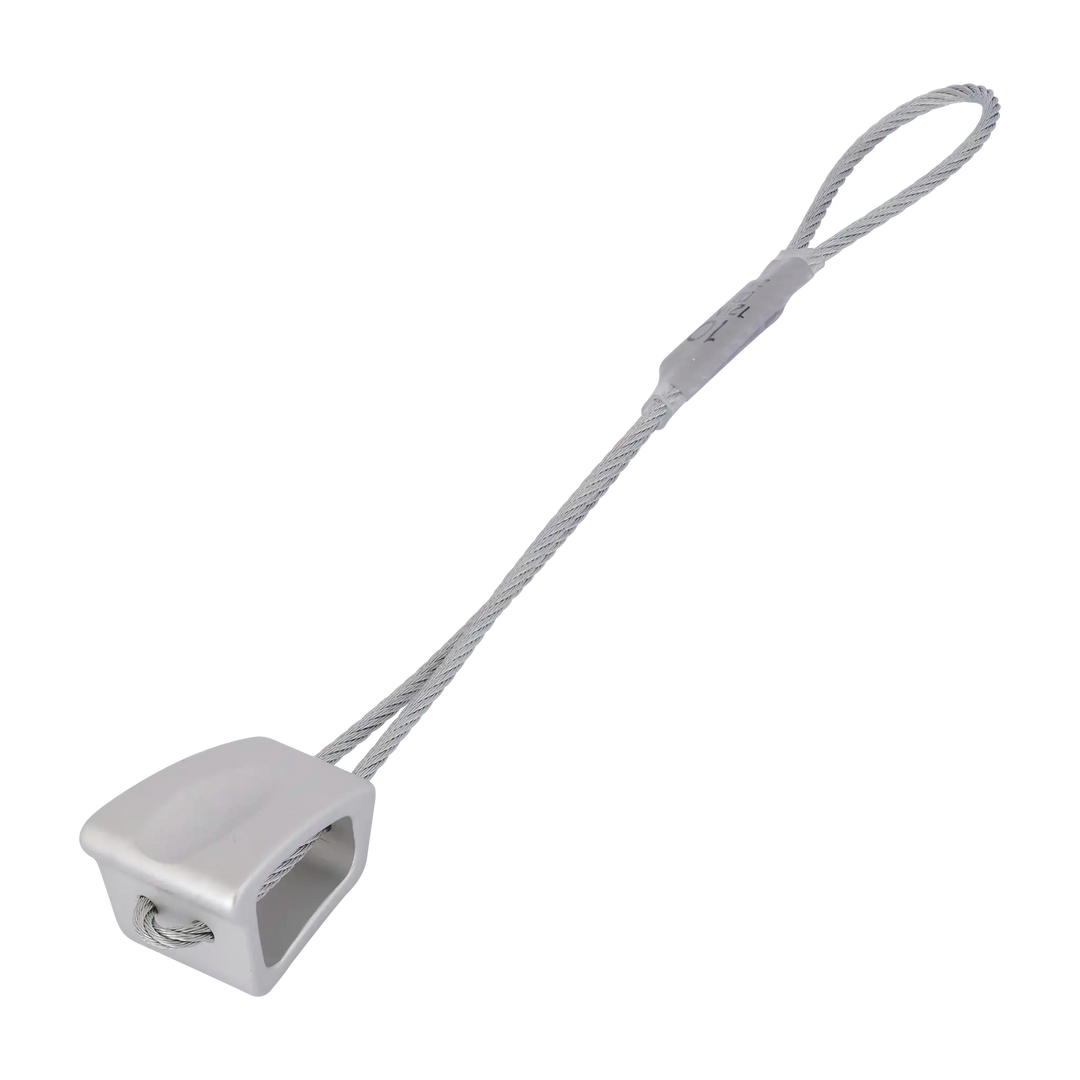
All of our favorite passive pro is made by DMM. The Wallnuts are no exception: they are exactly what we want out of a traditionally shaped nut. Color coded heat shrink on the cables makes selecting the right size easier than other brands, and their stiff cables make placing these above your head a breeze. Their middles are slightly scooped out, making them fit better in cracks that are not perfectly smooth. Like all traditionally shape nuts, they don't perform well in flares.
Pros
- Stiff cable allows easier reach-y placements
- Color coded heat shrink
Cons
- Bad in flares
Classic Rock Set 1-10
Tier benefits:
Tier benefits:
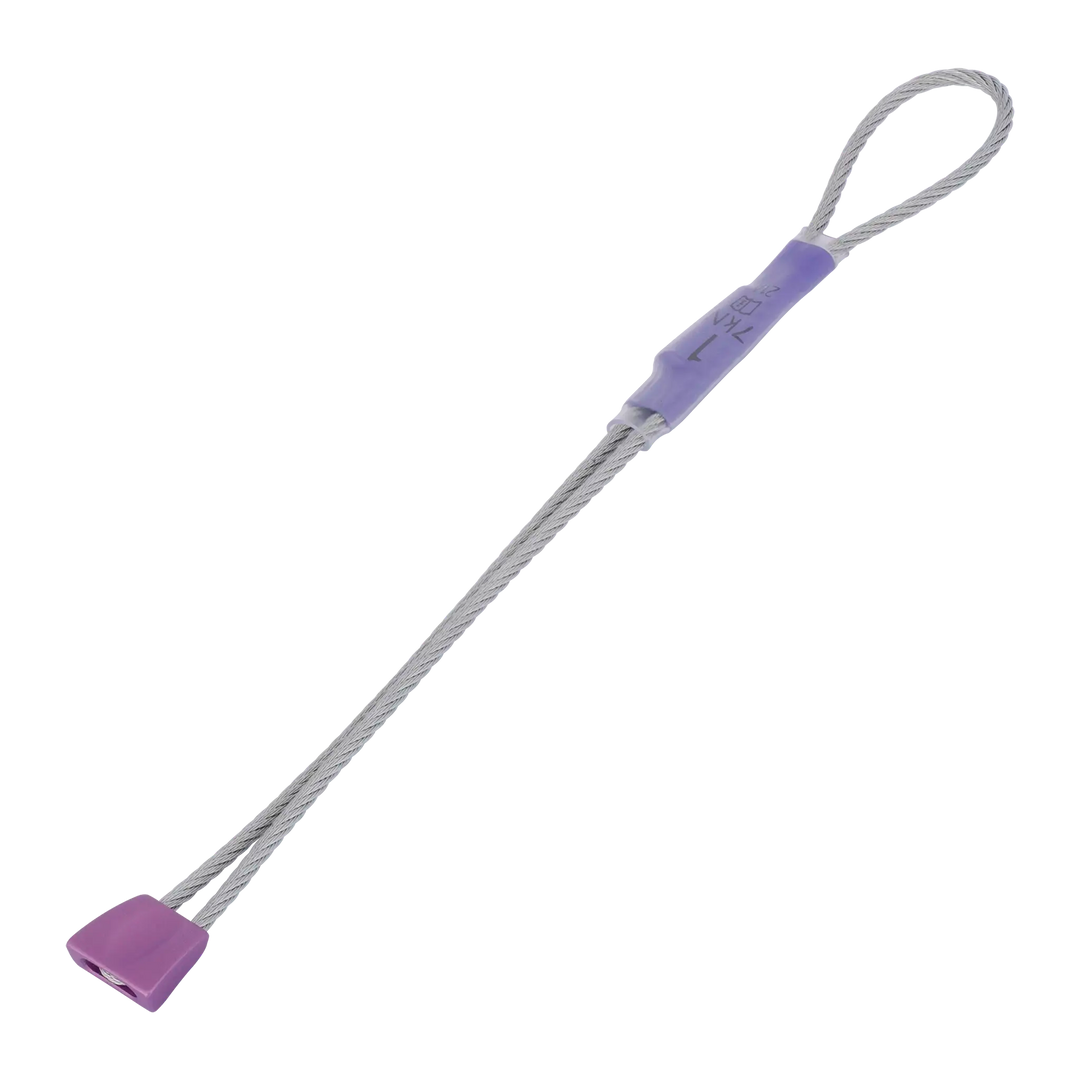
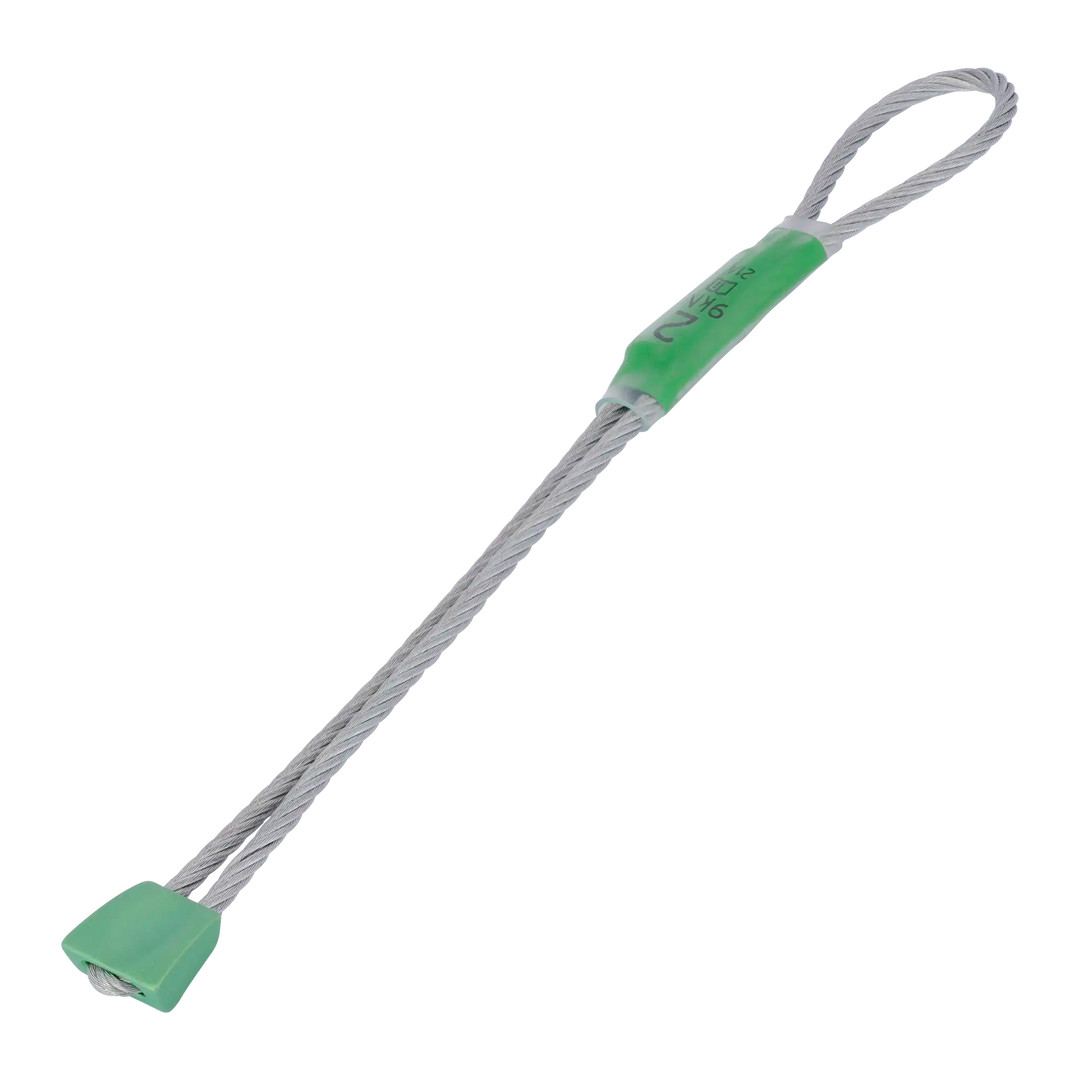
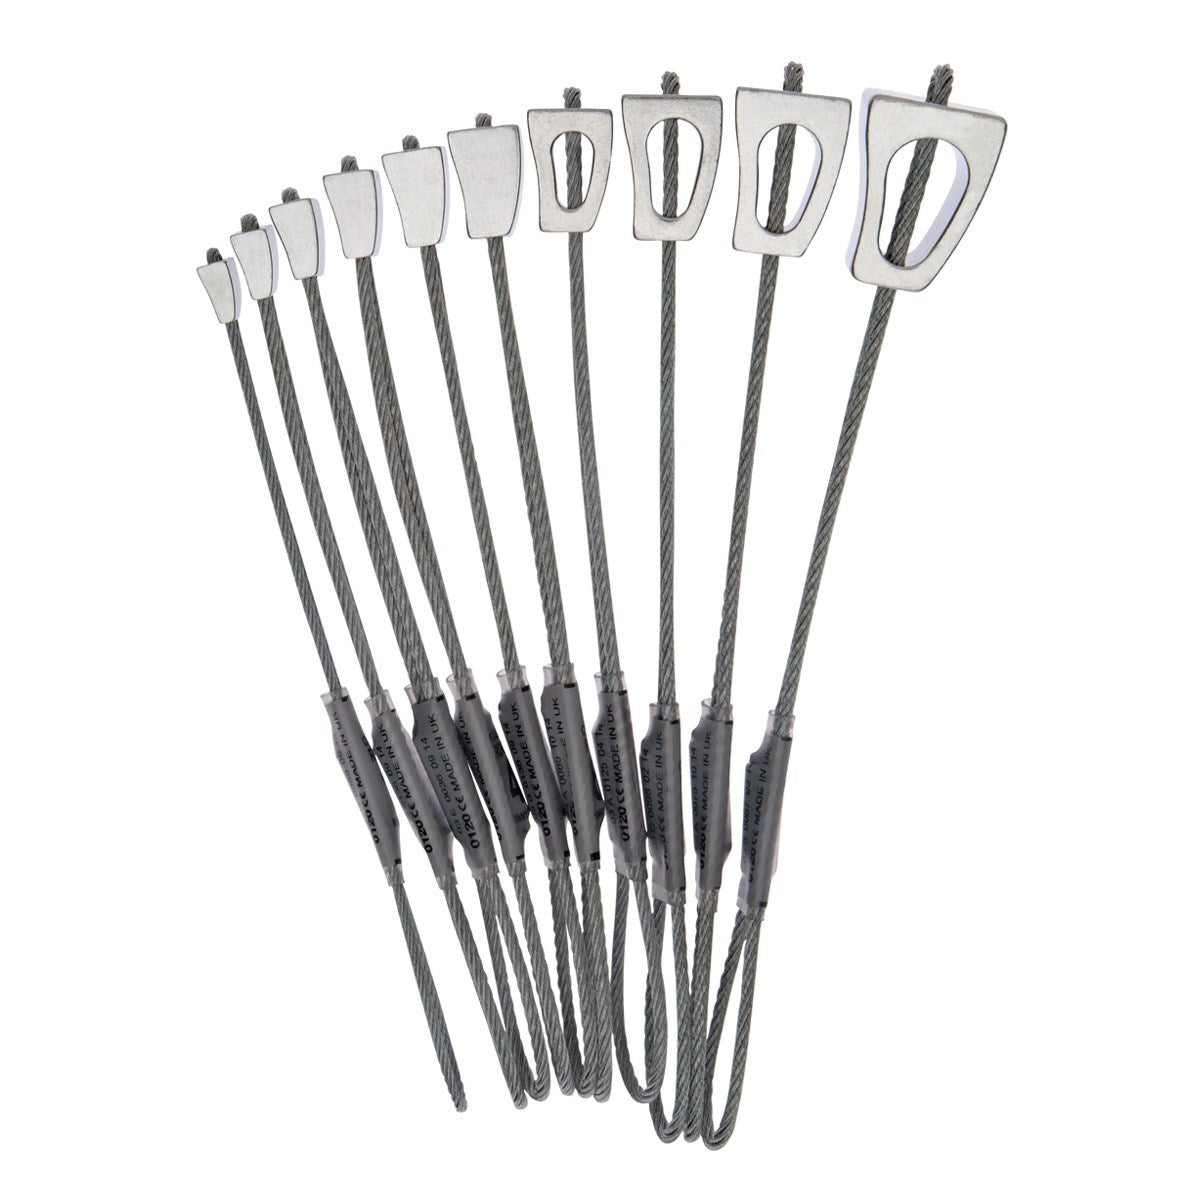
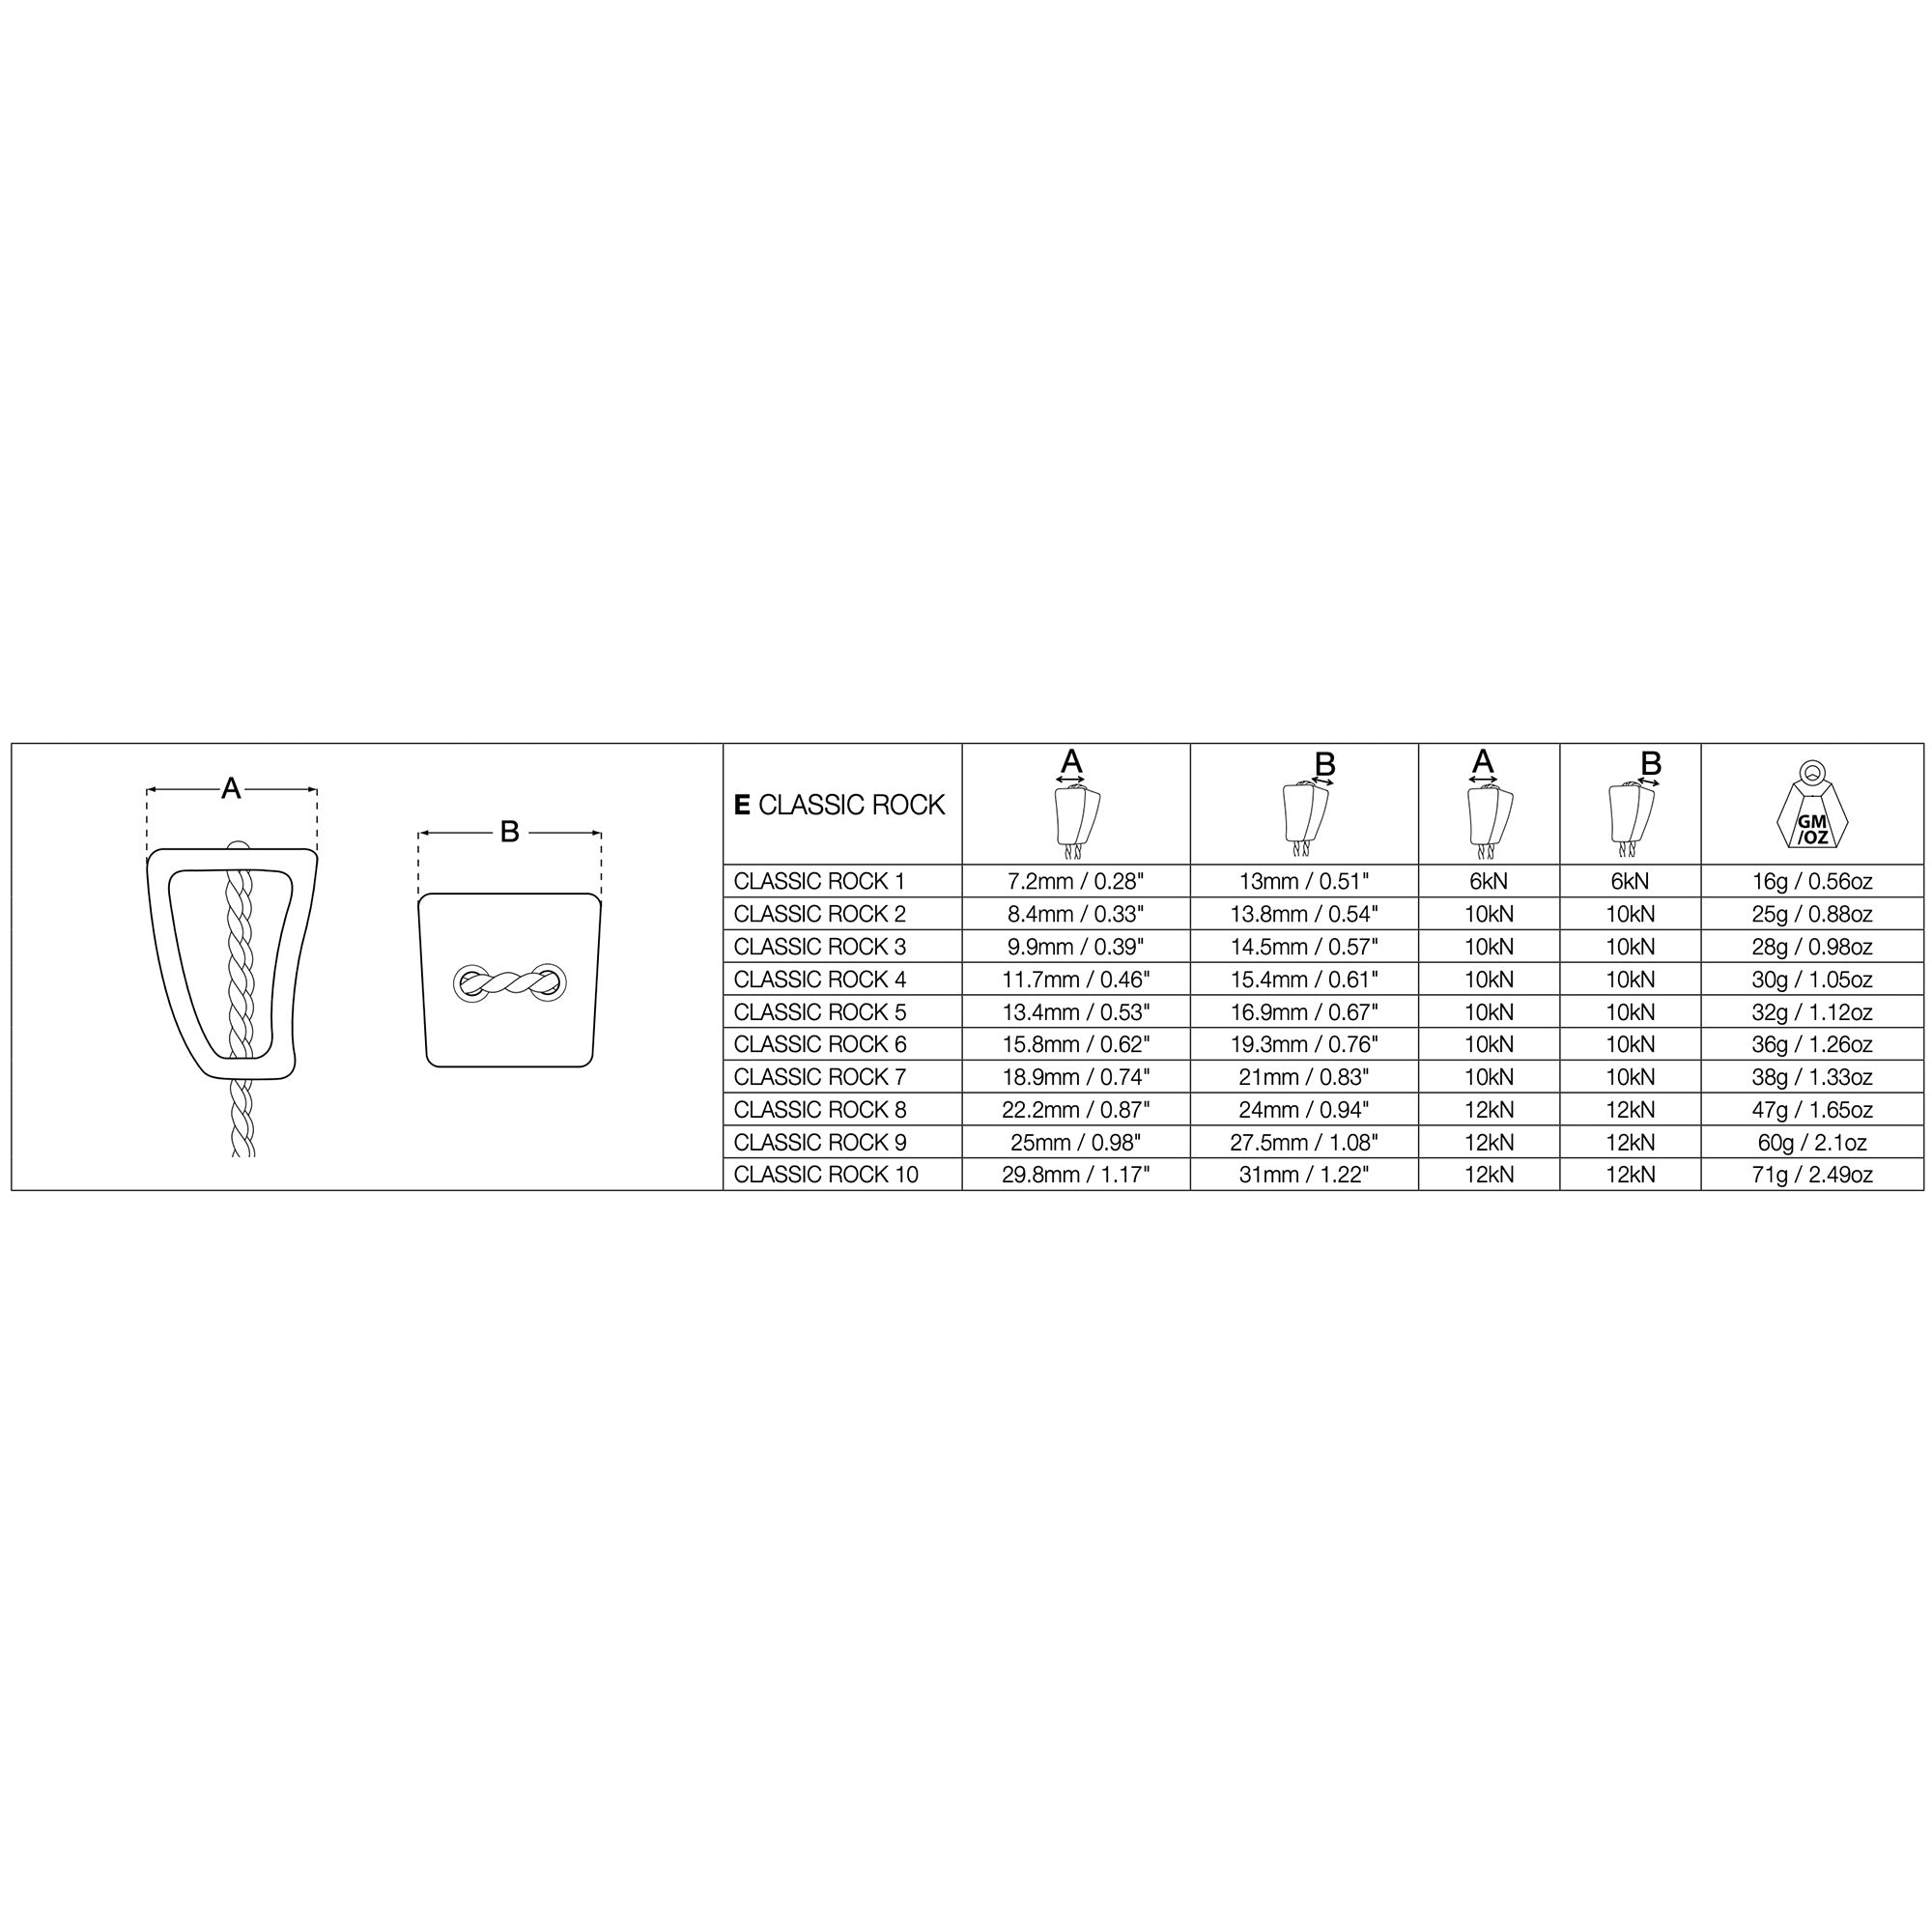
A full set of nuts is a great way to double the small options on your rack without doubling the price. Wild country's Classic Rock Set is the cheapest set of nuts we have found so far. Good luck figuring out what size each one is when you are in a pinch and it only comes in a set, but they are bomber.
Pros
- Low cost
Cons
- Only available in a full set
- Not anodized
Offset Nuts
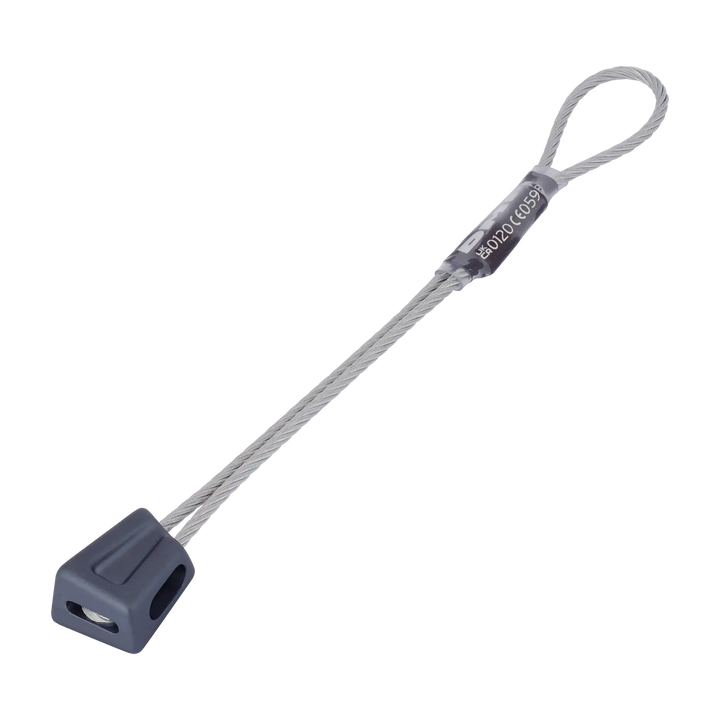
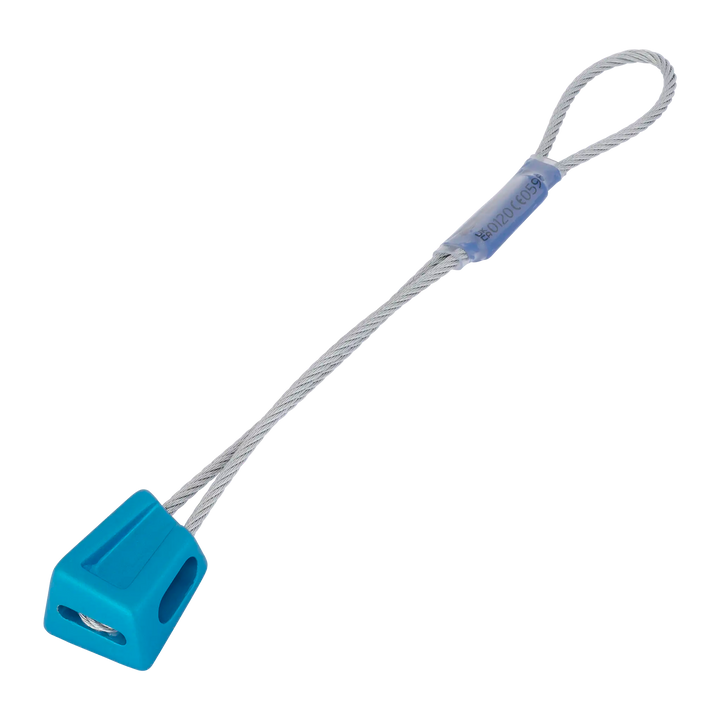
Standard nuts don't work very well in flared cracks. Offset nuts have a flared shape, making them hold better in these flared placements. Since cams tend to work well in places where a standard nut would, we find ourselves placing cams more often than standard nuts. When we find a place that a cam won't go, an offset nut will most of the time. Once you start climbing with offsets, you never go back.
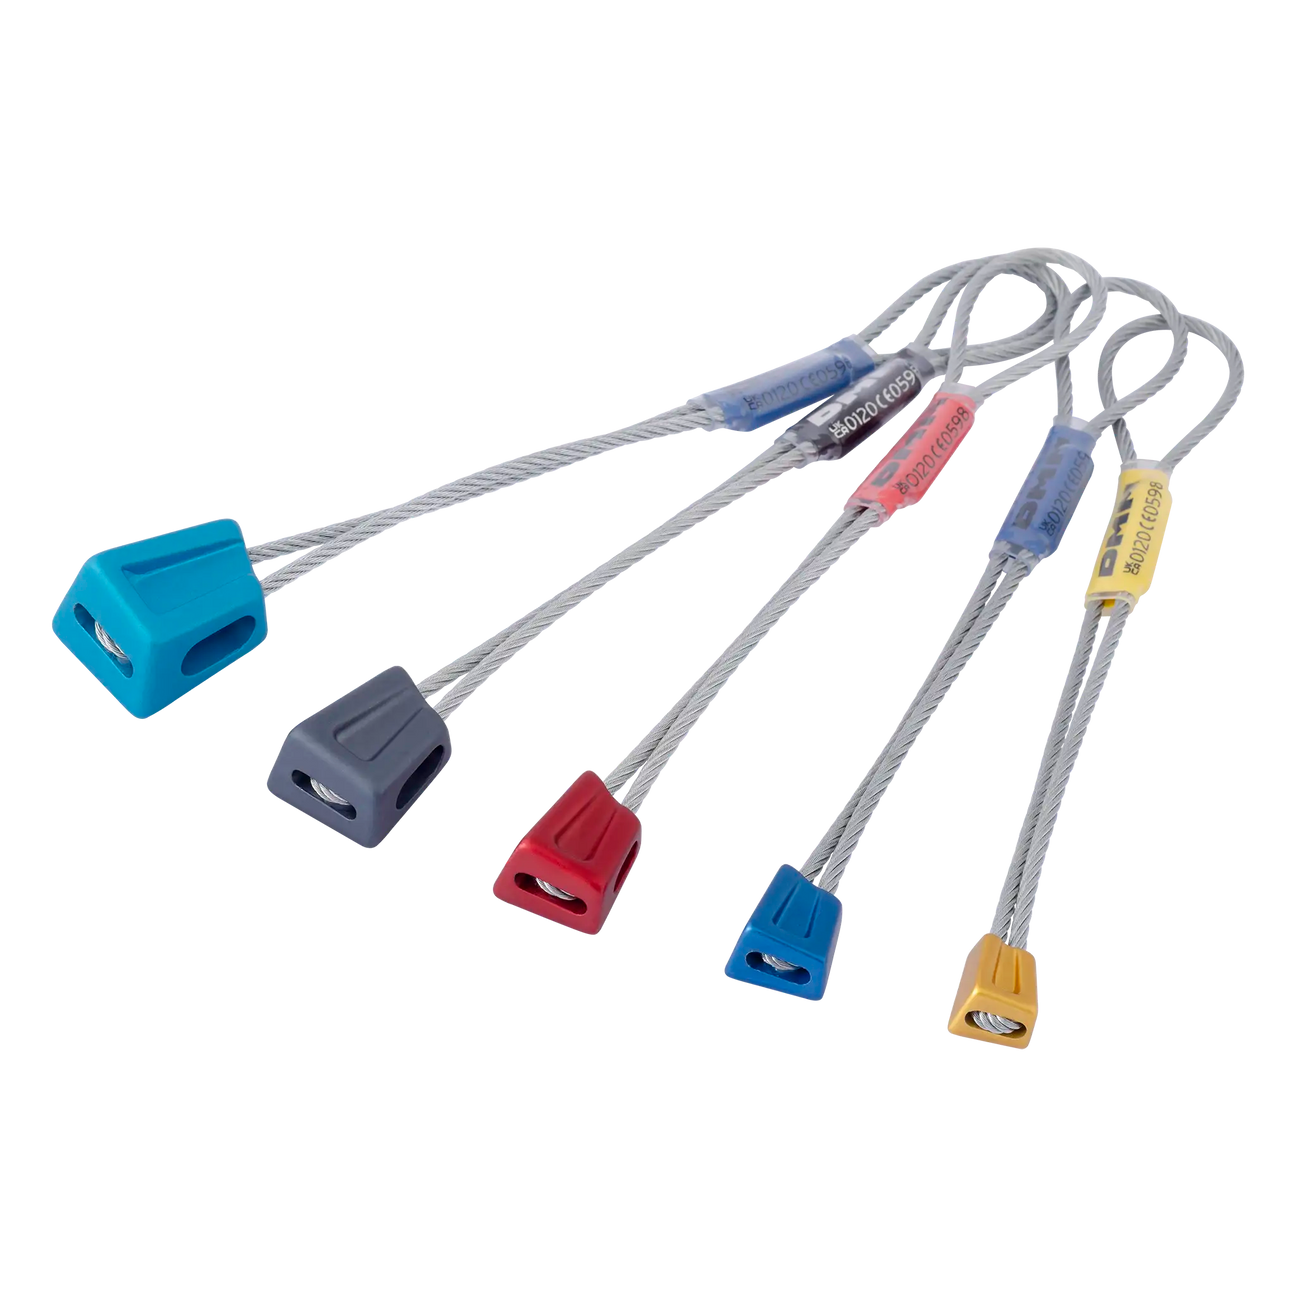
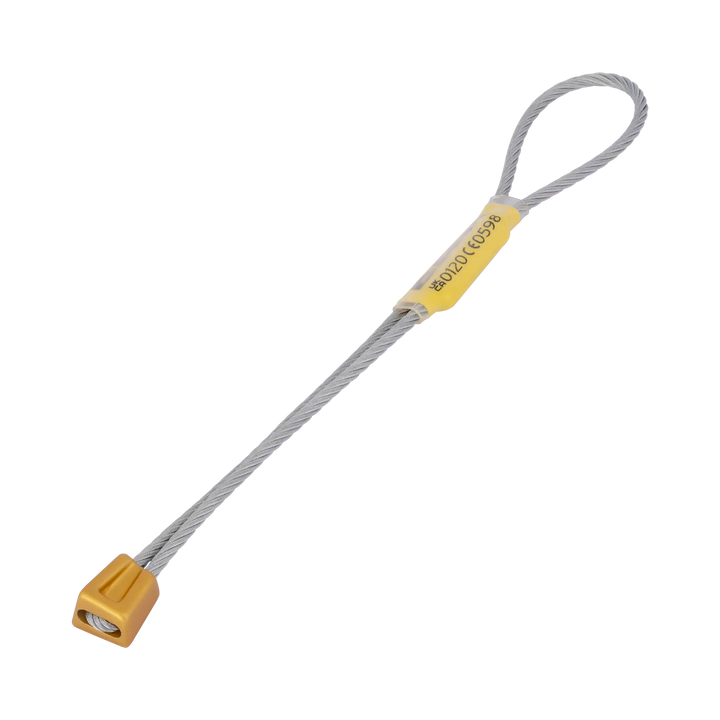
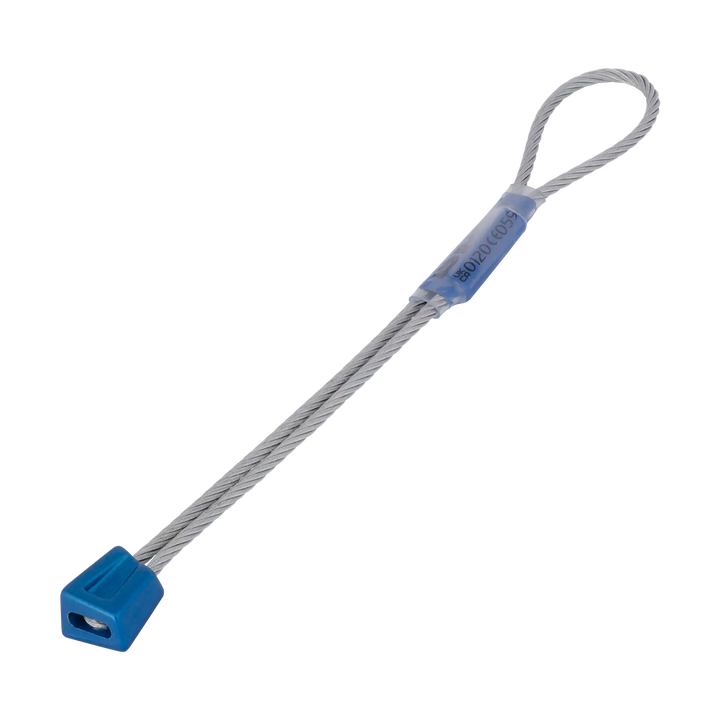
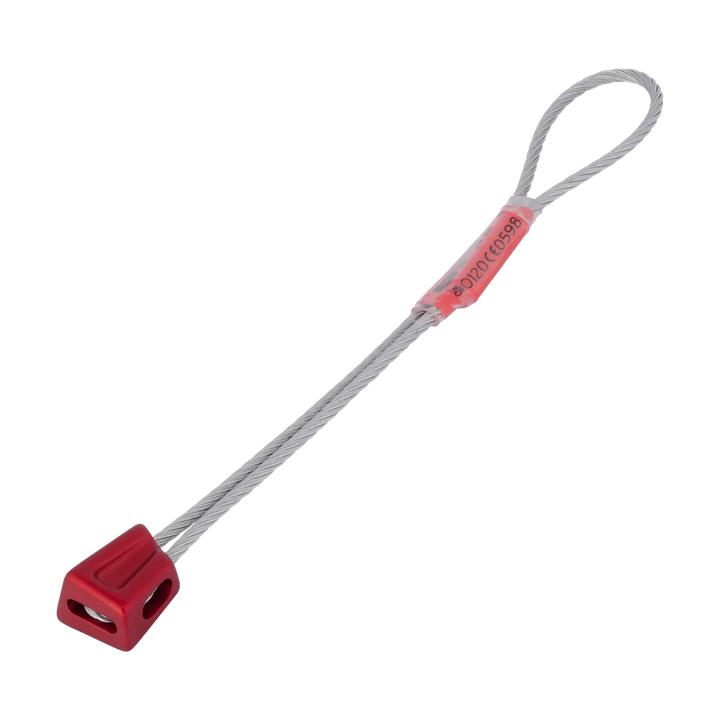

Alloy Offsets
Tier benefits:
Tier benefits:
The DMM Alloy Offset nuts are the gold standard for aluminum offsets. These nuts seem to fit everywhere, and hold shockingly well in outward flaring cracks. There are no other pieces of passive protection that we'd feel as comfortable whipping on as these. Their high holding power can be a curse sometimes; they love to get stuck in cracks. They only come in 5 sizes, so only having a set of offsets may not be enough passive gear for your whole rack.
Pros
- Works great in flaring cracks
Cons
- Hard to clean
- Not many sizes
Nut Tools
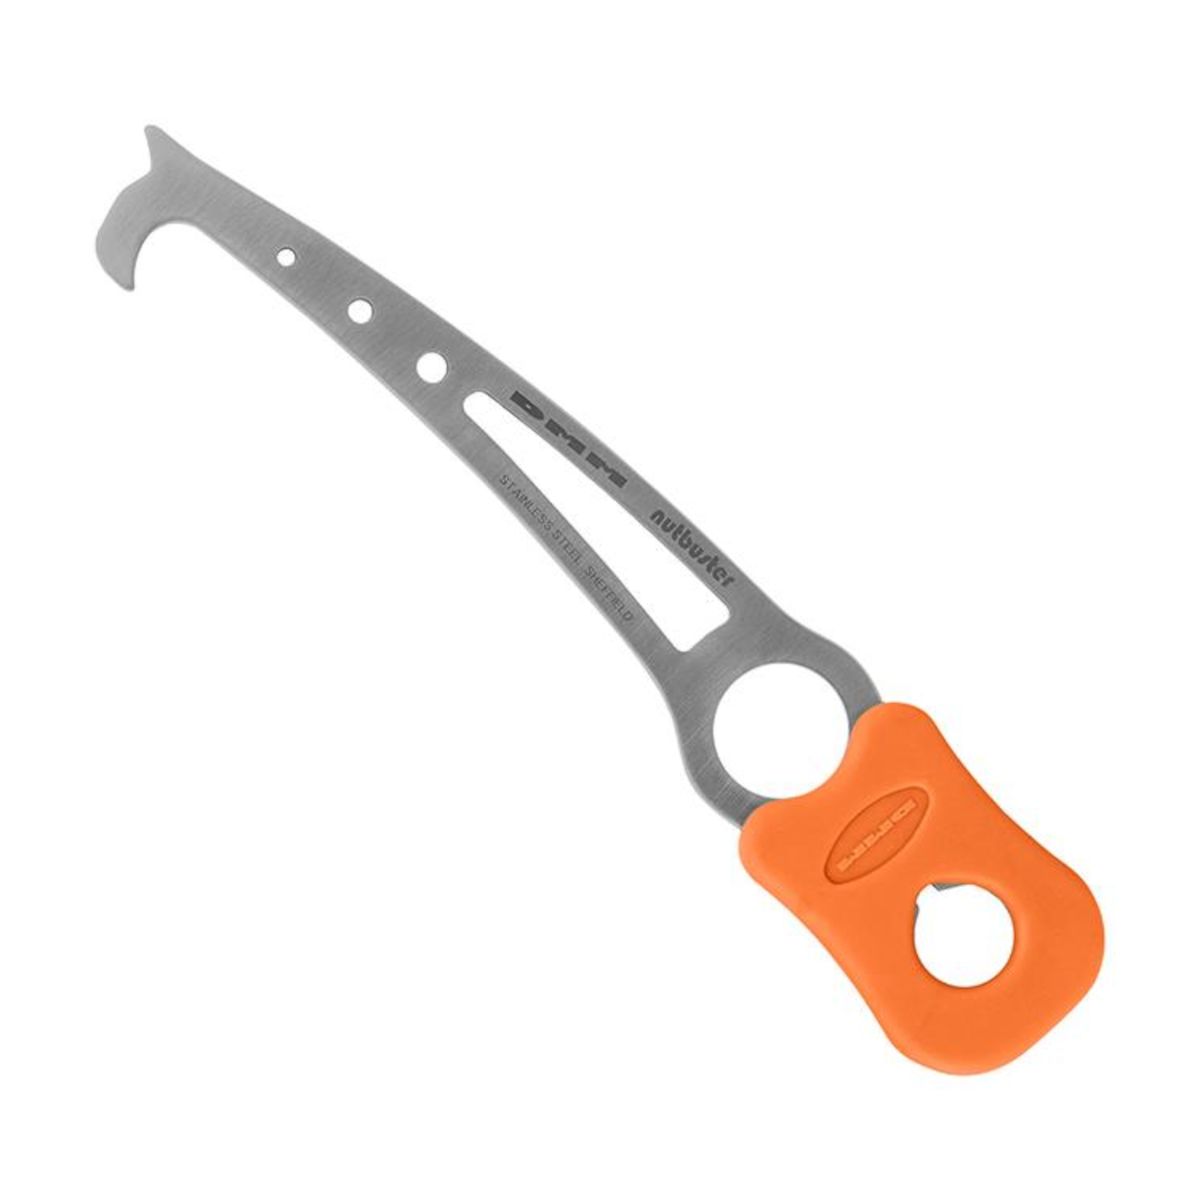
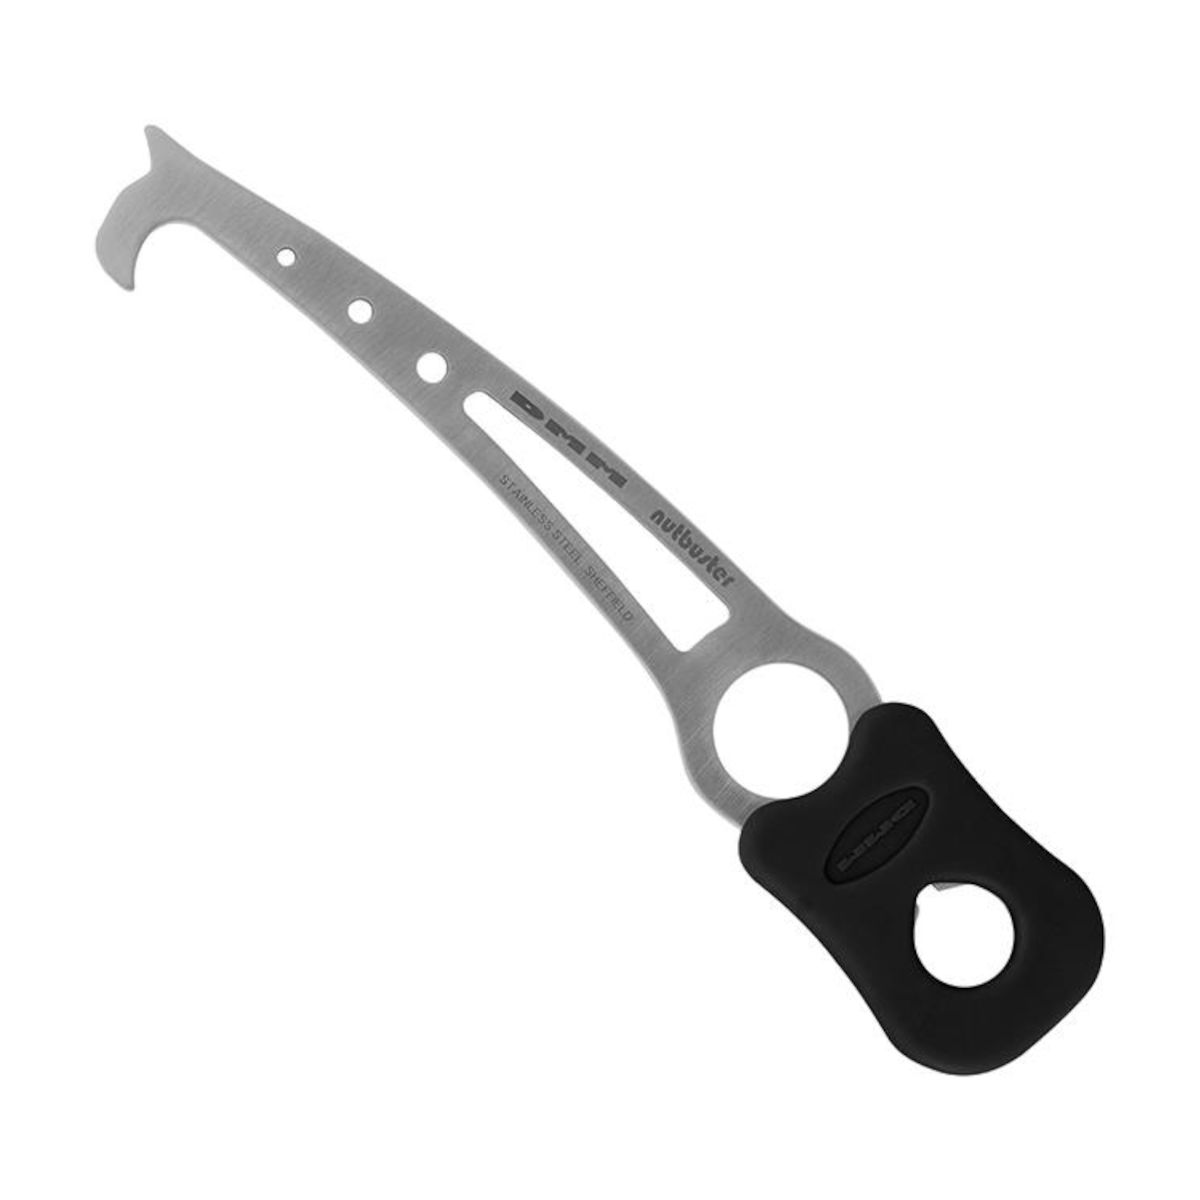
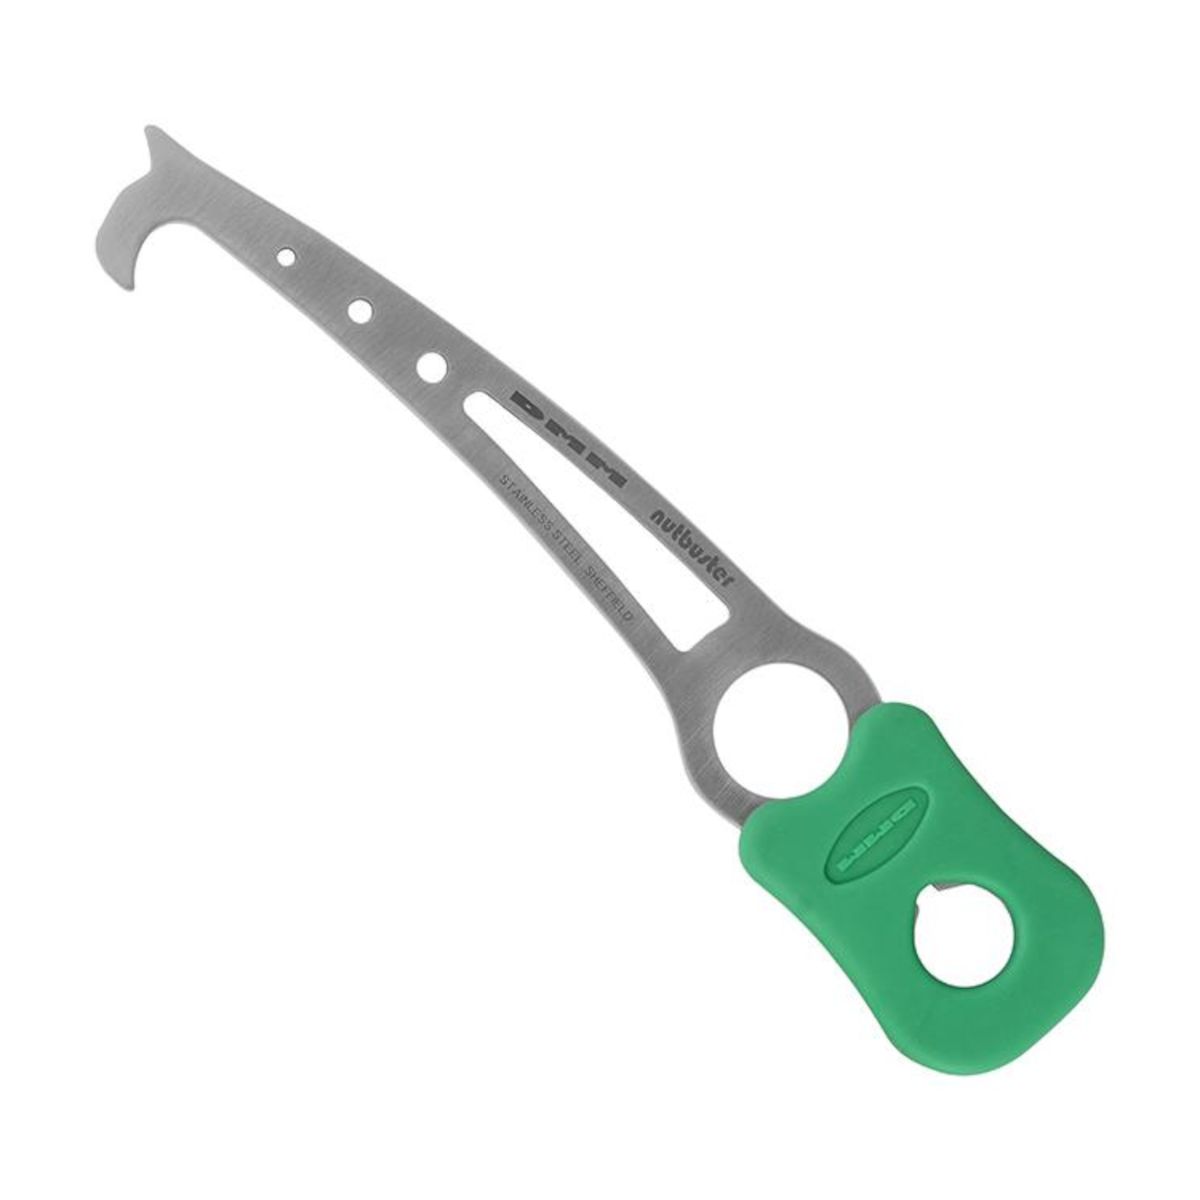
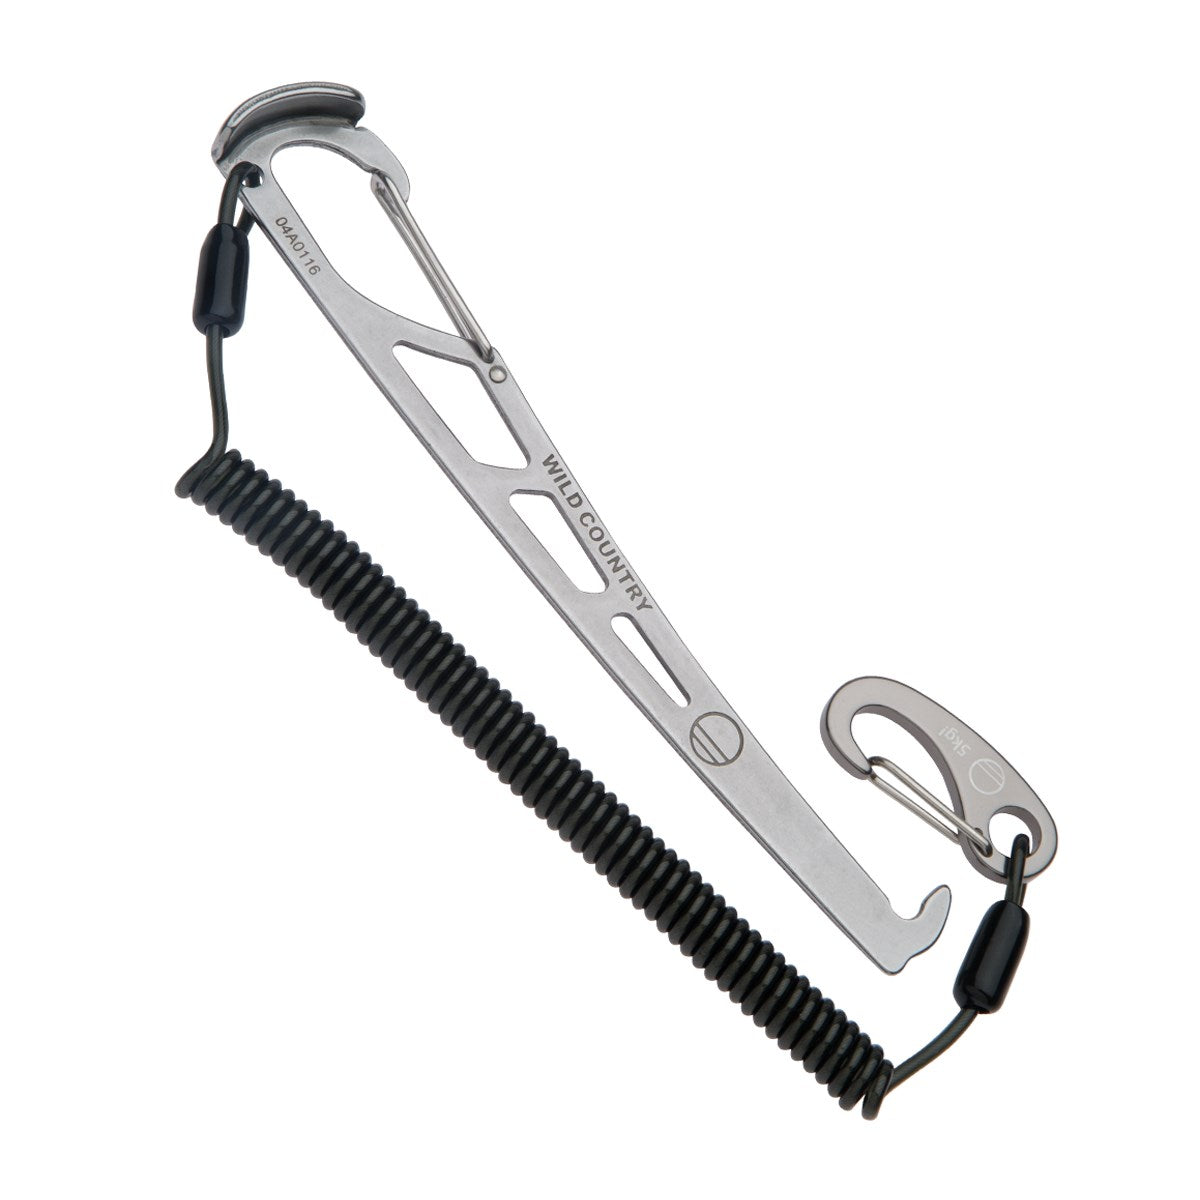
Sometimes clean climbing isn't all that clean. When your pieces inevitably get a little stuck, a nut tool is extremely helpful in the retrieval process. As the name suggests, nut tools are primarily for removing pieces of passive pro. They are essentially a high tech poker with a hook on the end. Hitting the bottom of a stuck nut or hex can pop it right out. The hook can also be used to pull on the trigger of a cam that was placed a little too deep. Here are two of our favorite nut tools
Nutbuster
Tier benefits:
Tier benefits:
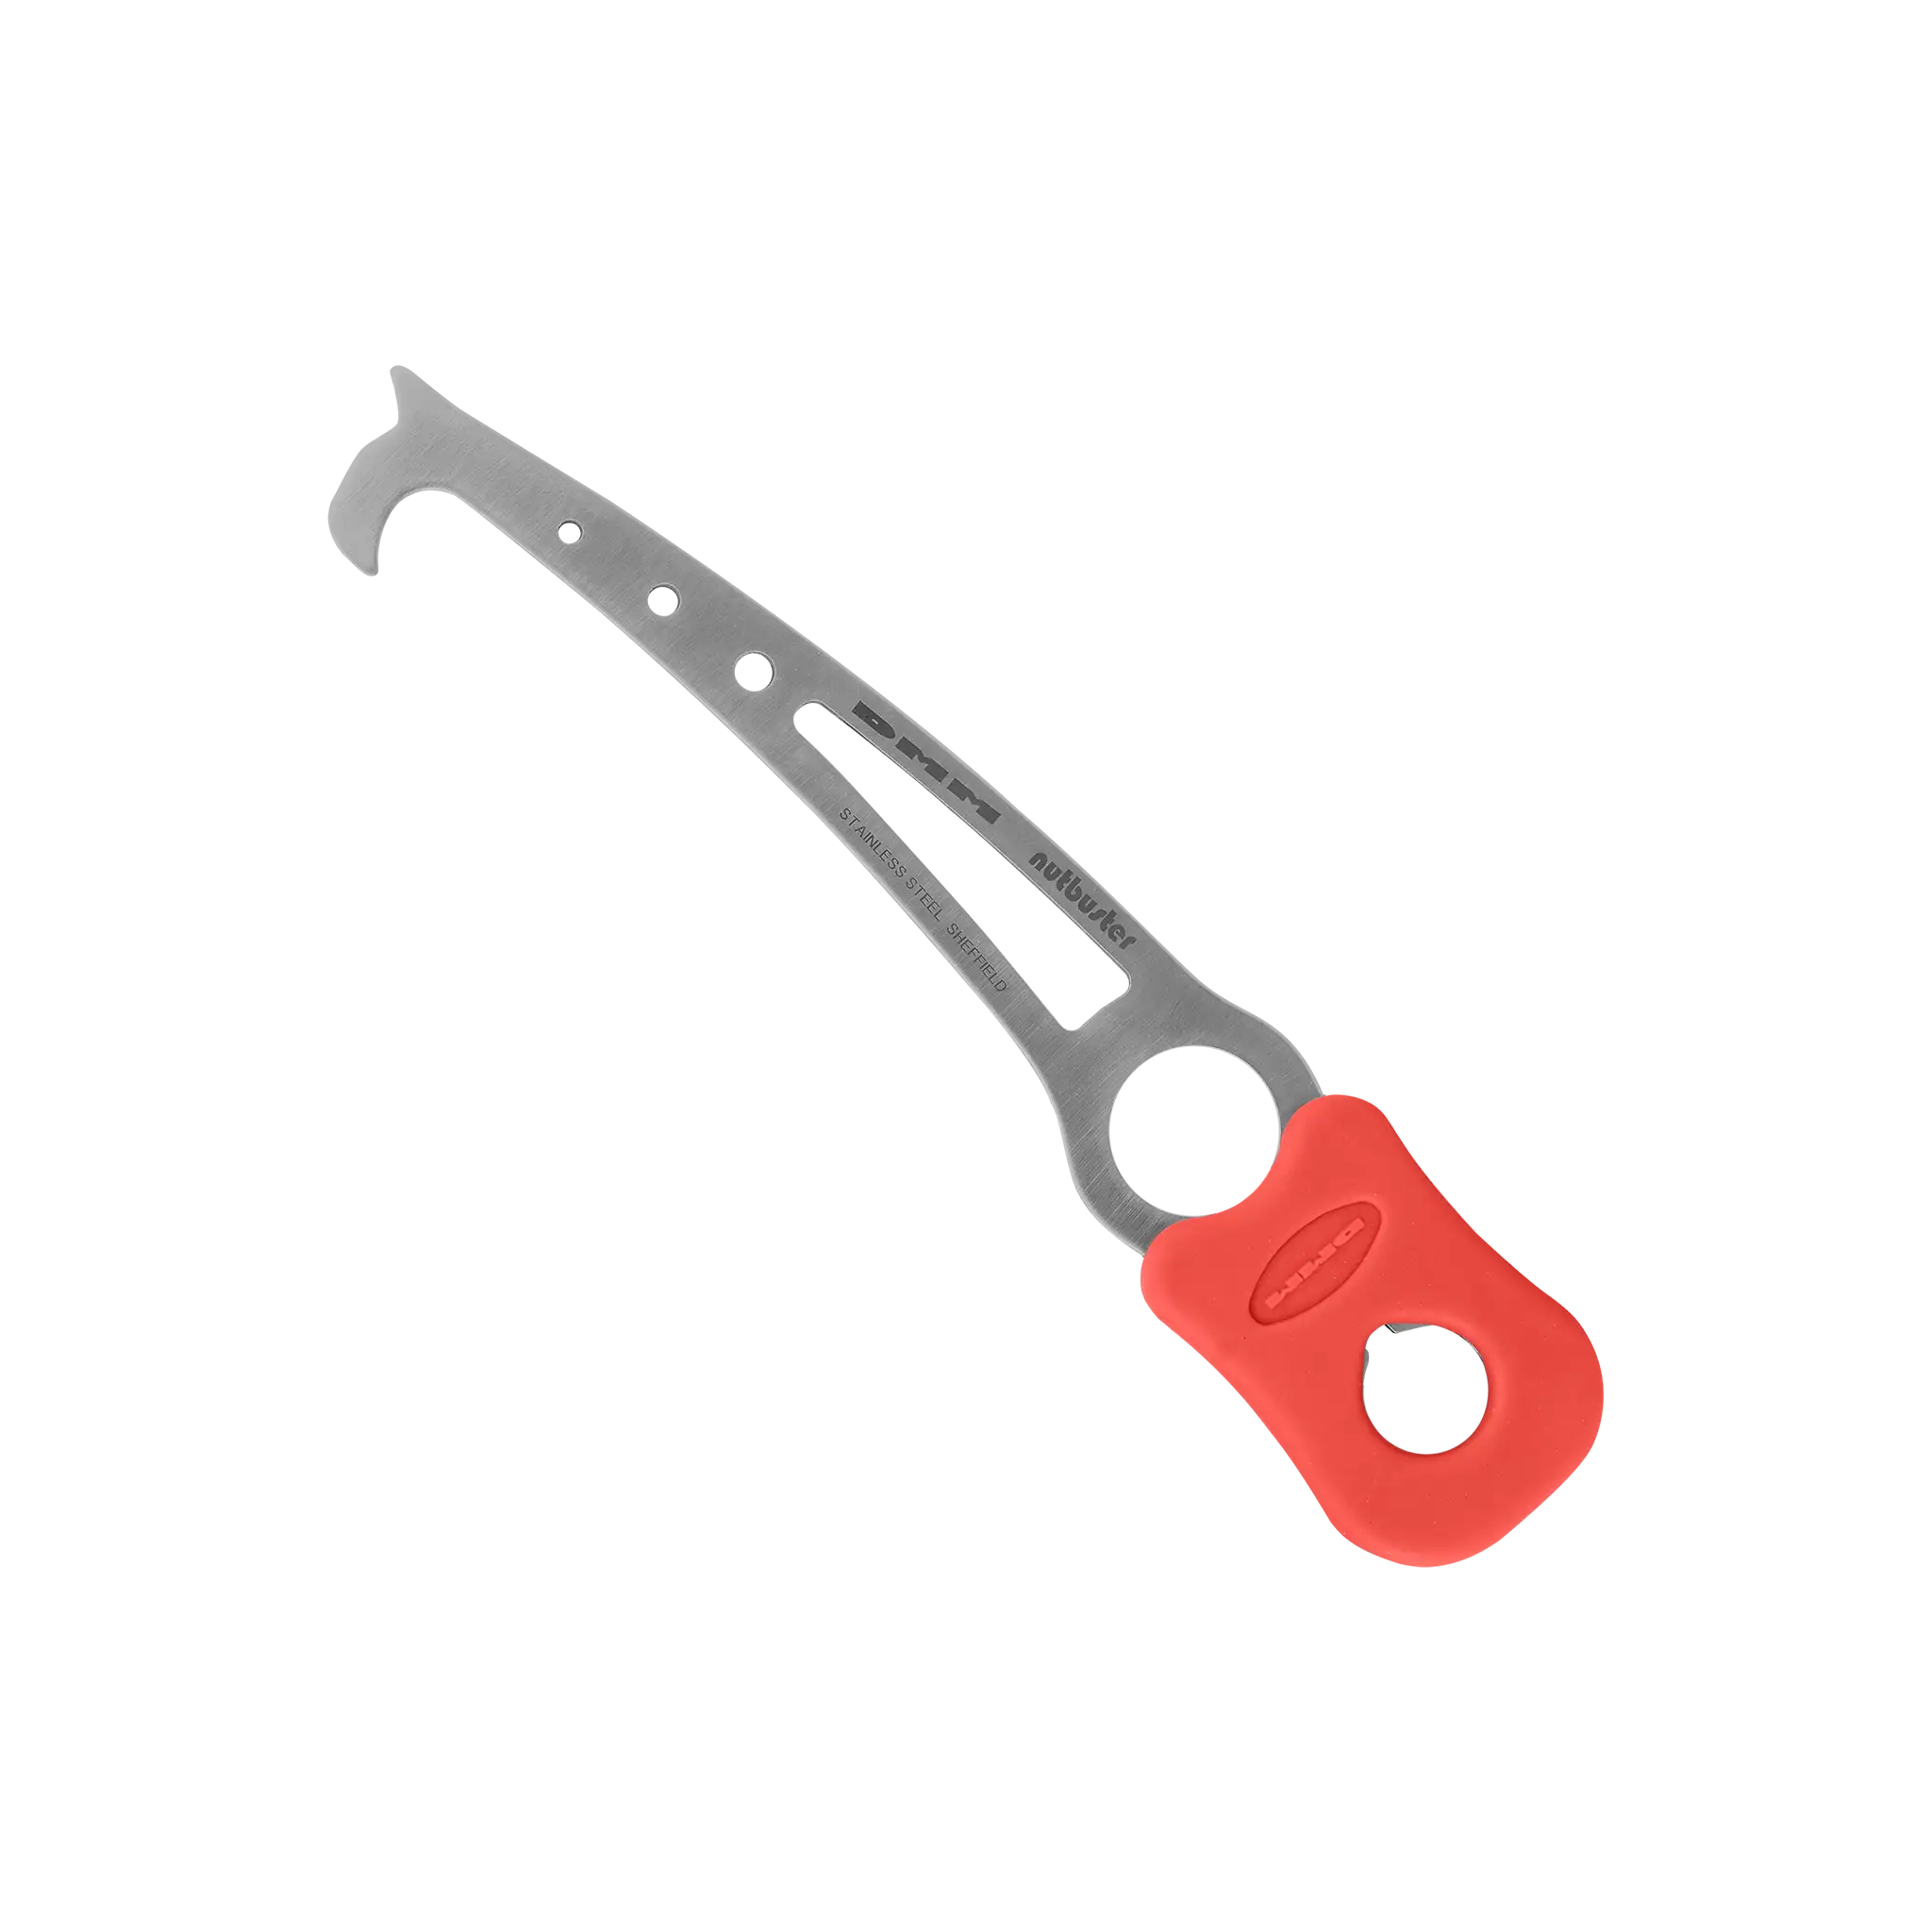
The DMM Nutbuster is a fantastic nut tool at a reasonable price. While this tool does not come with a leash, we find the rubber handle to be very comfortable and secure in hand. Underneath the rubber is a wrench for tightening loose bolts. The biggest downside of this tool it its lack of a built-in carabiner. This means you will probably want to make a short tether or even just clip it through one of its large holes.
Pros
- Rubber handle makes hitting nuts more comfortable
- Integrated wrench for tightening loose wedge bolts
Cons
- Thinner construction may have durability issues
- No built-in clipping solution
Pro Key with Leash
Tier benefits:
Tier benefits:
There is nothing worse than dropping your nut tool. Luckily, the Wild Country Pro Key comes with a stretchy leash that you can clip off to your harness. This means you don't have to worry about dropping it ever again! Unlike many others, this tool does not come with an integrated wrench, meaning you cannot tighten any loose bolts you find on route.
Pros
- Integrated leash
Cons
- No ability to tighten bolts
Quickdraws & Slings
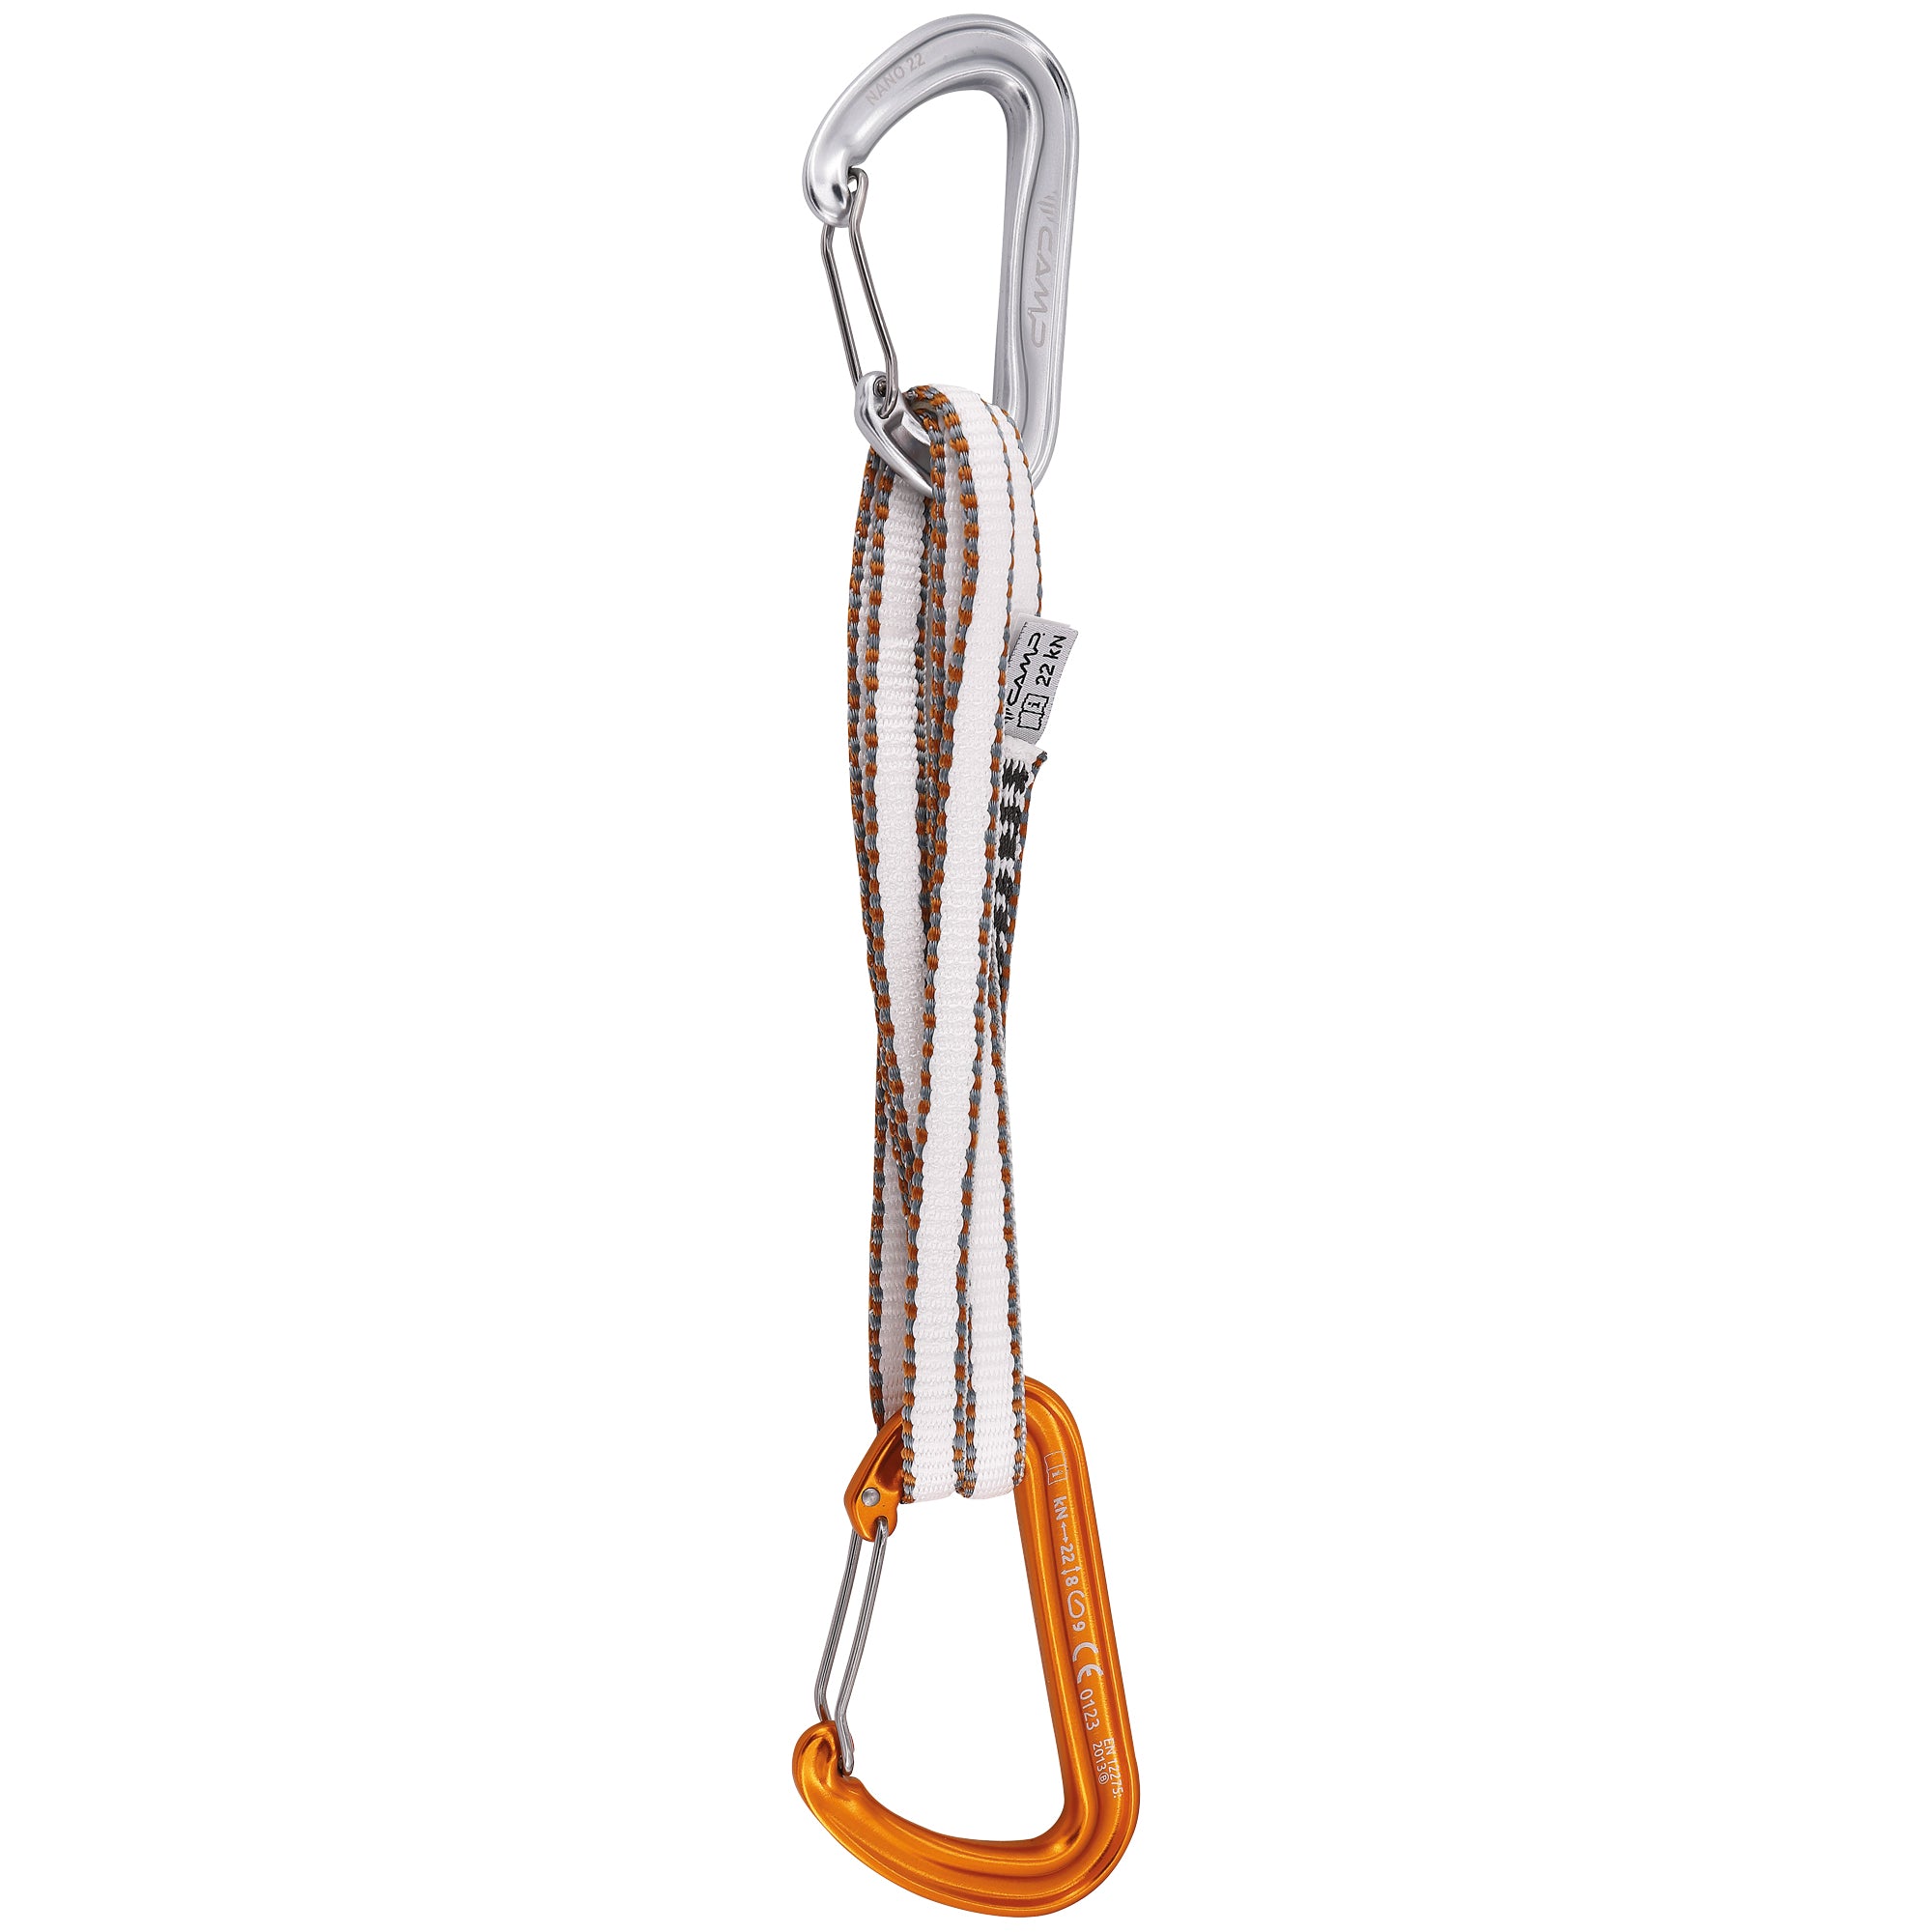
Unlike bolts, traditional protection can easily move around or pull out of the wall. To help prevent this, we like to extend our gear. Its much better to take 60 cm of extra fall then it is for your pro to walk its way right out. The most common extension is often called an alpine quickdraw. It is a 60 cm sling tripled up with two carabiners attached. This system allows for easy extension and for use as a normal length quickdraw. You will also likely encounter bolts here and there, so having a lightweight non-extendable quickdraw or two is also great. You can always build these yourself with any sling and any two carabiners, but here are a few of our favorite choices.
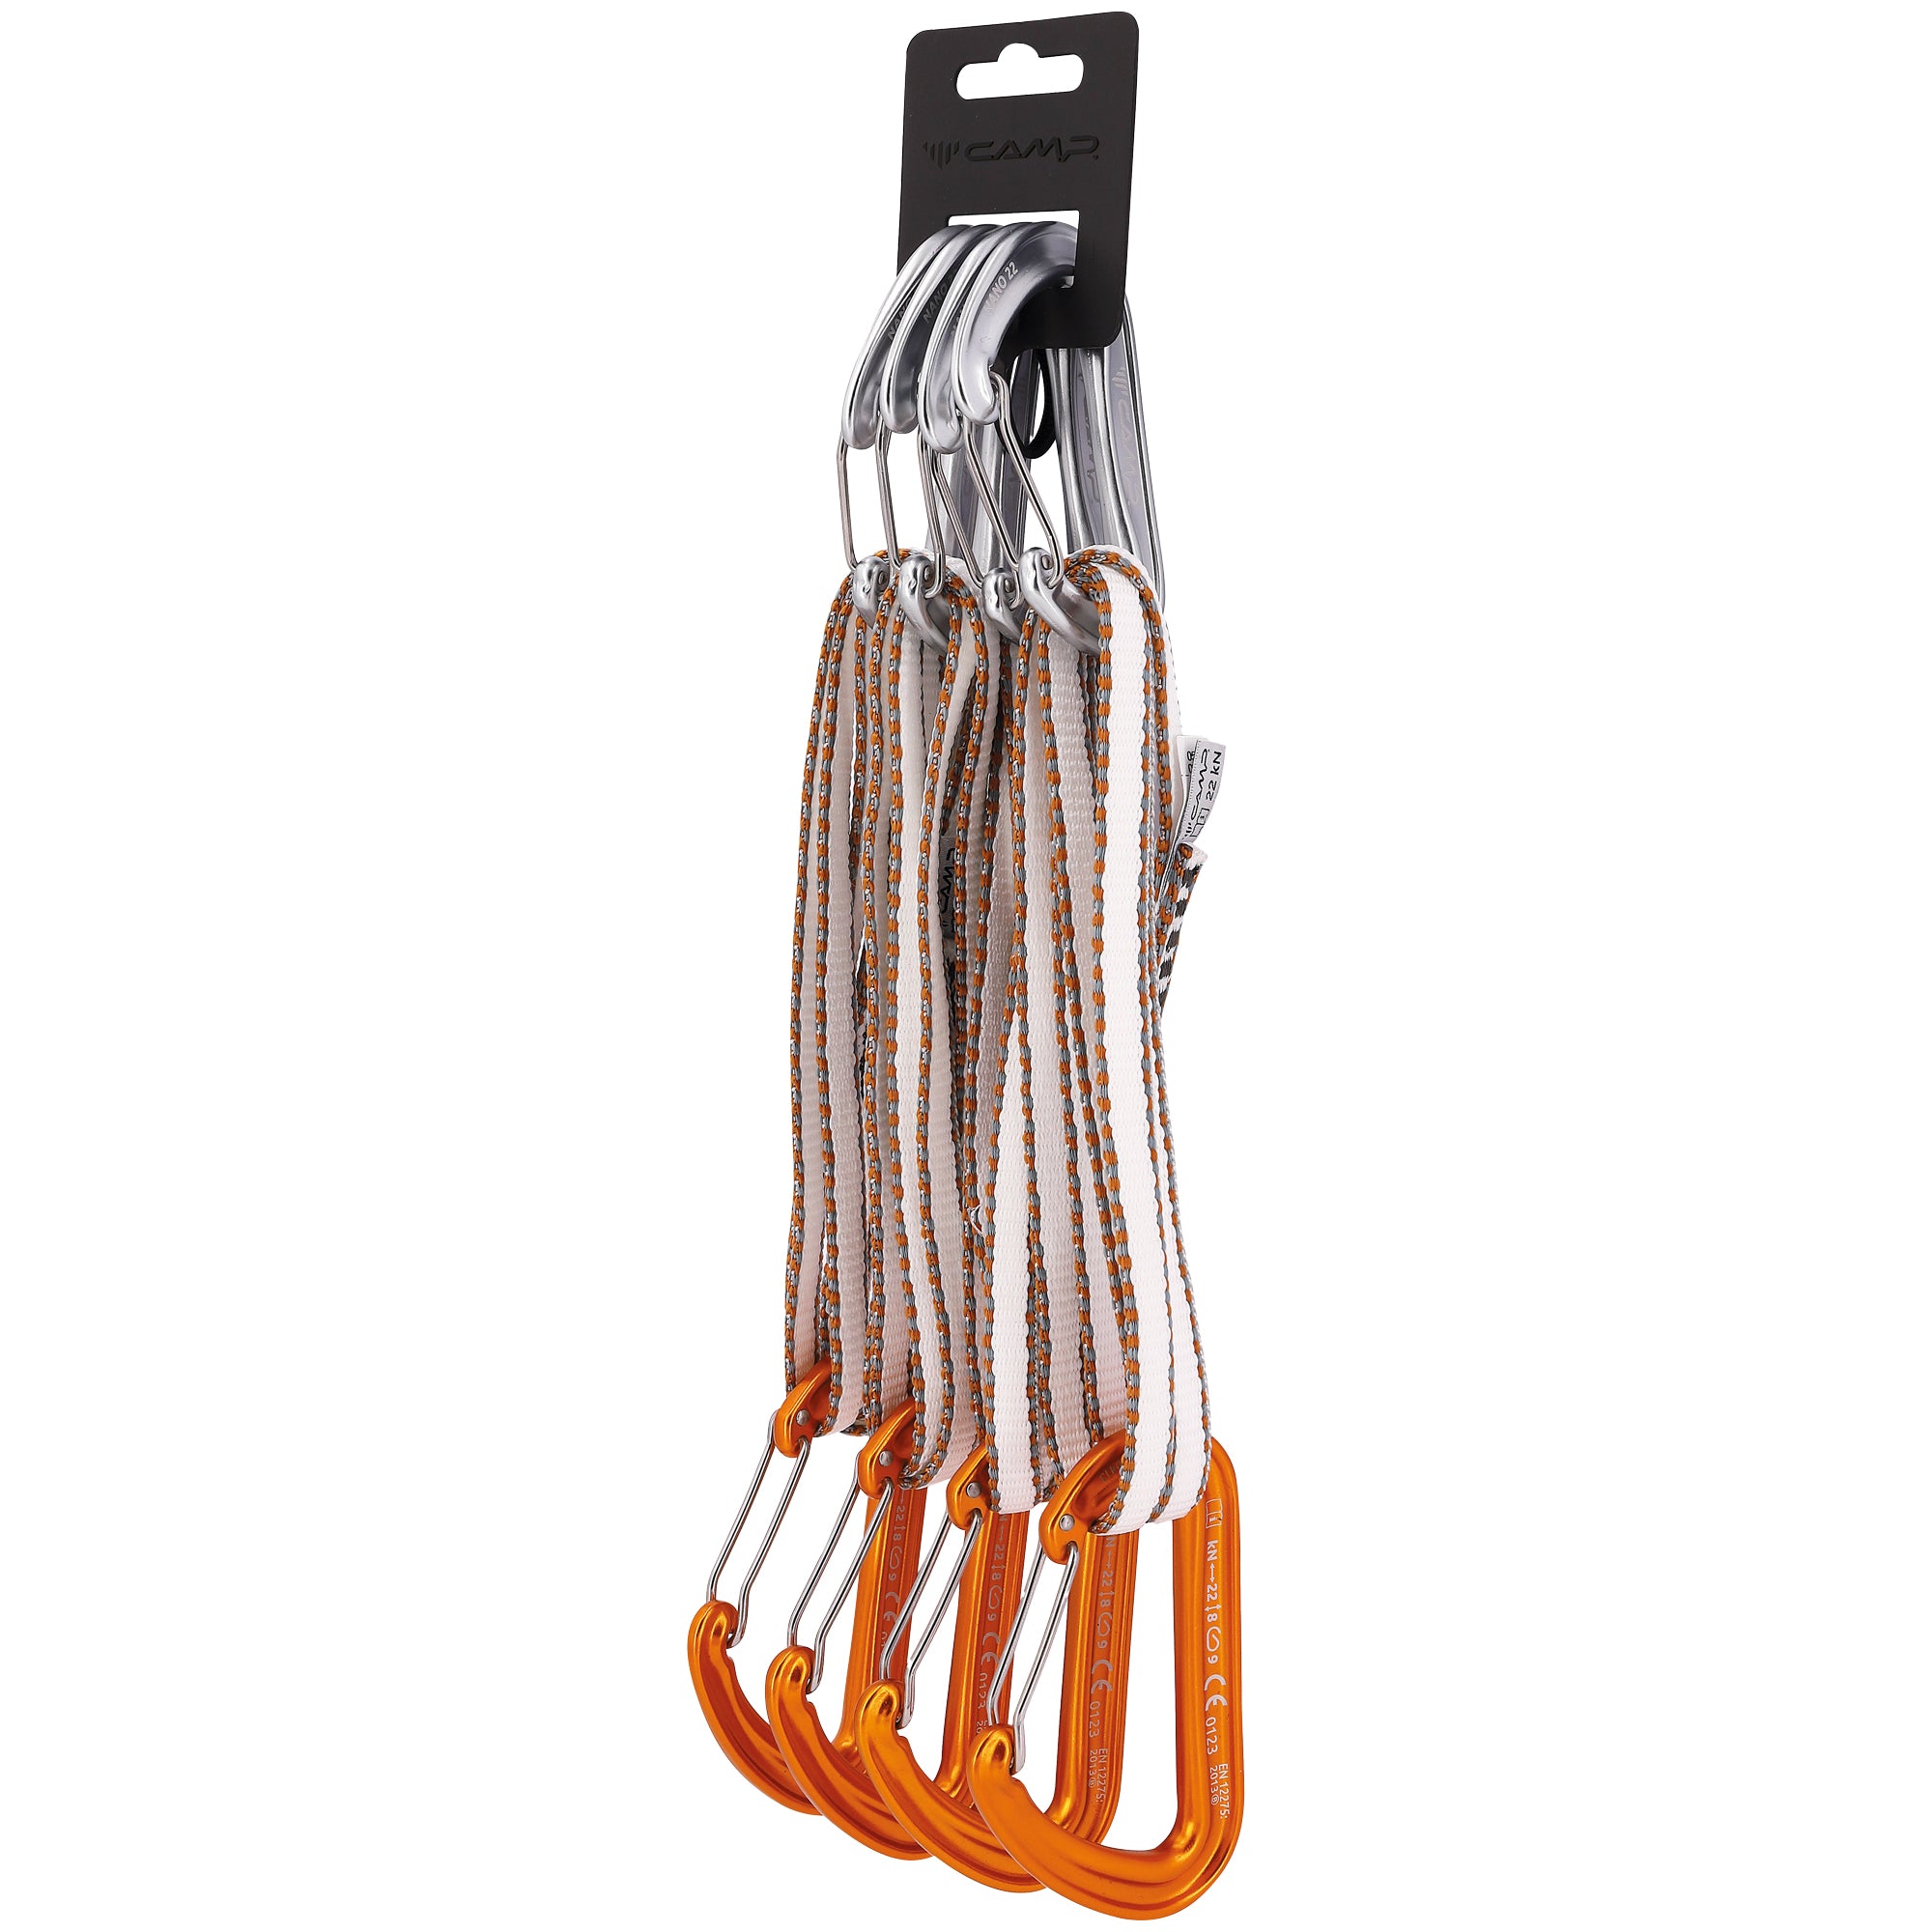
Mach Express Dyneema
Tier benefits:
Tier benefits:
The CAMP Mach Express Dyneema alpine quickdraw comes with one small Nano 22 carabiner and one larger Photon carabiner. This makes clipping your rope to the larger carabiner a breeze, while still keeping the overall weight of the quickdraw low. This is also about the same price as buying the components individually, and the 4-pack discount makes this one of the cheapest ways to get alpine quickdraws. Beyond all this, they are just really nice to use.
Pros
- Lightweight
- Great value
Cons
- Wiregates can get snagged on sling while extending
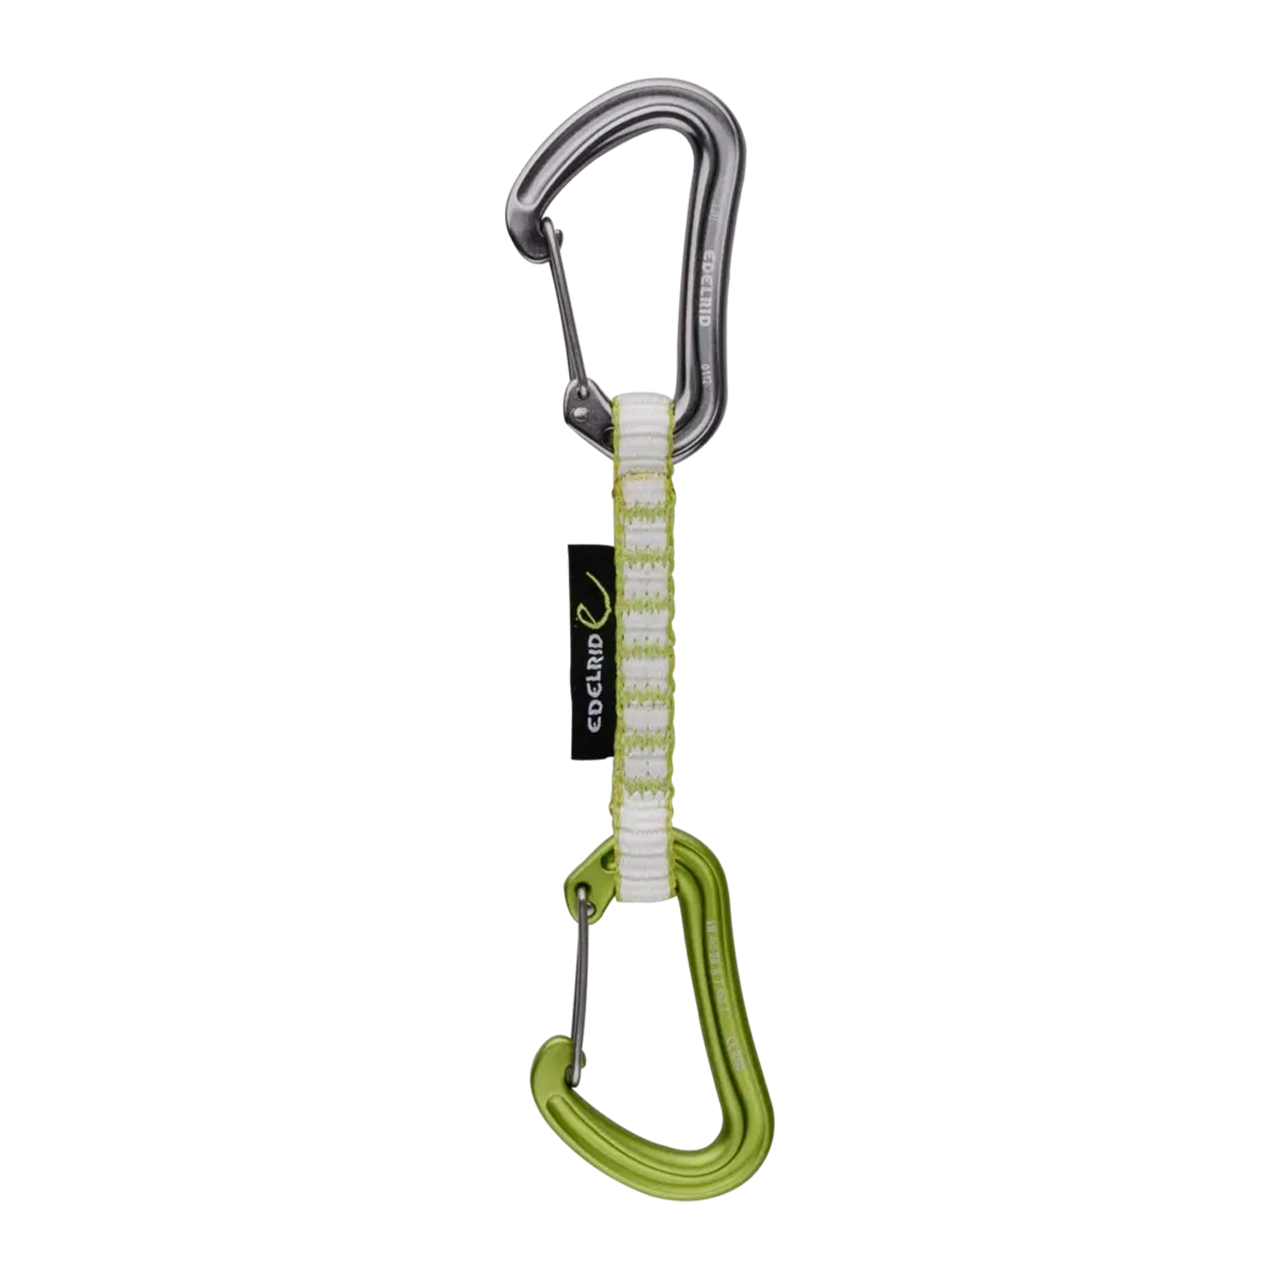
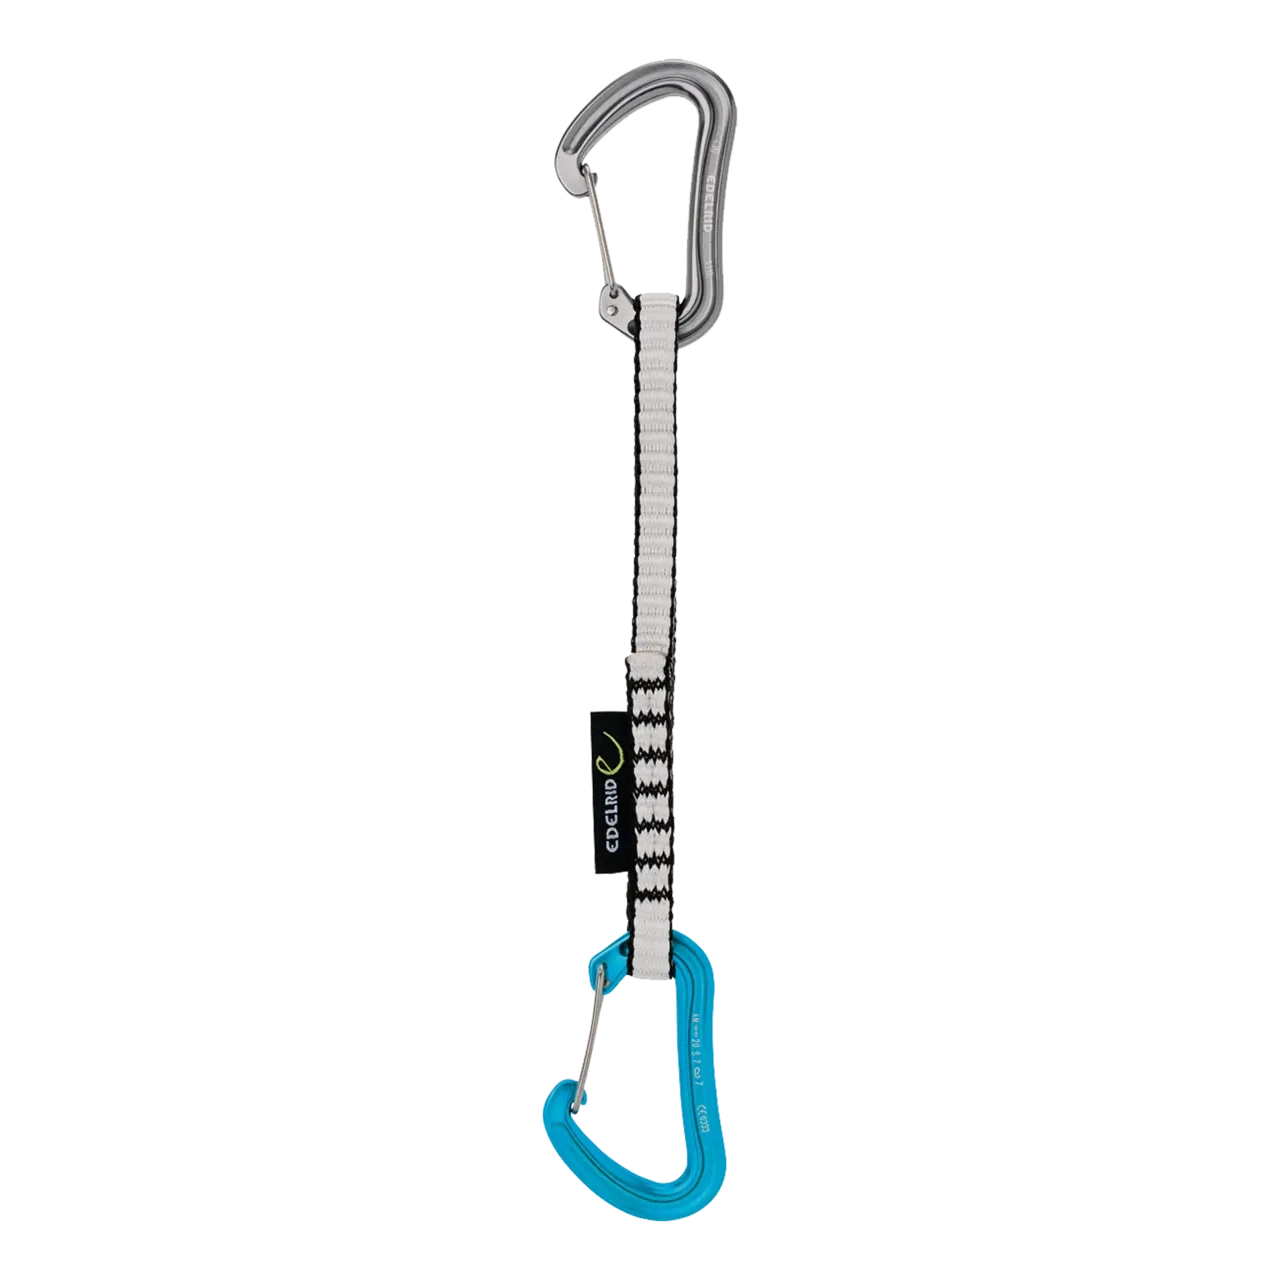
Nineteen G Quickdraw
Tier benefits:
Tier benefits:
While we would not normally recommend the Nineteen G Quickdraw for normal sport climbing due its minuscule carabiners, but it excels at being a Jesus quickdraw. This is our favorite quickdraw to clip the anchor as the "first piece" for the leader during a multi-pitch climb. This prevents pulling the belayer down if the leader whips before getting any gear in. It is so tiny, you won't even notice it on your harness. You can totally use these as a normal quickdraw, but their gate clearance makes clipping these while pumped out a nightmare. If you are climbing a multi-pitch route, carry 1x 10cm of these and thank us later.
Pros
- Super light
Cons
- Tiny carabiners makes it very hard to clip
Anchors
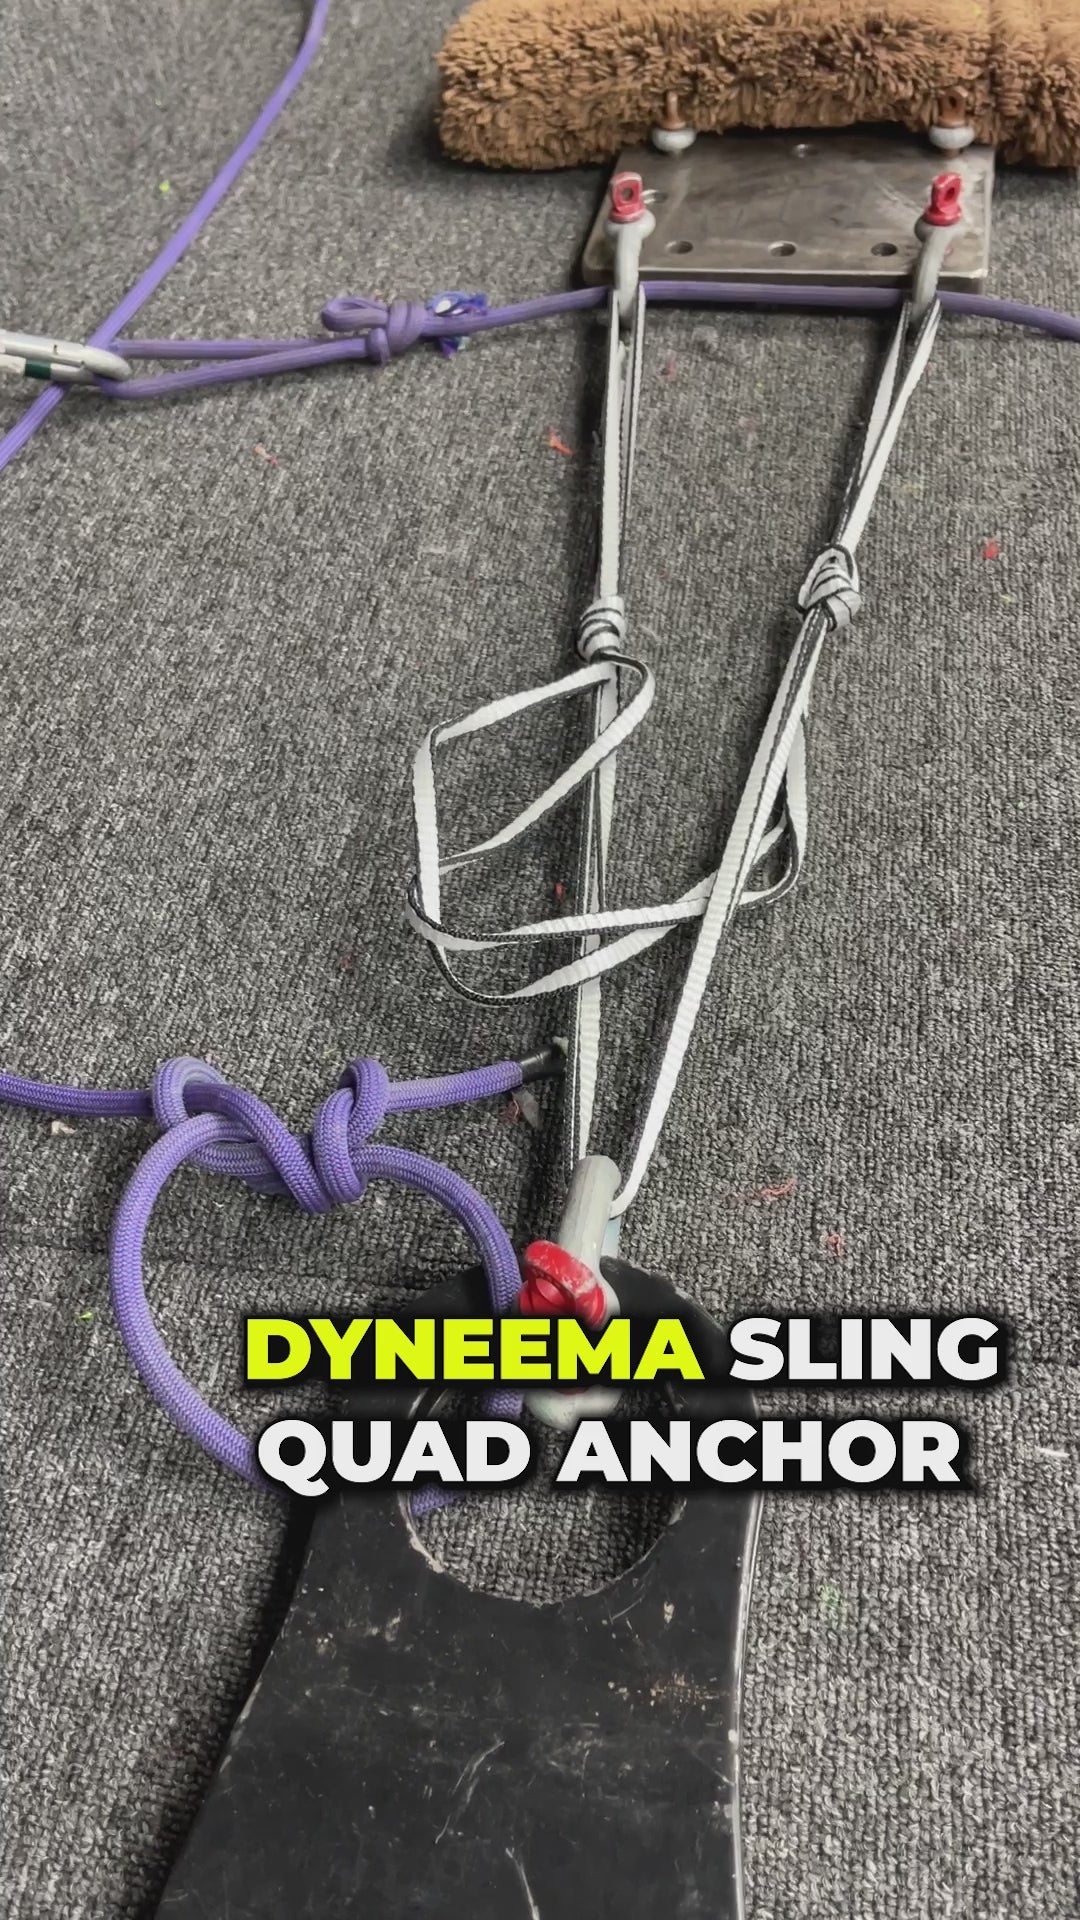
Trad anchors isn't just putting in a lot of gear, but pulling on them all evenly. You will need a large sling or loop of cord to tie many different styles of anchor, so having this as part of your rack is essential. We love using 240 cm Dyneema slings as quad anchors since they are super compact and lightweight. However, they aren't very versatile if you have a complicated anchor so 18-20 feet of 7mm nylon accessory cord works well and is half the price. We like racking our anchor with a small, D-shaped locker, so make sure you include one of those as well.
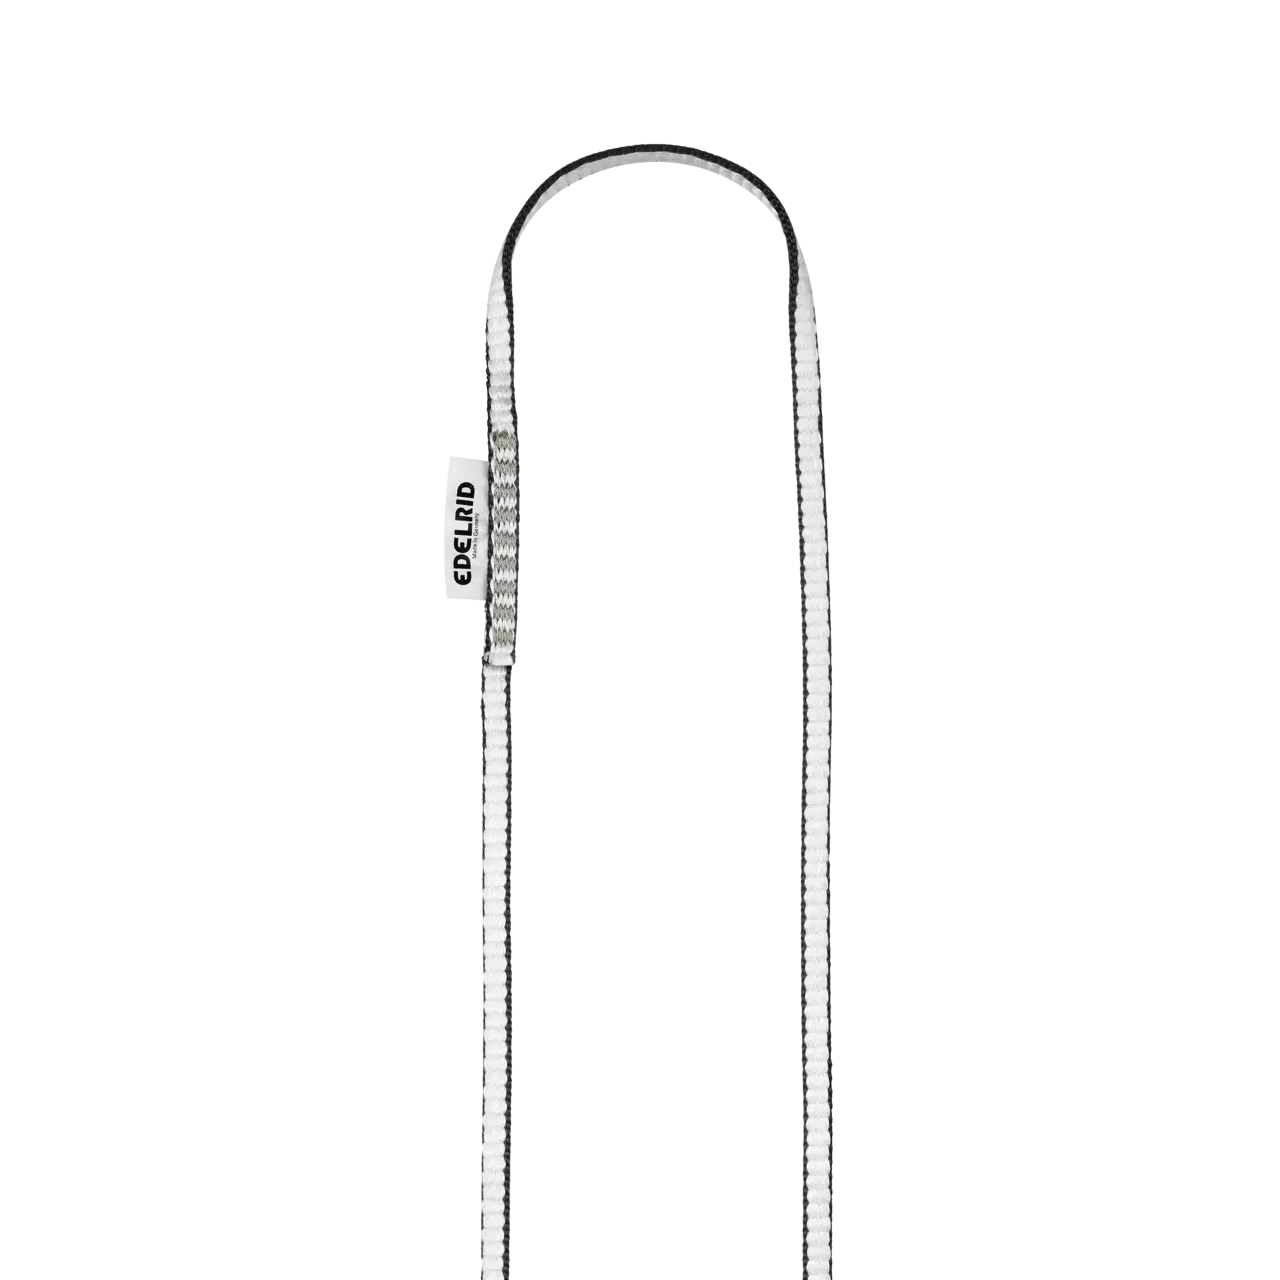
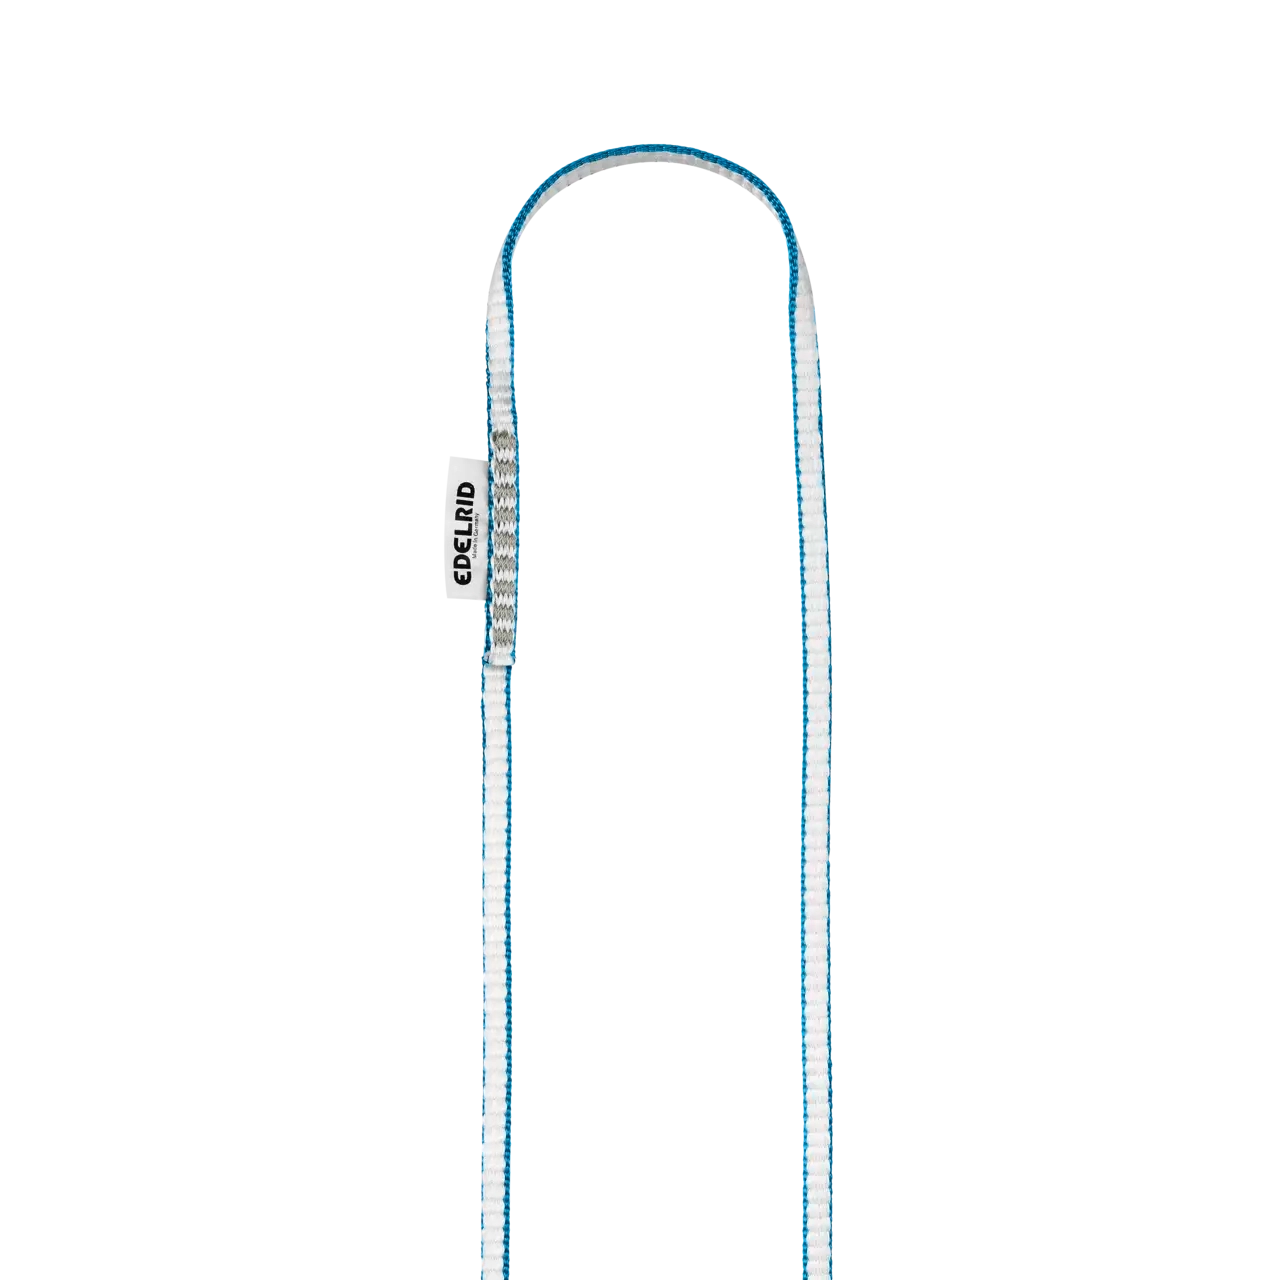
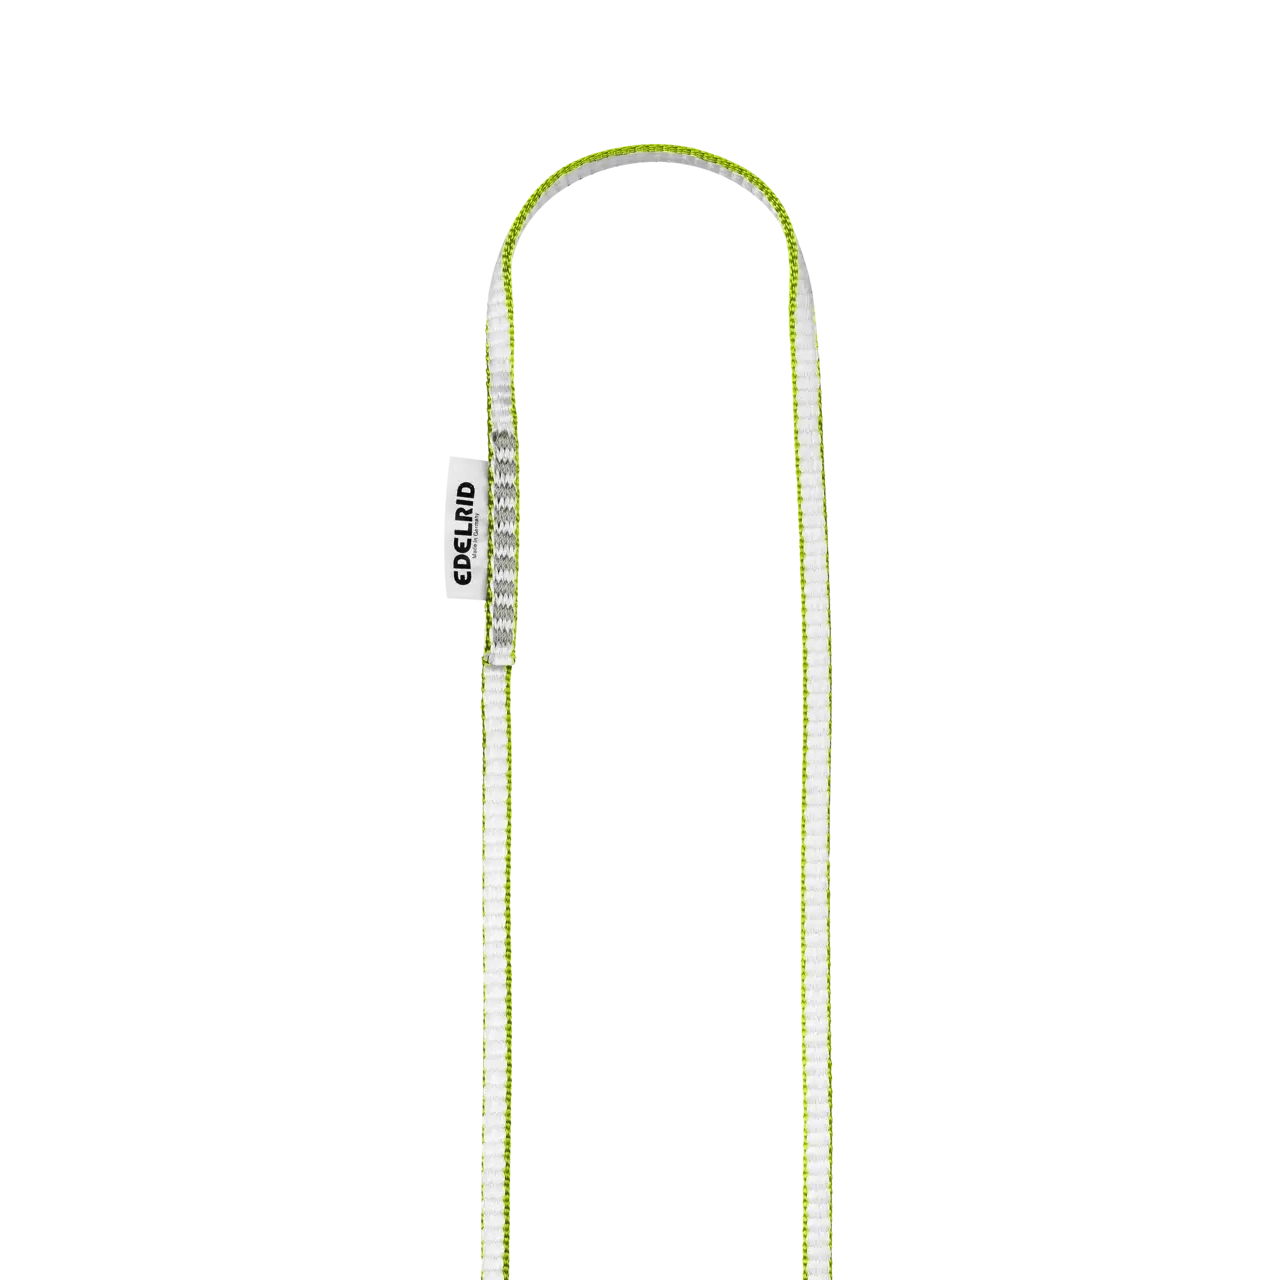
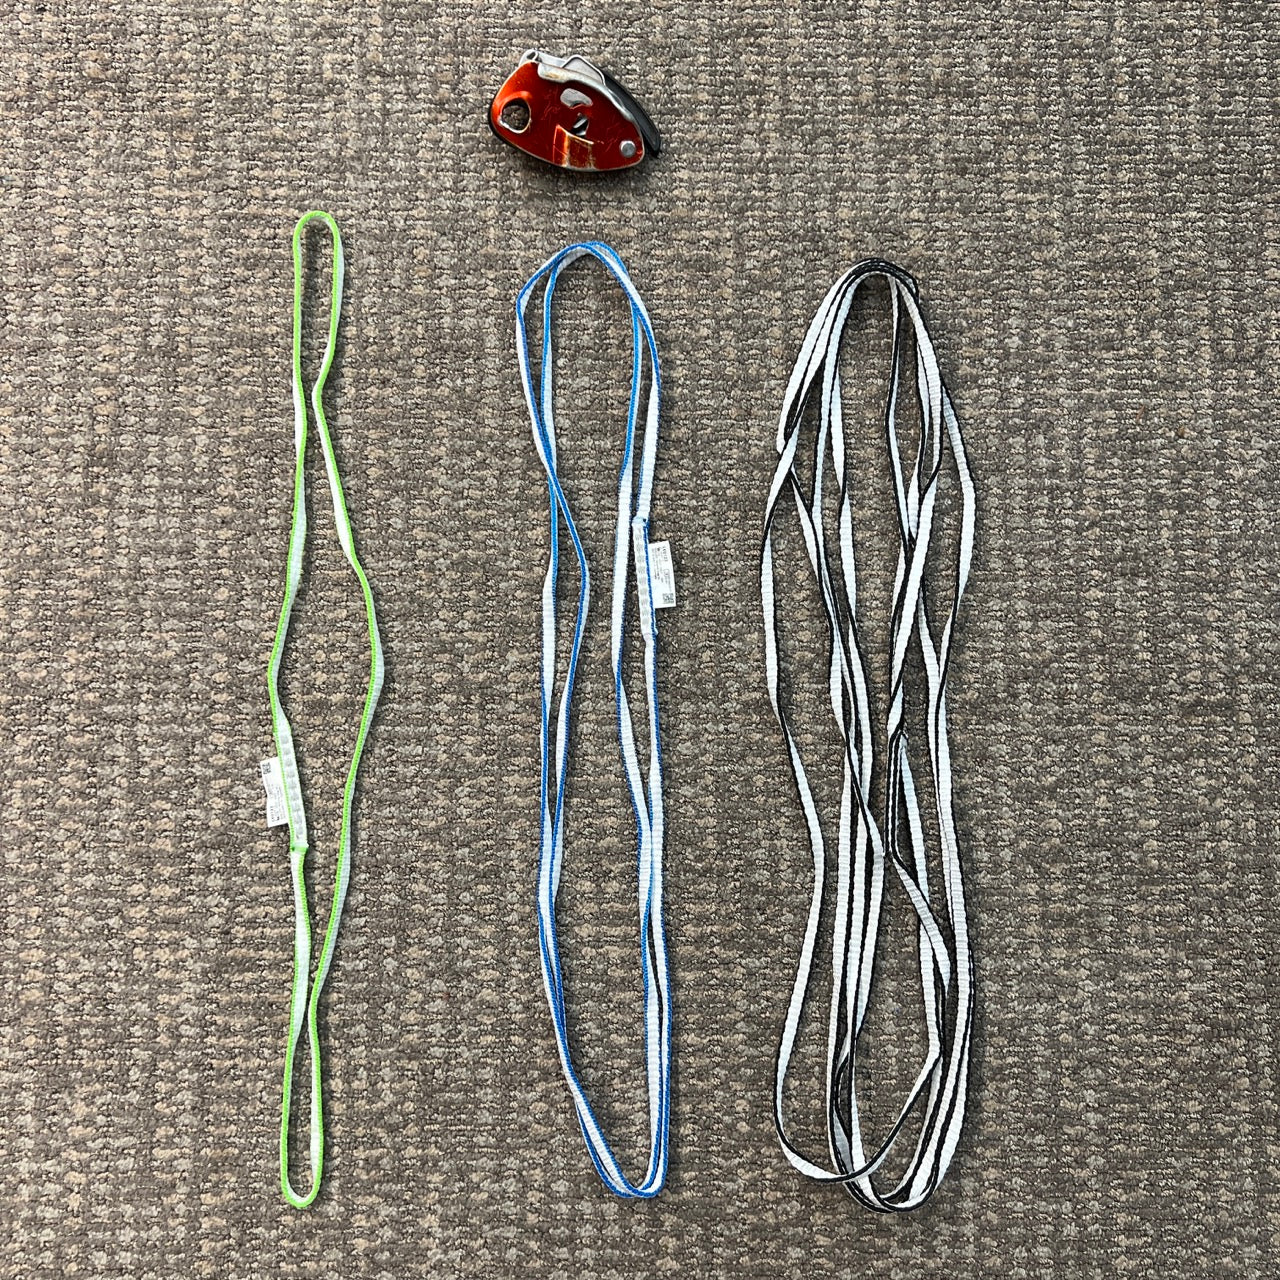
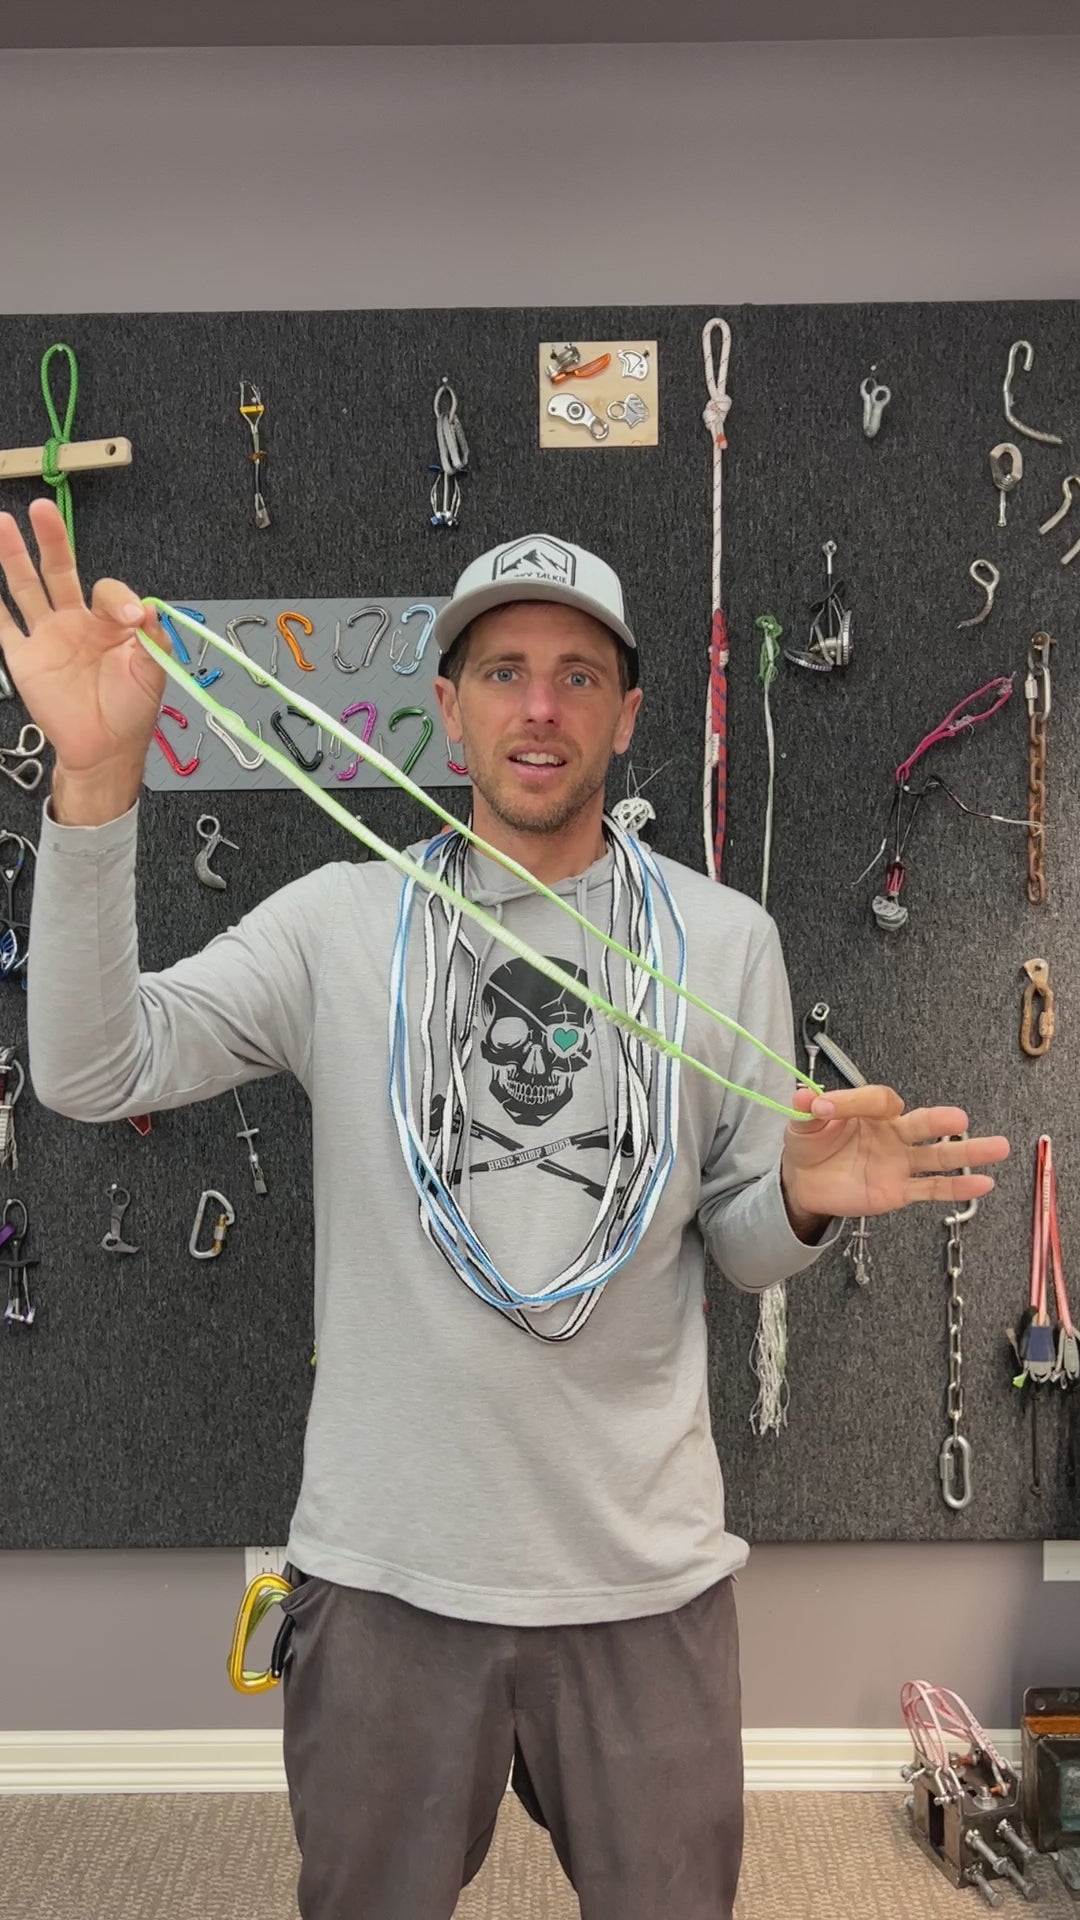
Dyneema Sling - 8mm
Tier benefits:
Tier benefits:
Dyneema is abrasion avoidant. It is slippery so it holds up well when rubbing against the rock. It's also very strong, light, and compact. The 60cm or shoulder length slings are great for extending a piece or building a simple 2 piece anchor. The 120cm slings are important for zig zag routes to avoid rope drag and can also be used to build an anchor. The 240cm is giant and is quite a tool for anchor building. Many chose to pre-tie it into a quad and just keep it that way. We now have OCUN dyneema slings that are also very similar but cheaper.
Pros
- Light
- Compact
Cons
- Not as versatile as cord



Nylon Accessory Cord
Tier benefits:
Tier benefits:
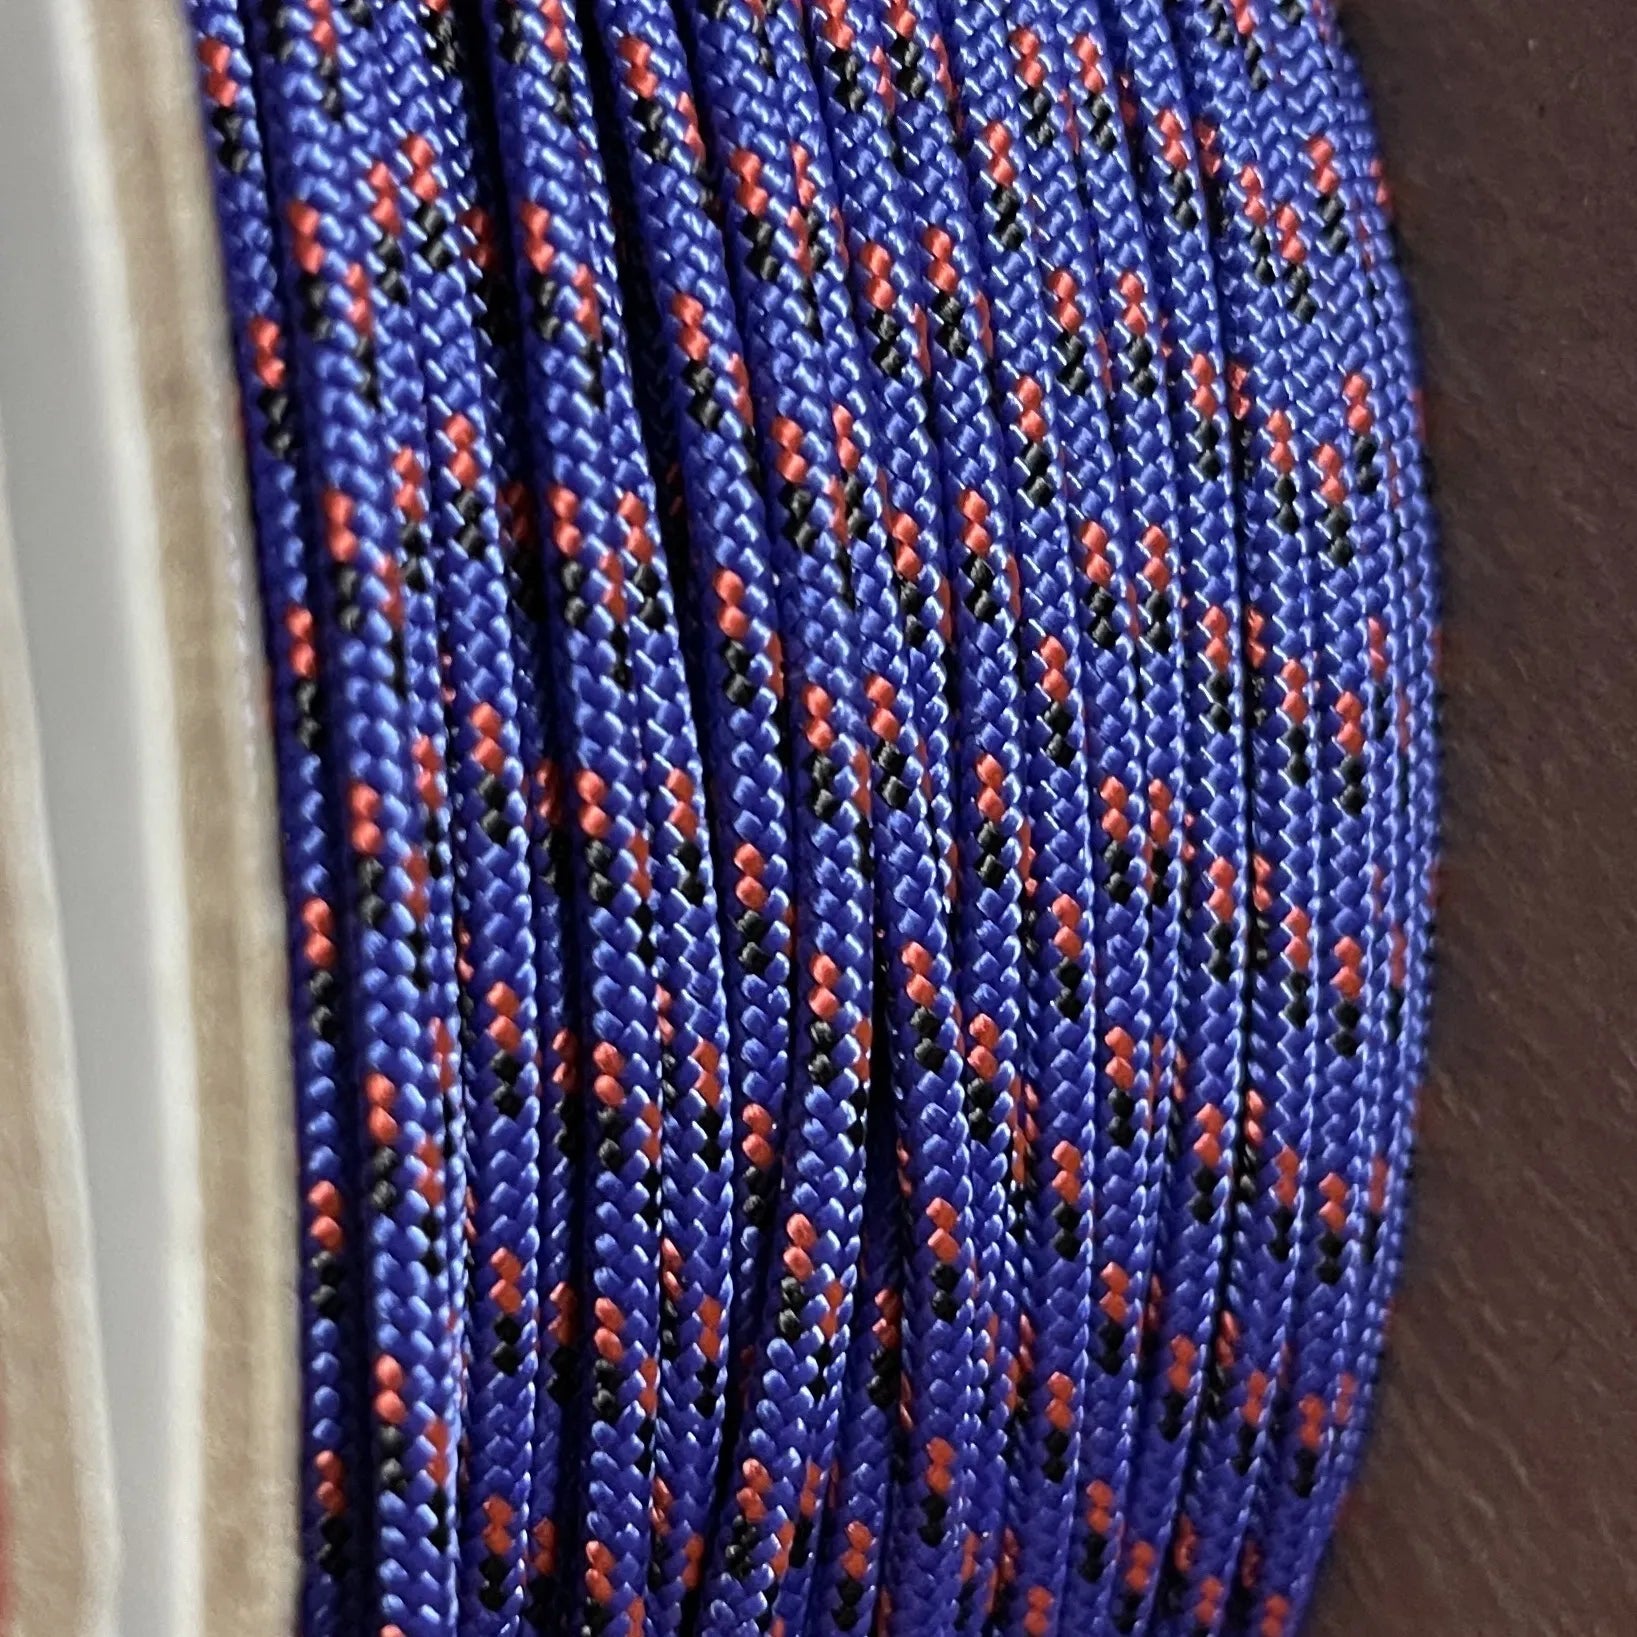
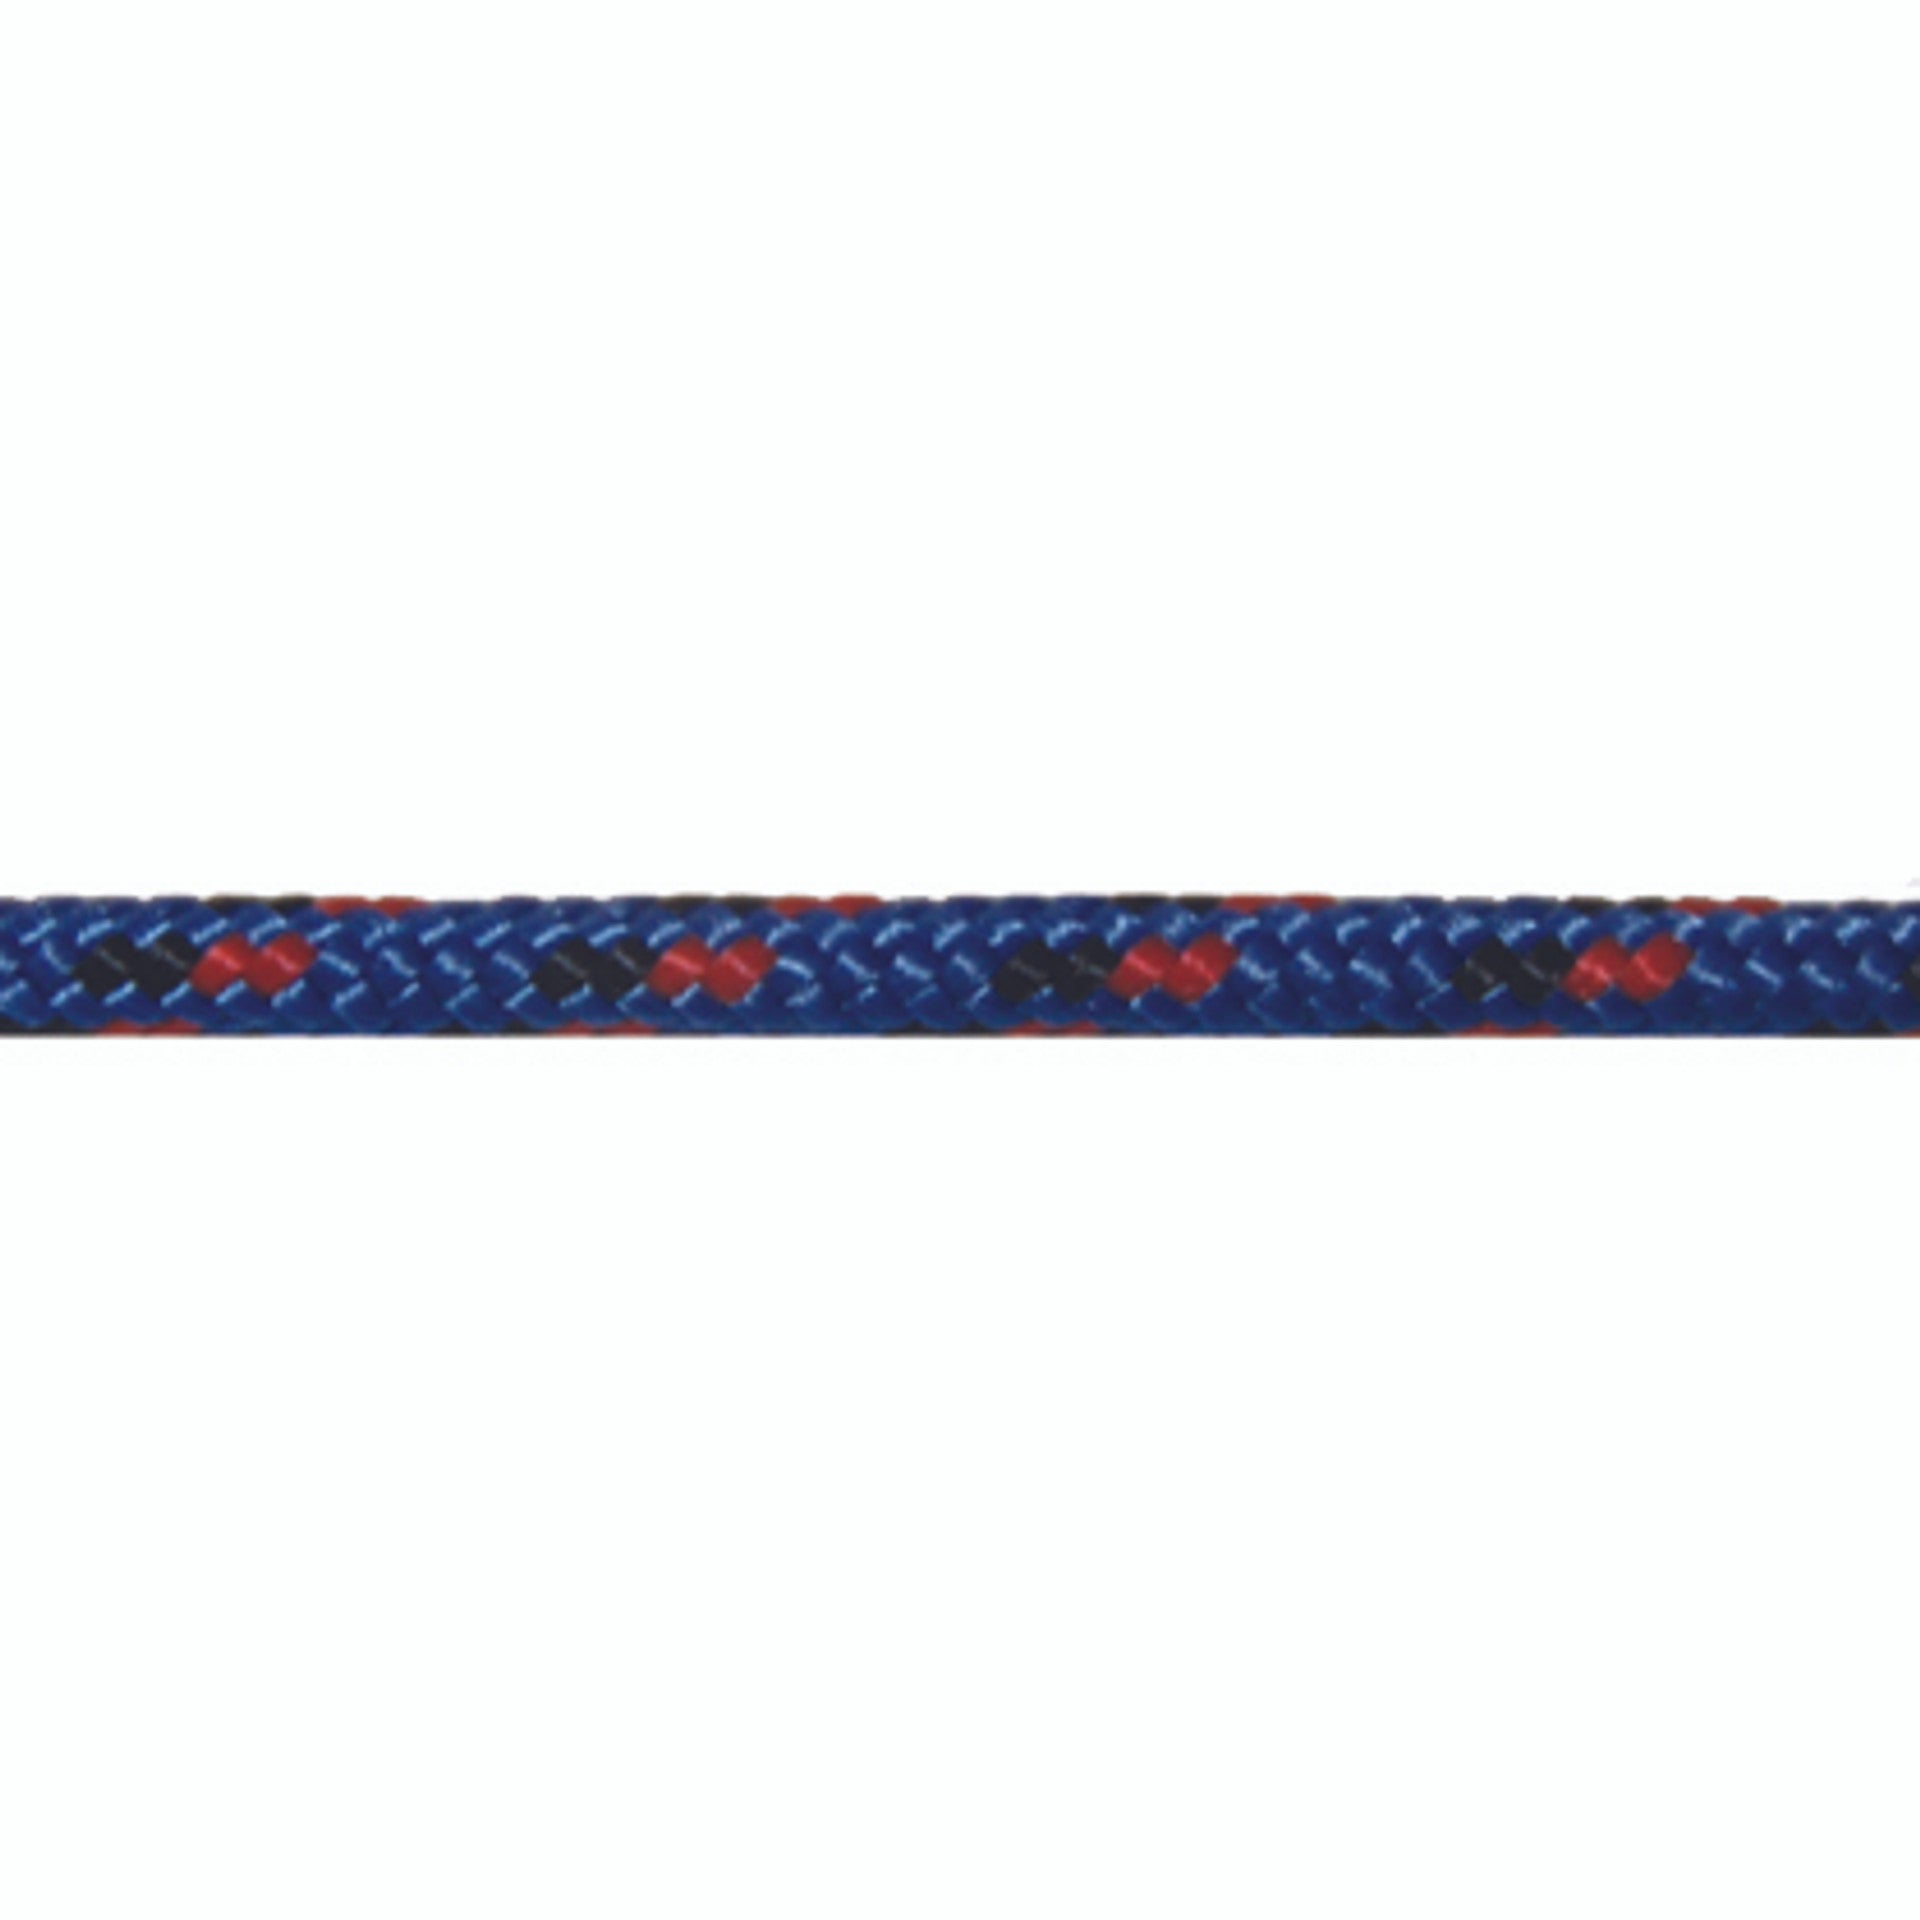
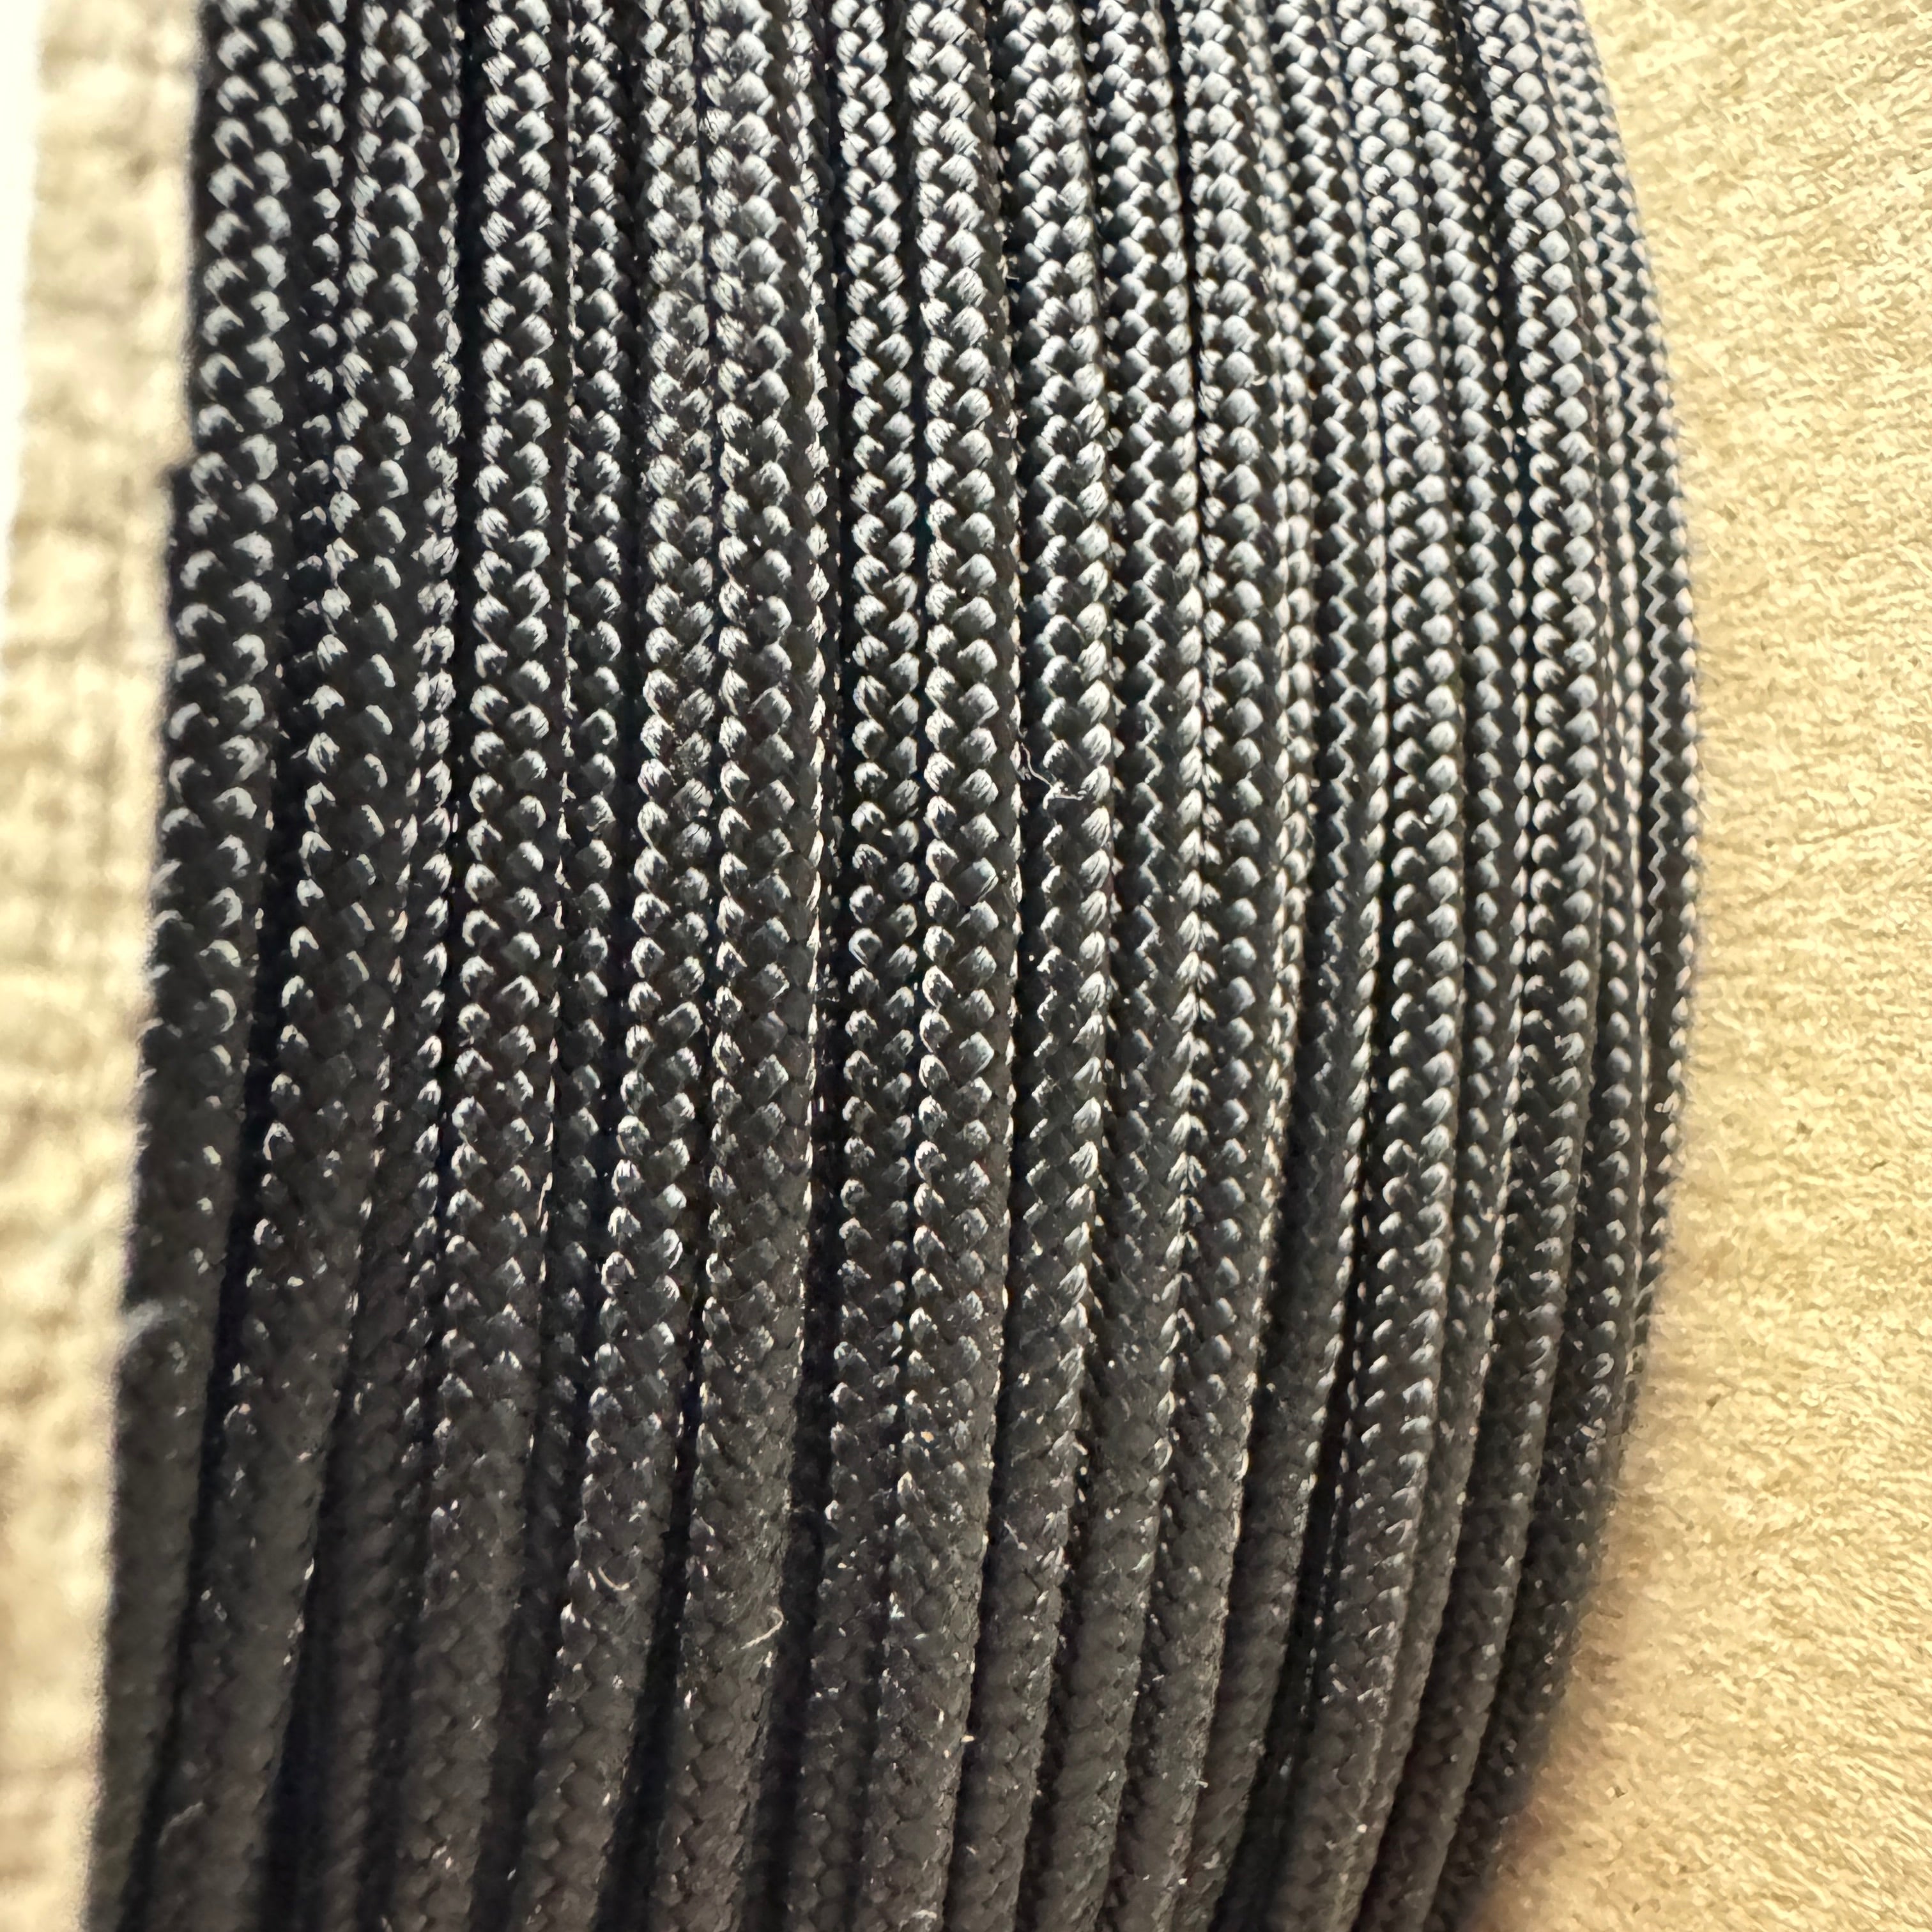
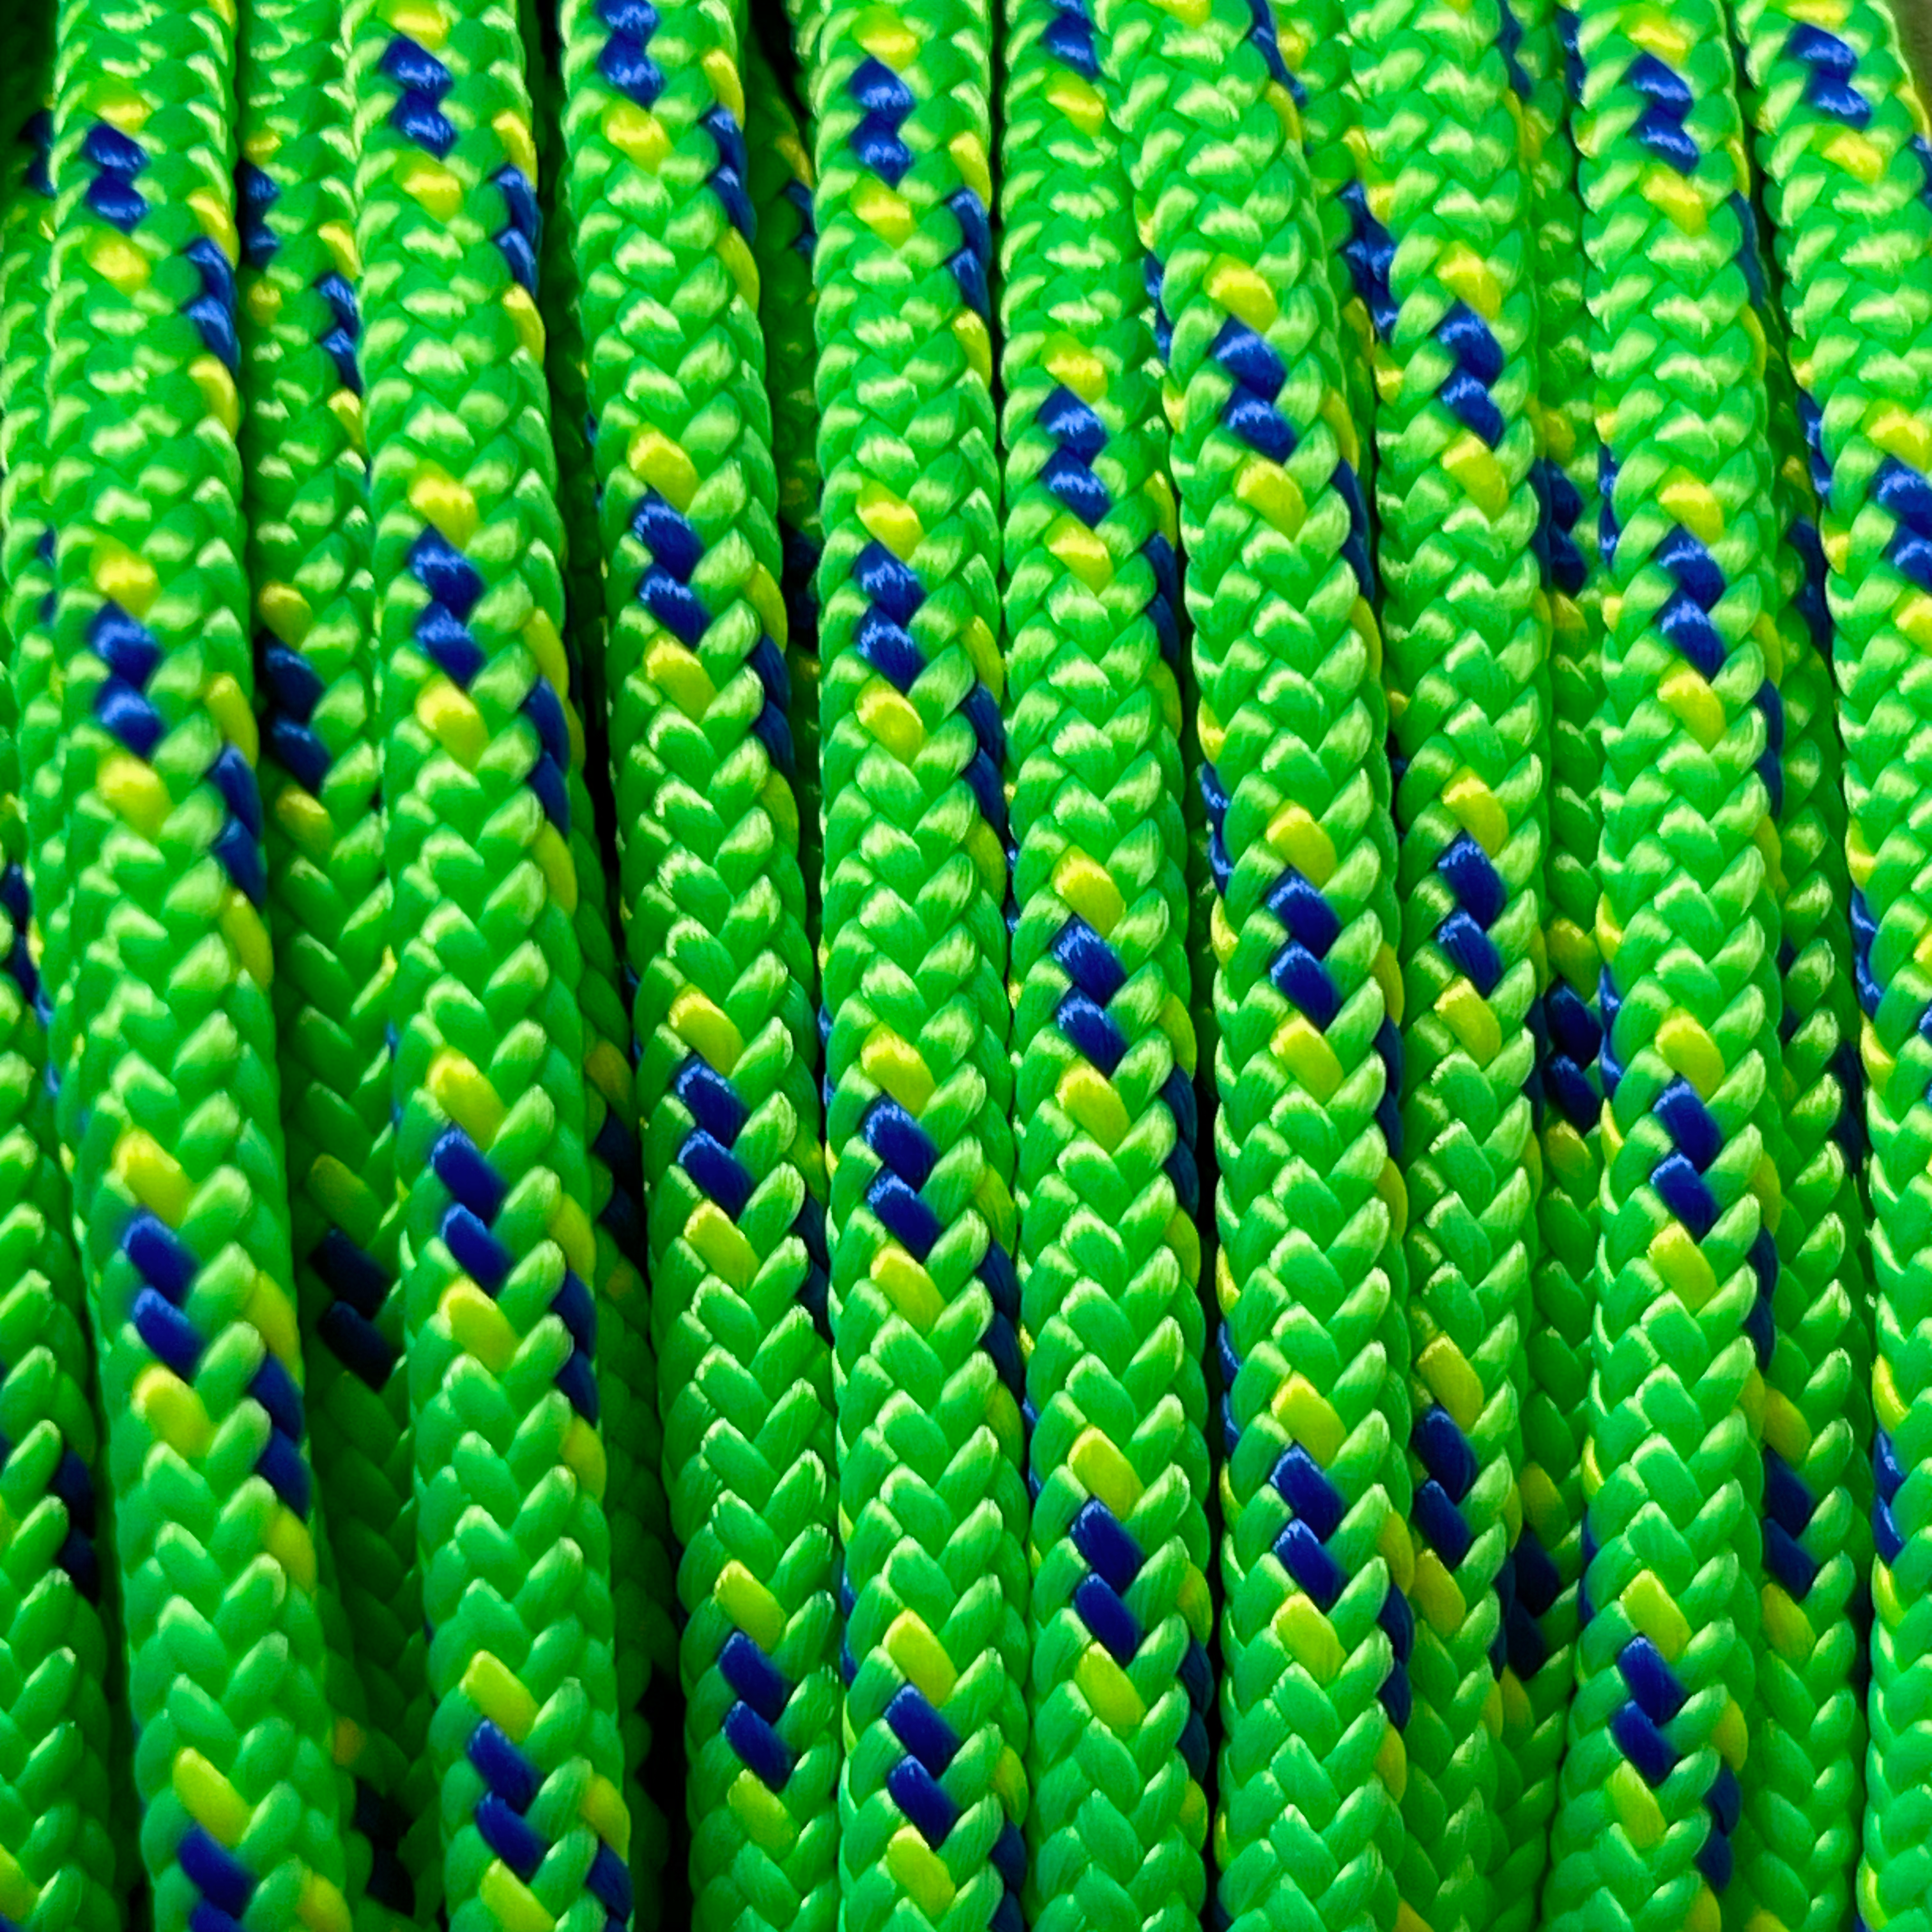
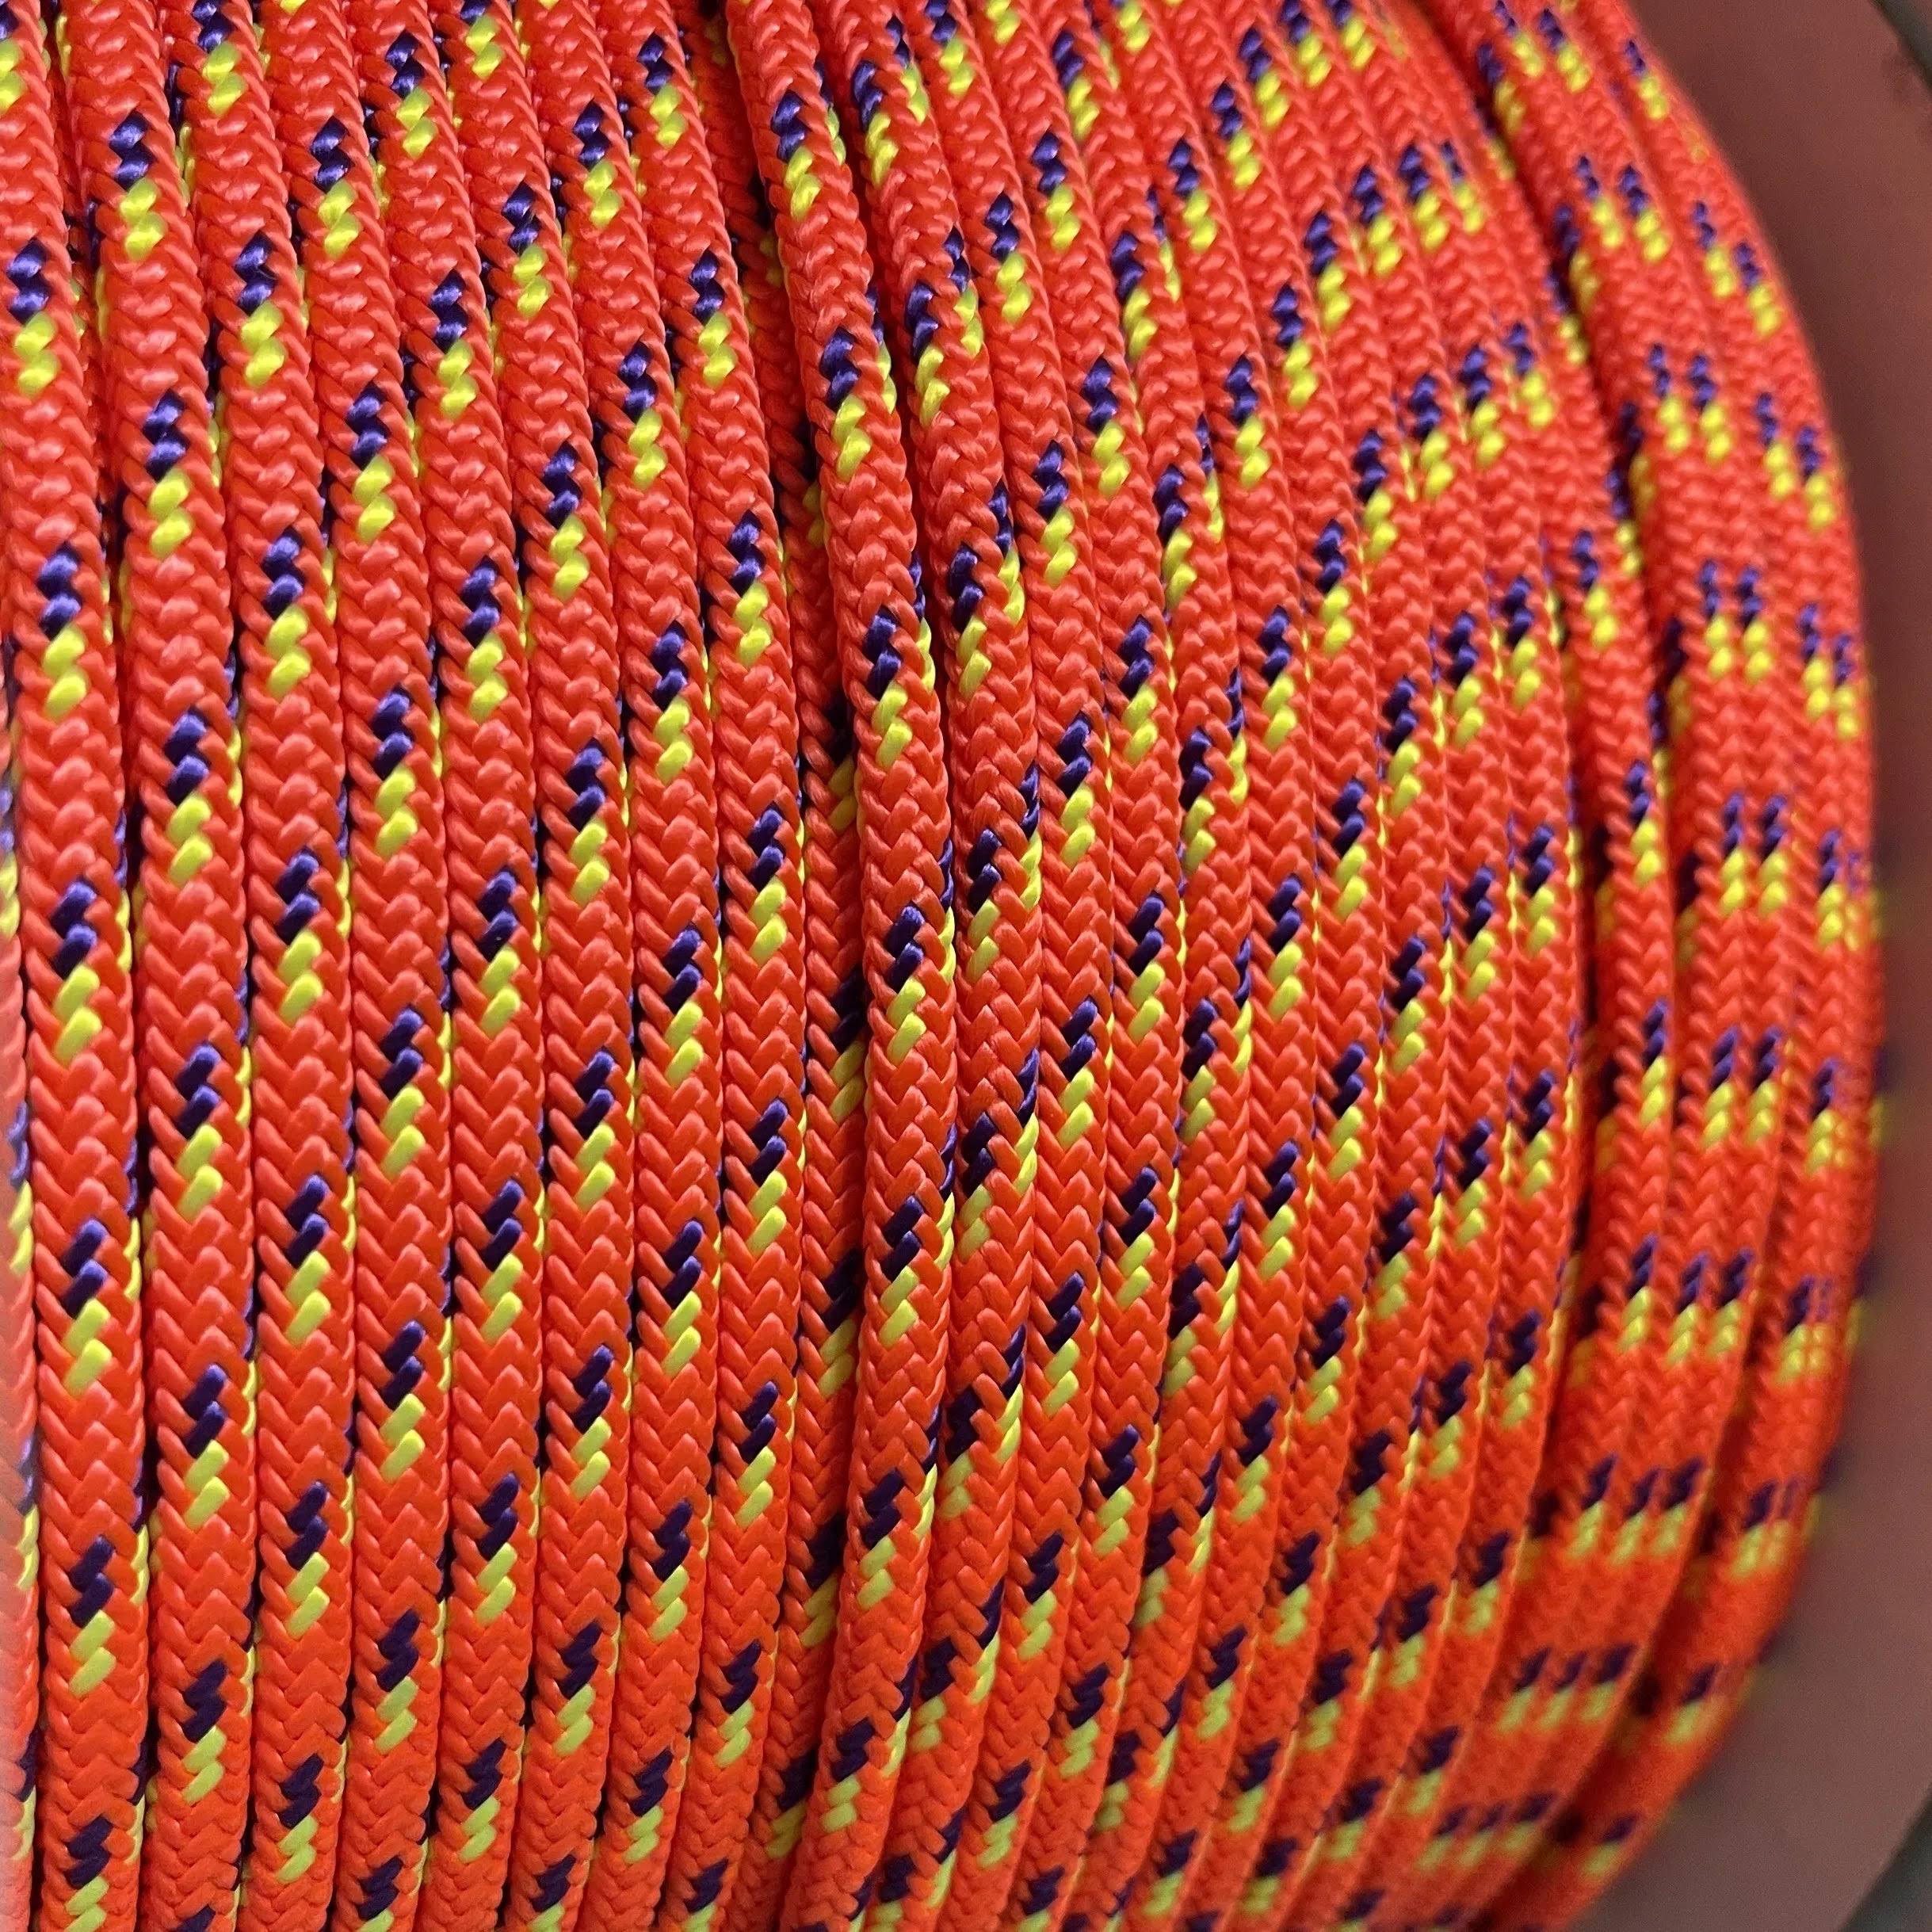
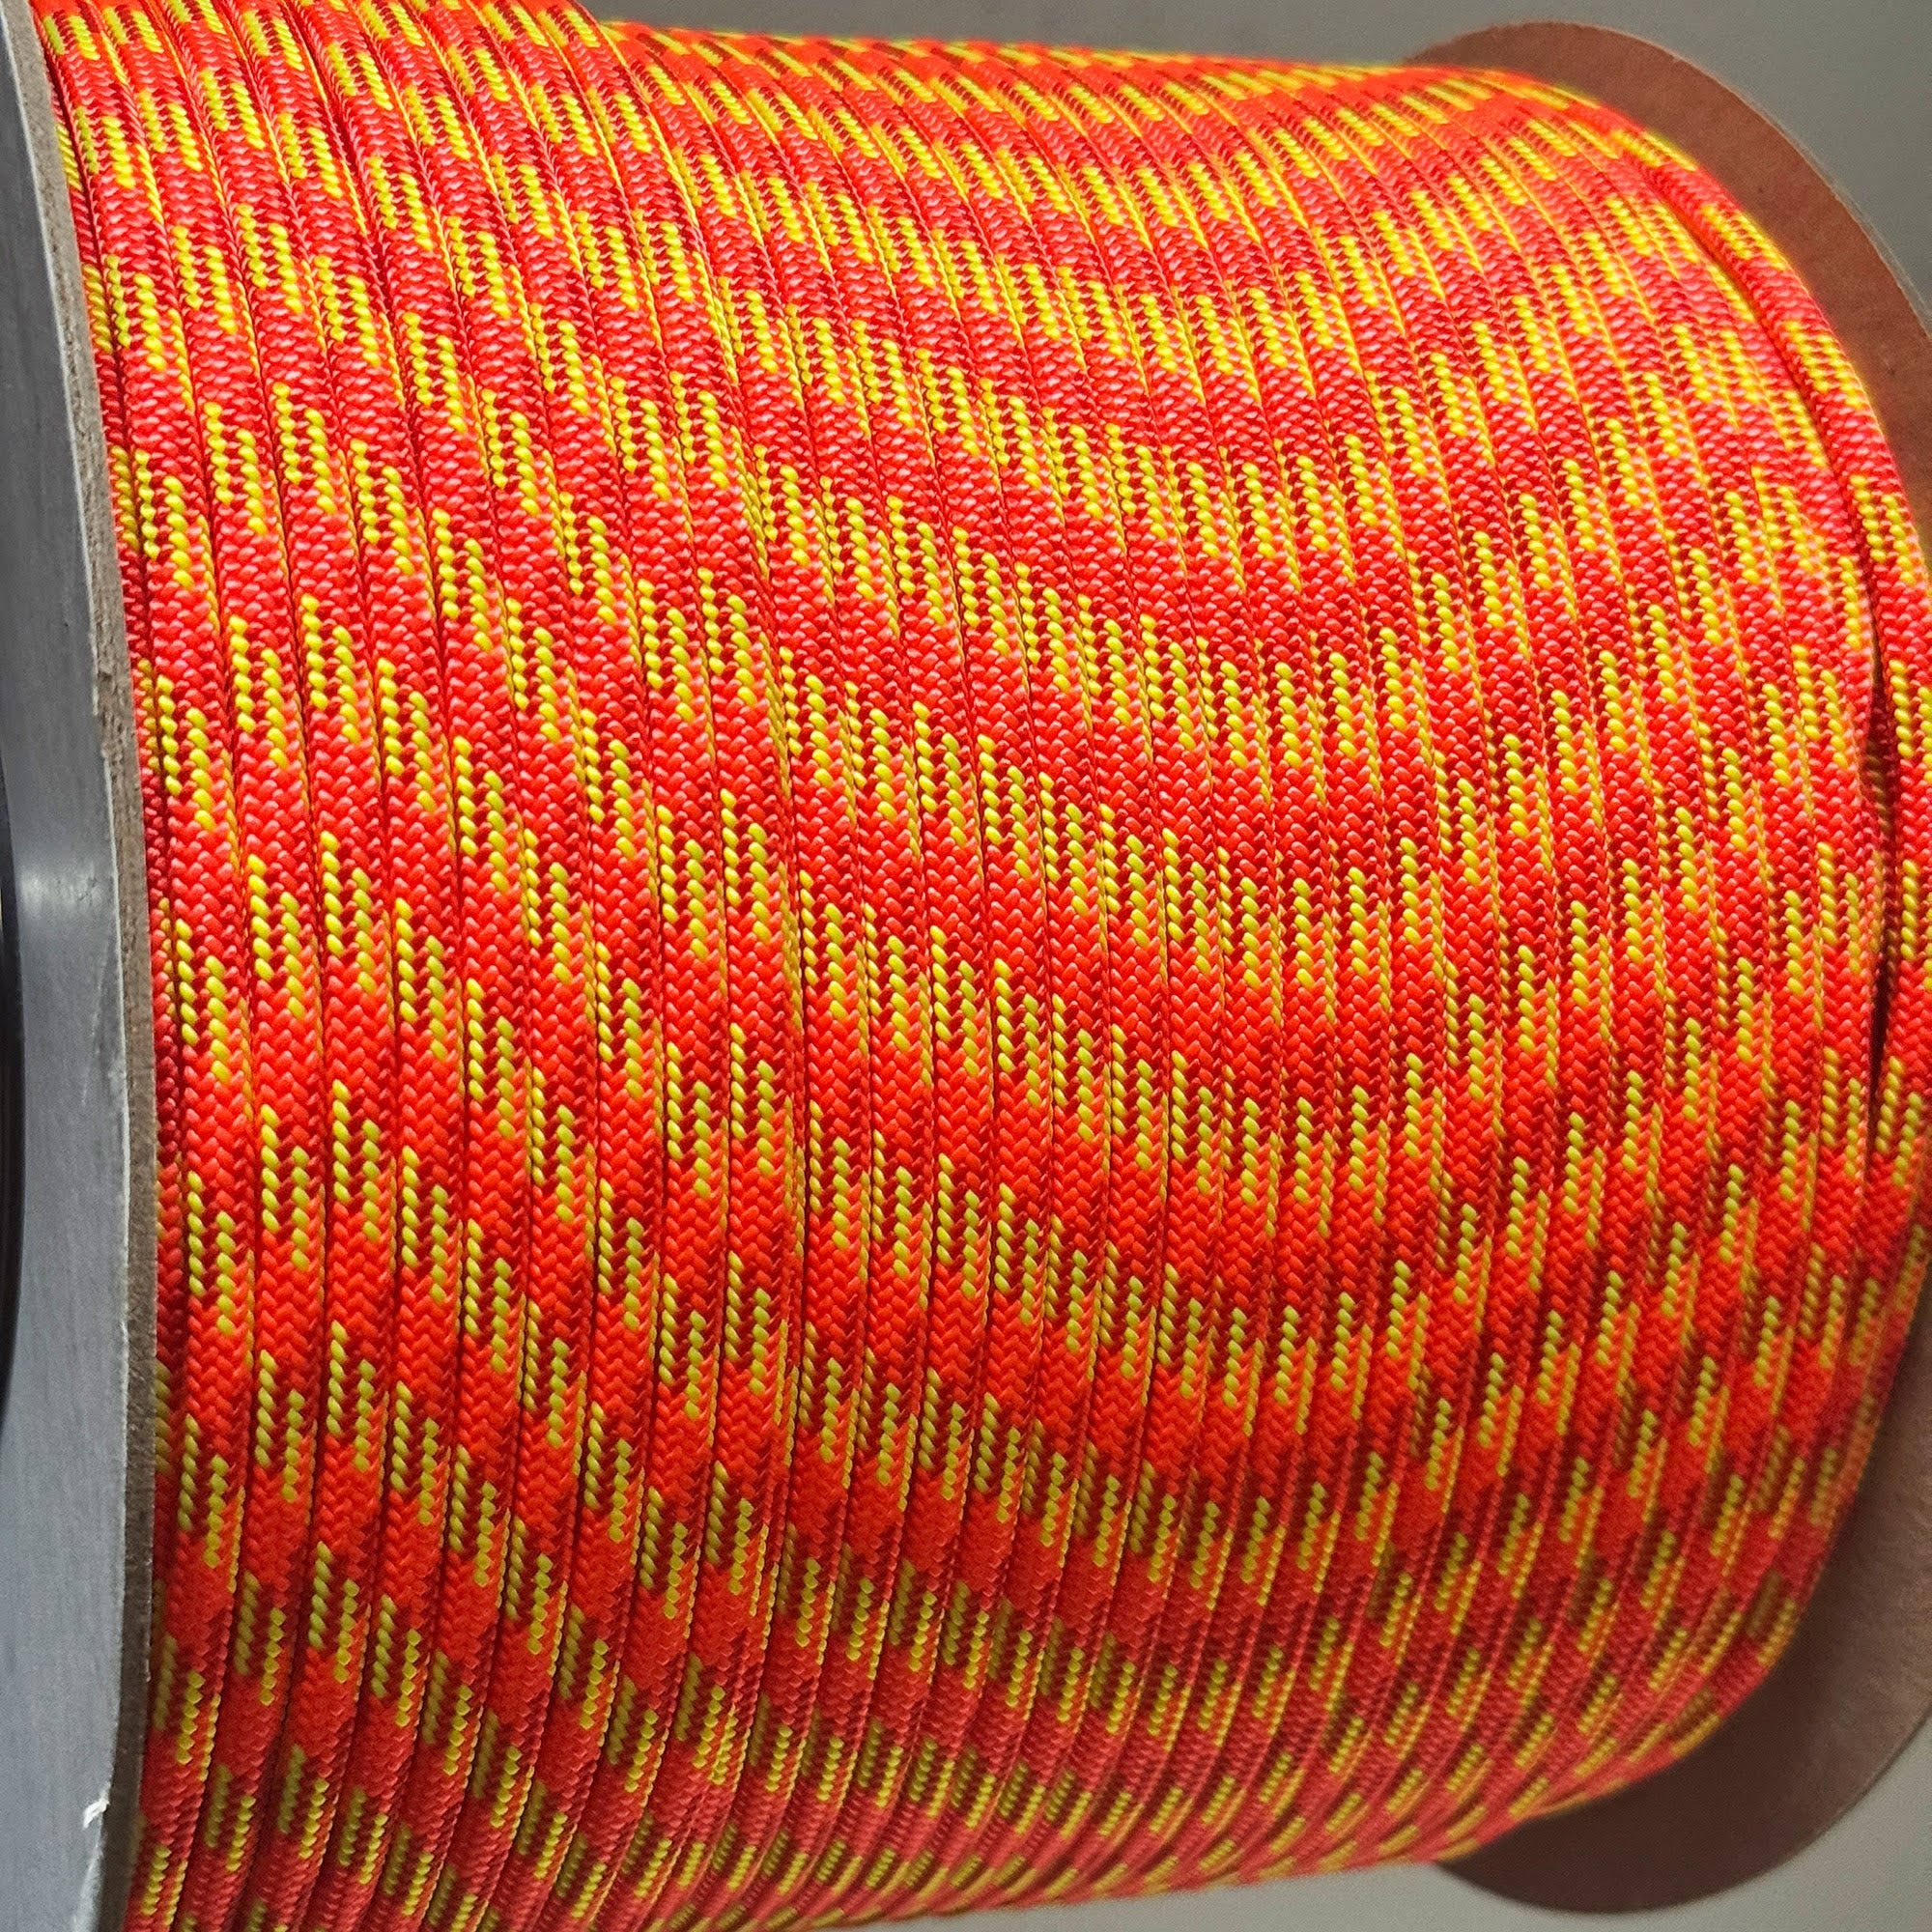
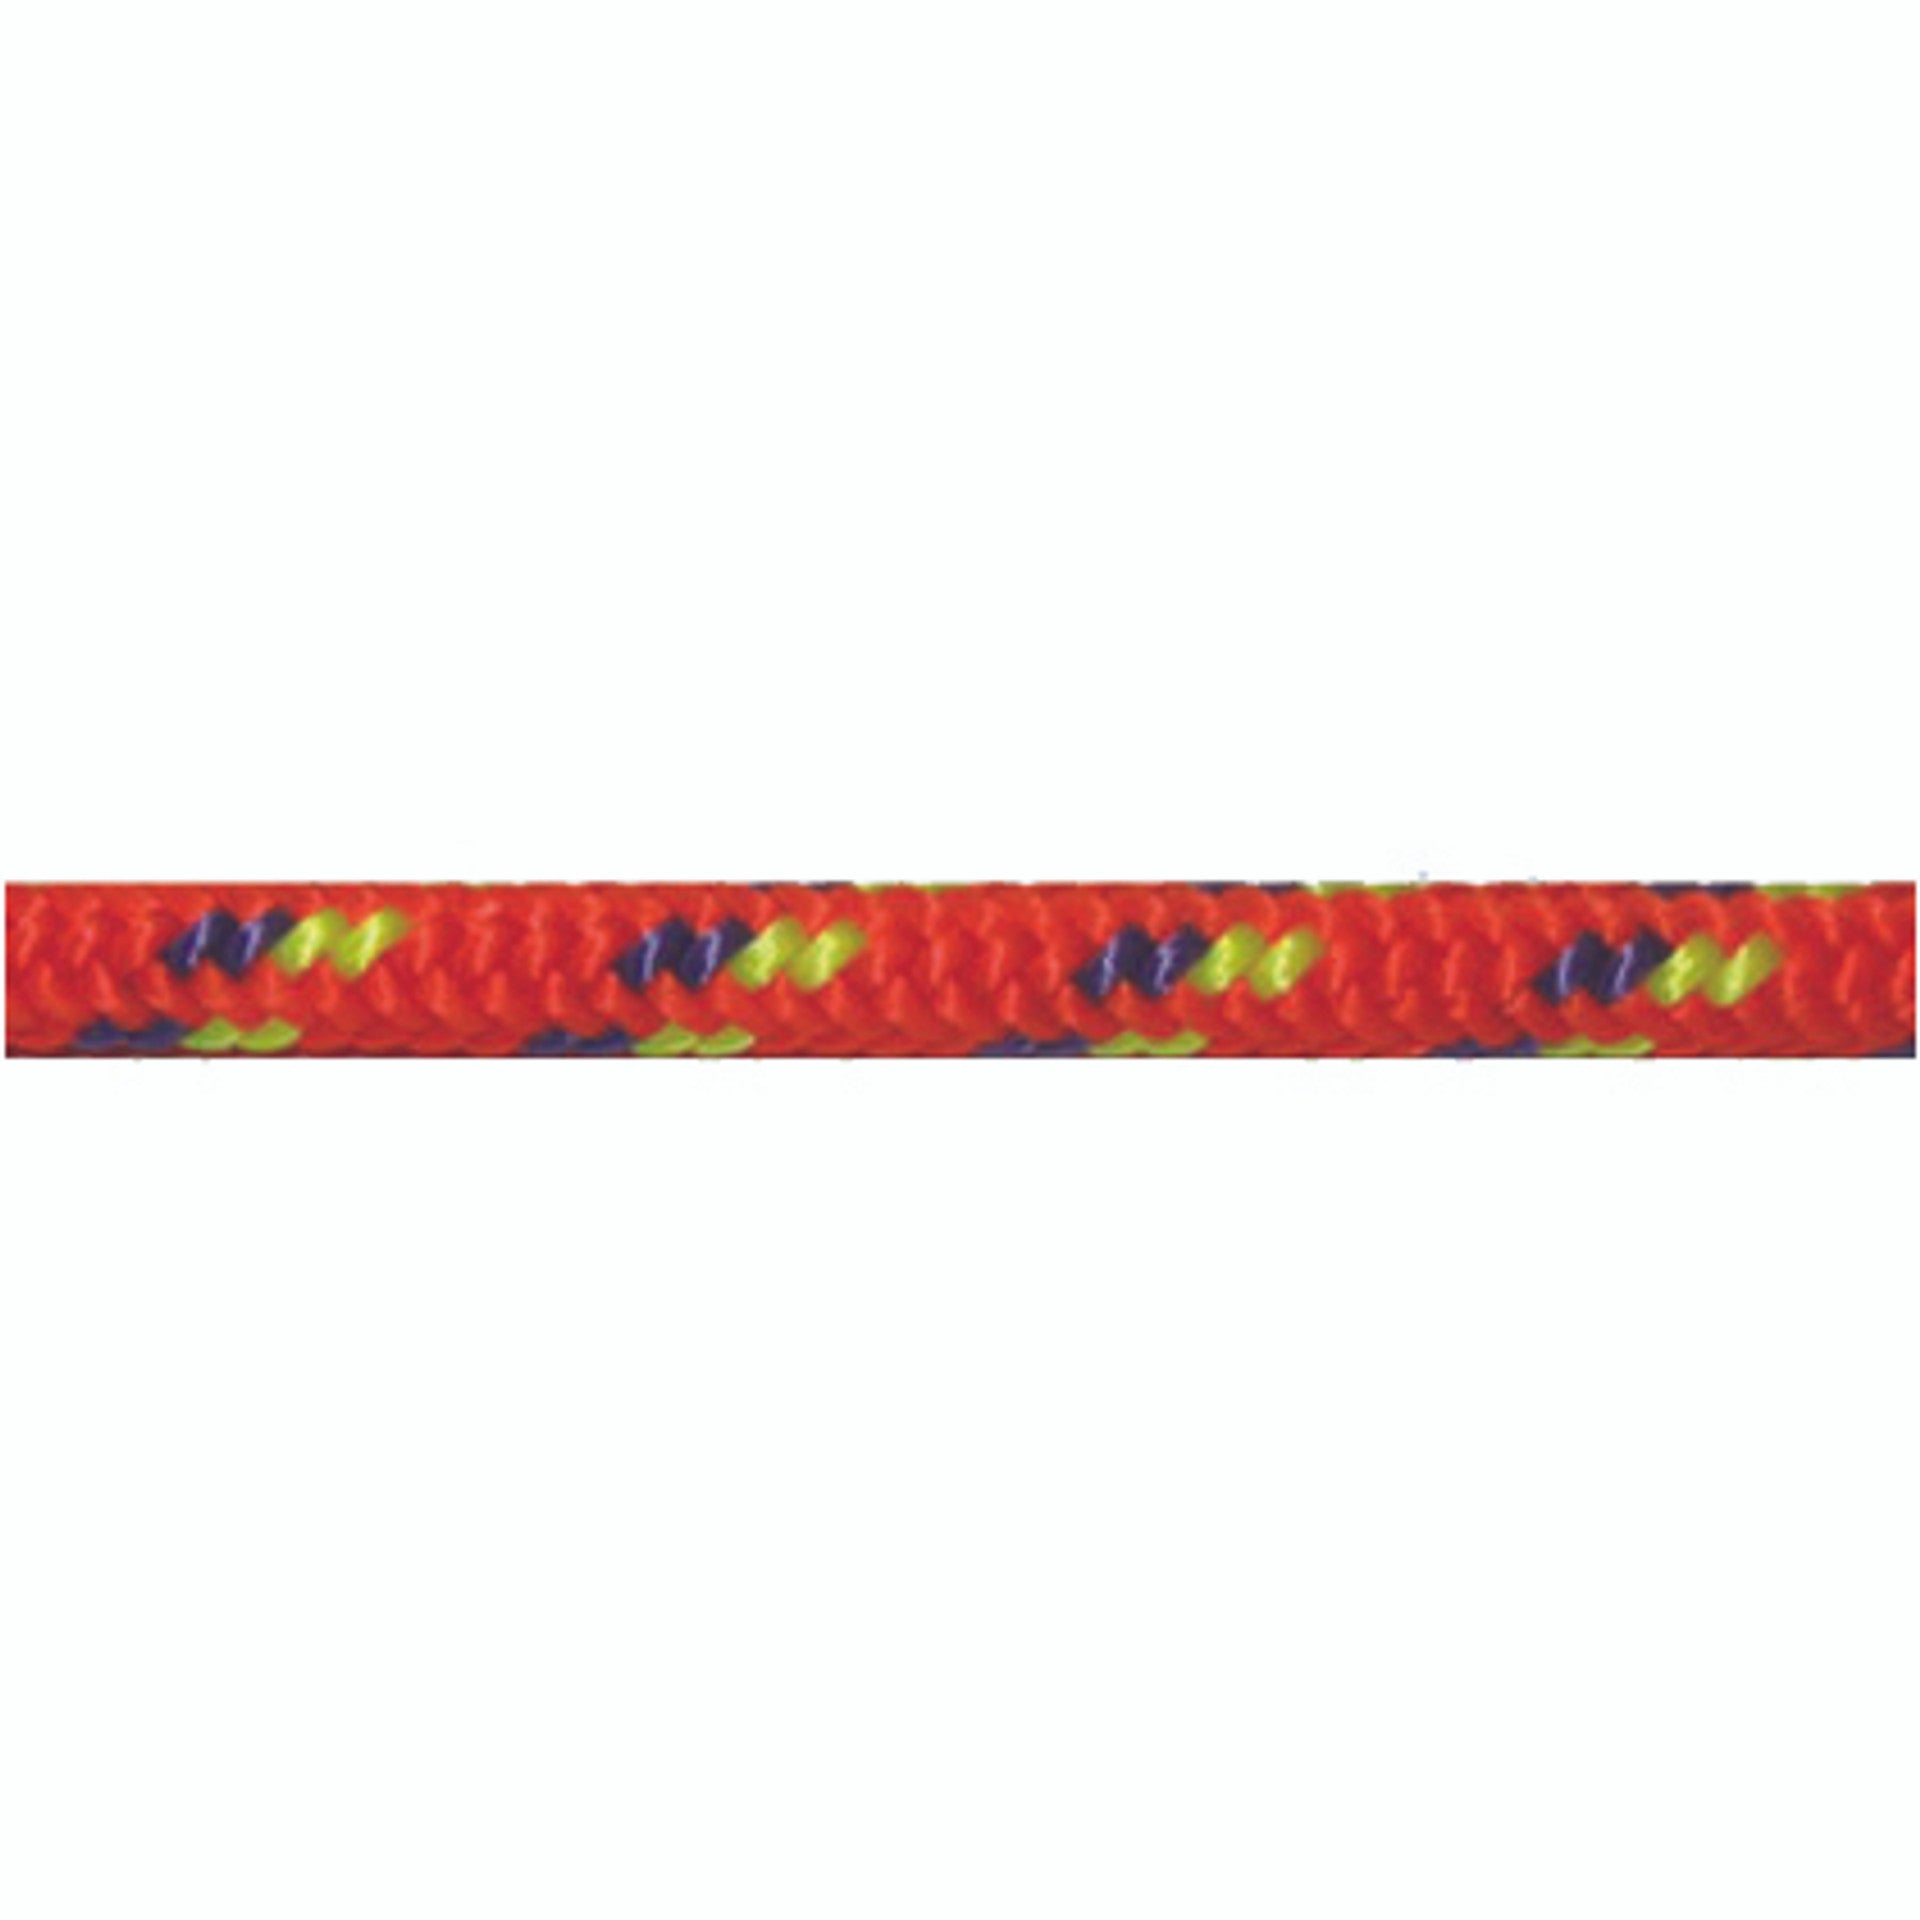
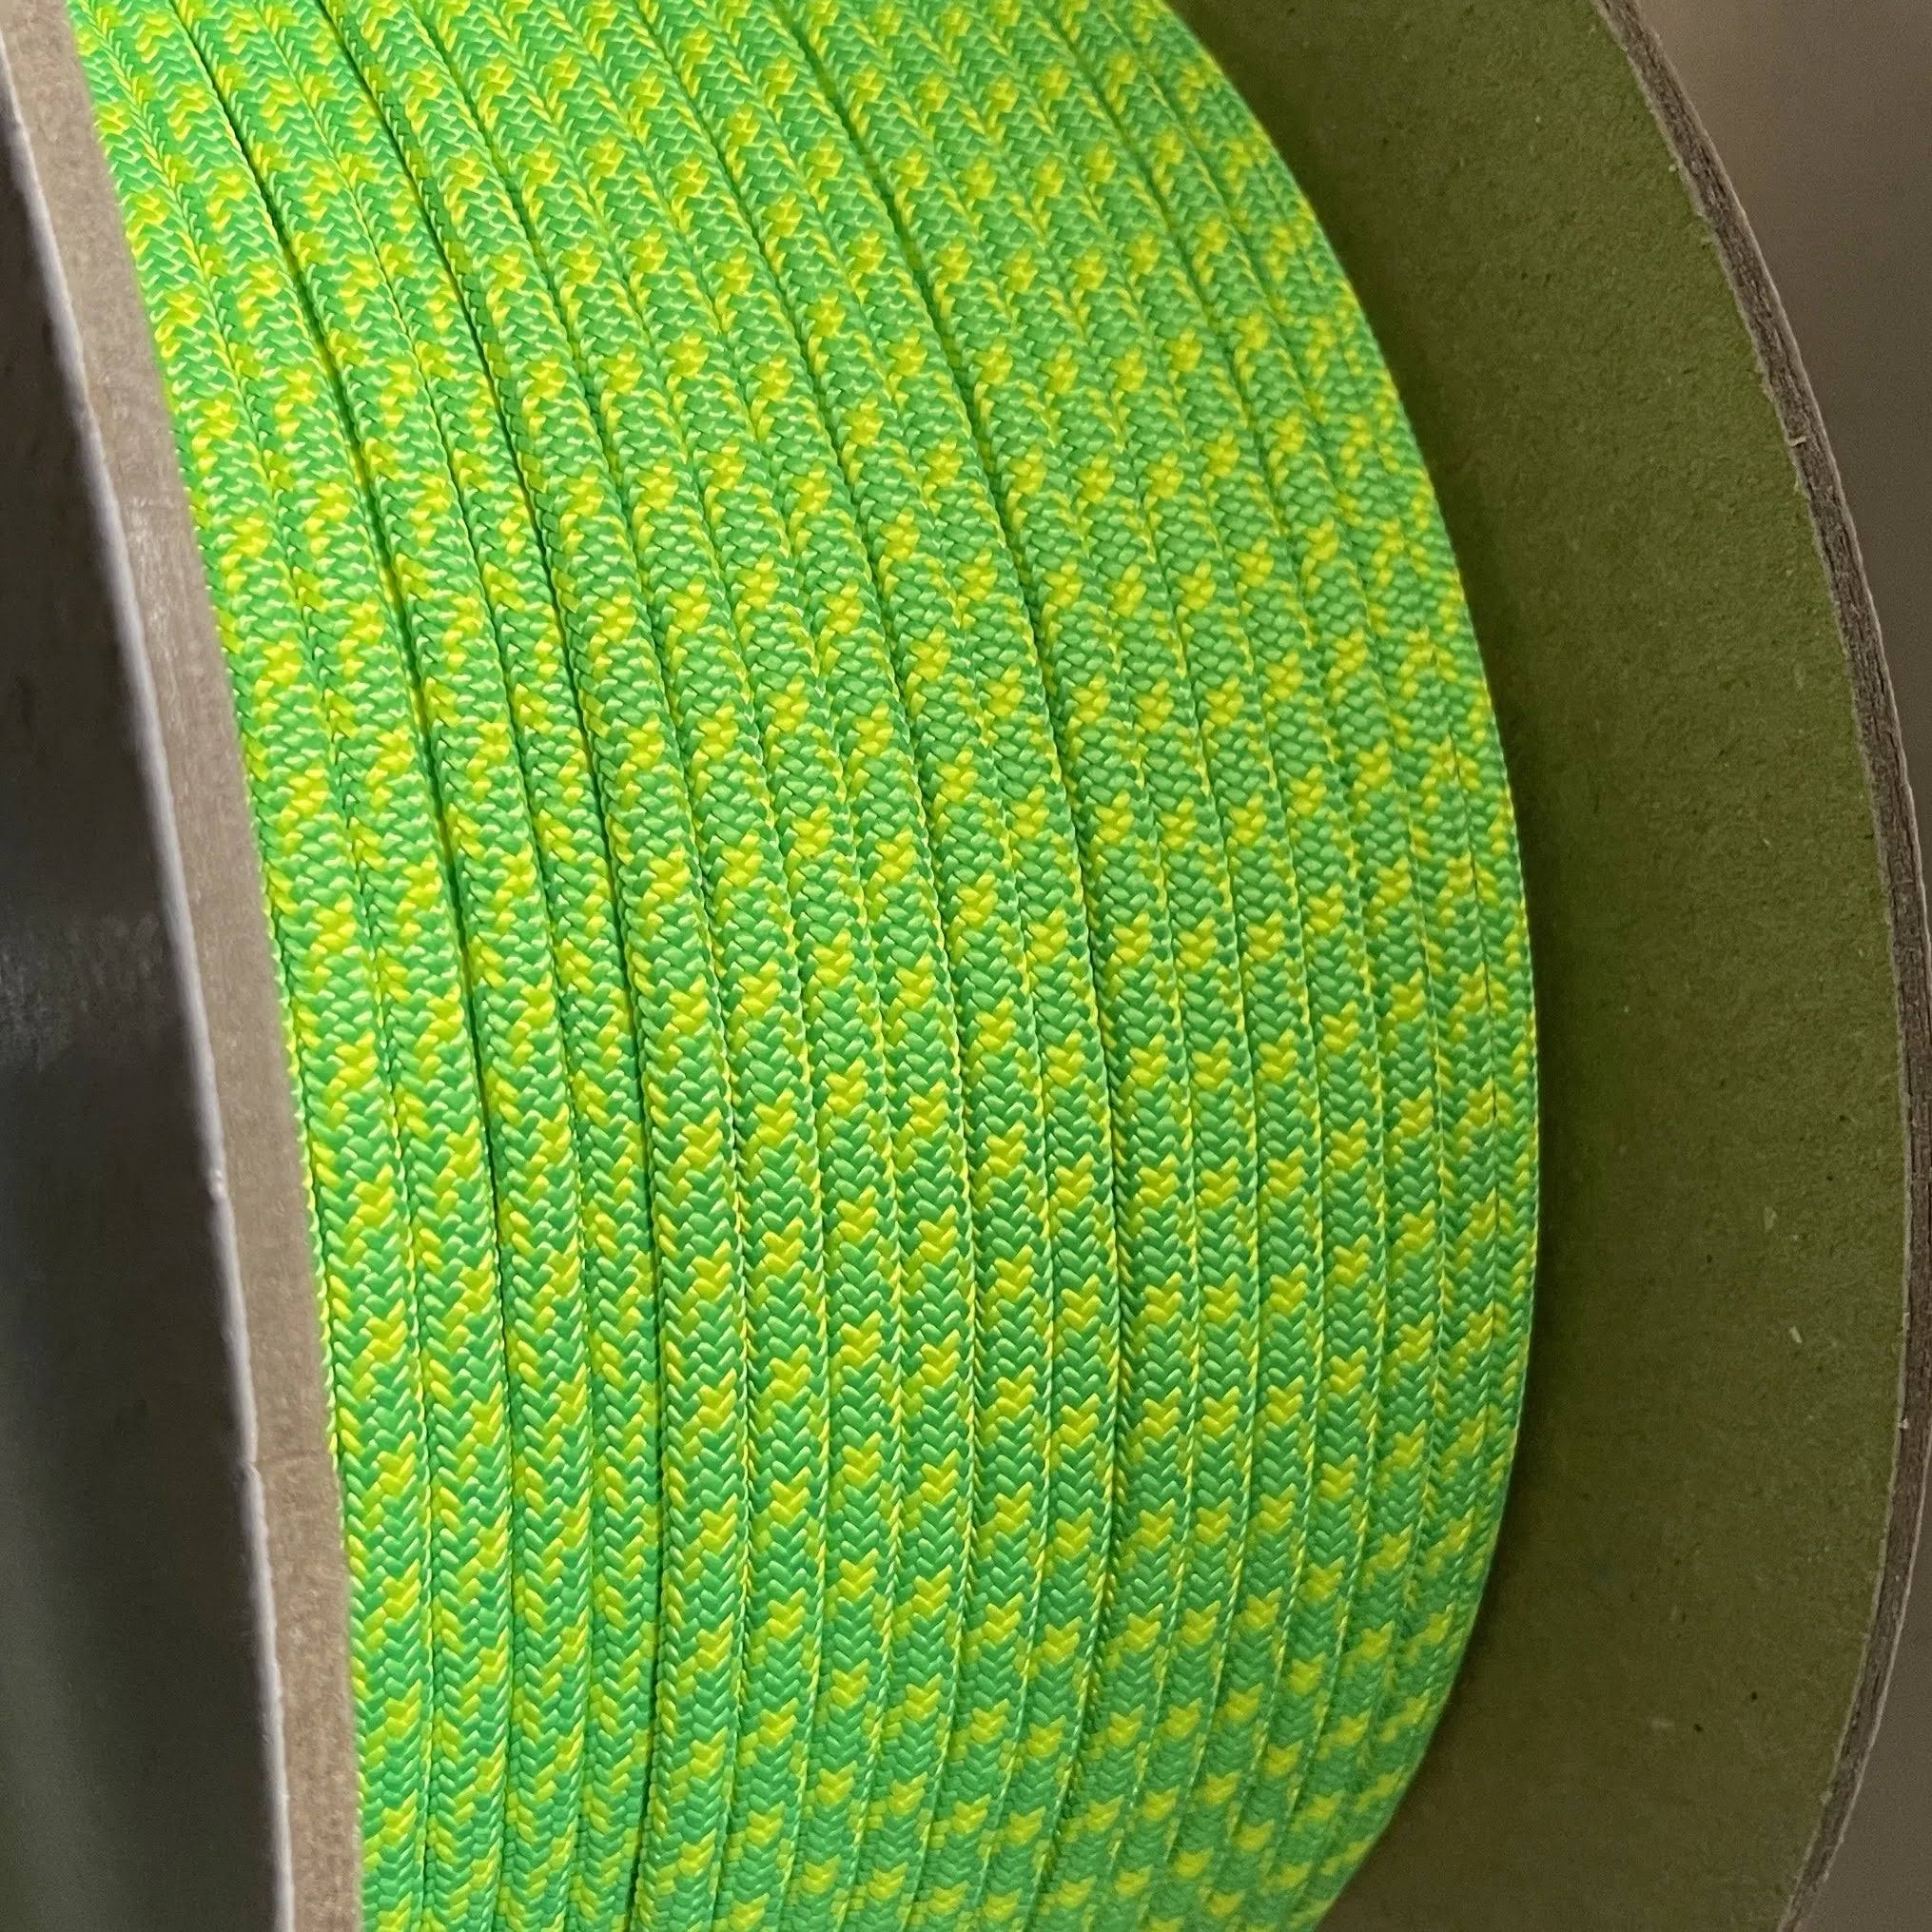
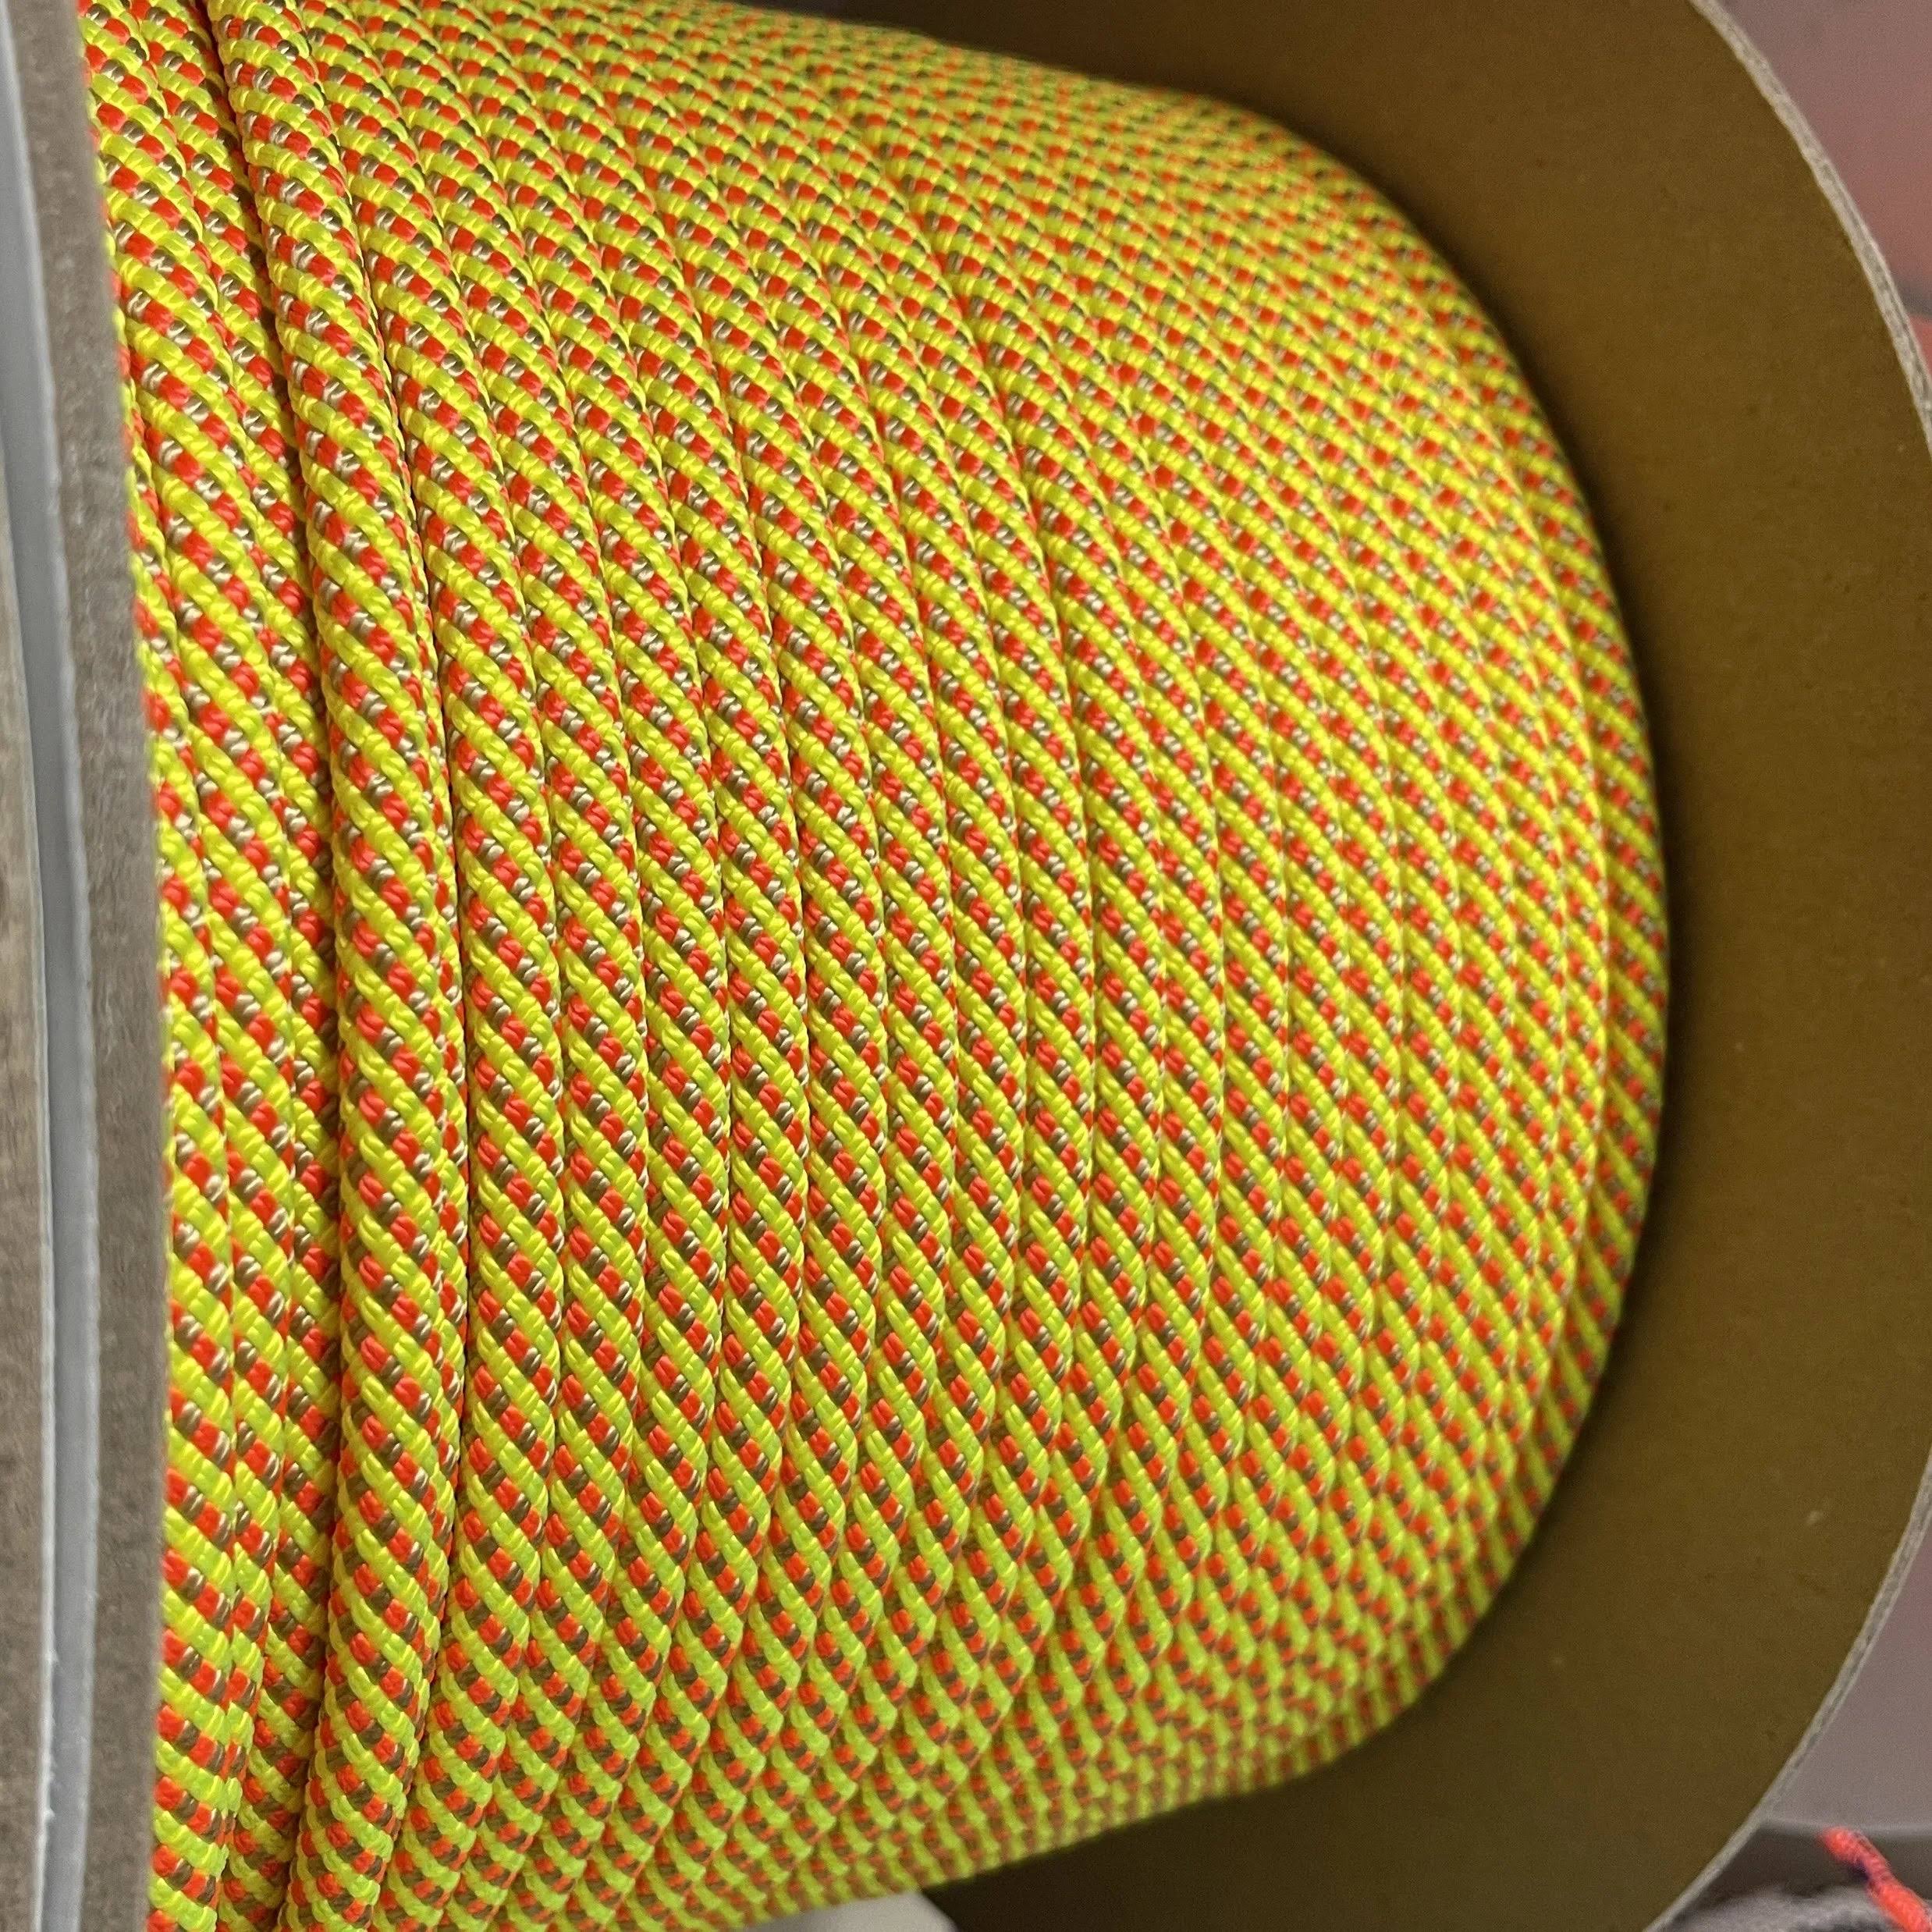
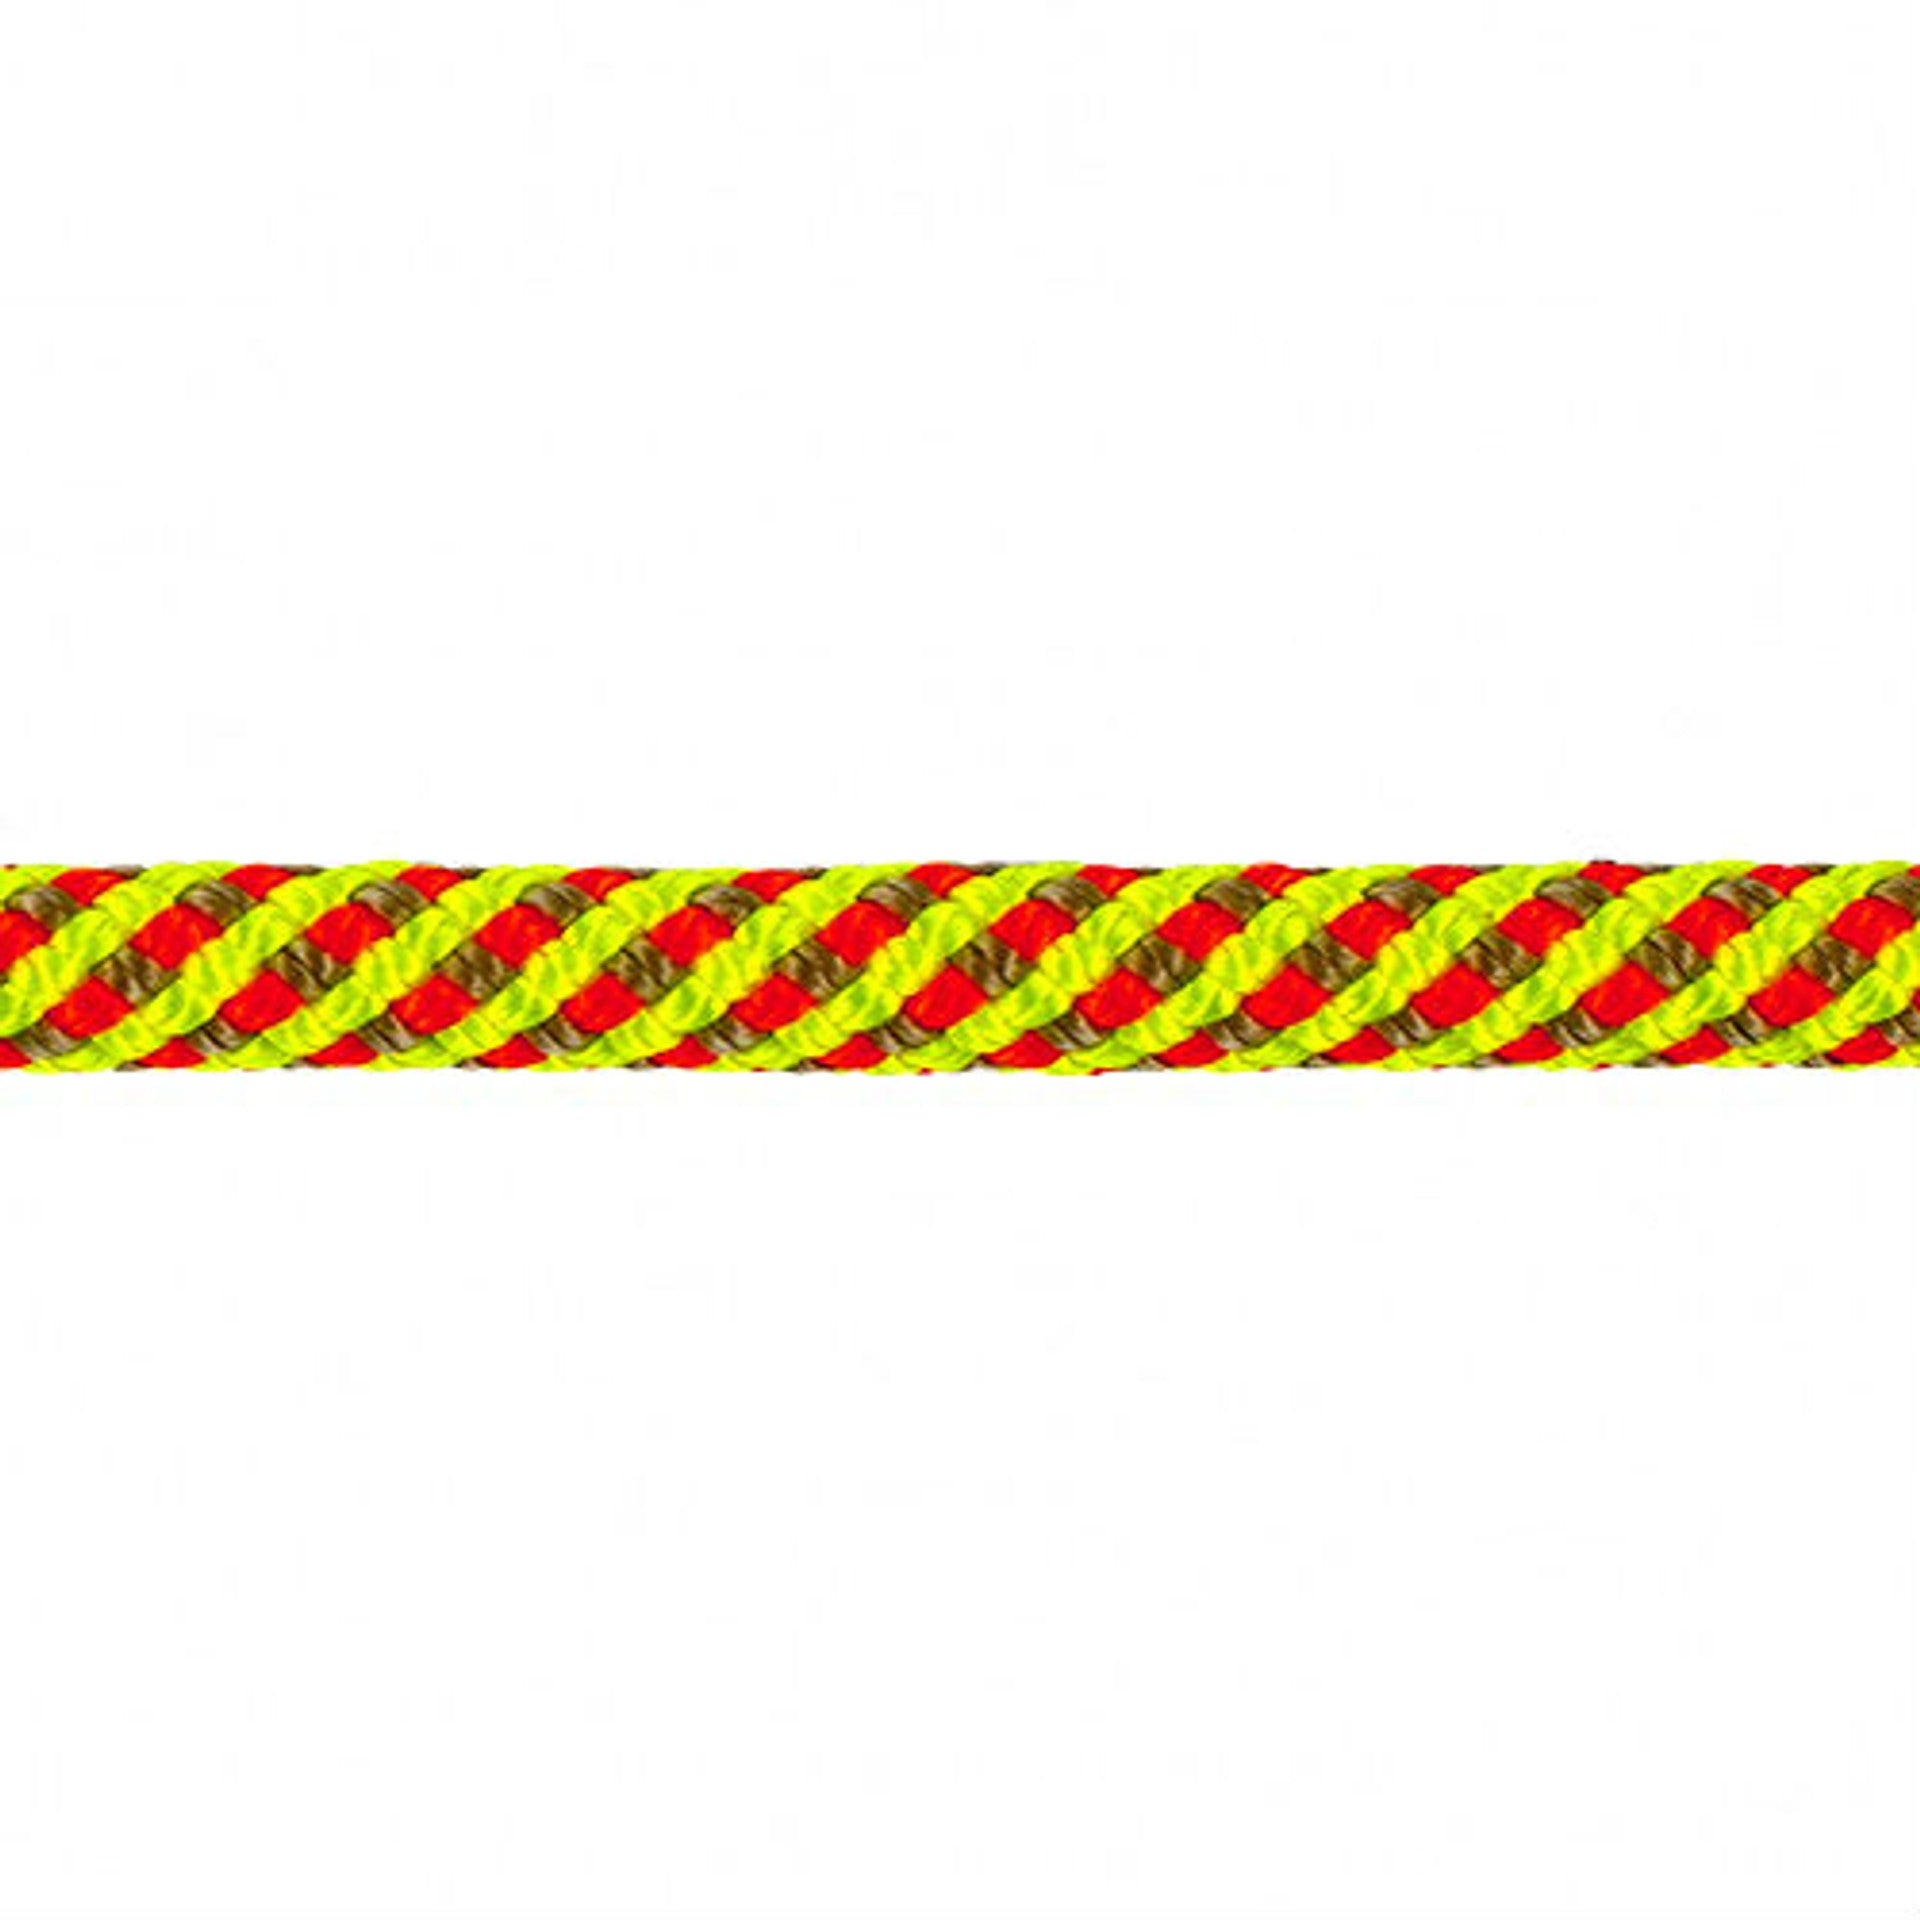
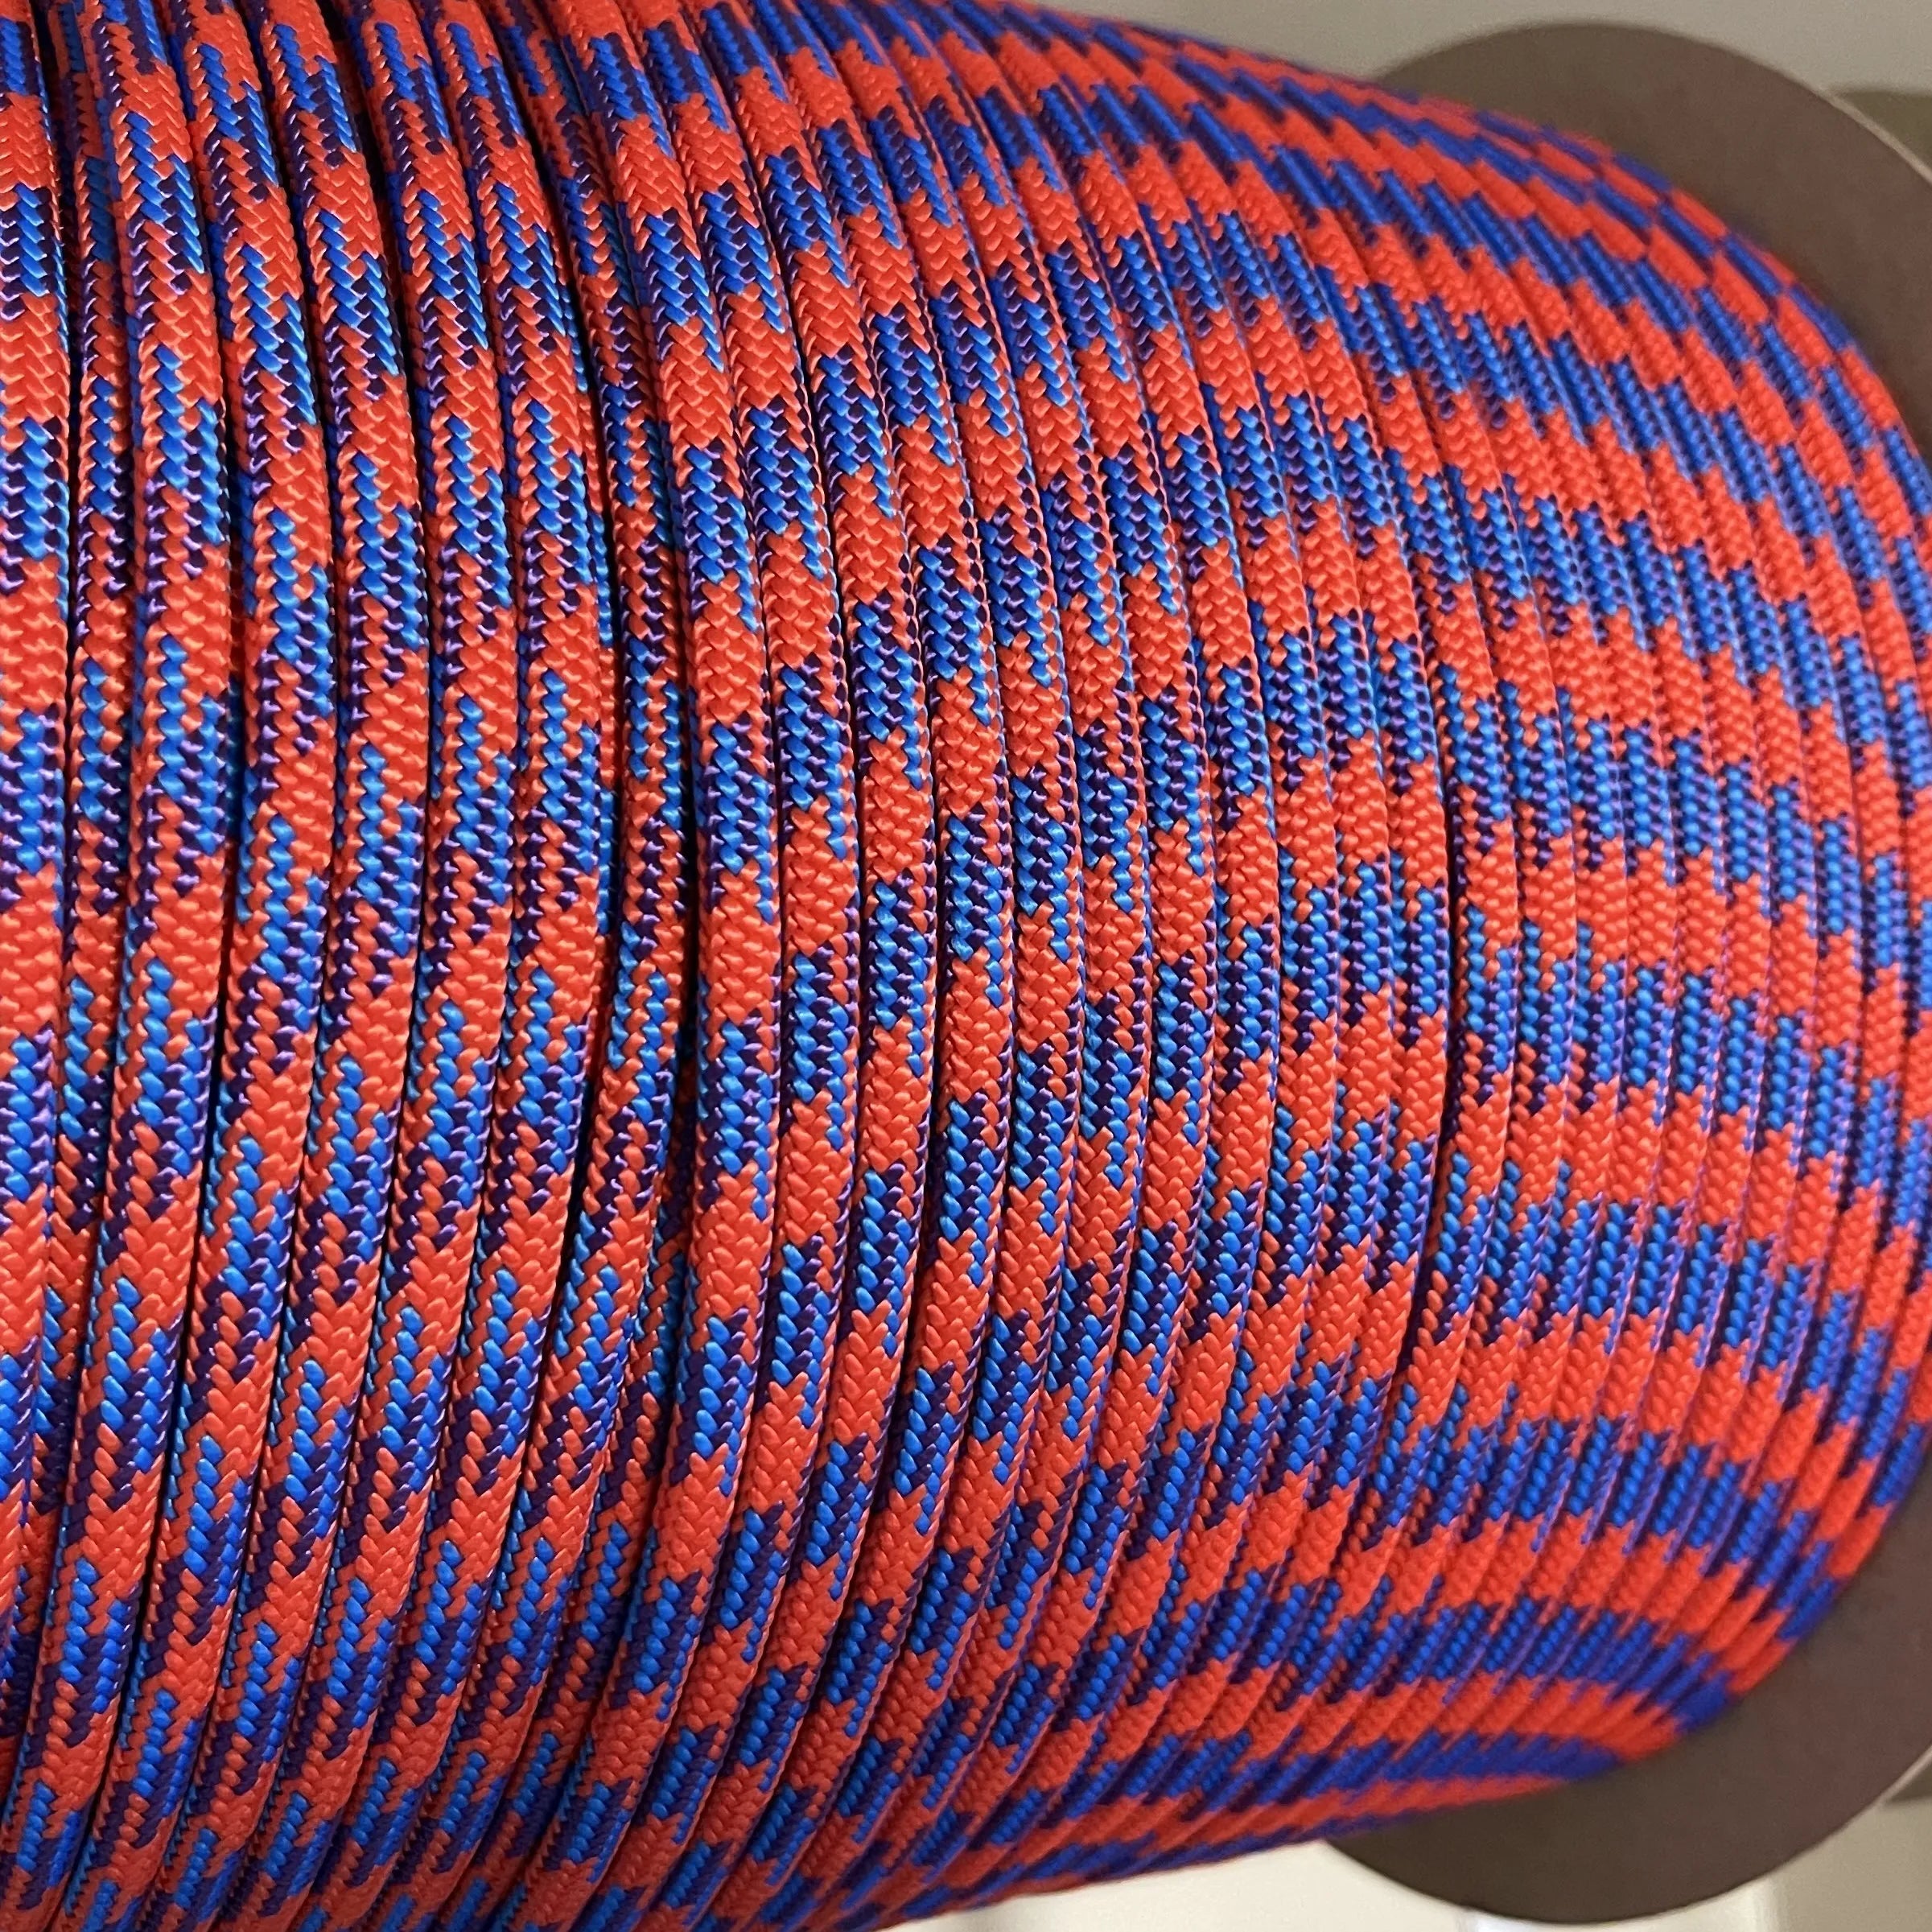
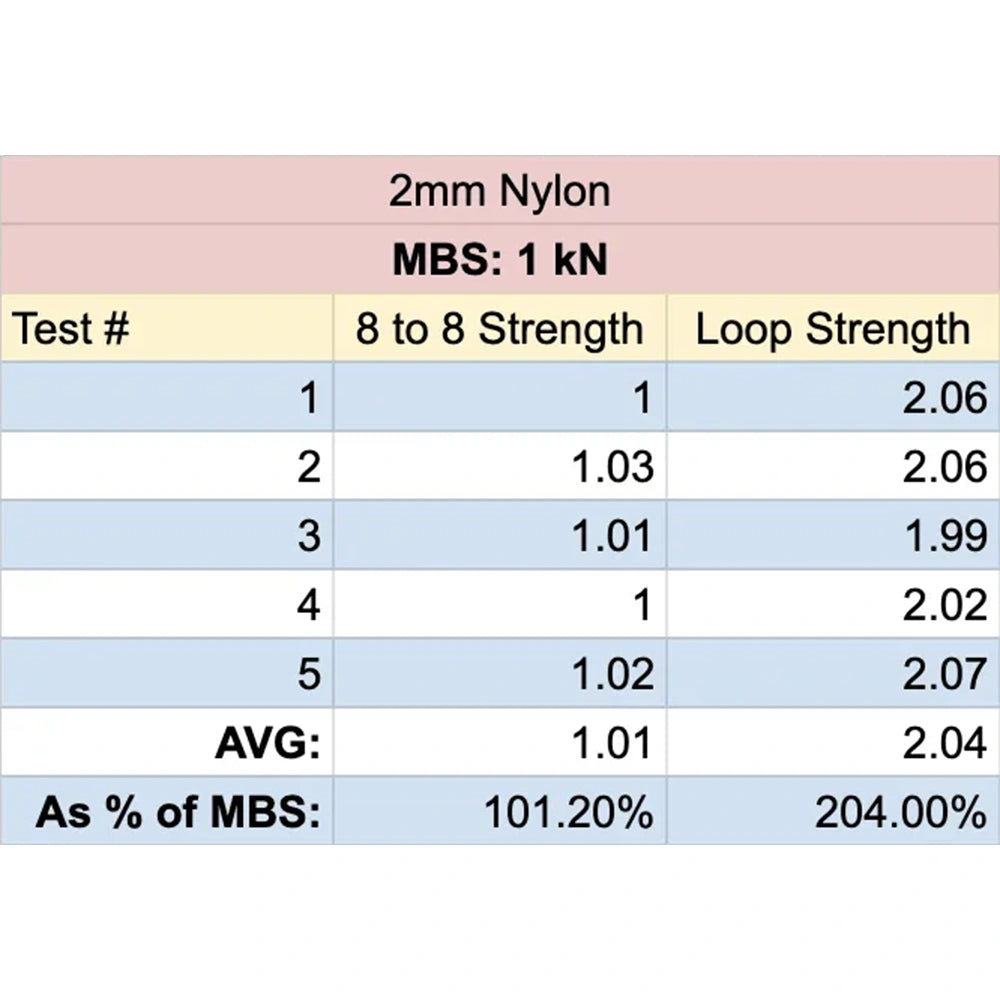
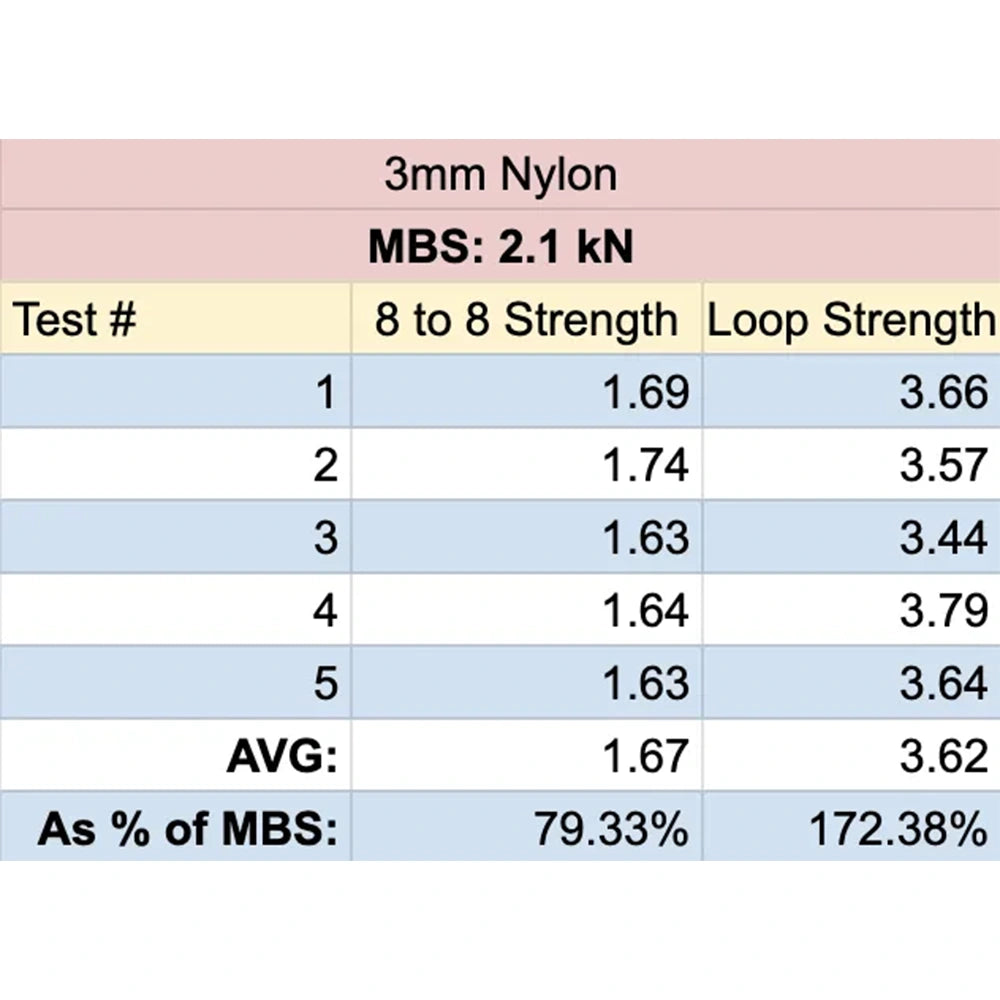
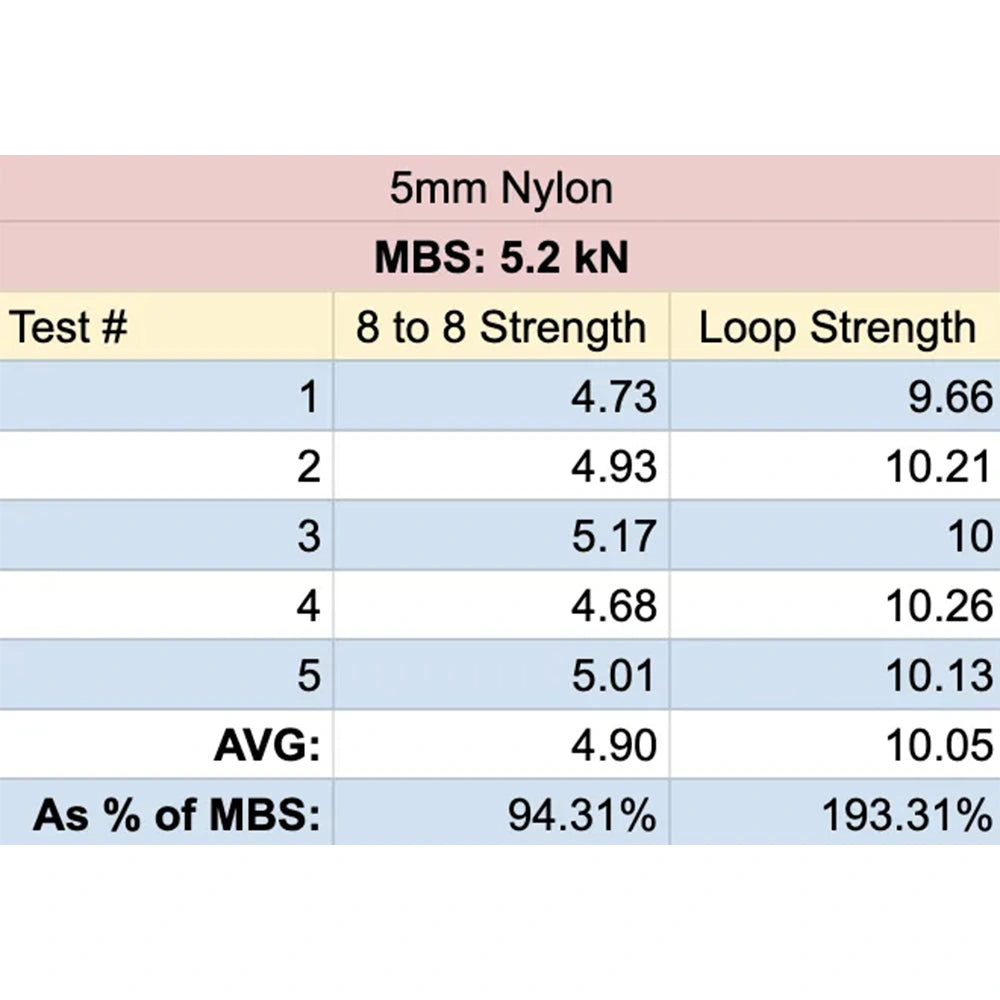
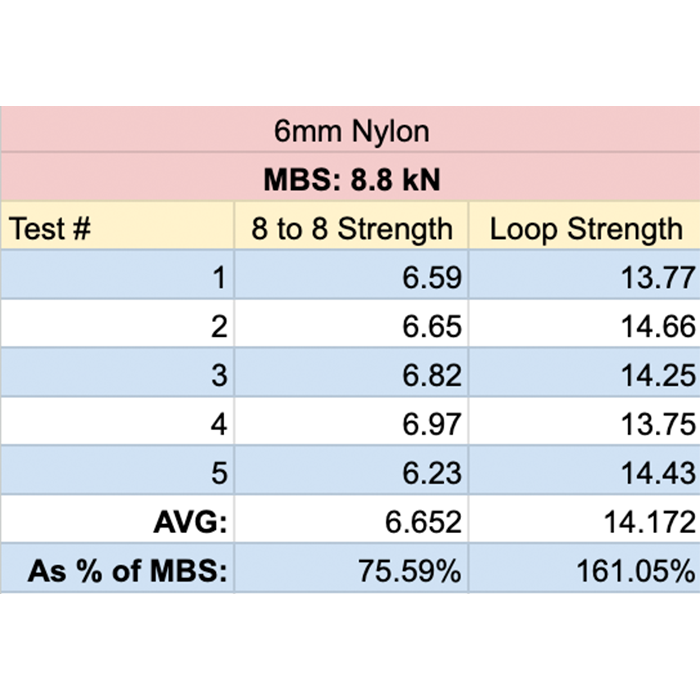
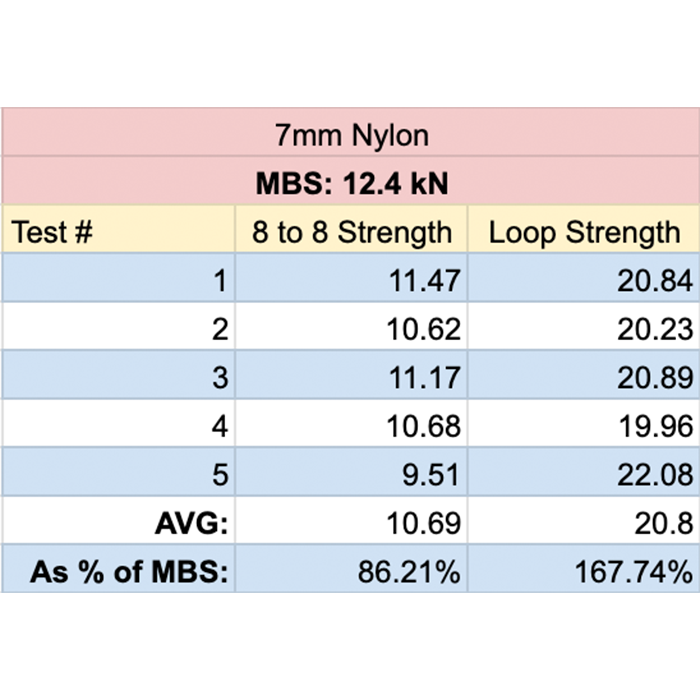
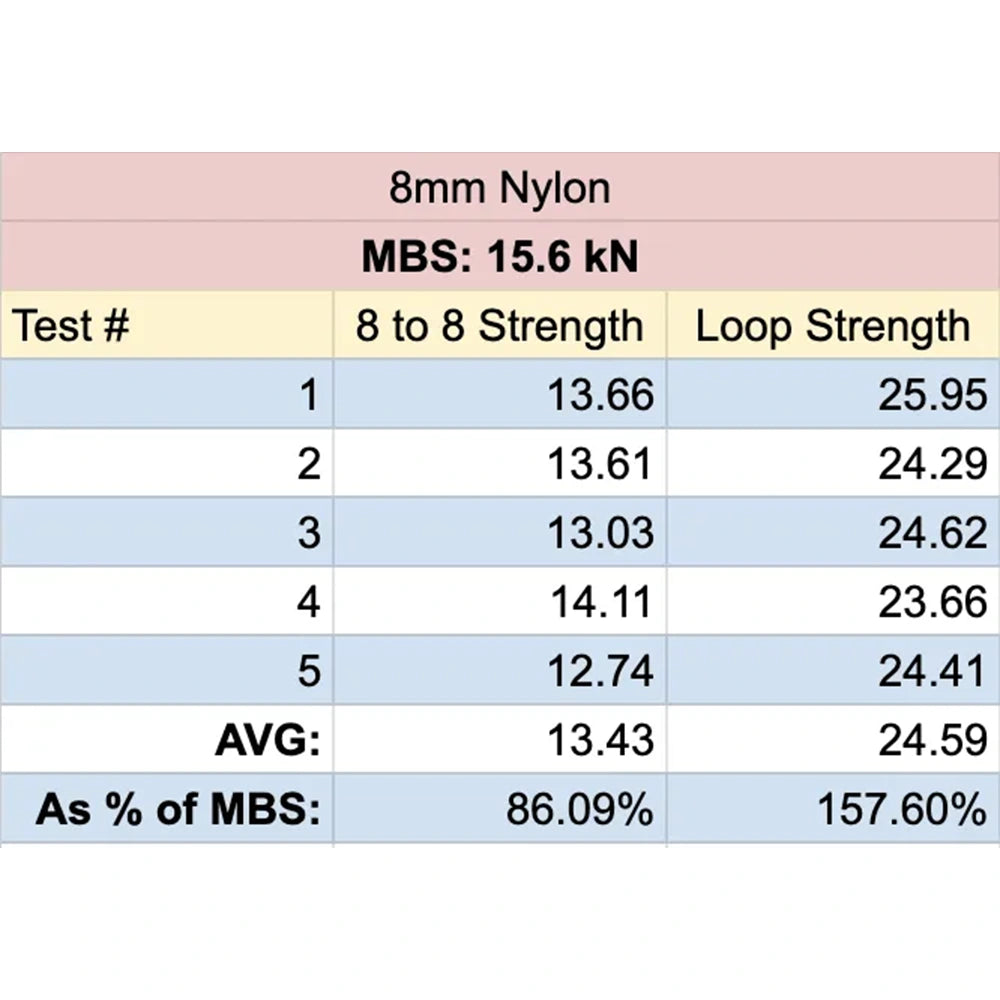
You can build an anchor out of any cord if you use enough of it, but for most applications 7mm is the way to go. If you only clove hitch the piece that is way off to the side, you'll know how strong a single strand is with our strength charts in our product images. If you make loops with the cord, you can see how much stronger it becomes. Cord has a sheath and a core so it technically has more abrasion resistance because there is more material to abrade. It is the swiss army knife of solutions on your harness. 18-20 feet will go a long ways.
Pros
- Inexpensive
Cons
- Bulkier than a dyneema sling
Shoes
We recommend wearing a comfortable shoe when trad climbing. You will likely be leading at a lower grade, spending more time on the wall, and jamming your feet into cracks, so wearing a performance fit shoe is not always necessary. In fact, these shoes are almost always less comfortable to foot jam with, as they require your toes to be pushed up inside of the shoe. Since the plastic buckles on velcro shoes can painfully press into the tops of your foot in jams, laced shoes are normally better suited for crack climbing.
This does not mean you need to be wearing an entry level shoe, however many of those shoes can make for great options.

